You are here: Home / Create and Decorate / How To Sew Cute Makeup Bags | Easy Sewing Patterns

Have you ever wanted to sew your very own customized makeup bag? Looking for an easy sewing pattern and DIY sewing project?
Personally, I’m in love with those Clinique bags that come free with a pricey purchase. They are so enviable, but not always affordable, which is why I have designed my own way to make pretty makeup bags. I even included a fun pop of color on the inside lining to brighten up your world! Follow along with this simple step by step tutorial to make your very own, the whole process only takes about 1 hour.
How To Sew Cute Makeup Bags Plus Easy Sewing Pattern
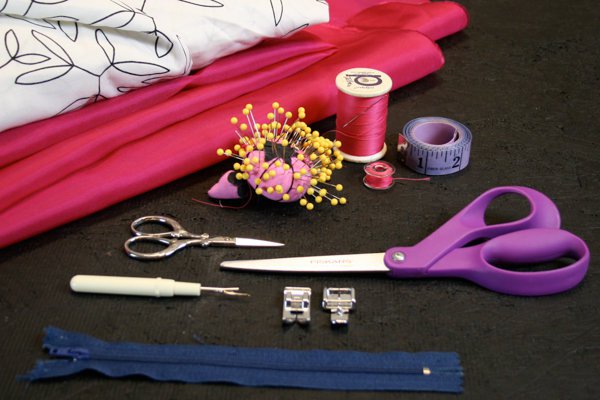
Supplies You Need To Make A DIY Makeup Bag
- Sewing Kit: Snips, Thread, Fabric Scissors, Seam Ripper, Ball Pins,
- Sewing Machine: Normal Presser Foot, Zipper Presser Foot
- Zipper, 6 to 10 inches.
- Iron and Ironing Board
- Sewing Needle
- Fabric 1/2 yard
- Lining 1/2 yard (choose a bright color!)
- Tape Measure
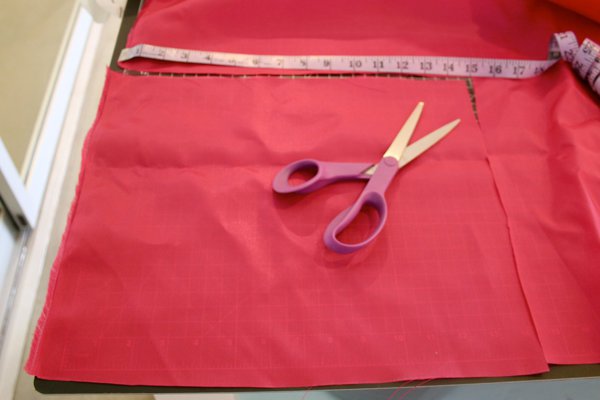
This bag is small enough that you might be able to use up some scraps you have lying around instead of buying new fabric.You need at least 14″x12″ of fabric and 15″x13″ lining. Or head to the fabric shop and ask for 1/2 yard of the fabric and the lining of your choice. That means your fabric will come 18″ wide (which is 1/2 yard) by either 45″ or 60″ long based on the bolt of fabric.
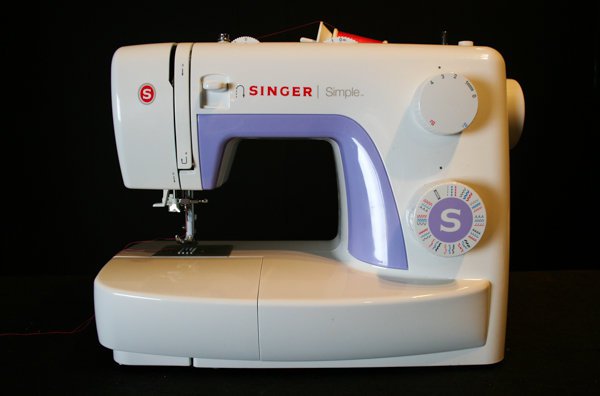
Step 1:
Thread your machine properly by following the number guides on the face plate. Adjust your dials to read Stitch Length: 2.5. Stitch Width: 0, and your final setting should show the stitch to be a straight line. Make sure your bobbin is in place and you have the appropriate color here as well. Use a thread that matches the color of your fabric so it won’t show, or use a contrasting thread for visual impact.
Step 2:
Use your fabric scissors to cut out your pieces. For the fabric, cut one 14″ x 12″ rectangles, and for the lining cut one 15″ x 13″ rectangle.
Step 3:
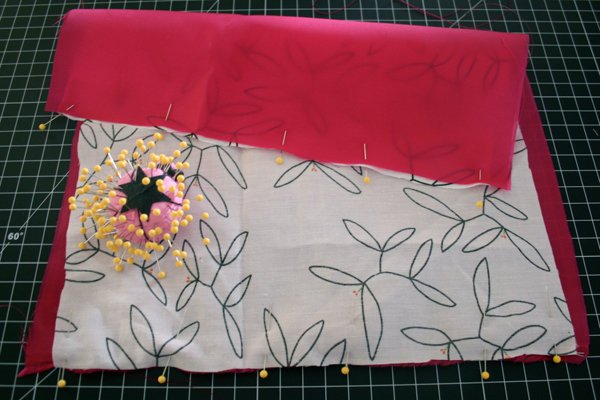
Attach the lining to the fabric by placing front sides together and pin in place.
Step 4:
Sew along both 12″ sides. Do not sew along the longer sides, you’ll see why in the next step.
Step 5:
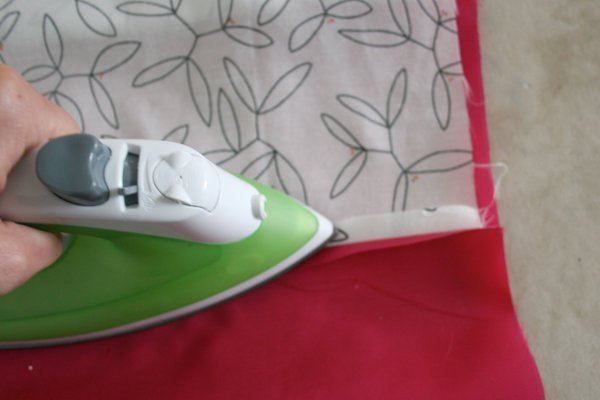
Flip the fabric right side out. Press the seam flat with an iron.
Step 6:
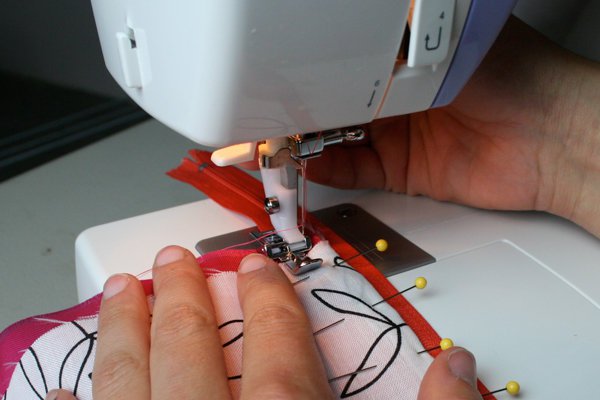
Take your zipper and center it along your fabric. If the zipper doesn’t reach across the whole piece then make sure it rests in the middle, next you will pin it in place.

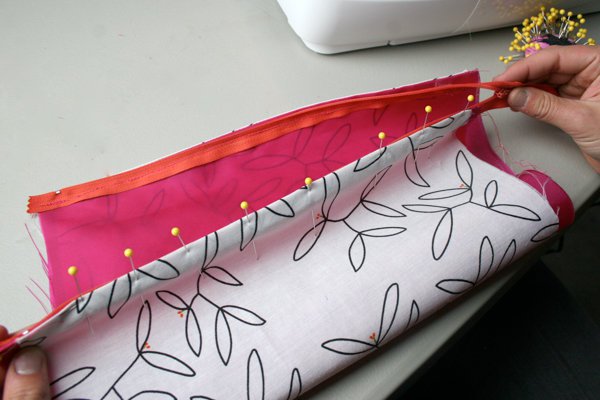
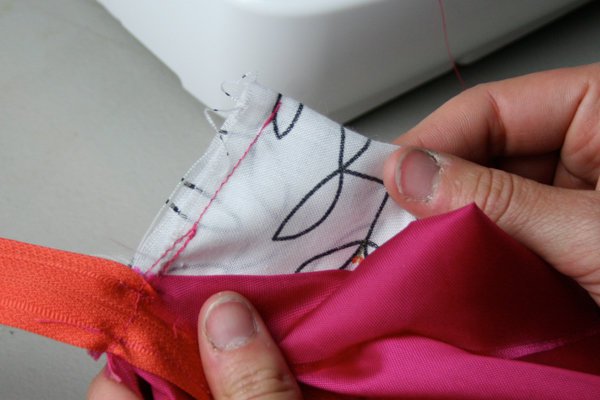
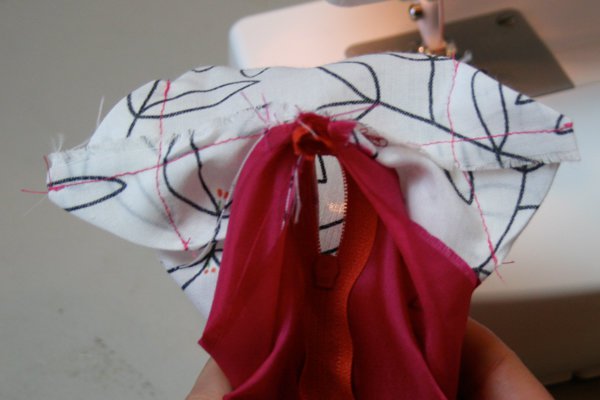
Step 7:
Carefully line up the right side (front side) of the zipper to the lining, along the pressed edge you just created. Pin it in place, catching the zipper and lining in your pin placed perpendicularly to the sewing edge.
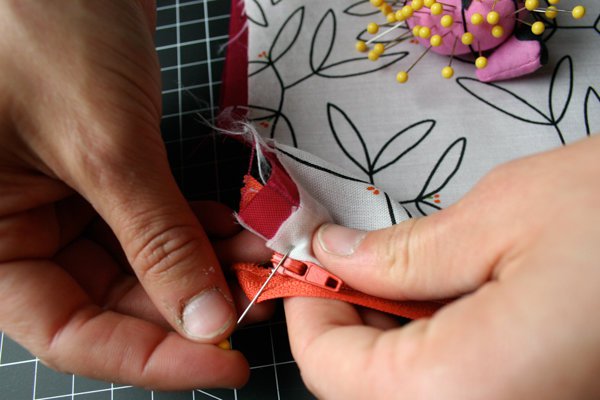
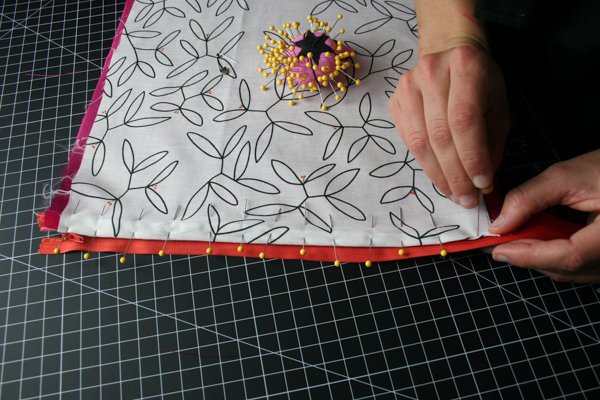
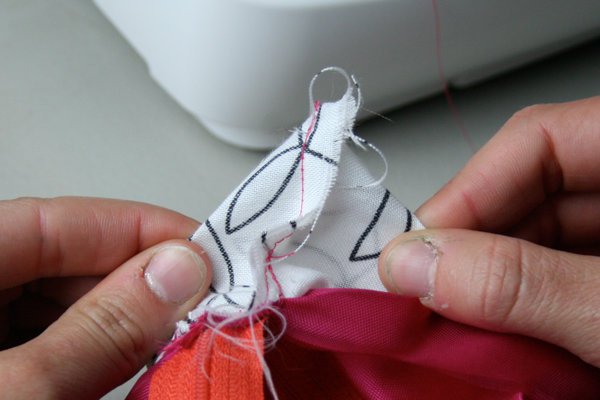
Step 8:
Continue pinning the zipper along the edge of the fabric until you reach your end. This helps the zipper and fabric stay in place.
Step 9:
To sew the zipper on your machine, you need to remove the presser foot and replace it with the zipper presser foot. This foot is smaller and will not interfere with the sewing of the zipper.
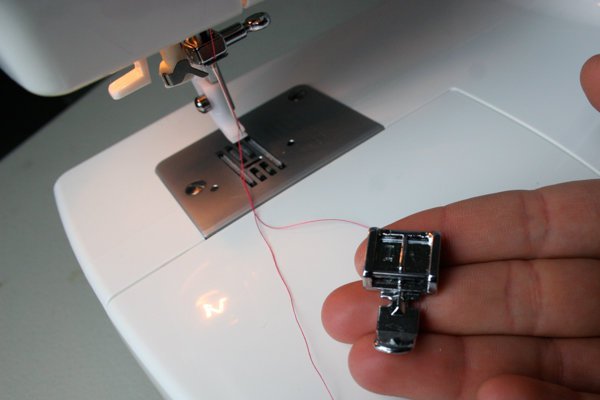
Step 10:
Place the zipper presser foot in your machine, in this example the foot simply snapped on. Some machines might have a knob or lever that needs to be adjusted for the presser foot to fit.
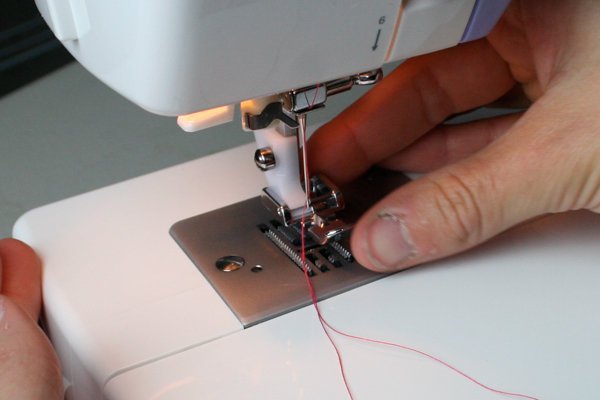
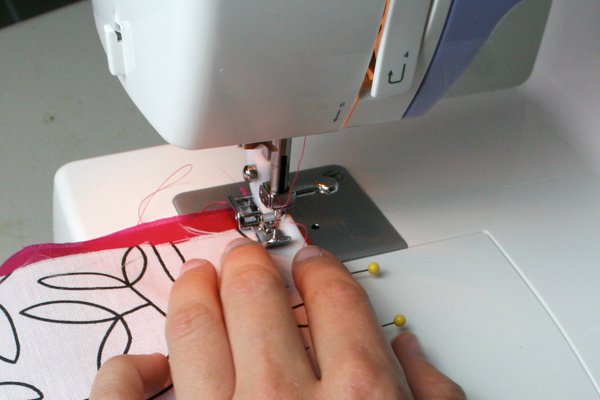
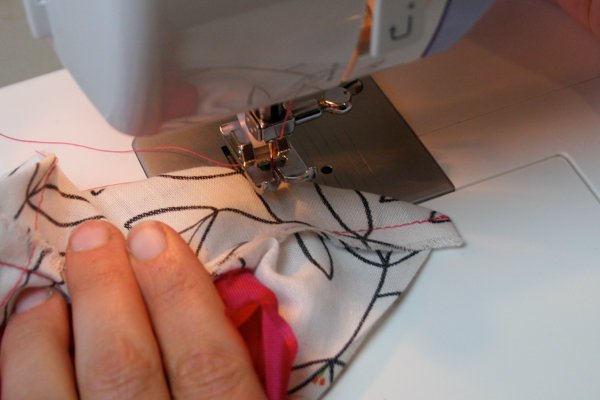
Step 11:
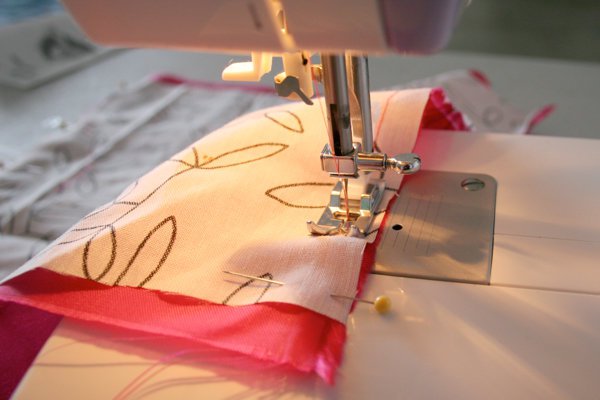
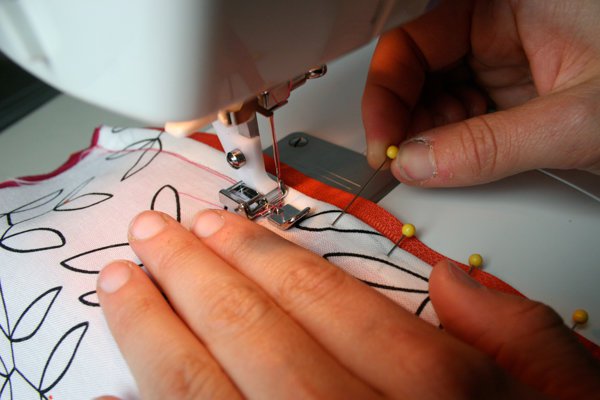
Sew the zipper by placing the zipper on the inside of the needle, the right, and allowing your fabric to be on the outside of the needle, the left. Lower the presser foot and begin sewing. Remember to backstitch at the beginning to hold the thread in place.
Step 12:
Sew the zipper to the fabric in a straight line, remove pins as you go.
Step 13:
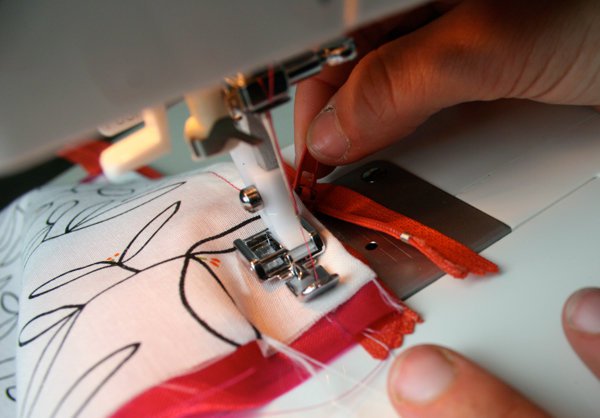
Once you reach the base of your zipper you might find it too bulky for the presser foot to pass through. Pause and unzip your zipper so the bulk of the zipper tab does not interfere with your sewing path.
Step 14:
Finish your stitch by back stitching to hold the thread in place.

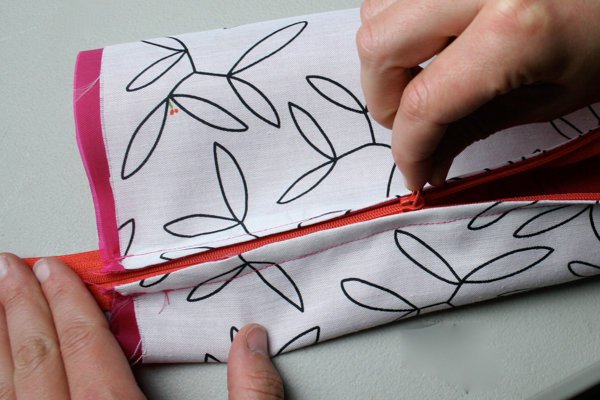
Step 15:
Next you will attach your zipper to the other side of the fabric, the left side. Begin with your zipper zipped all the way up, and pin the top end and bottom end in place the same way you did before, but on the other end of the fabric.
Step 16:
Unzip your zipper, and attach the zipper to the fabric with pins placed perpendicularly, as you did before.
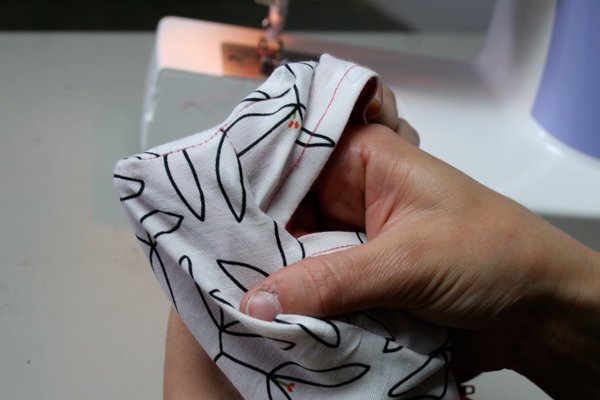
Step 17:
Sew the zipper again, in a straight line, removing pins as you go. When you near the bulk of the fabric at the bottom be careful to only sew the zipper to the side you are working on. Use your hands to keep the extra fabric out of the way.
Step 18:
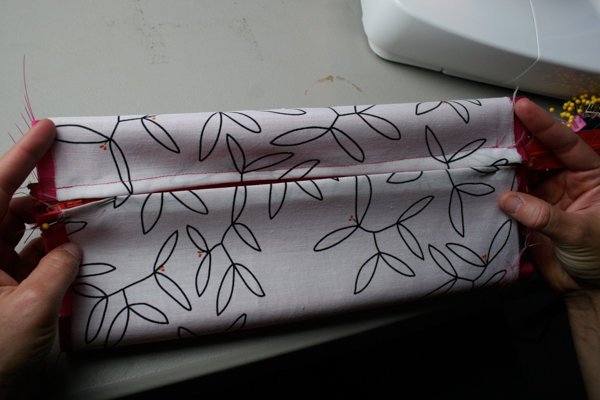
Now that you’ve attached the zipper, close it again. If your zipper did not span the length of your fabric, you can sew the sides above it and below it shut. Your fabric should now look like a tube.
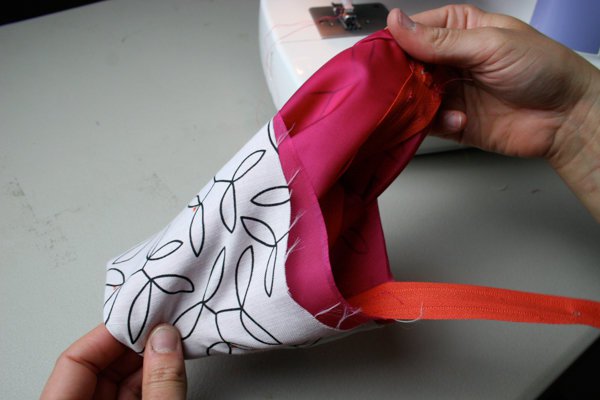
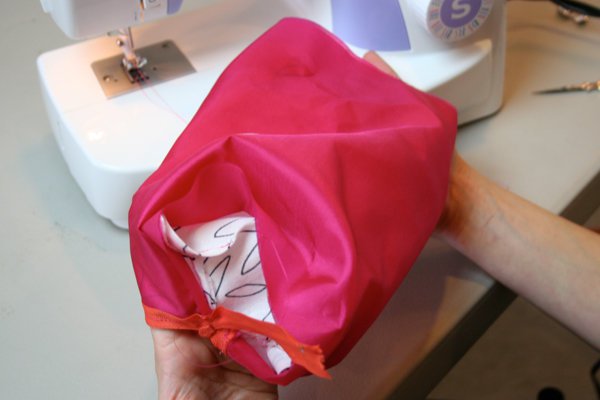
Step 19:
Your fabric now needs to be turned inside out, to do this, reach your hand through the tube, grab one end, and pull it through the center.
Step 20:
You will now be focusing on the inside of your bag. Hold back the lining, you can use pins to keep it out of your way, and focus on only the outer shell of your bag for the following steps.
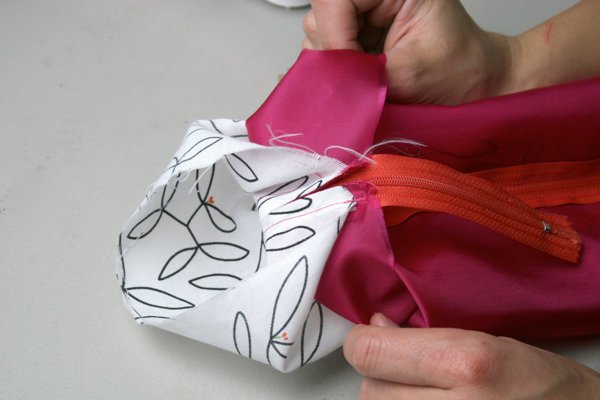
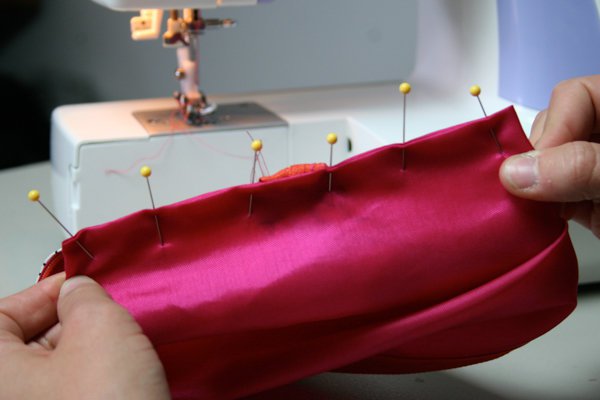
Step 21:
Place this fabric tube on a surface with the zipper in the middle to find your center point. Pin side edges together.

Step 22:
Before you sew your edges shut, don’t forget to change the presser foot on your sewing machine back to the regular size. Remove the zipper presser foot and replace the regular presser foot the same way you did before. (See steps 9 & 10).

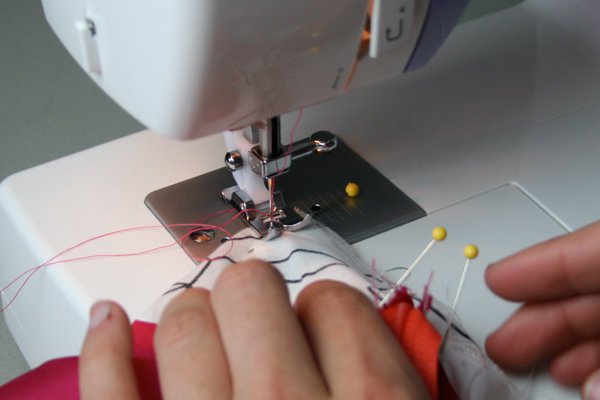
Step 23:
Now lay it flat and sew the unfinished edges of the fabric shut. Remember to backstitch to keep your thread in place.
Step 24:
Repeat steps 20, 21, and 23 on the other side of the bag.
Step 25:
Now you will create the corners of your bag. To find your corner, grab one of the existing flat corners and pull out the front and back with your hands.
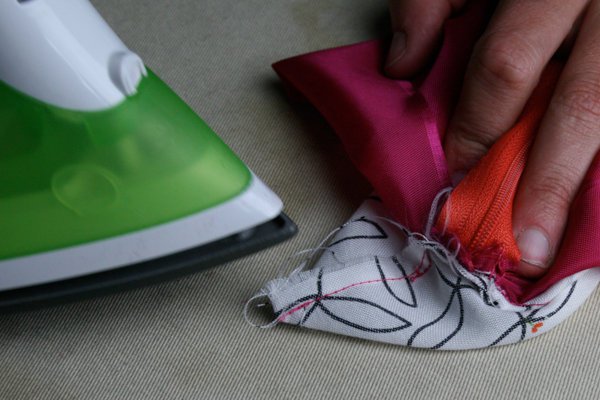
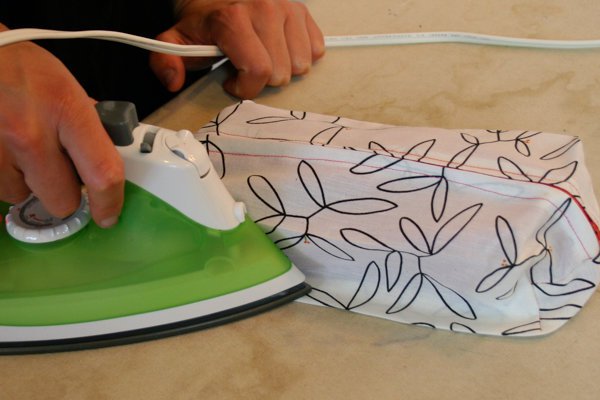
Step 26:
Press your new corners flat with the iron.
Step 27:
Sew the corner shut at 1.5″ in from the tip.
Step 28:
Repeat steps 25-27 on all 4 sides so all 4 corners of bag are pulled out, pressed, and stitched closed.
Step 29:
Now you need to open your zipper again, but you’ve sewed your bag completely shut! You can grab the zipper from the inside through the fabric. Do this by holding the zip tab through the bottom of the fabric and moving the bag with your other hand until it opens.
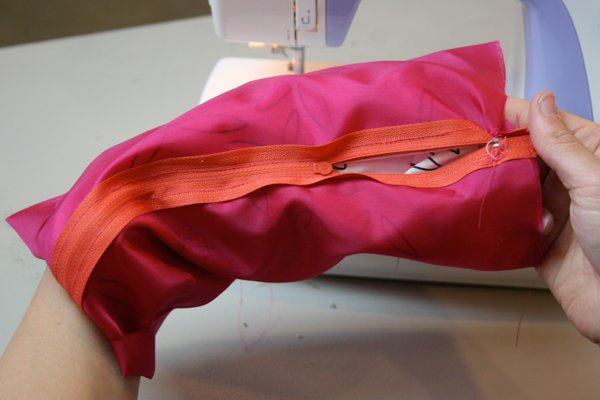
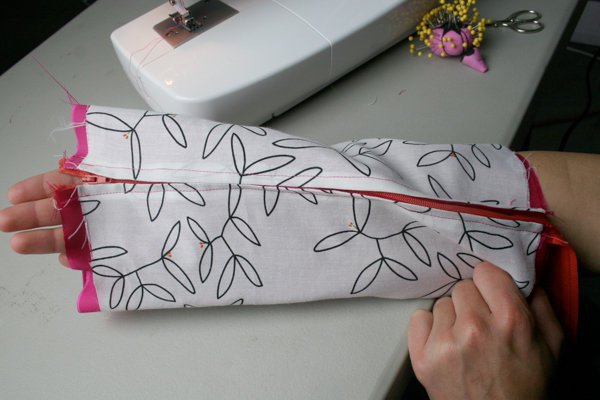
Step 30:
Your back is now inside out and should look like the image below.
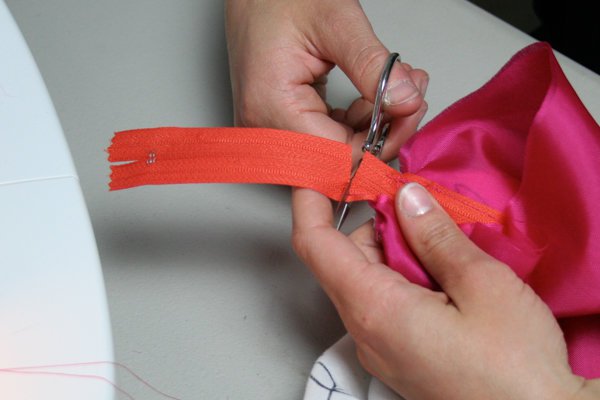
Step 31:
Use your scissors to remove any excess zipper. Clip it to about 1/2″ from the seam.
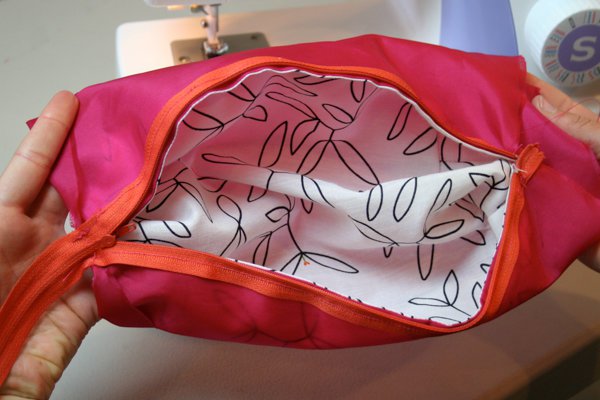
Step 32:
Now you will be sewing your lining shut. Start with your bag open and the lining on the outside.
Step 33:
Now pull your lining inside so you can sew the inside shut.
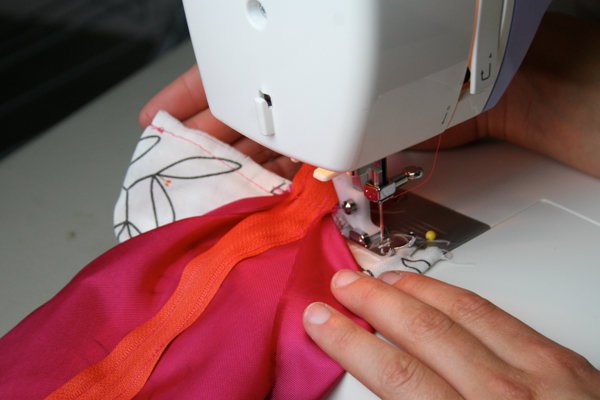
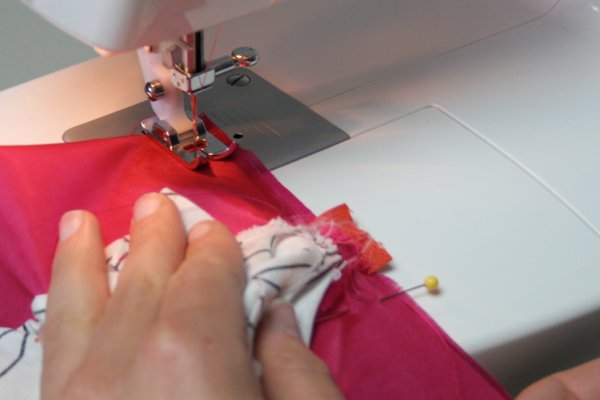
Step 34:
Place the sides together with the zipper in the middle, just like you did earlier with the fabric. Sew the ends together with your machine. Do not repeat on the other side!
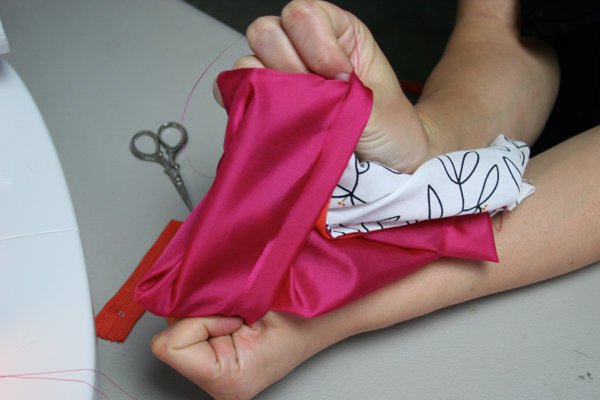
Step 35:
Now that you have one side shut, pull it back through the other side. If you sewed both sides shut you would be trapped. You have to finish the last edge by hand.
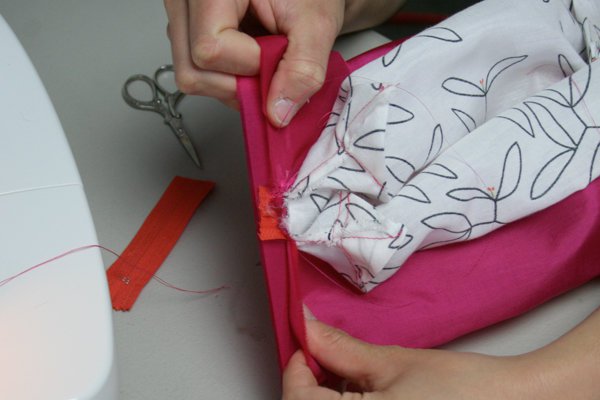
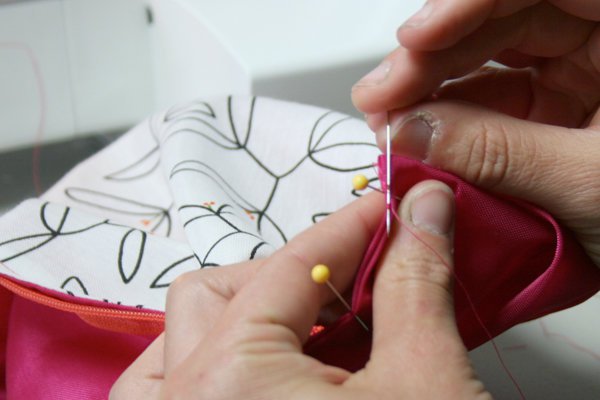
Step 36:
Fold the edges under about 1/2″ and Pin the sides together, this will help keep them secure as you hand stitch.
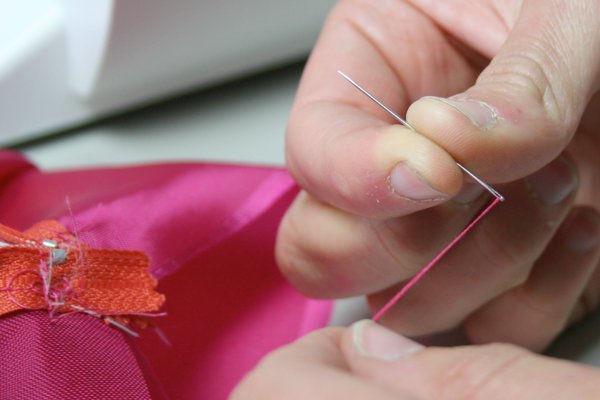
Step 37:
Prepare your needle with thread, tie a small knot at the end.
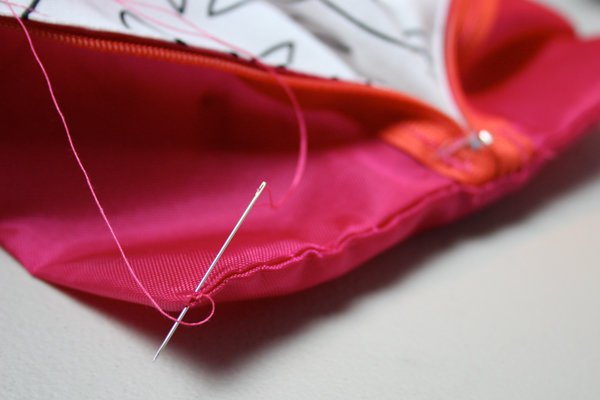
Step 38:
Close the two sides together with a slip stitch. This will prevent the thread from showing and keep your lining closed tight.
Step 39:
Turn the bag right side out, and use your finger to poke out the corners to their highest point.
Step 40:
Press all of your edges so they have a crisp flat edge. This includes all the sides and corners of your fabulous new bag.
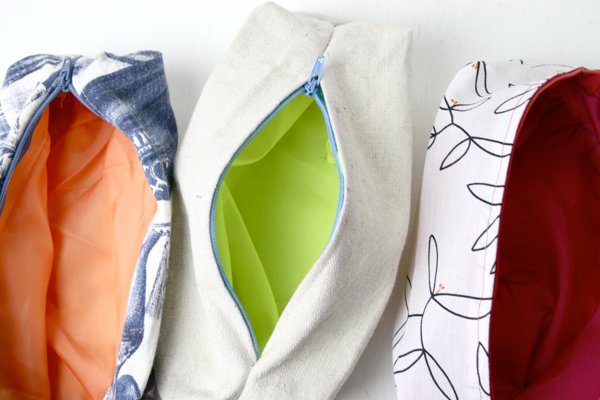
That’s it!
Congratulations, you have now made your own makeup bag. Fill it up with the essentials and enjoy!
Be sure to like us on Facebook (button below) so you can be the first to know about latest project updates as well as great DIY articles.
Pin It so you can come back to it and follow us on Pinterest to get latest project pins.
Want more awesome DIY projects?
Join our mailing list and be the first to know about our newest ones.
(link is on the top right of the page for desktop users and on the bottom for mobile)