You are here: Home / Create and Decorate / DIY Jewelry Making | How To Weave A Byzantine Chain

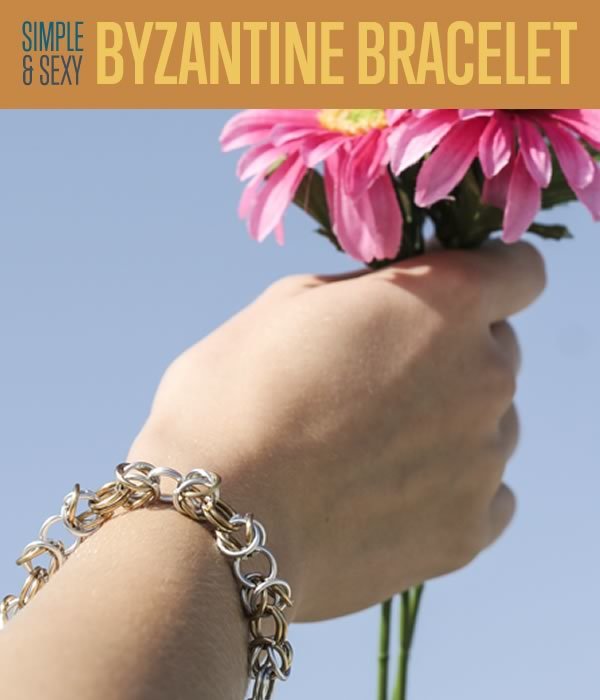
When learning how to make jewelry, you will come across the Byzantine Chain quite often. Alternatively known as the Byzantine Chainmaille Weave and also the Birdcage Weave, this jewelry style serves as the foundation for bracelets, necklaces, earrings, and all manner of other jewelry accessories.
If you want to make your own jewelry, learning how to weave your own Byzantine Chain is very important. Luckily, it’s also very easy if you have great photos, video, and a step-by-step jewelry making tutorial like you have right here. We’ll walk you through everything you need to know about making your own Byzantine Chain Weave, just promise to make us something pretty later, okay?
This tutorial begins exactly the same way as our Byzantine Bracelet Chain tutorial, because making the bracelet is really just a matter of adding some kind of clasp to either end of your chain weave. If you plan on making a bracelet for your first Byzantine Chain project, head on over to that tutorial now.
This is a companion video to go along with this tutorial. It shows the steps of chain weaving from multiple angles, and will help you if you get confused on your first couple attempts.
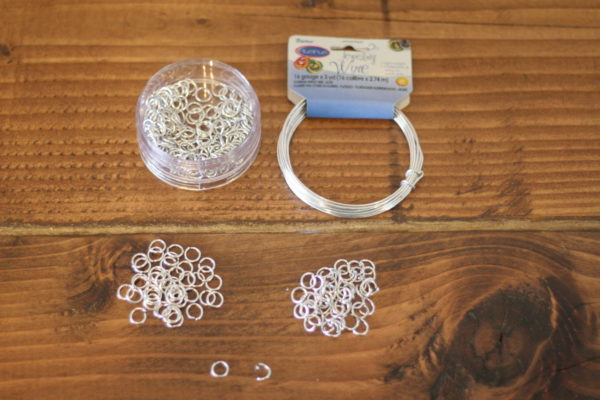
Supplies needed to make Byzantine Chain Weave
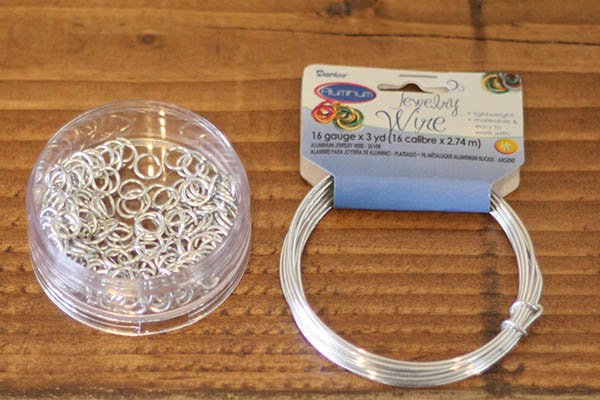
- 3 yrd coil of 16 gauge Silver jewelry wire (made into jump rings, see below)
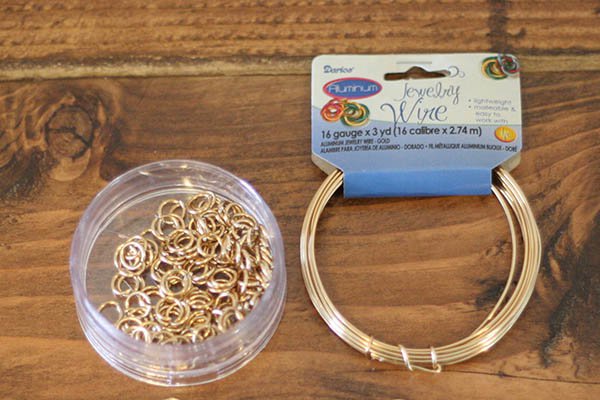
- 3 yrd coil of 16 gauge Gold Jewelry Wire (made into jump rings, see below)
- ALTERNATIVELY, you can just buy pre-made jump rings, but that’s not how we roll at DIY Projects.
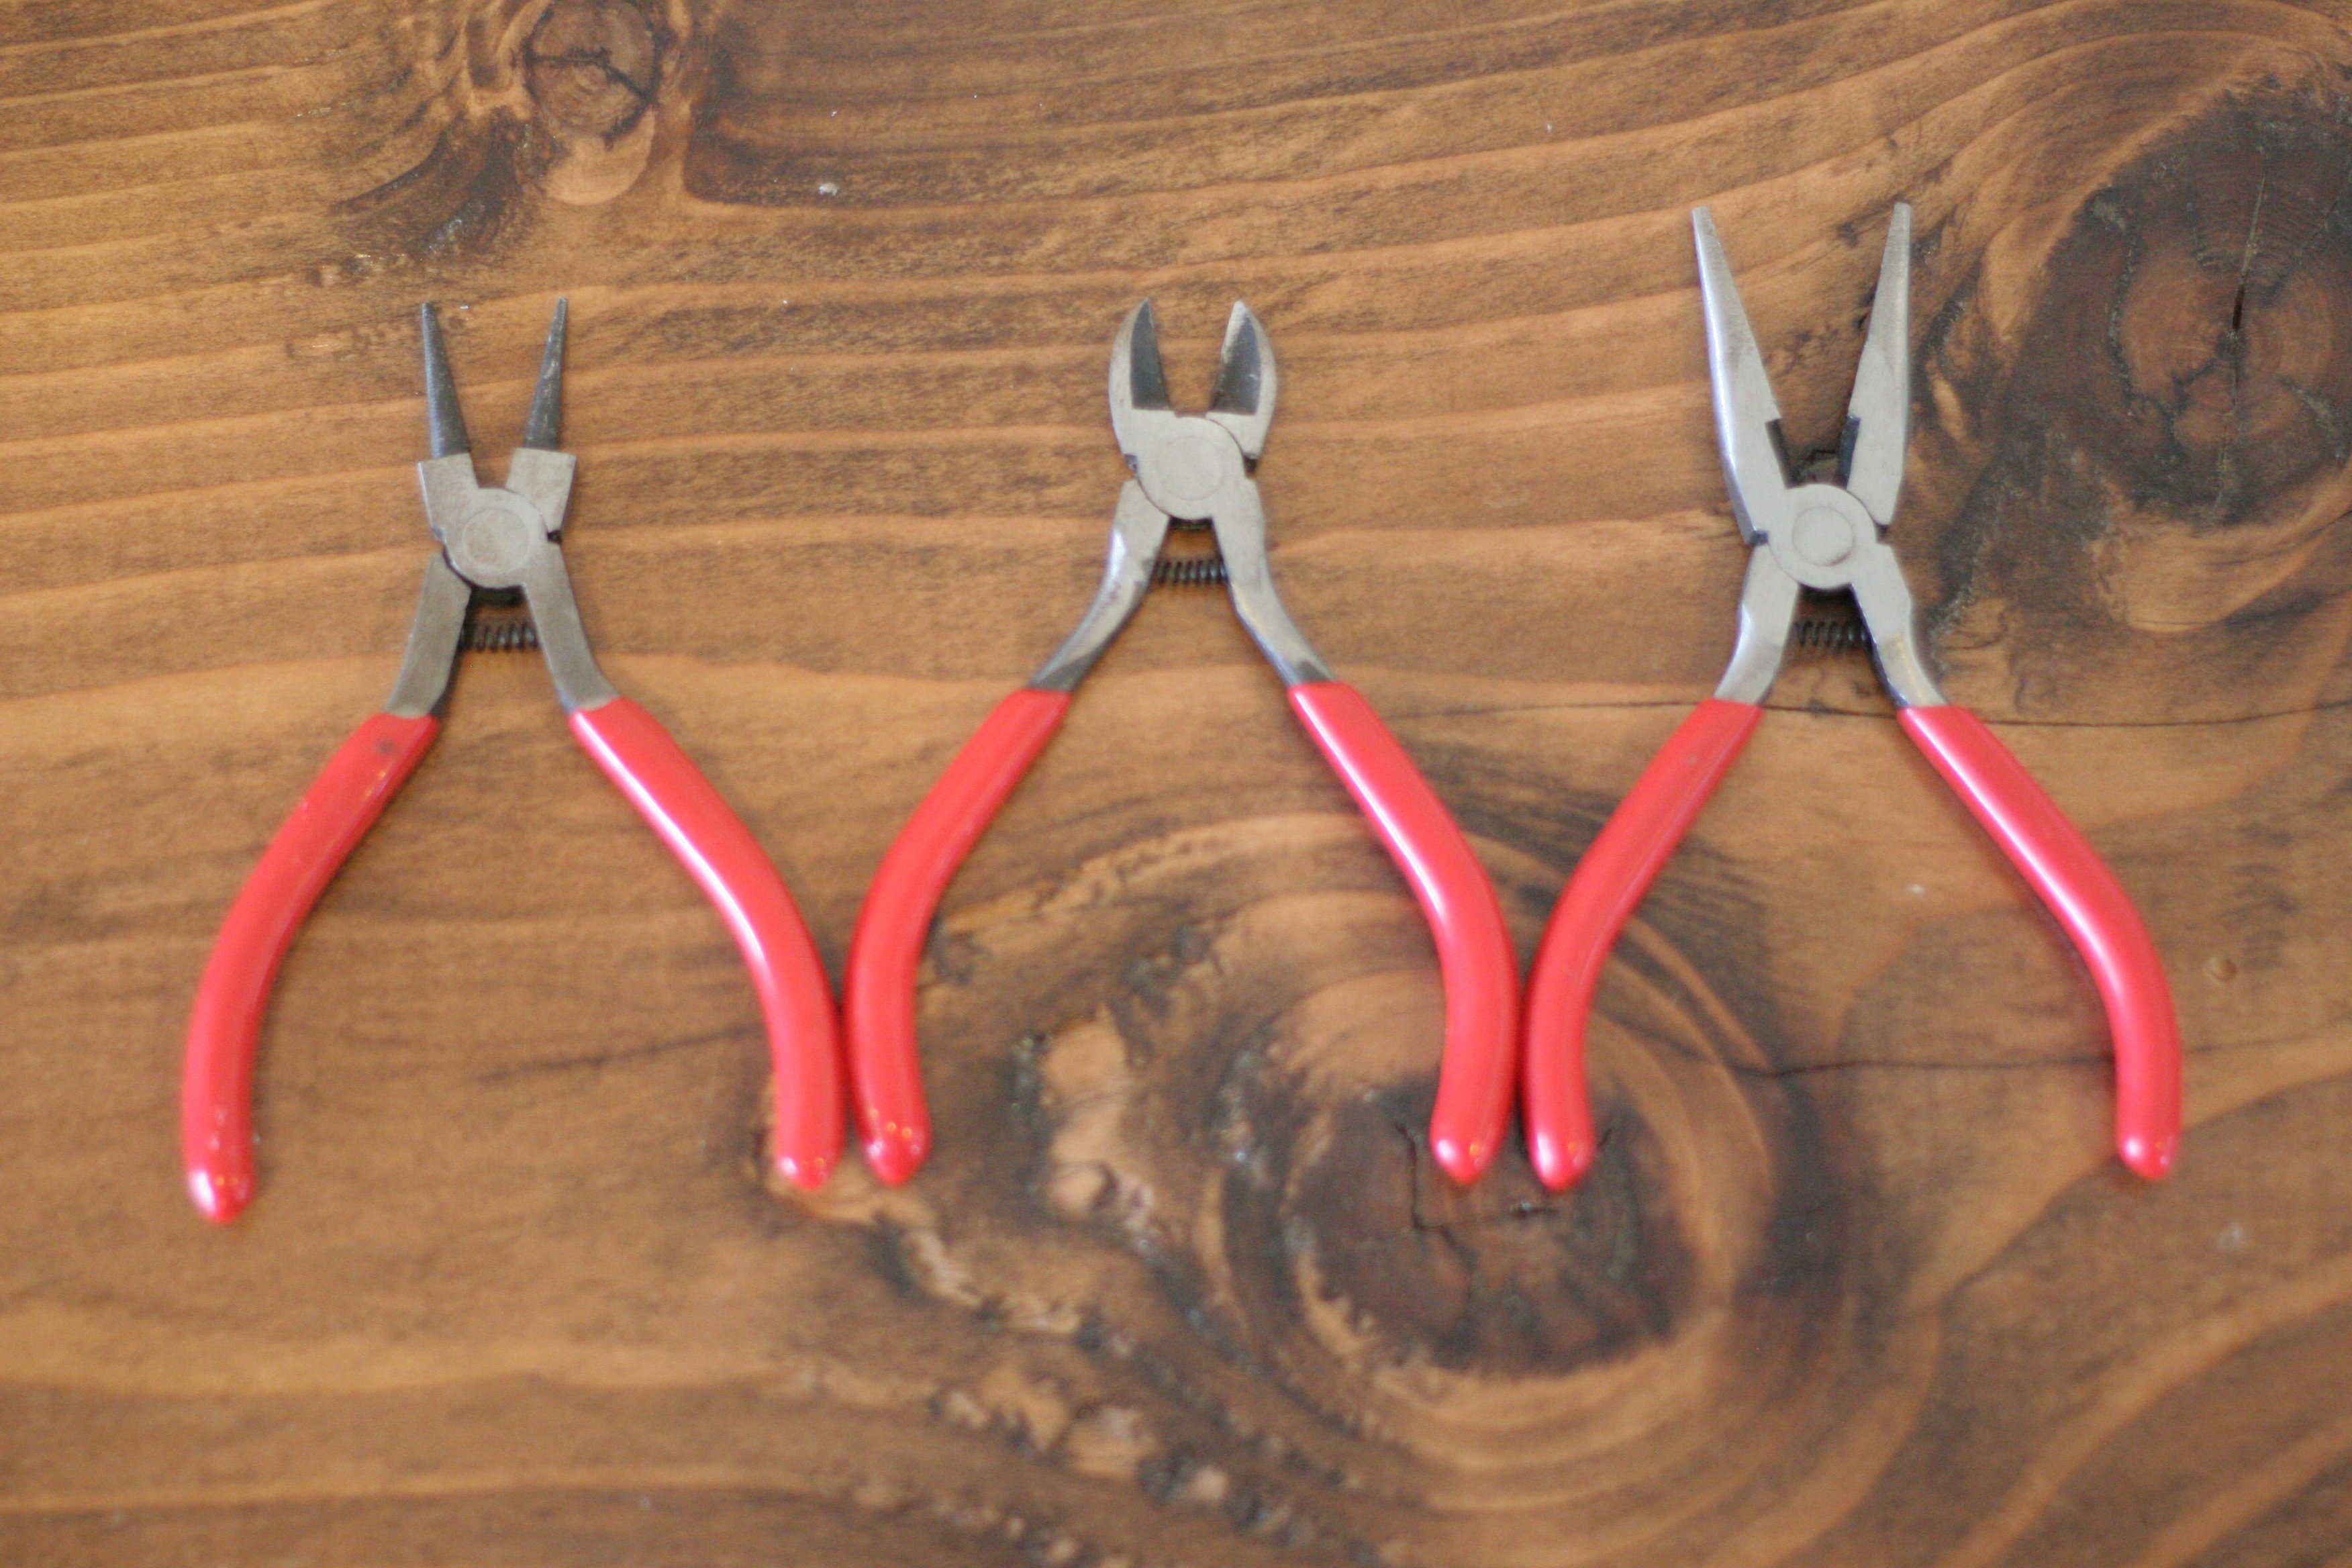
- Round Nose Pliers*
- Flat Nose Pliers*
- Wire Cutters*
*Pliers are optional if you have pre-made jump rings from the store, though you will want jewelry tools such as these if you plan on making jewelry regularly. Otherwise your fingers are going to hate you.
Step 1: Lay out your jump rings
The first step is to get your jump rings in order. Jump rings are the little rings that serve as the connecting “glue” for all manner of jewelry projects. If you’ve never made jump rings before, you can buy them pre-made at any craft store, or (even better) you can make your own.
We have a wonderfully simple tutorial on how to build a Jump Ring Mandrel here at DIY Projects, which is an easy tool that will have you pumping out jump rings in no time.
 Make A DIY Jump Ring Mandrel To Make Jump Rings
For our two-color bracelet, we are going to need four separate piles of jump rings at the ready:
One is of our gold jump rings with the rings pulled open, one is with our gold rings with the rings closed.
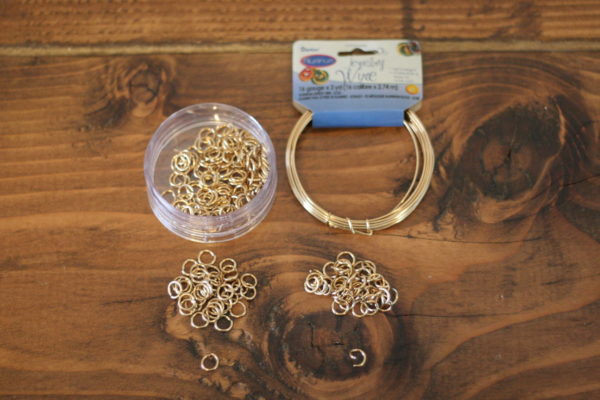
The third is with our silver rings pulled open, and the fourth is with the rings closed.
The number of jump rings in each pile will vary based on how big you want the bracelet to be. We went ahead and put 30 jump rings in each pile to be safe, which was more than enough. We can always use the leftover rings in future projects.
Step 2: Put gold onto silver
Take four closed silver jump rings and slip an open gold ring around them. Once it is on, close the gold ring.

Step 3: Add another gold
Now take another open gold ring and slip it around your four silver rings. This will give you four silver rings with two gold rings around them.
The reason we do this in two steps and don’t just try and loop both gold rings over the silver in the same step is because it is simply easier to close the gold rings one at a time. You can certainly do them both at once if you have very dexterous fingers (and better eyesight than we do).
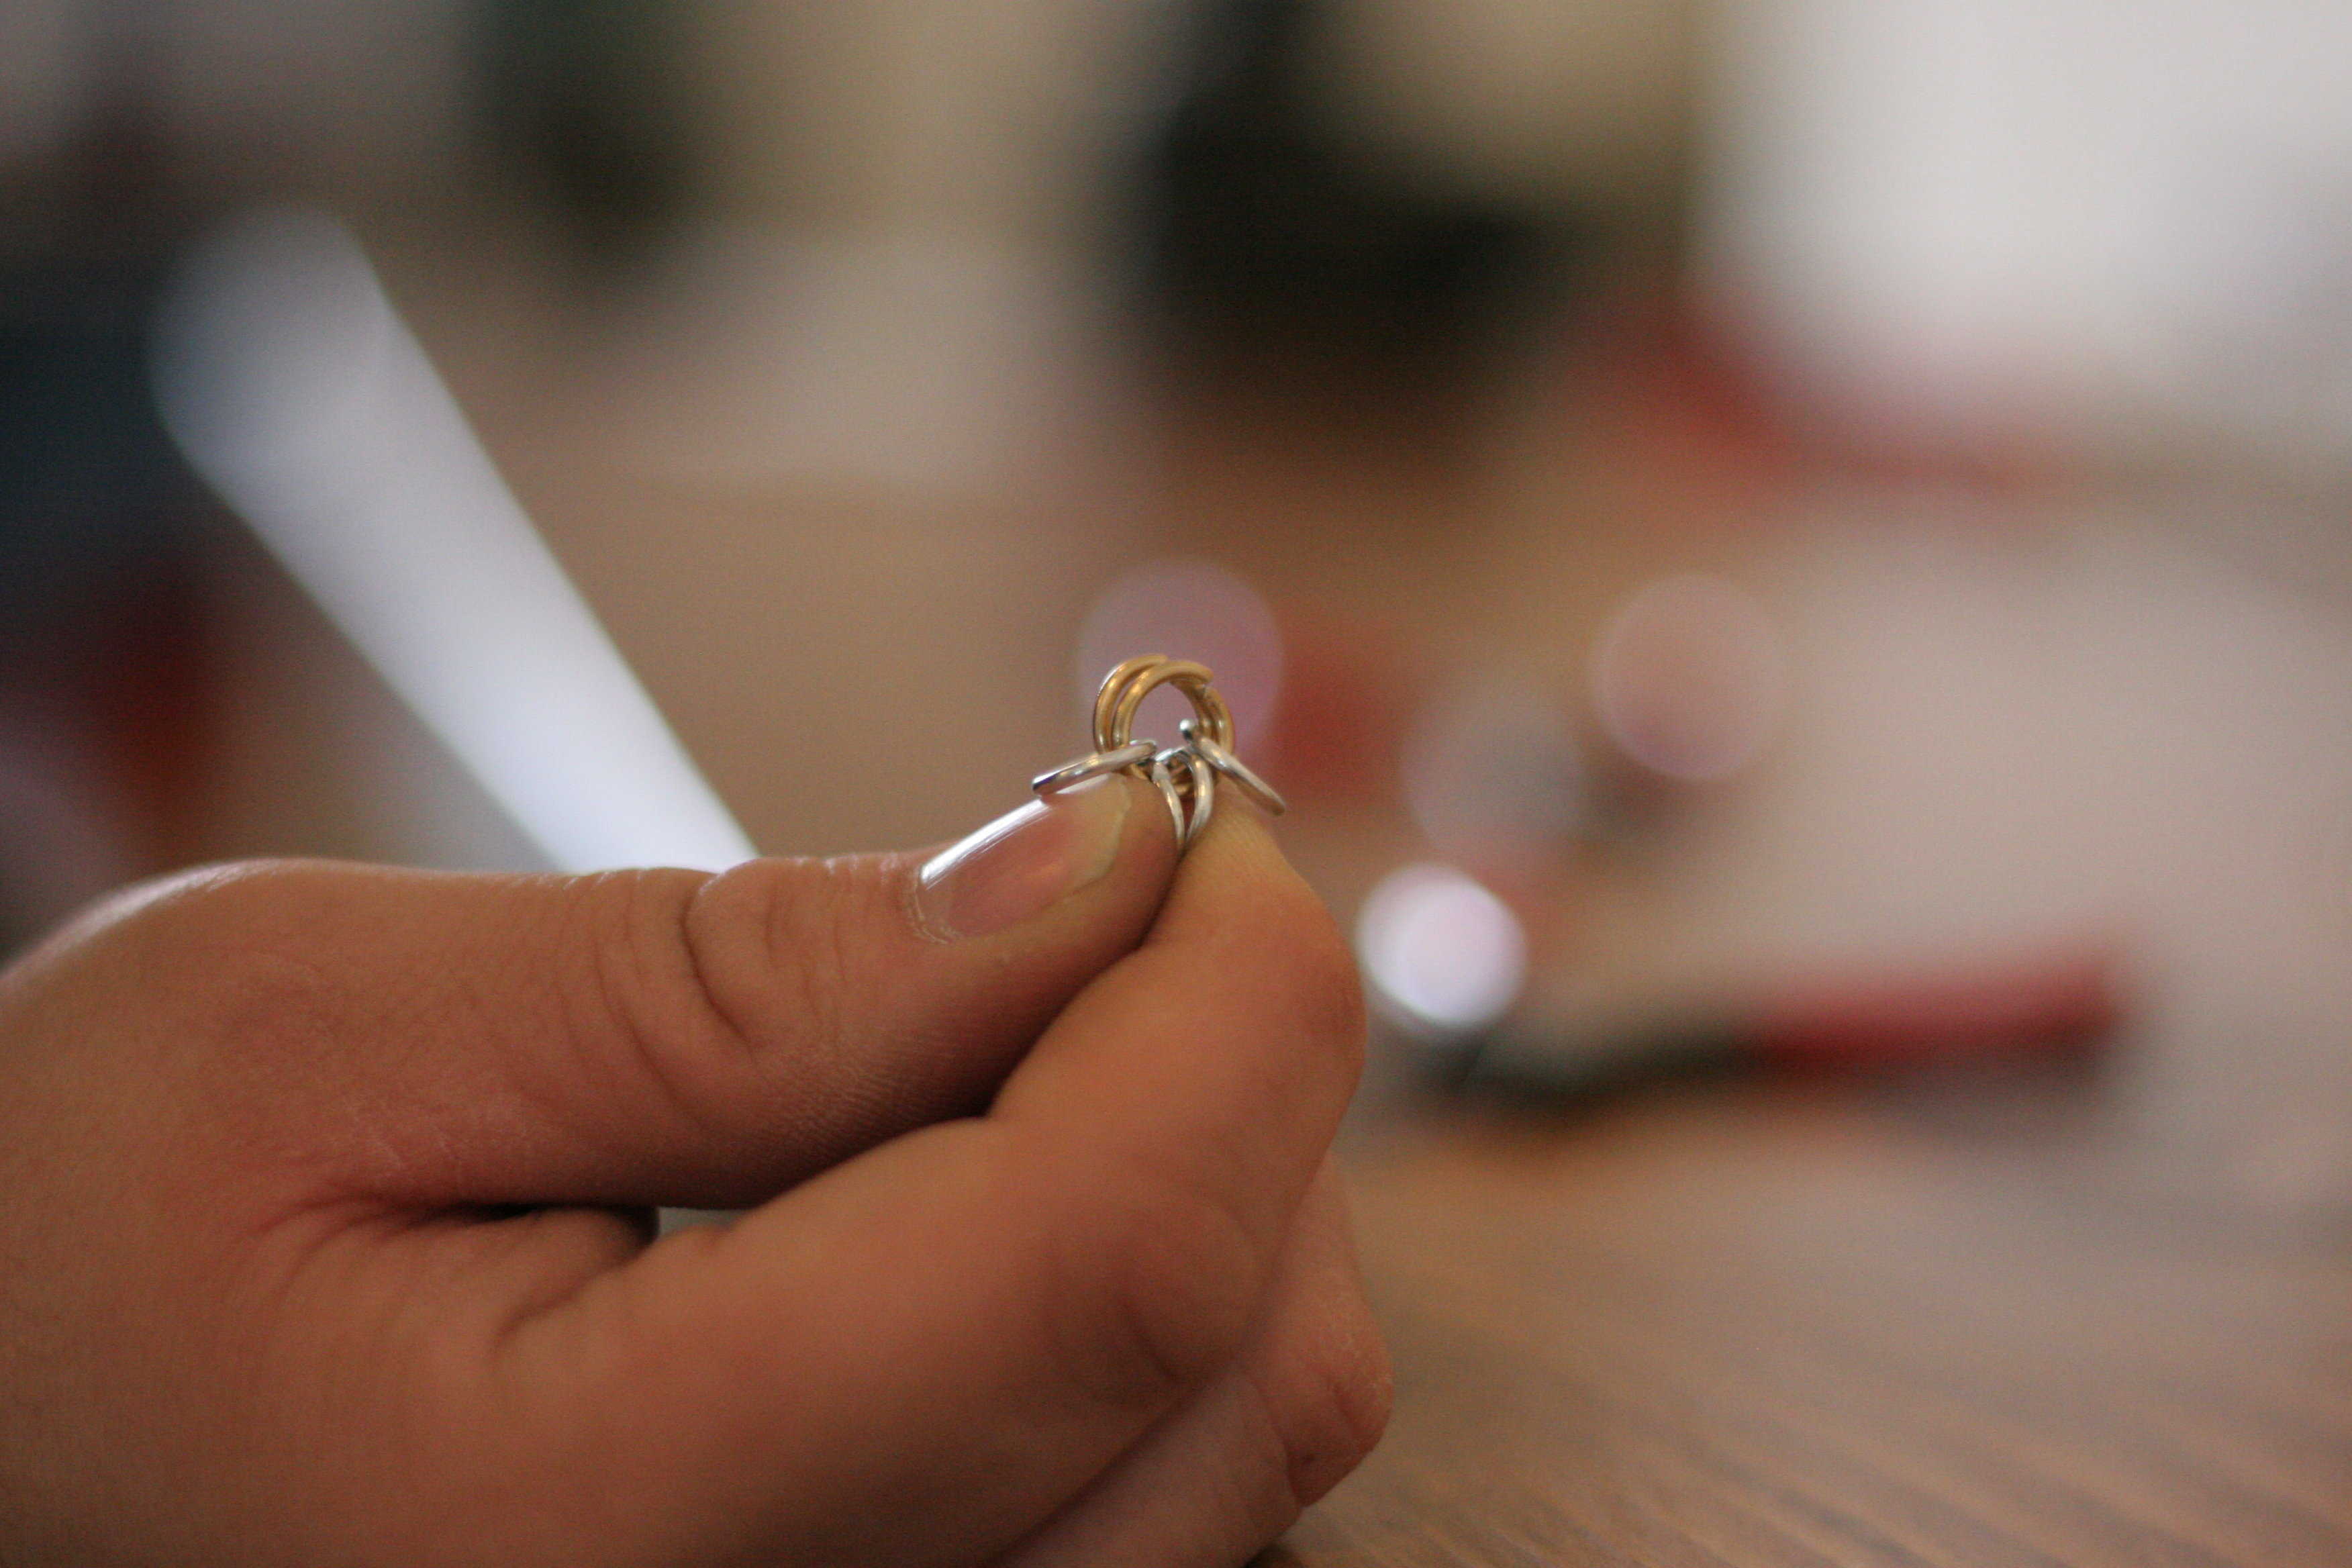
Step 4: Arrange your initial link
Take you initial 6-ring link you have made and organize it as shown. As you can see, it runs two silver, two gold, two silver. Man, what would we do without pictures?
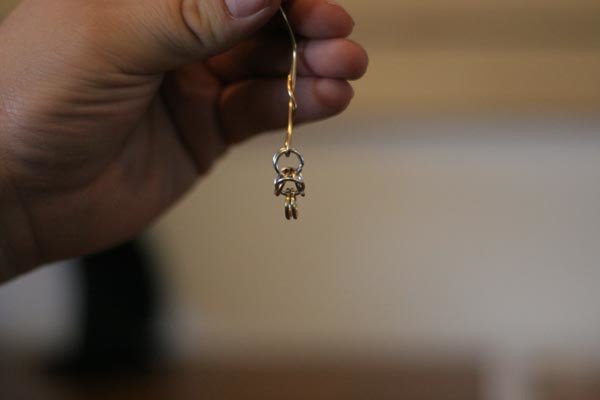
Step 5: Add a little scrap
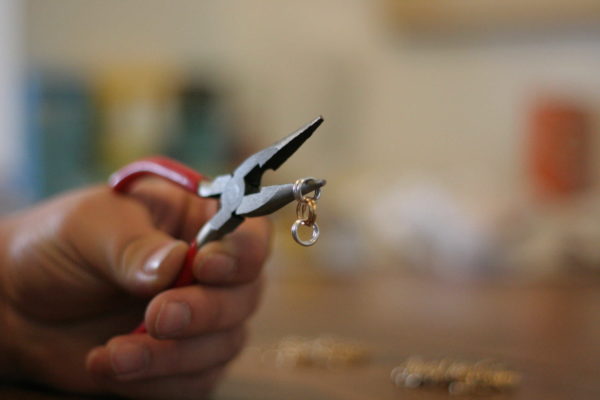
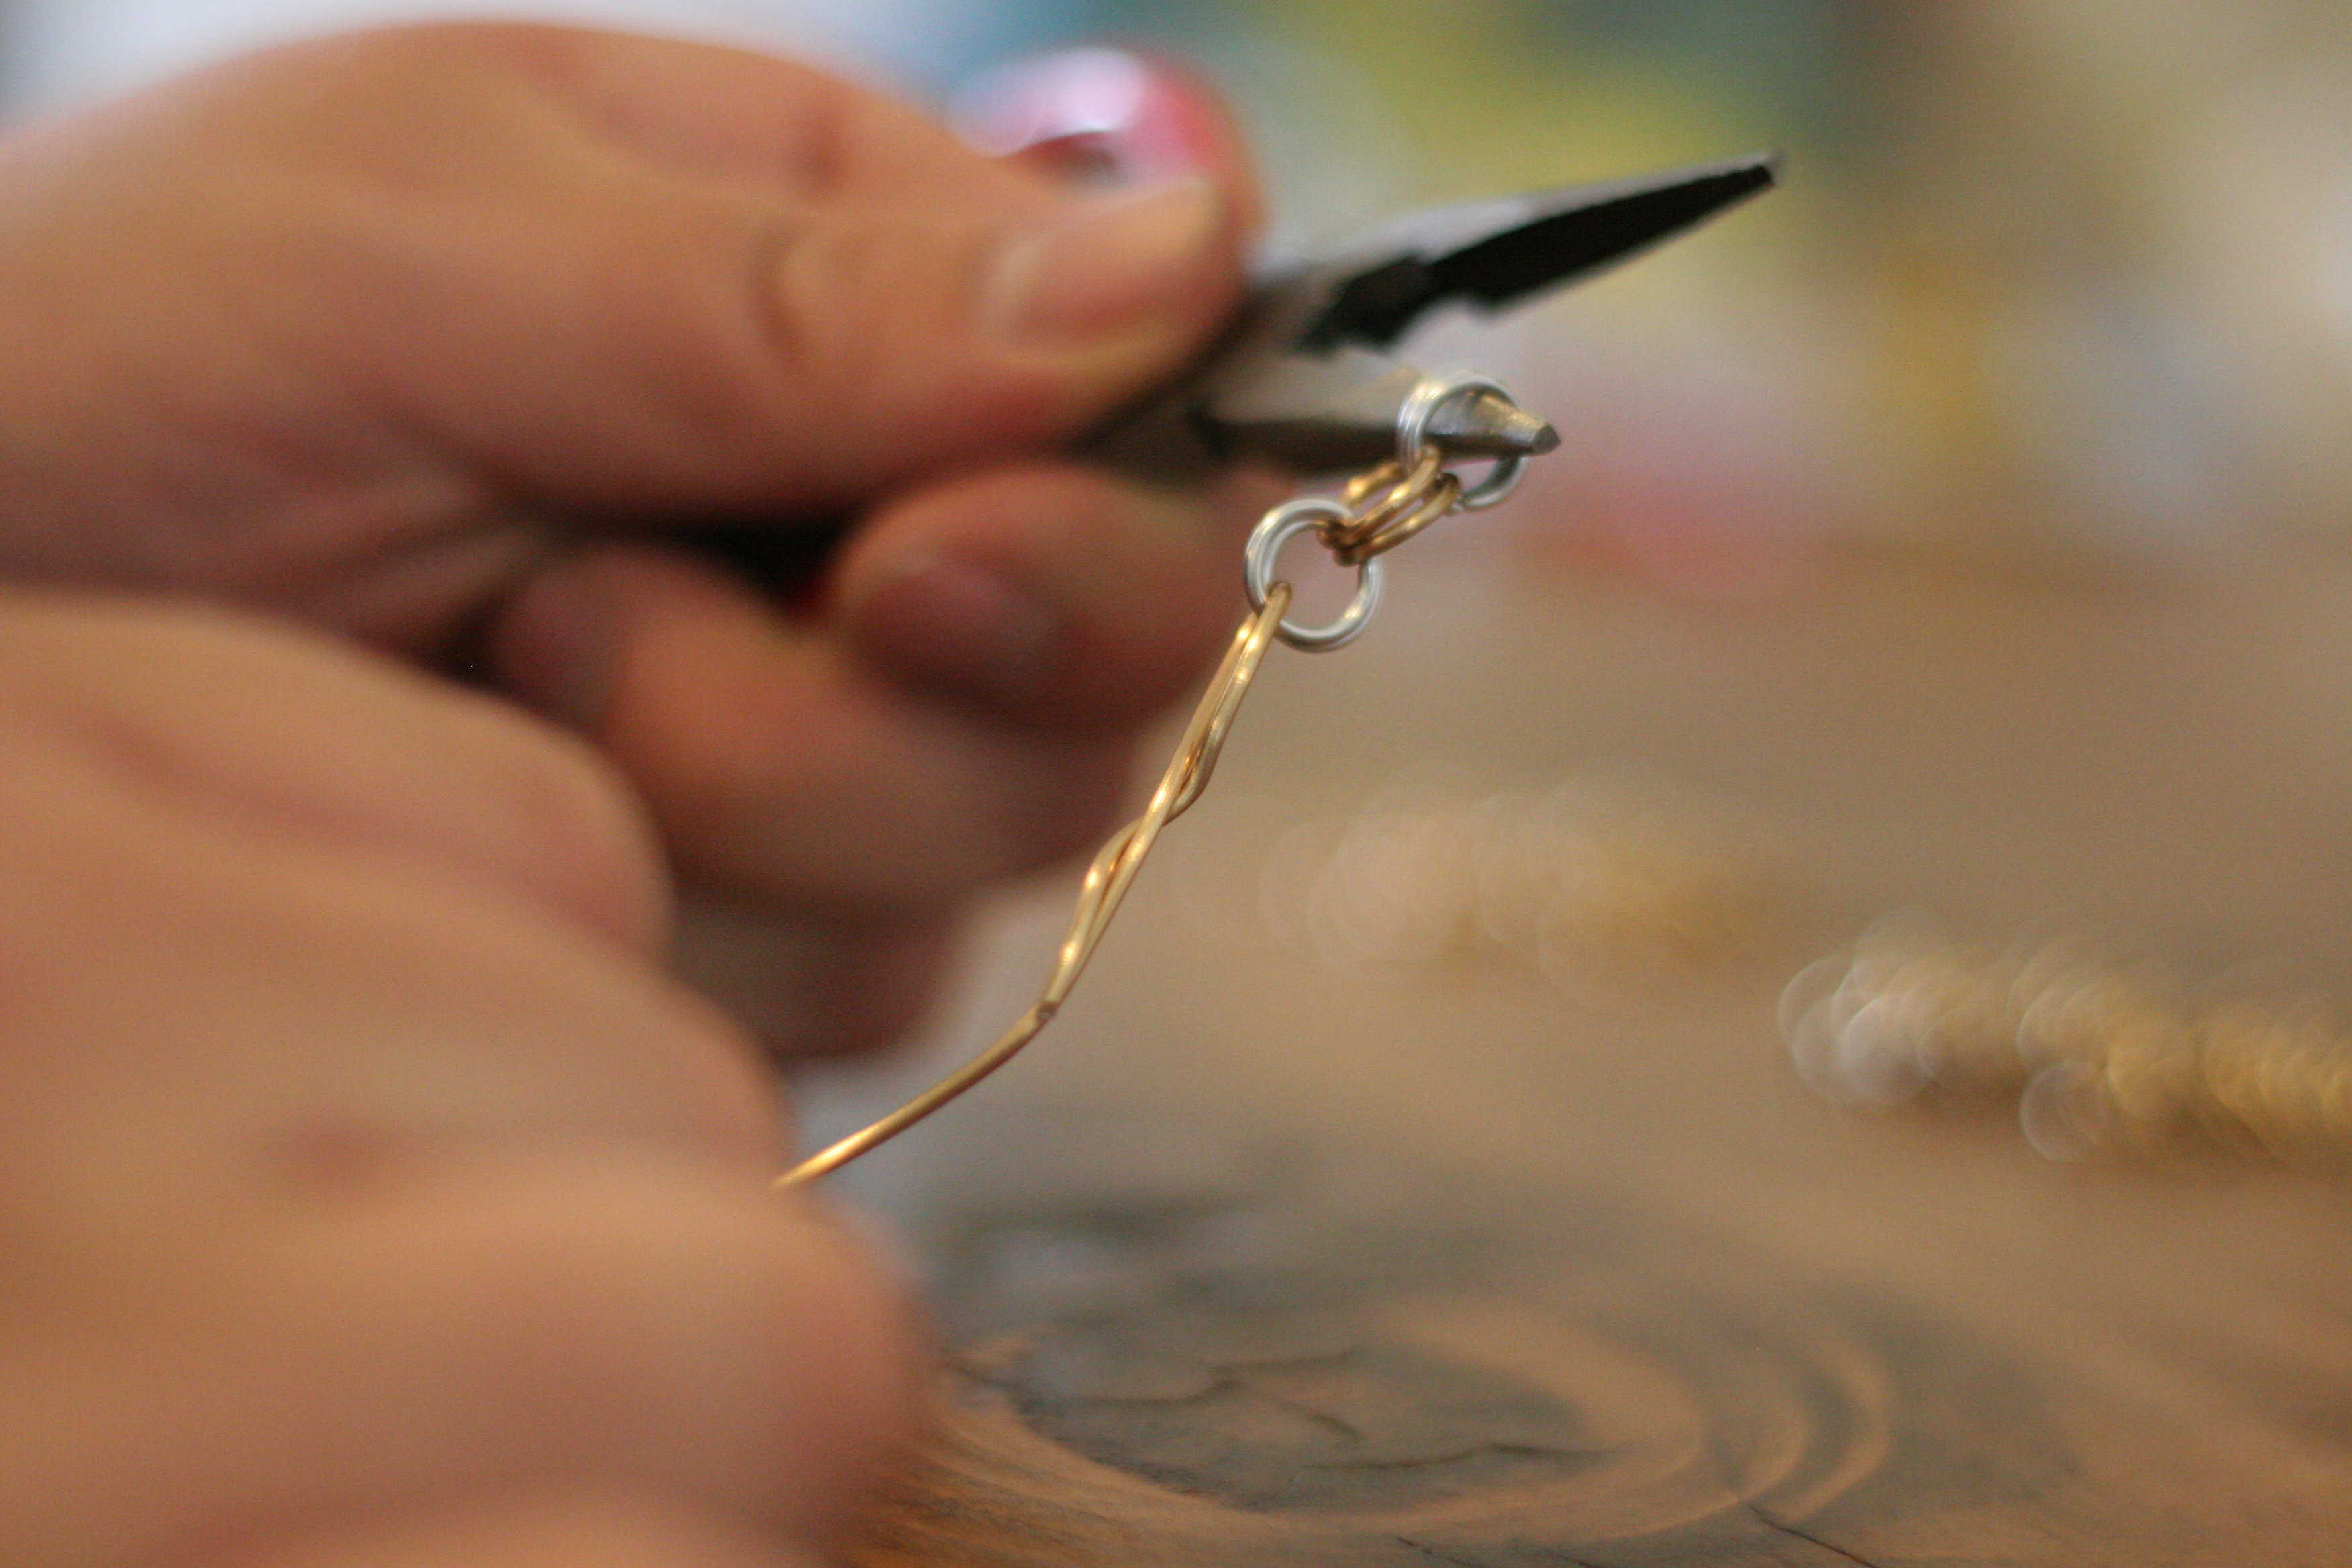
Take a small piece of scrap wire and wrap it through the two silver rings on one end of your initial link. It doesn’t matter which end you use. You do this so that, as you build your weave, you will always know which end to work on if you drop it or set it down for awhile. Trust us, it’s worthwhile to do. Going forward you are going to IGNORE the scrap end and only work on the non-scrap end of the weave.
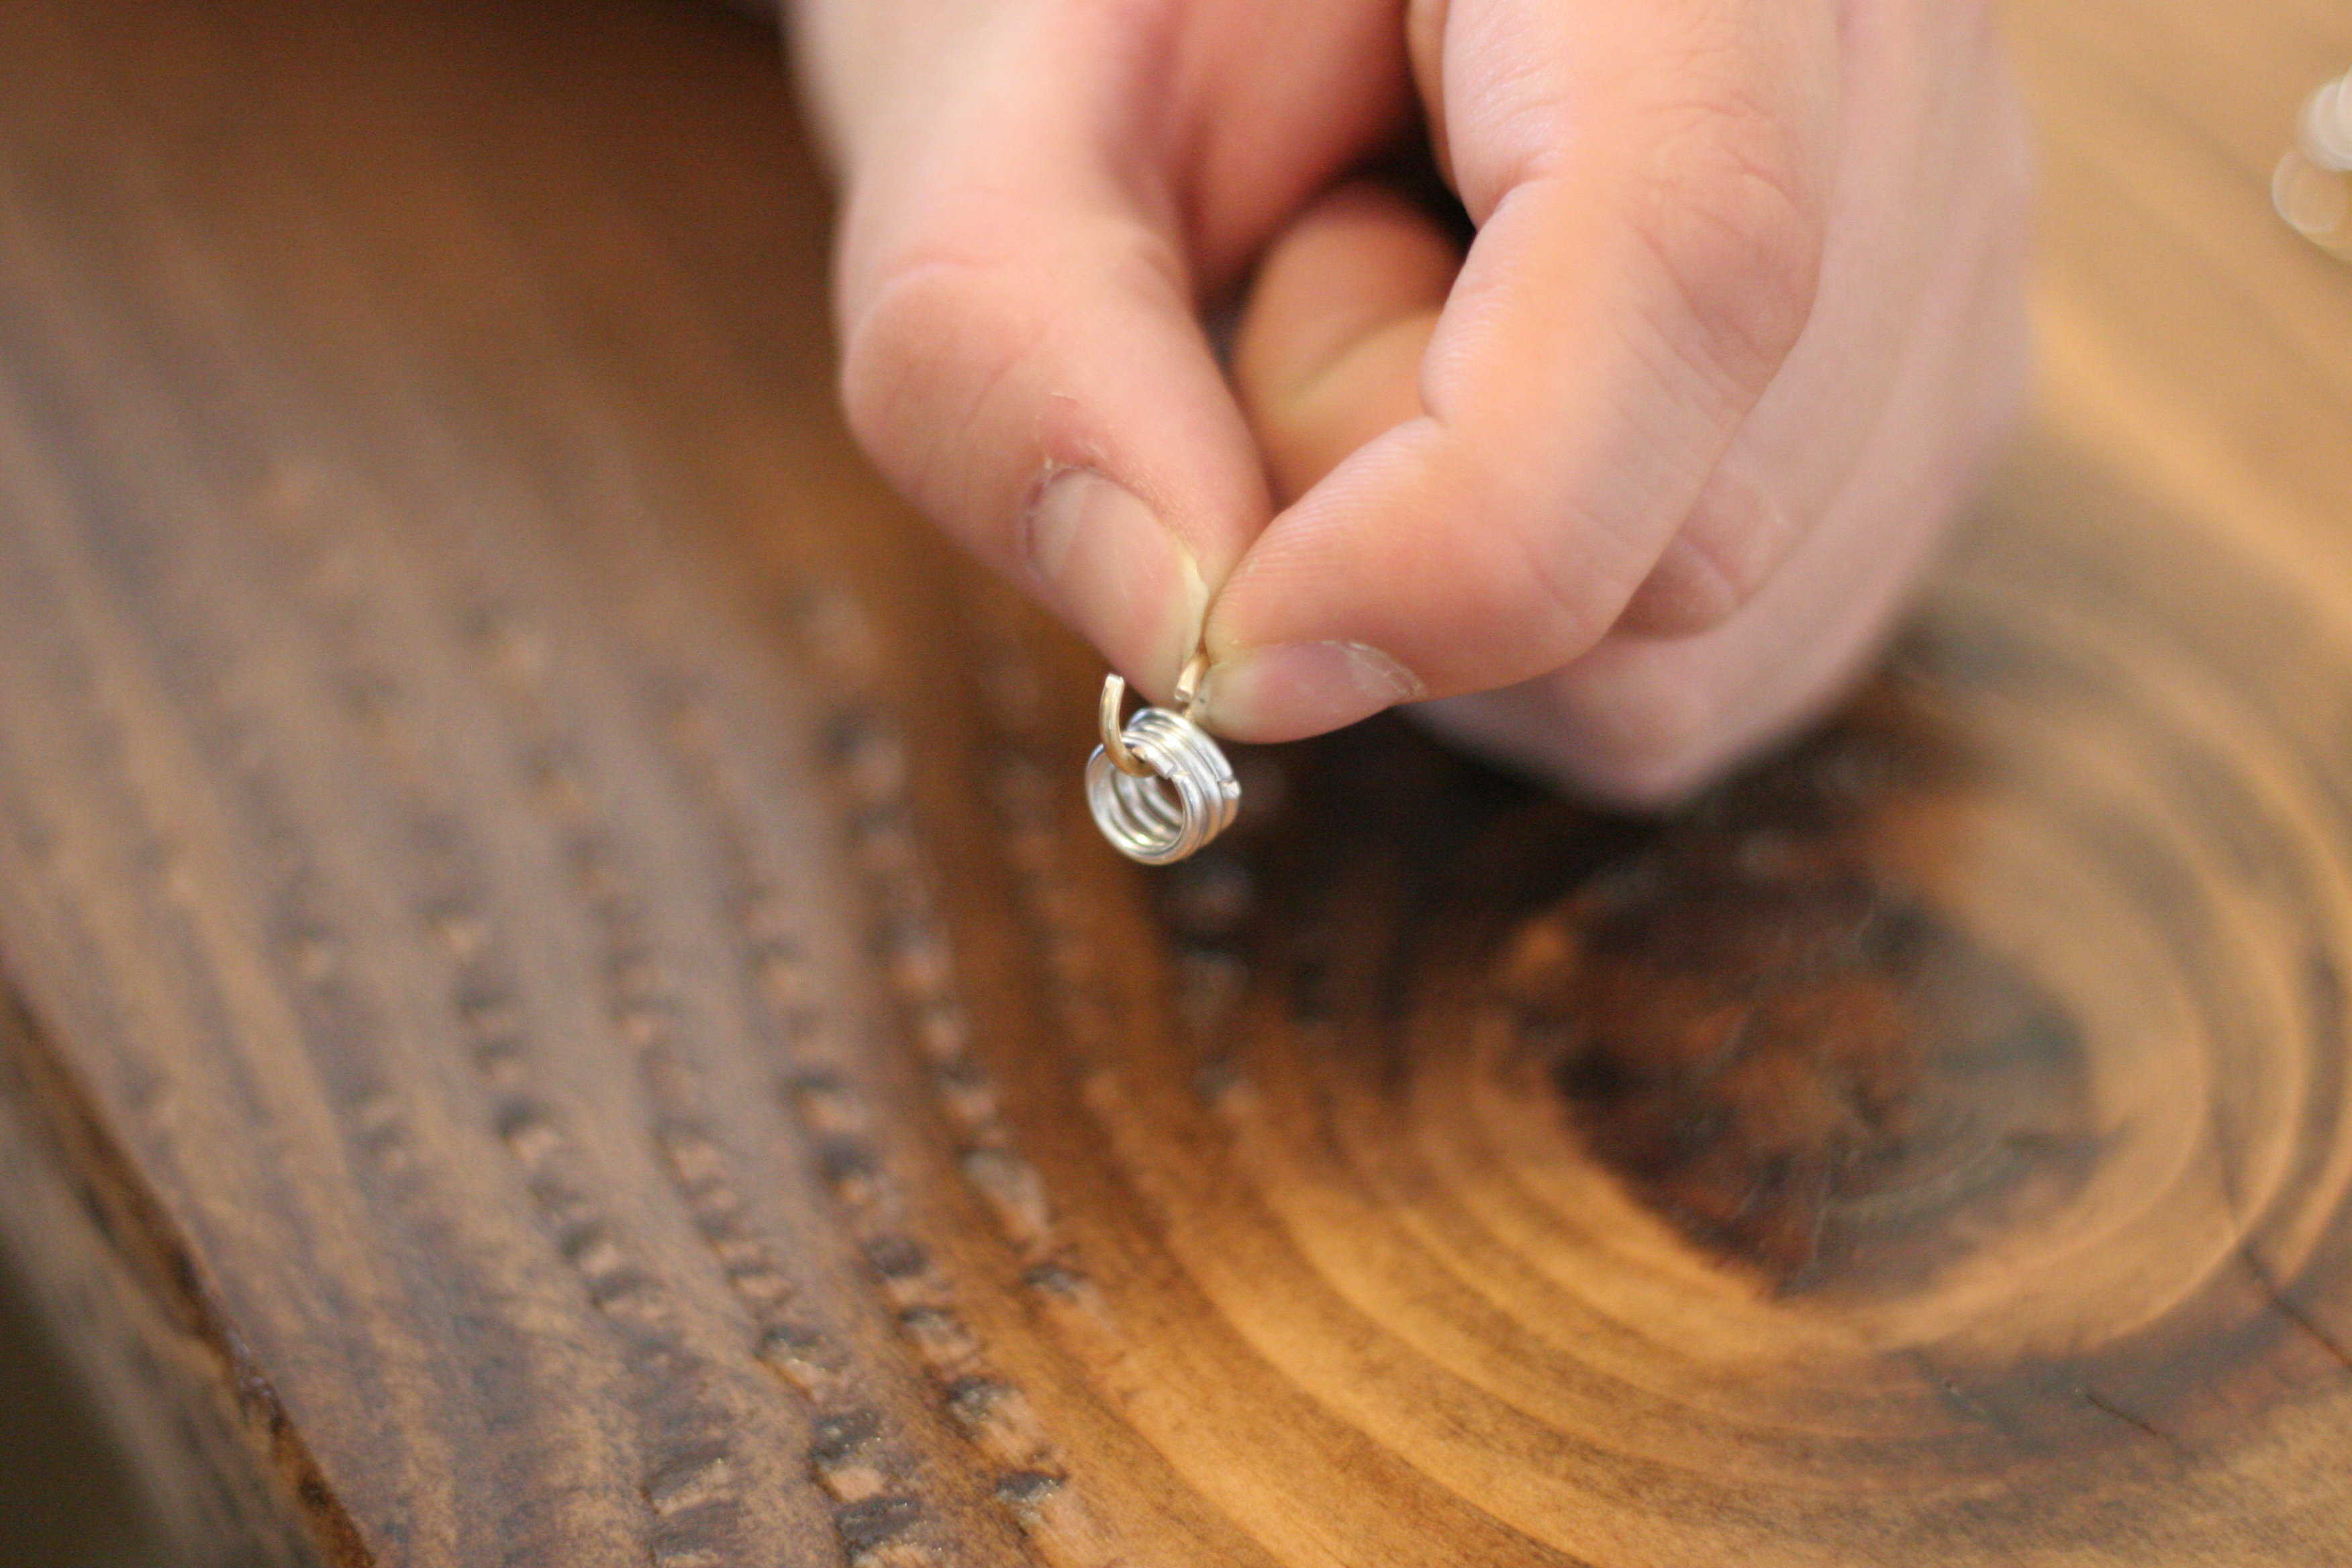
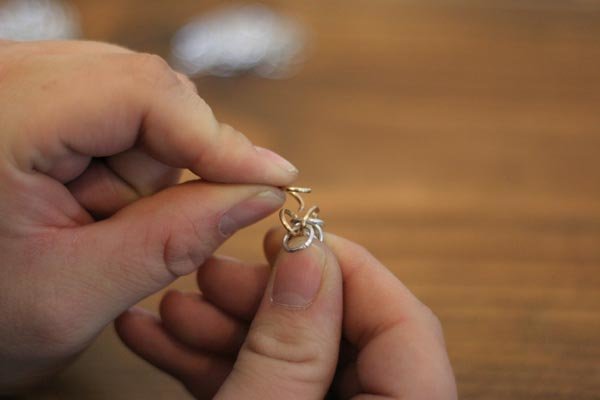
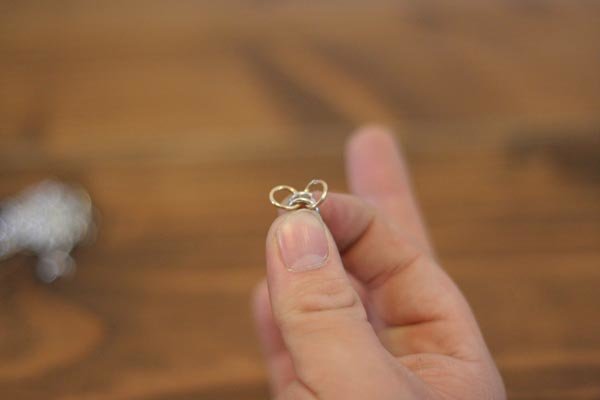
Step 6: Prepare initial link for weave
Take your 6-ring link and hold it from the sides so that the free end of weave faces up (see below). Notice how you are pinching those two bottom silver rings. Let the top two silver links rest on your fingers as shown.

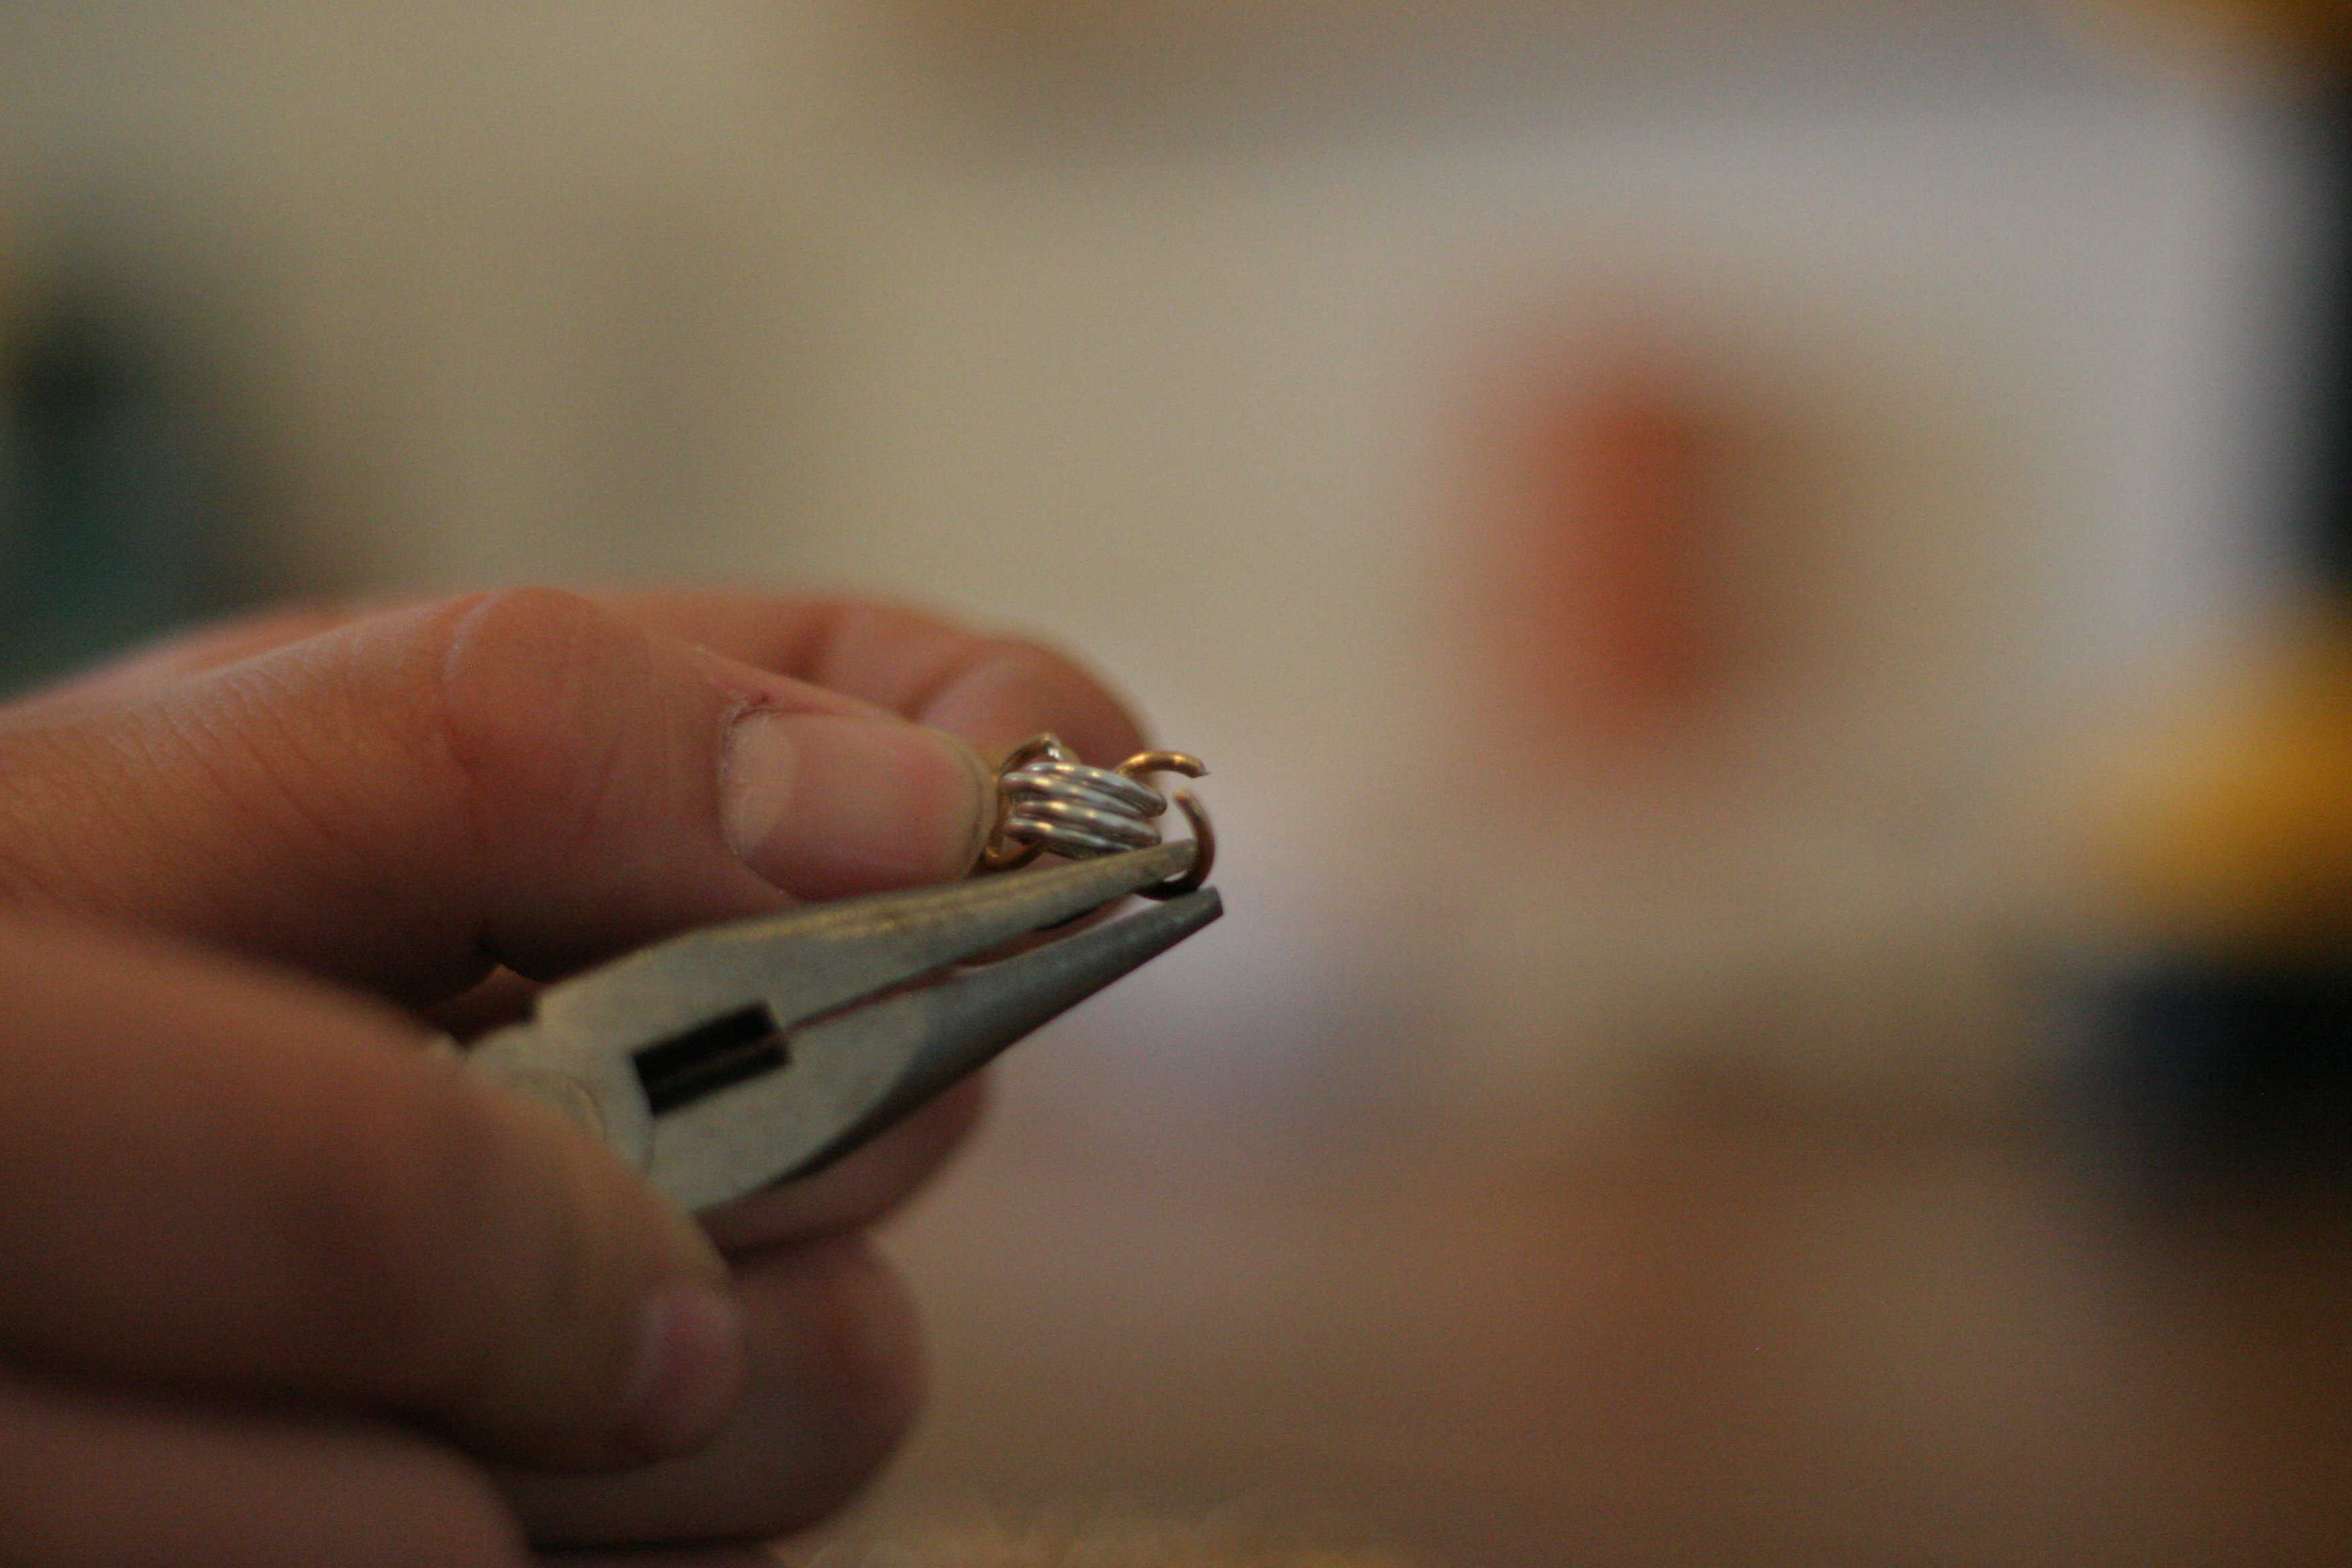
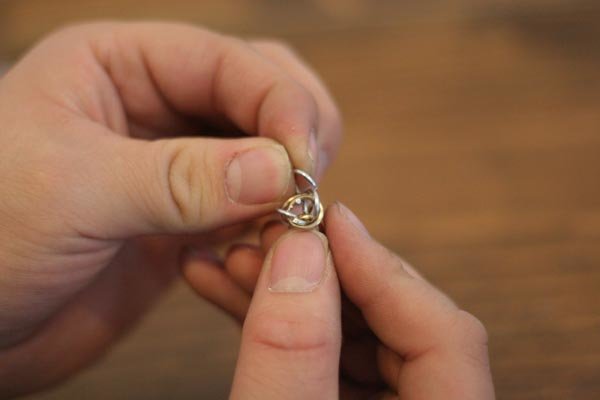
Step 7: Attach a gold ring
Now see this scrap wire we slid through JUST the silver rings that are now laying on each side? The area that scrap wire passed through is where you are going to attach another open gold jump ring. 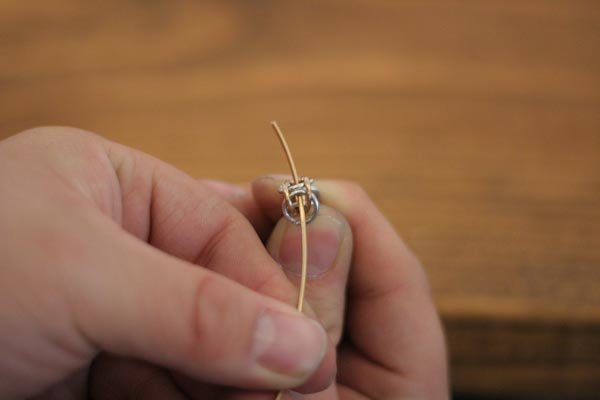
So loop the new open gold ring through just the silver rings. It’s a little tricky…
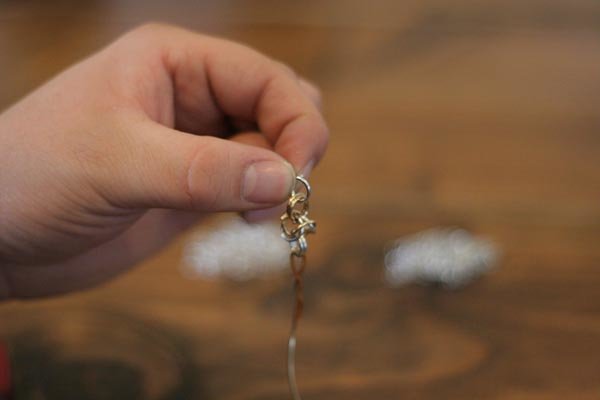
Step 8: Repeat
Now take another open gold jump ring and do the exact same thing. If you did it all right, your weave will now look like this:
Step 9: Second Weave Part I
To continue our two-color system, you are going to do essentially what you just did, just in reverse color order. If you flip the weave over so the scrap is hanging down (see below) you will have the two gold rings you just put on facing up. Remember, that scrap end will not be touched till much later, so don’t put anything on that end.
Instead, go ahead and put a silver jump ring through those two gold rings.
Step 10: Second Weave Part II
Then attach another silver-to-gold ring in the exact same section as you just did.
Step 11: Second Weave Part III
And then two more gold rings to those silver rings, one at a time, same as before.
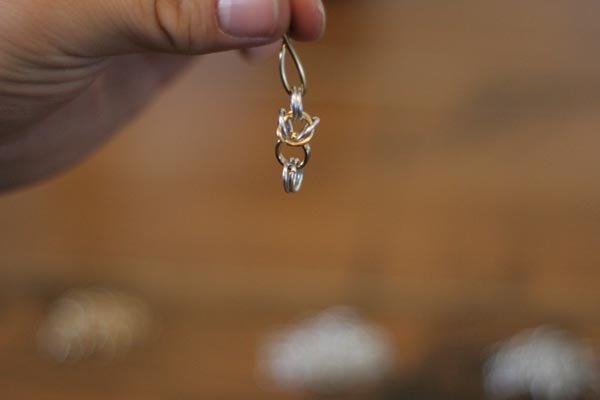
Step 12: Second Weave Part IV
Now, just like you did for the first weave, hold the chain in your fingers so the last two gold loops fall to the side.
Take another silver ring, and feed it through the golf rings via the opening in-between the two silver rings, exactly as you did when you started the weave previously.
Then add one more silver-to-gold ring in the exact same place, and it should look like this:
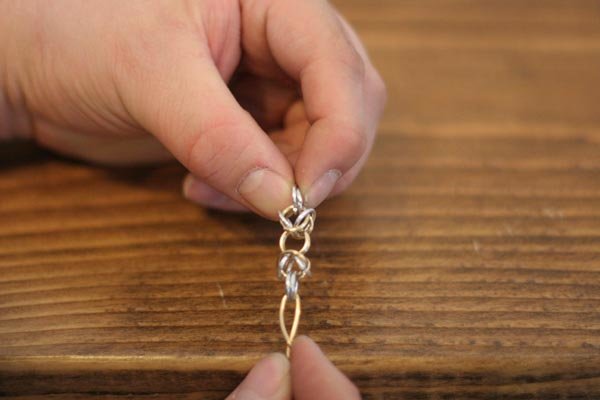
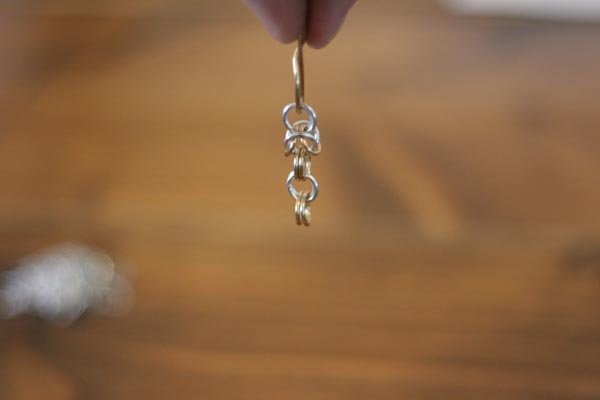
Step 13: Repeat Until…
Continue with that sequence until the weave is long enough for your needs. For a bracelet, that will probably be around 4-1/2 inches long, but you can make yours as long as you want to turn the weave into necklaces, chokers, chainmaille armor accessories, and lord knows what else!
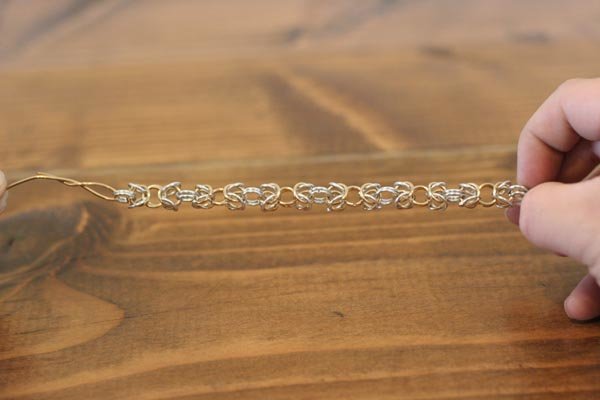
Voila! A beautiful two-color Byzantine Chainmaille Weave. Where it ends up is totally up to you.
Like This Post?
Check out:
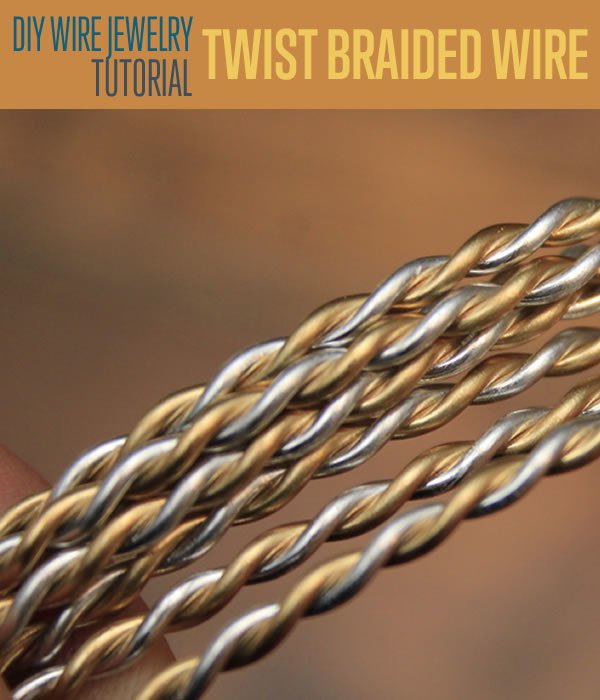
DIY Jewelry Making Supplies | Twist Braided Jewelry Wire