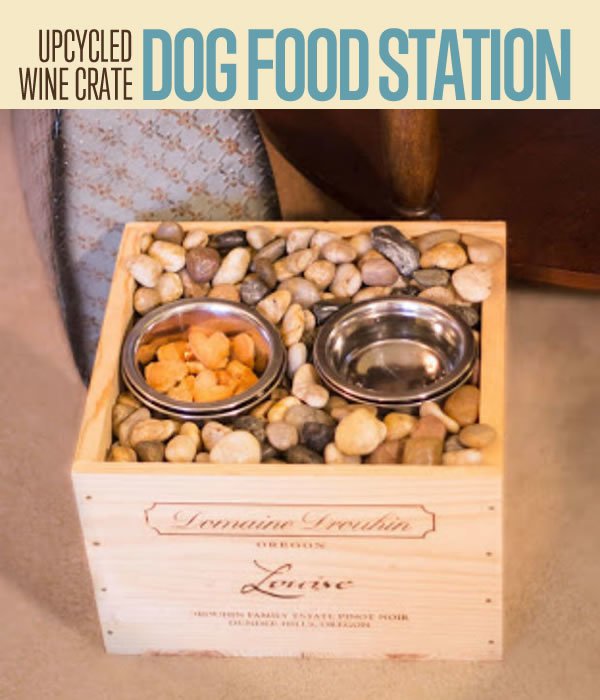
Upcycled Wine Crate Dog Bowl Station
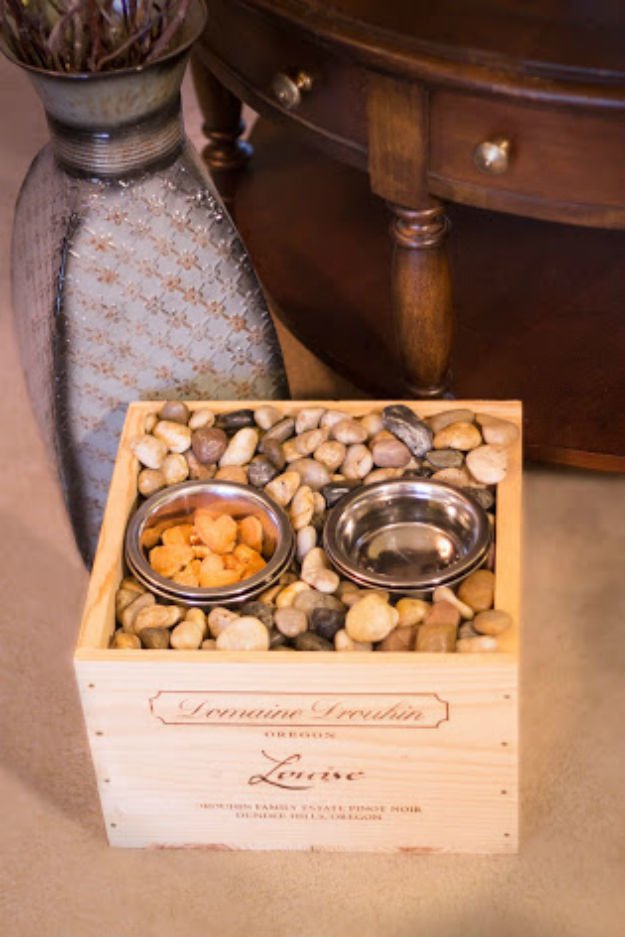
Create a timelessly elegant dog feeding station with this upcycled wine crate project. No power tools, minimal mess, and a stunning end result that will blend seamlessly into any room in your house.
Supplies:
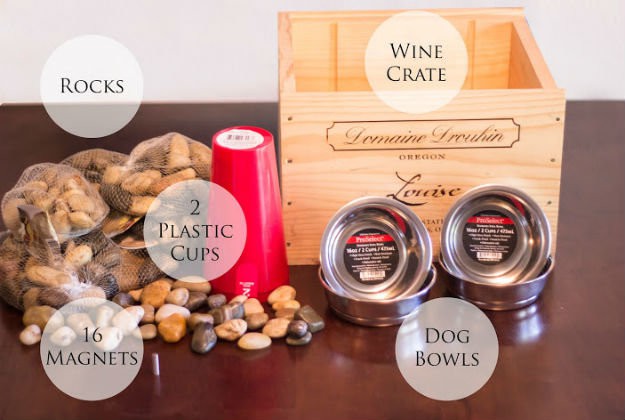
-Wine crate. My father had one laying around, but you can find your off of Craigslist, Etsy, Ebay, or potentially a winery in your area.
-Rocks from the Dollar Tree. I ended up using 10 bags, and that worked nicely!
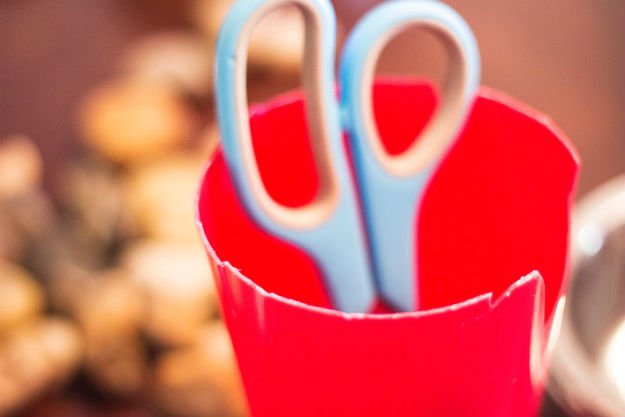
-Two Plastic Cups from the Dollar Tree (get the nice, tall ones that will be flexible enough to cut with a scissors)
-16 magnets. Either the small, high-strength ones like mine, or standard size regular magnets that are little black discs. You can find packs of these at Michael’s or Amazon.com
-Four Dog Bowls. Go to the petstore and experiment with stacking a few dog bowls until you find a set of bowls that will nest inside of one another easily and pop out easily. Get two of each for a total of four bowls.
Other Tools and Things Around the House:
-Super glue or super-strength all purpose adhesive
-Some kind of stuffing to fill the bottom of the wine crate. I found that bubble wrap was an excellent stuffing.
-Scissors
Step 1
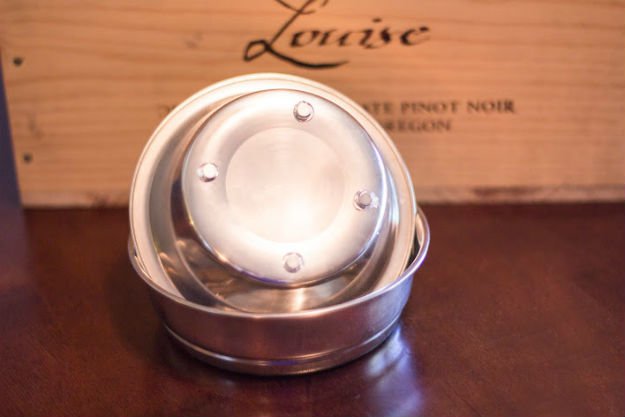
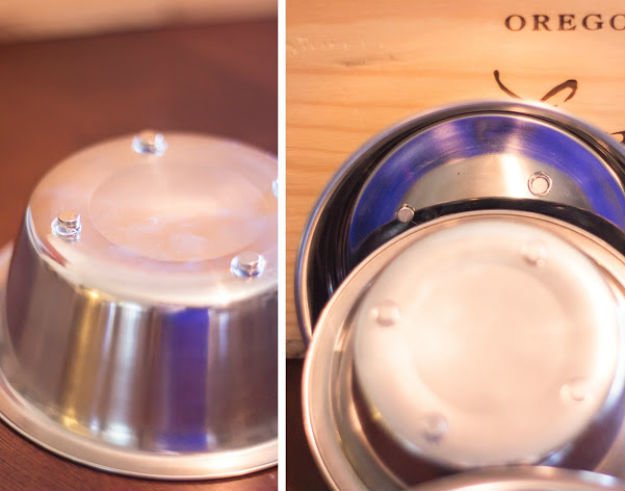
Super glue four of the little magnets onto the bottom of the “inner” dog bowls. We are going to create a “snap-in-snap-out” system for the nesting bowls.
Step 2
Once the glue has dried on the magnets, stack a second magnet on top of each one (look closely at the left picture for Step 2 and you can see the two little magnets stacked together). Apply a dob of super glue to each of the new magnets and press the inner dog bowl firmly down into the outer dog bowl. Press down, keeping the bowls centered together until the super glue dries. You now have magnets glued to the bottom of the inner bowl and magnets glued to the floor of the outer bowl.
Step 3
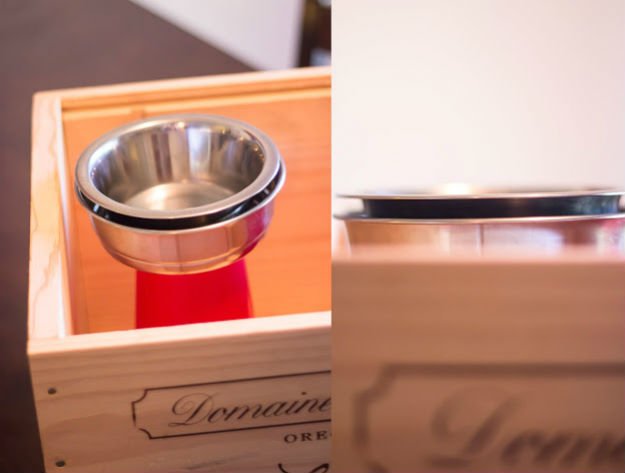
Without glue, set the nested dog bowls on top of the plastic cups, inside of the wine crate. Look at everything from the side to see how far the bowl pops up above the rim of the wine crate. This is how much you need trim from the bottom of the plastic cups, since you’ll want the rim of the bowls to line up with the rim of the crate.
Step 4
Use strong scissors to trim away the appropriate amount from around the top of the plastic cups. We’ll be placing them top-down into the crate and using the flat surface at the bottom of the cup to glue the bowls onto when it’s facing skyward. When you cut the plastic with the scissors, it may splinter away in some places, but don’t worry too much about that – just cut it evenly overall around the edge!
Step 5
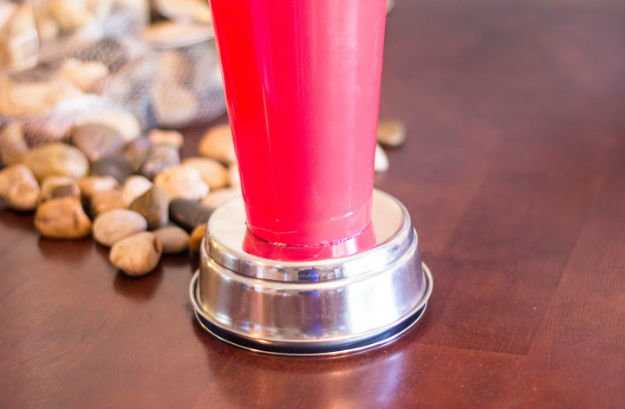
Glue the bottom of the dog bowls to the bottom of the cups.
Step 6
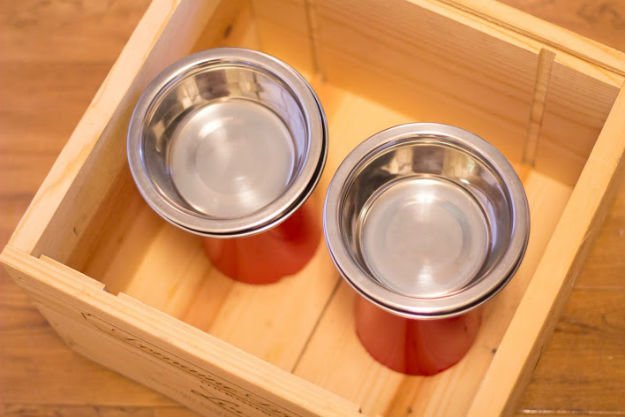
Arrange your two cups (with the attached dog bowls) into the wine crate where you want them. This is where the bowls will be situated in the final product, so give it all a nice look over to make sure everything is even.
Step 7
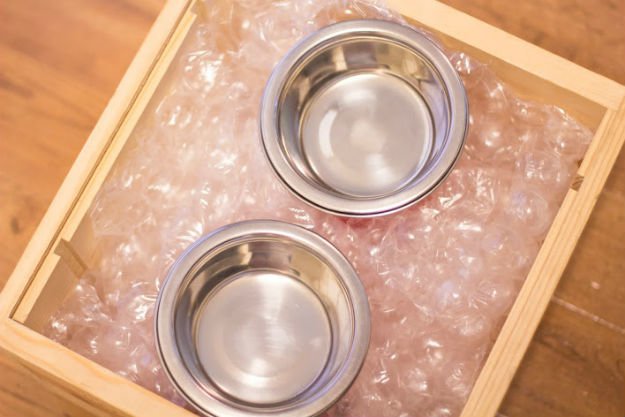
Use bubble wrap, or some other suitable stuffing, to pad the wine crate all around the dog bowl towers. It’s cheaper to fill the bottom of the crate with something like bubble wrap instead of pounds and pounds of rocks.
Step 8
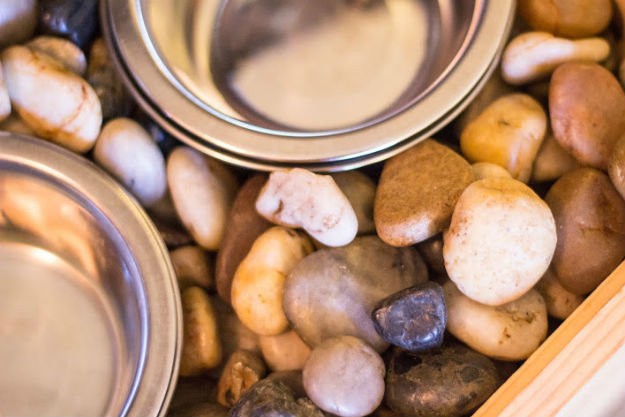
Fill the top of the box with all of your decorative rocks.
You’re done! Fill the bowls with water and your dog’s favorite kibble – dinner in style!
If you’re looking for more upcycling ideas to try, we have some posts you may want to check out:
15 DIY Pet Projects & Recipes
DIY Projects Made From Old Books | Art Of Upcycling
DIY Wine Cork Crafts
I’m Manas Ranjan Sahoo: Founder of “Webtirety Software”. I’m a Full-time Software Professional and an aspiring entrepreneur, dedicated to growing this platform as large as possible. I love to Write Blogs on Software, Mobile applications, Web Technology, eCommerce, SEO, and about My experience with Life.

