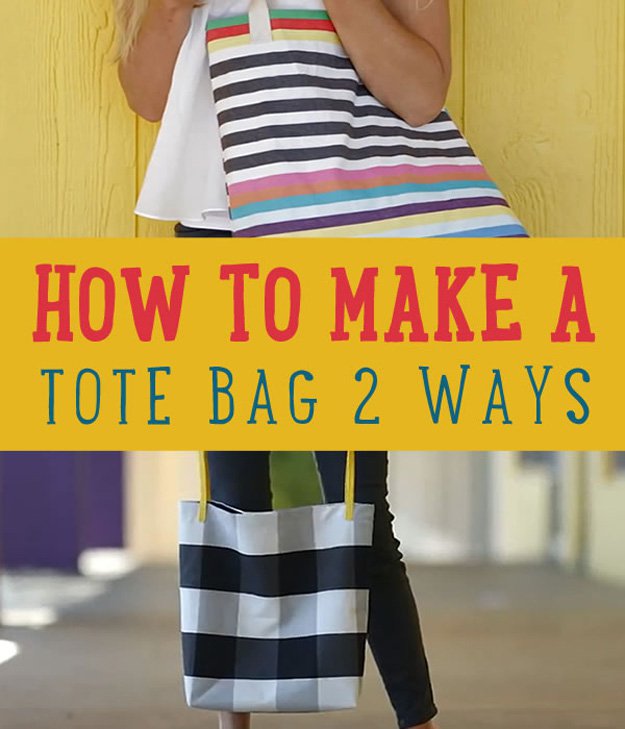
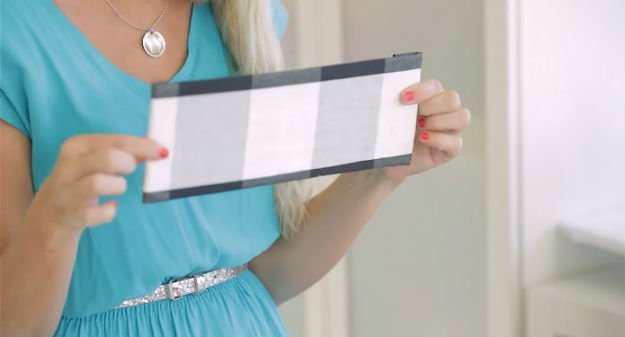
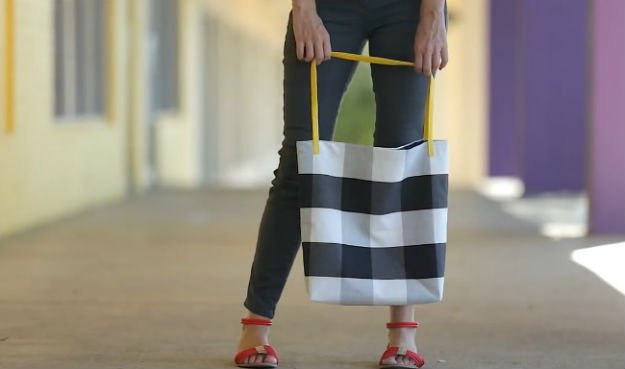
Two Great Tutorials on How To Make A Tote Bag!
Want to know how to make a tote bag? I prefer to make my own personalized tote bag than store-bought. It’s fun to make custom tote, whether it’s to carry all your crafts items or just your lunch. You can design it any way you want and it’s a really cool sewing project anyone in any skill level can make.
How to Make a Tote Bag | Personalized Tote Bags
Do you love tote bags? If you love bags and into DIY, now you don’t need to buy a new one! Today, we’ll teach you on how to sew a tote bag in two ways: the basic tote bag and boxed out tote bag.
Below is the step-by-step instructions for making an easy tote bag for beginning crafters! They’re super easy and fun to make, plus you can give them out to your friends as gifts, too! So, are you ready to get crafty? Let’s start sewing!
Basic Tote Bag | DIY Tote Bag
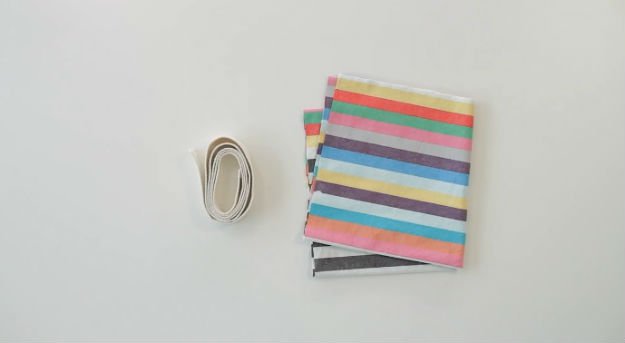
You’ll need these materials for your tote bag:
- About a half yard of fabric
- One and a half yards of twill tape for the straps
- Rotary cutter
- Measuring tool
- Sewing Machine
- Pair of Scissors
Fabrics You Can Use:
• Heavy Cottons such as Canvas, Duck, Upholstery fabrics, Corduroy, Twill
• Standard Cottons such as quilting cotton, broadcloth
• Knits
TIP: You can make it from whatever you like! You can use a dishtowel or even a painting drop-cloth to make a tote bag.
Let’s get started, shall we?
Step 1
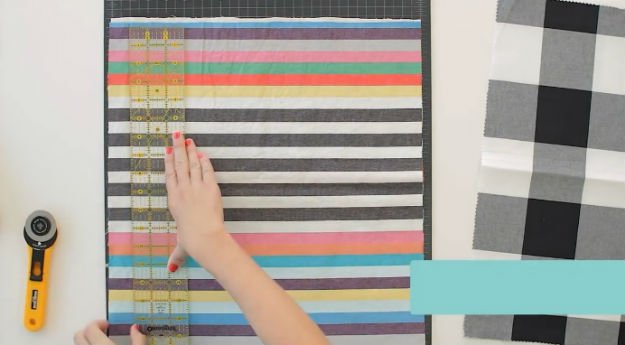
Take your rotary cutter and cut your fabric 16″ x 36″ and set it aside.
Step 2
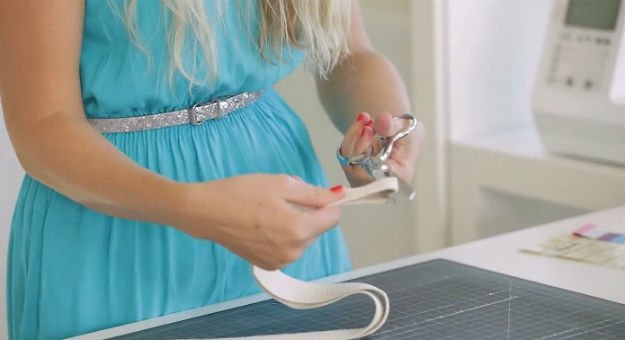
Using a pair of scissors, cut two straps of twill tape, each of them 27 inches long (or 1.5 yards total for both). Make sure both handles are equal length.
Step 3
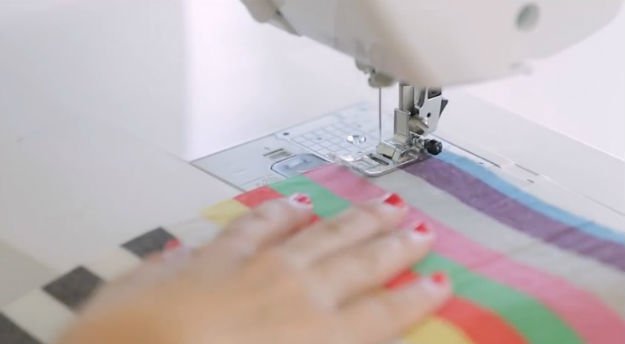
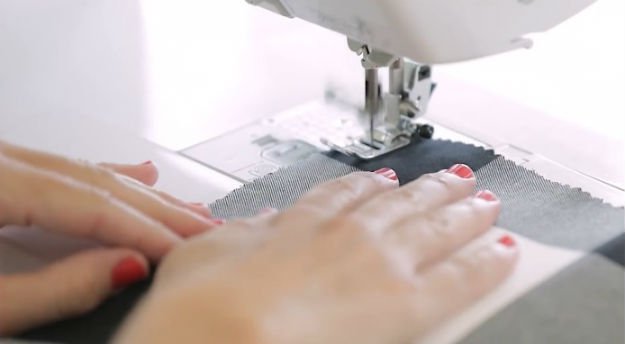
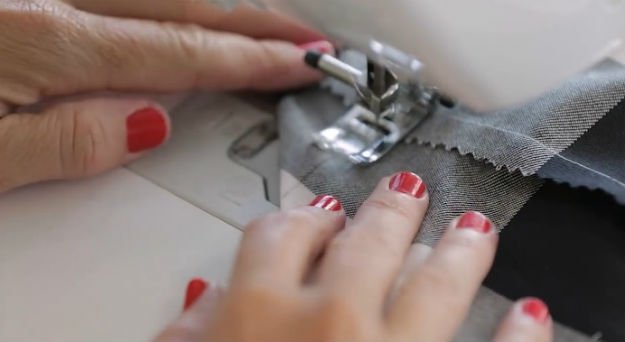
Sew down one side, around the bottom, and back up the other side of your fabric together with a half inch allowance.
Step 4
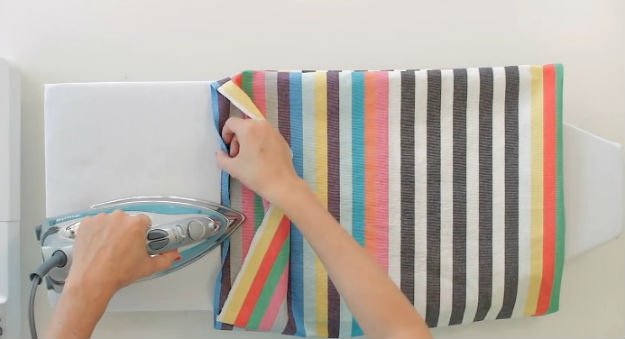
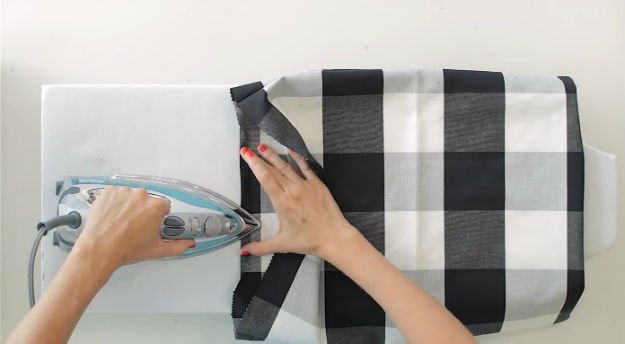
Iron the top edge under half inch and iron it under another inch.
Step 5
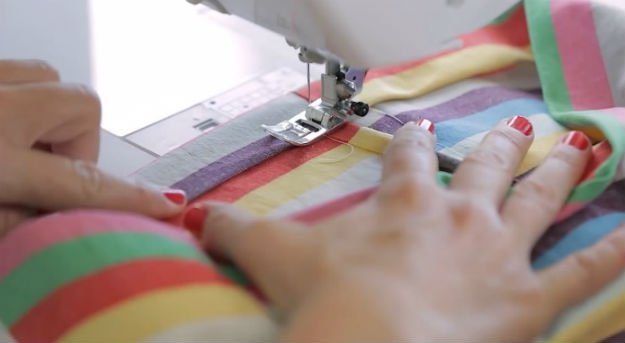
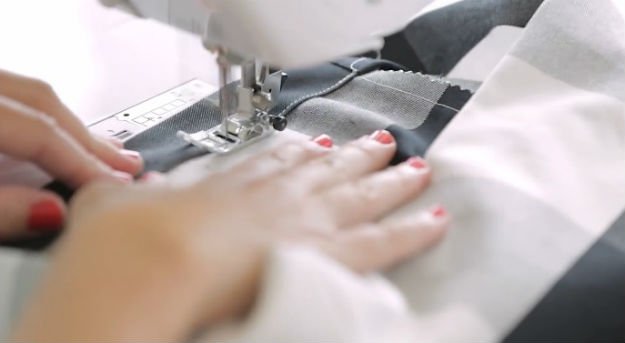
Then sew the hem in place.
Step 6
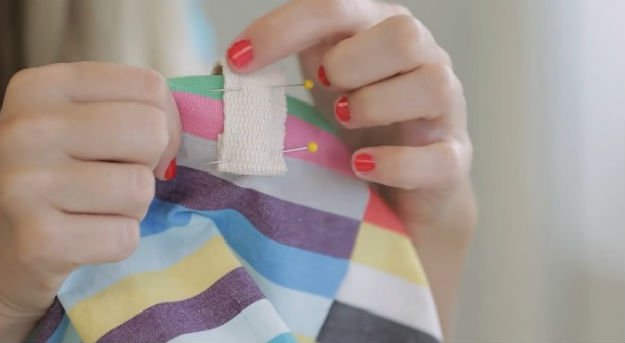
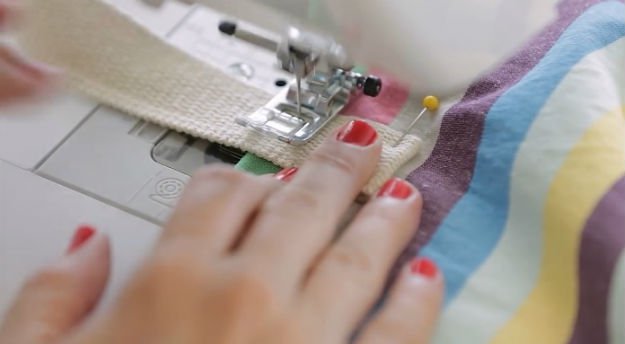
Pin the handle in place.
Step 7
Sew them on to bag in a square, then sew an “X” at the base of each handle.
And you’re done!
You just finished making a totally hip and cool tote bag you can match with your outfit! Now you can place your essentials in this chic tote bag!
Yay! You’ve just made your classy basic tote bag! Now, we’re ready to take it up a notch and make your next cool DIY project! Let’s try a new twist on our tote bag, shall we?
Boxed Out Tote Bag | DIY Tote Bag
This time, we’ll have to box-out the bottom of the DIY tote bag so it sits, lays, and fills up nicely. Your homemade bag would also look more professional when it’s boxed out.
You’ll need these for you DIY tote bag:
- About a half yard of fabric
- One and a half yards of twill tape for the straps
- Rotary cutter
- Measuring tool
- Sewing Machine
- Cardboard
- Pair of Scissors
- Sewing Clips
- Vinyl Fabric
Step 1
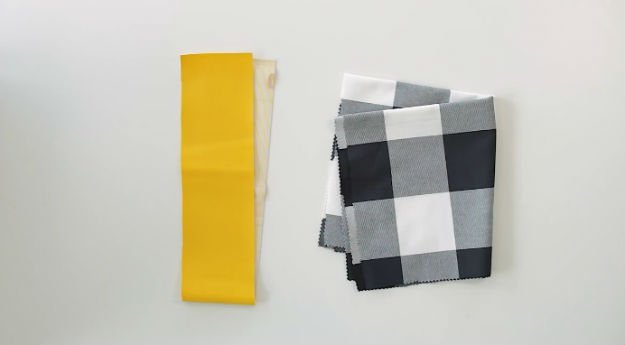
Let’s prep the strap first. For this particular strap, we’re going to make it skinny! Using your rotary cutter, measure and cut an inch wide 27 inches long. (27″ x 1″). Set aside.
Step 2
Take your fabric and let’s make the bag. Follow the same steps as when making a basic tote bag. Sew down one side, around the bottom, and back up the other side of your fabric together with a half inch allowance.
Step 3
Iron the top edge under half inch and iron it under another inch.
Step 4
And sew the hem in place.
It’s time to BOX out the bottom!
It may seem complicated, but it’s easy. Here are the steps:
Step 5
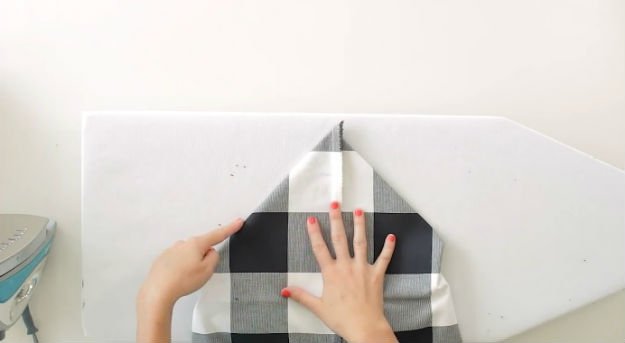
Take the bottom seam & the side seam, squeeze them both together to make a right triangle. Do take your time to be precise with this step. The two seams should be laying directly on top of each other, or else your boxed-out corners will not be even on both sides.
Step 6
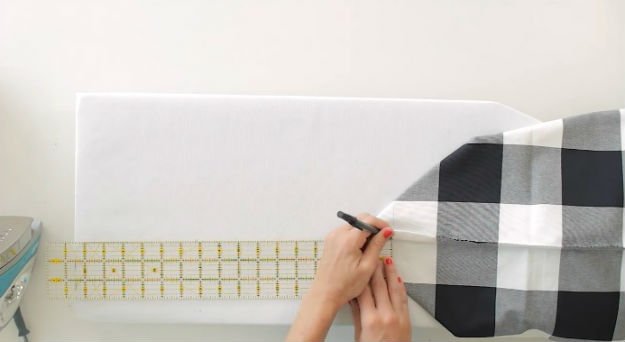
Next, iron the triangle corners so that everything is flat. Measure 1 1/2 inches down from the tip of the triangle (depends on how deep you want the bag to be) & draw a straight line across the fabric. Do this for both corners of the bag you’re making.
Step 7
Sew on top of the marked line to create a box bottom.
Step 8
Trim the excess fabric in the corners and turn the bag right side out. We’re almost done. We just need to make the straps!
Step 9
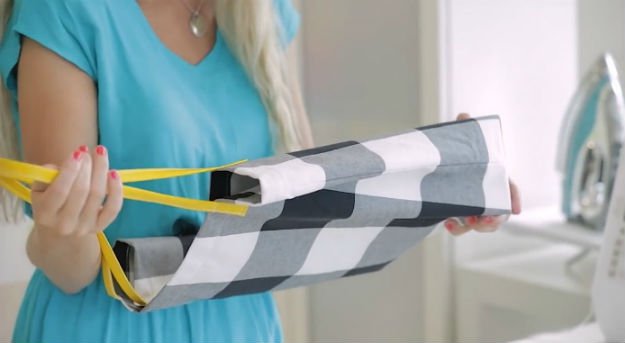
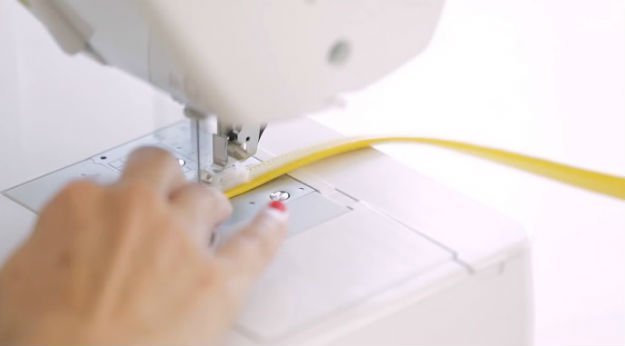
Fold the vinyl in half and sew it right on the side.
TIP: To prevent your needle from getting stuck while sewing your vinyl strap, you can place a transparent tape at the bottom of your presser foot.
Step 10
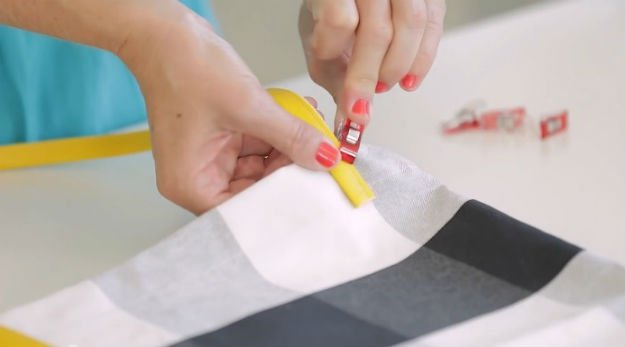
Use sewing clips to put the handles / straps in place.
Step 11
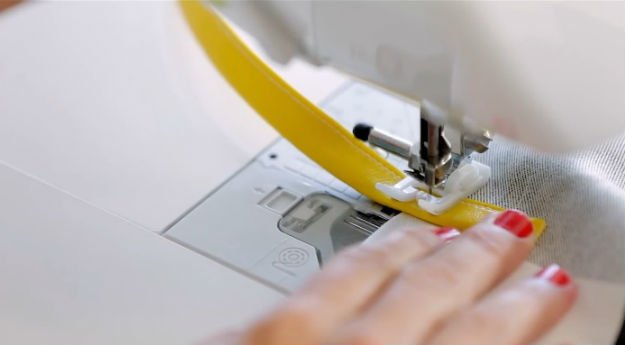
Sew a rectangle on the straps. We’re not going to make an “X” this time.
Step 12
Take a piece of cardboard and cut to the size of your bag’s boxed bottom for a more flat and stable surface. Cover it up with the same fabric of the bag.
VOILA!
Now you can throw in your essentials inside this seriously cute and fab tote bag!
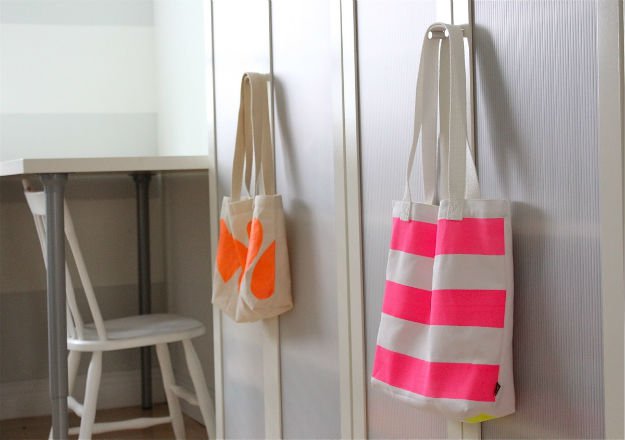
TIP: You can also try painting your tote bags! Let out your creative side and try neon, stripes, pastels, or summery painting ideas!
You can also view the full video tutorial on how to make a tote bag from MADE Everyday below:
Did you enjoy our list on how to make a tote bag? Let us know in the comments section below what your thoughts are on these personalized tote bags. Do you have any other sewing projects you’d like to share? Share it with us and we’ll give it a try. We love doing cool DIY projects by making craft projects, home decor projects, upcycling ideas, recipes, tutorials and anything you can do yourself. That’s why we created this site, we want people to be more in touch with their creative side and realize that there’s a lot of things that they can do themselves. We’d love to hear from you and create a community of DIY enthusiasts where any project is just a click away. Stay connected with us on Facebook, Twitter, Pinterest and Instagram!
Below are some of our cool DIY projects that you will also love:
DIY No Sew Bow Pillow Covers Two Ways
No Sew DIY Shirt Scarf | How To Cut T-Shirt Tutorial
DIY Pom Pom Pillow Throw Cover
I’m Manas Ranjan Sahoo: Founder of “Webtirety Software”. I’m a Full-time Software Professional and an aspiring entrepreneur, dedicated to growing this platform as large as possible. I love to Write Blogs on Software, Mobile applications, Web Technology, eCommerce, SEO, and about My experience with Life.

