Transform Your Home Into a Winter Wonderland with DIY Snowflake Décor
You are here: Home / DIY / Transform Your Home Into a Winter Wonderland with DIY Snowflake Décor
Winter’s arrival offers the perfect opportunity to transform your home into a cozy retreat. A simple yet creative way to embrace the cold season is by making DIY snowflake décor that features intricate and delicate designs. Snowflakes beautifully capture winter’s spirit, and adding them to your home brings additional charm, elegance, and seasonal magic.
This guide offers detailed ideas that are easy to make and versatile enough to apply to any room. Gather your supplies, and let’s start crafting!
Enchant Your Home with DIY Snowflake Décor
With a few simple materials and some imagination, you can transform your home into a frosty wonderland. From dazzling window displays to soft, glowing accents, these snowflake-themed projects offer something different for every room. Whether you’re a seasoned crafter or a curious beginner, these ideas will inspire a winter décor refresh that’s as magical as the season itself.
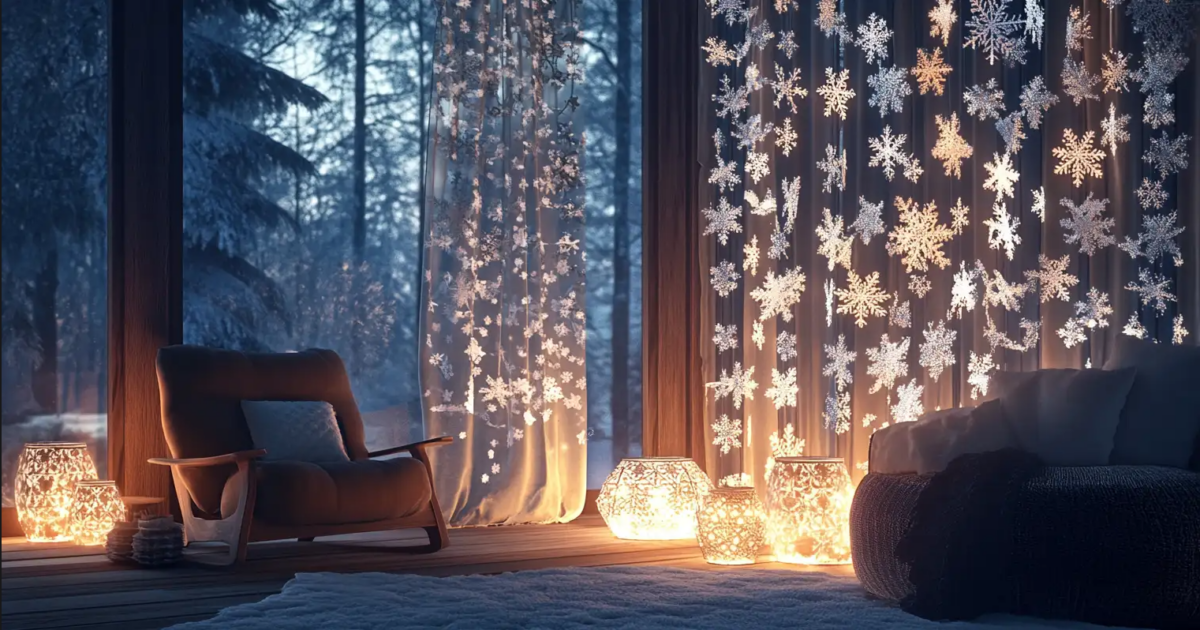
Create a Mesmerizing Snowflake Curtain
When decorating, windows often serve as focal points for a room. A snowflake curtain enhances your window and transforms your space into a frosty, magical haven. It’s an easy craft that delivers a stunning visual impact.
Materials Needed:
- White or metallic paper for snowflakes
- Sharp scissors or pre-made templates
- Fishing line or clear thread
- Transparent tape or a tension rod
Instructions:
- Cut Snowflakes: Fold your paper into triangles and carefully cut intricate patterns. If freehand cutting is tricky, templates can guide you.
- String Them Together: Punch a small hole in each snowflake, and thread them onto fishing line, spacing them evenly.
- Hang Your Curtain: Secure the fishing line to a tension rod or tape it to the top of your window frame.
💡 Pro Tip: Use iridescent paper for a shimmering effect. Combining various snowflake sizes adds depth and dimension to the display.
A snowflake curtain creates a whimsical centerpiece for your winter décor, blending simplicity with elegance.
Frost Your Walls
Bare walls can feel uninspired during winter, but snowflake wall art instantly changes that. This project adds texture and seasonal charm while easily customizing any room.
Supplies Needed:
- Wooden or foam snowflake cutouts
- White, silver, or gold paint
- Glitter for a frosty sparkle
- Double-sided tape or Command strips
Instructions:
- Paint Your Snowflakes: Choose a cohesive color palette, such as silver and white. Paint each snowflake and sprinkle glitter while the paint is still wet.
- Plan Your Layout: Arrange the snowflakes on a flat surface. Try symmetrical patterns, cascading designs, or random clusters for variety.
- Attach to Walls: Use Command strips or double-sided tape to mount the snowflakes without damaging your walls.
🌟 Styling Tip: Mix snowflake sizes for improved visual interest. For more wall art ideas, visit Martha Stewart.
This craft turns blank walls into eye-catching displays, making your home feel festive and welcoming.
Glowing Snowflake Lanterns
Winter evenings call for soft, warm lighting. Snowflake lanterns create a soothing ambiance while adding a decorative touch. These lanterns work beautifully on mantels, bookshelves, or as centerpieces.
Materials:
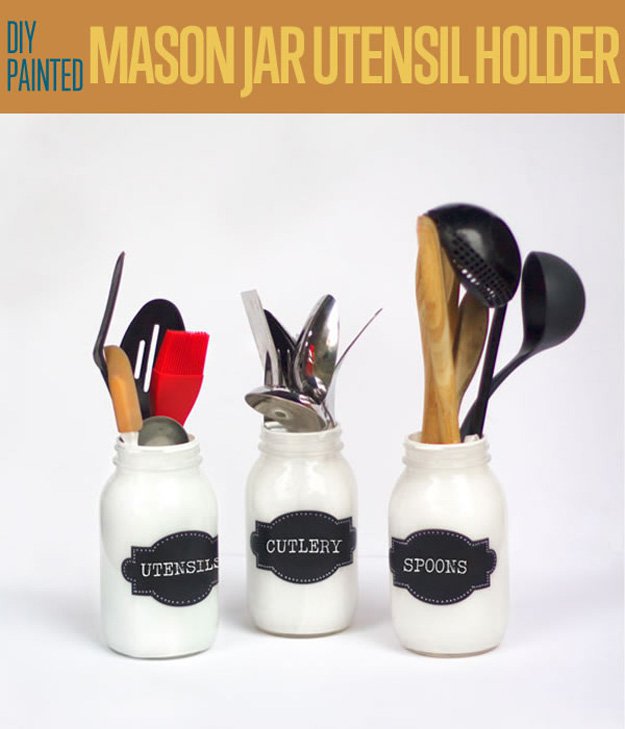
- Mason jars or glass vases
- Snowflake stickers or vinyl decals
- Frosted glass spray paint
- Battery-operated tea lights or LED string lights
Instructions:
- Apply Stickers: Place snowflake stickers on the outside of clean jars or vases.
- Frost the Glass: Lightly spray the jars with frosted glass paint, leaving the snowflake areas clear. Let them dry before removing the stickers.
- Add Lights: Insert battery-operated tea lights or LED string lights for a cozy glow.
🔥 Safety Reminder: Stick with flameless candles to reduce fire risks.
These glowing snowflake lanterns illuminate your home and create a relaxing winter atmosphere.
Plush Snowflake Pillows
Throw pillows are an easy and effective way to refresh space during the holidays. Snowflake-themed pillows bring a seasonal touch to your sofa, bed, or favorite chair.
Materials Needed:
- Solid-colored pillow covers (white, gray, or navy work well)
- Iron-on snowflake decals or fabric paint
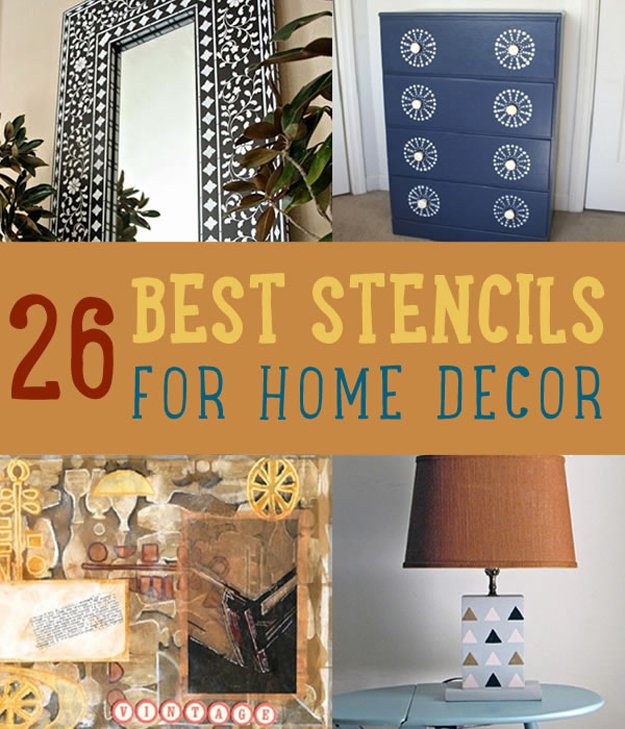
- Stencils for crisp designs
Instructions:
- Create Your Snowflake Design: Use stencils to paint fabric snowflakes onto pillow covers. Alternatively, apply iron-on decals for a clean, polished look.
- Dry and Finish: Allow the covers to dry completely before placing them on pillows.
- Arrange for Style: Add the pillows to couches, beds, or a reading nook.
🛠️ Craft Hack: Glittery fabric paint adds a glamorous finish. Explore stencil techniques on HGTV.
Snowflake Table Décor
Your dining table sets the tone for winter celebrations. Snowflake-themed table settings combine elegance and fun, perfect for holiday meals or family dinners.
Materials Needed:
- Snowflake-patterned placemats or doilies
- Silver chargers
- DIY snowflake napkin rings (pipe cleaners are great for this!)
- Snowflake confetti
Instructions:
- Layer Thoughtfully: Start with placemats, then layer chargers and plates for a cohesive foundation.
- Craft Napkin Rings: Twist pipe cleaners into snowflake shapes for unique napkin holders.
- Add Confetti: Sprinkle snowflake confetti across the table for a whimsical finish.
🎄 Entertaining Tip: Pair frosted glassware with snowy centerpieces to tie the look together. Discover more ideas on Better Homes & Gardens.
Transform Every Room with DIY Snowflake Décor
Winter provides the perfect backdrop for creativity, and DIY snowflake décor captures its magic beautifully. From cascading snowflake curtains to glowing lanterns and festive table settings, these crafts bring elegance and warmth to your home. Best of all, they’re easy to personalize and budget-friendly.
Have you tried any of these projects? Or do you have a unique idea to share? Leave a comment below, and let’s inspire each other.
FAQs
Q1: What materials are best for making snowflakes?
A: Metallic cardstock and iridescent paper create stunning effects. Foam sheets offer durability for long-term use.
Q2: How can I ensure my snowflake designs are symmetrical?
A: Fold your paper into triangles and cut from the folded edges. Templates also help achieve perfect symmetry.
Q3: Can I reuse snowflake decorations next winter?
A: Absolutely! Laminate paper snowflakes or use foam for durability. Store them flat to maintain their shape.
Q4: Are these crafts suitable for kids?
A: Yes! Most projects, like paper snowflakes and jar lanterns, are kid-friendly. Supervise them with scissors and paint.
I’m Manas Ranjan Sahoo: Founder of “Webtirety Software”. I’m a Full-time Software Professional and an aspiring entrepreneur, dedicated to growing this platform as large as possible. I love to Write Blogs on Software, Mobile applications, Web Technology, eCommerce, SEO, and about My experience with Life.

