Three Beautiful Wedding Invitation Ideas | DIY Wedding Invitations
You are here: Home / Create and Decorate / Three Beautiful Wedding Invitation Ideas | DIY Wedding Invitations
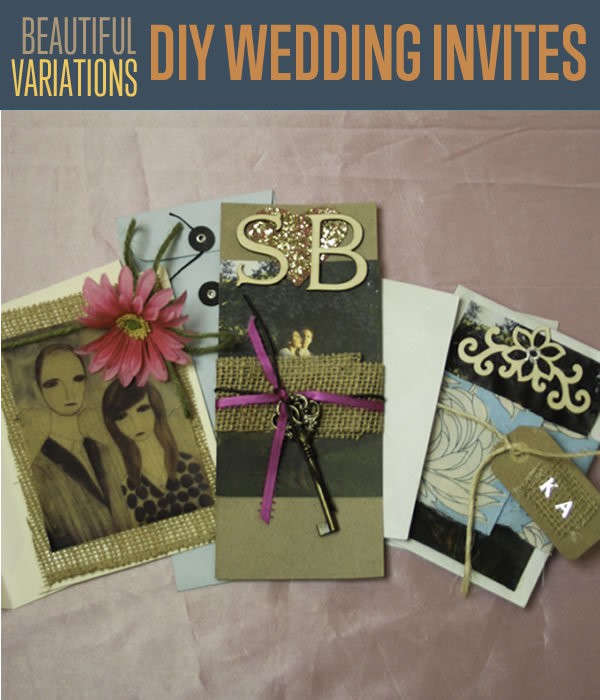
Planning your wedding can be one of the most hectic times of your life, but making your own wedding invitations can give a much-needed creative boost to this (inevitably chaotic) experience. We want you to get your craft on and save some money in the process by creating your own wedding invites, so here are three different DIY wedding invitation ideas to get you going. We promise this craft activity will help make your special day as perfect as possible, and who better to show you how to do it than DIY Projects photographer and all-around creative genius Teresa Flowers?
Teresa is available for weddings and can ensure your photos make everyone look beautiful.
DIY Wedding Invitation Sample I: Floral Wedding Invitation
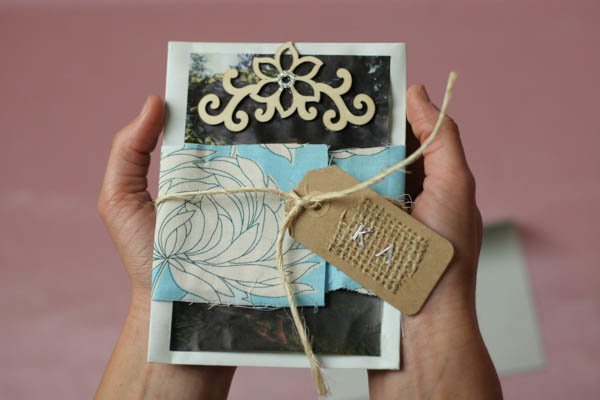
Supplies needed for this DIY wedding invitation:
- Blue paper and matching envelope
- Wood flower cutout
- Printed information about your wedding
- Blue flower fabric
- Twine
- Burlap
- Tag
- Scissors
- Sticker letters
- Silver glitter
- Mod Podge glue
- Wood Glue
- Paper towels
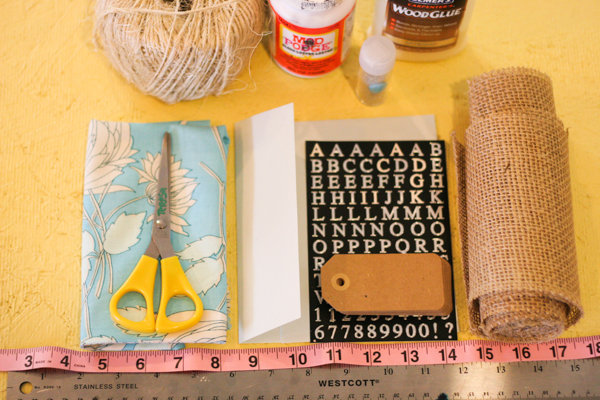
Step 1: Placement of your invite
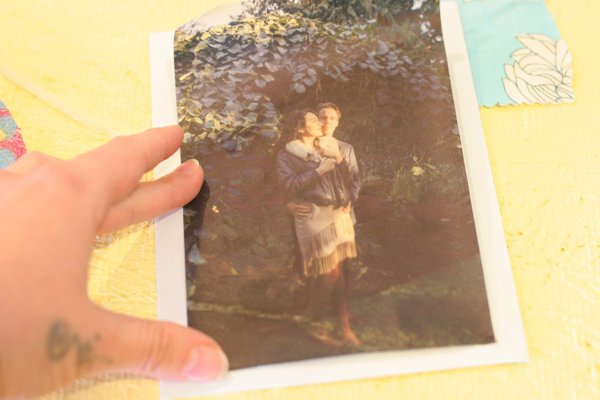
Start by taking the blue card stock and placing an engagement photo on it to make sure it fits correctly. I used a photo by Flowers + Diamonds Photography, which is my wedding photography company! The photograph was printed on vellum off of my printer and cut to 4 x 6. You don’t have to go the vellum route if you don’t want to, though most printing facilities can do this for you.
Step 2: Adhere your invite
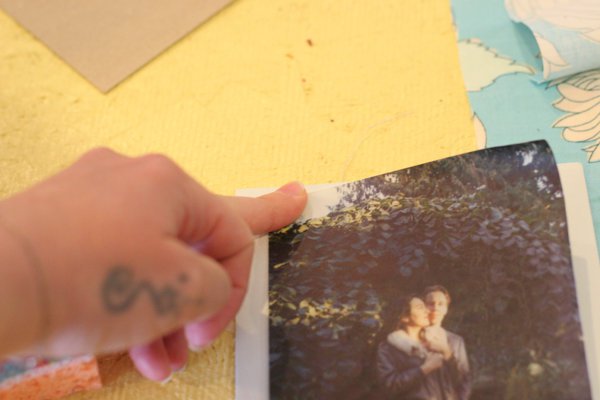
Take double sided tape and adhere each corner to the card.
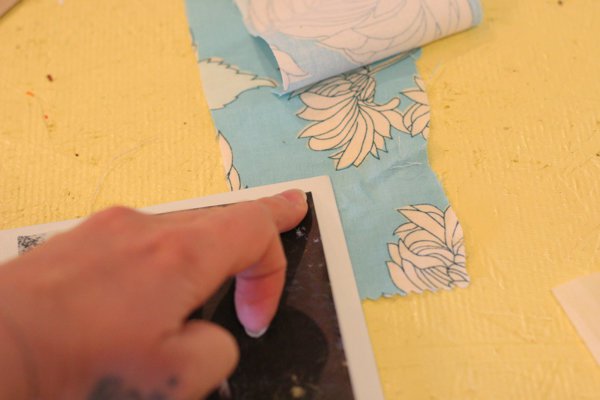
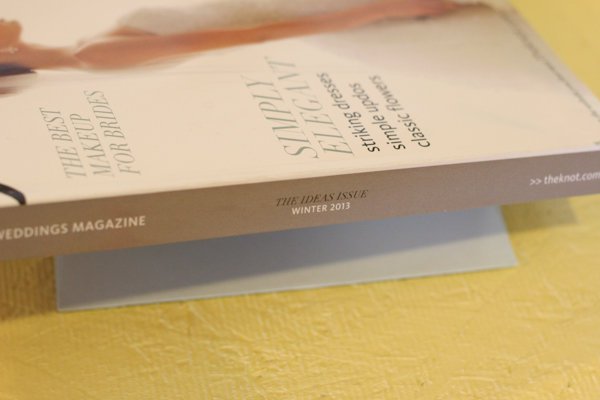
Put the card under a magazine to help flatten and adhere the image.
Step 3: Adhere wood flower to card
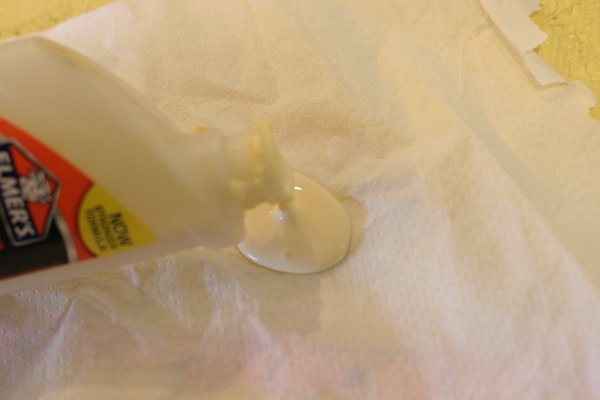
Poor wood glue on to a paper towel.
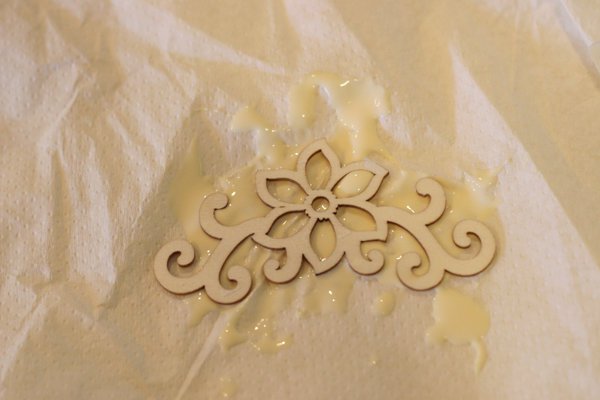
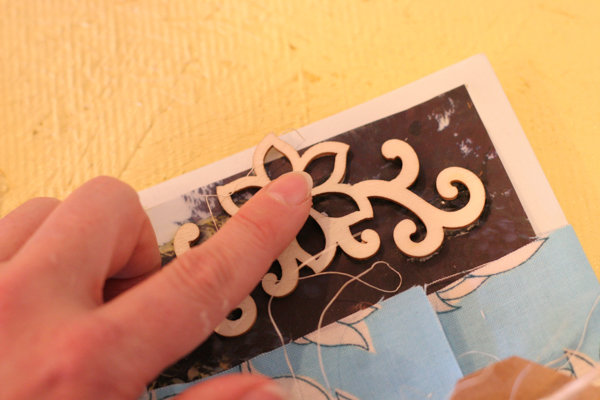
Press the wood flower piece into the glue.
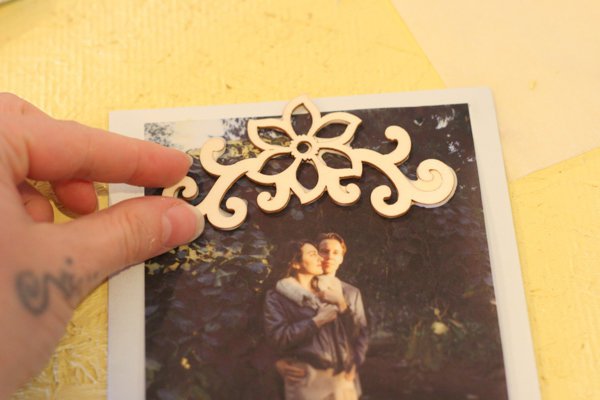
Center and place the flower on your card.
Step 4:
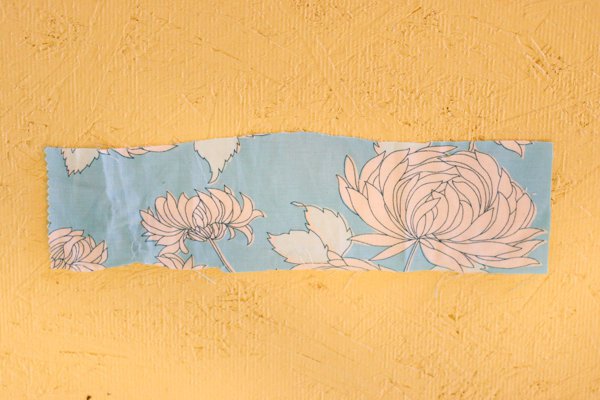
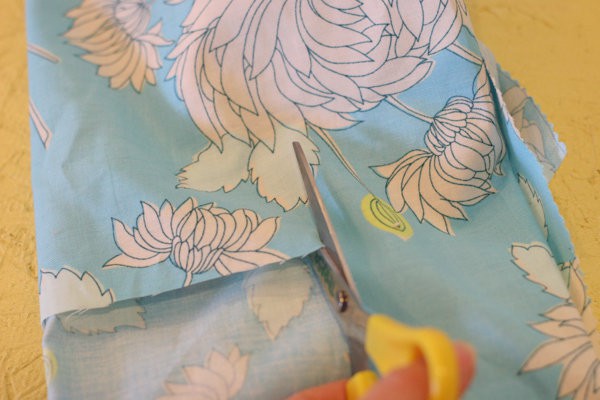
Cut a 4″ x 7″ piece of flower fabric.
Step 5: Prepare your tag
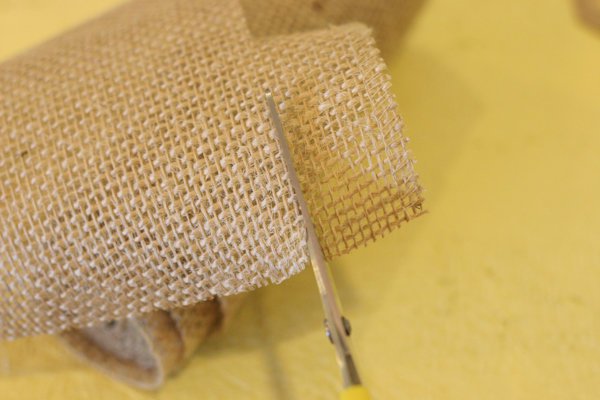
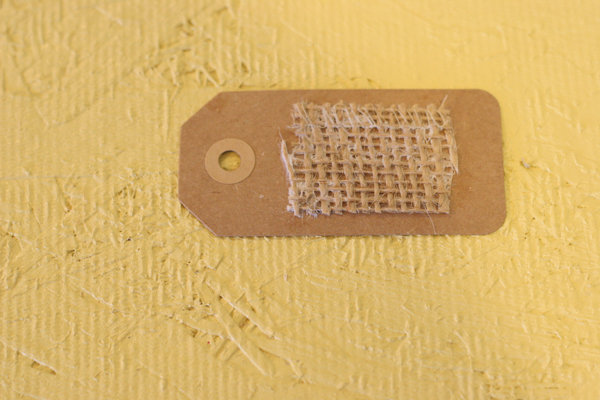
Cut a 2″ x 1.5″ piece of burlap.
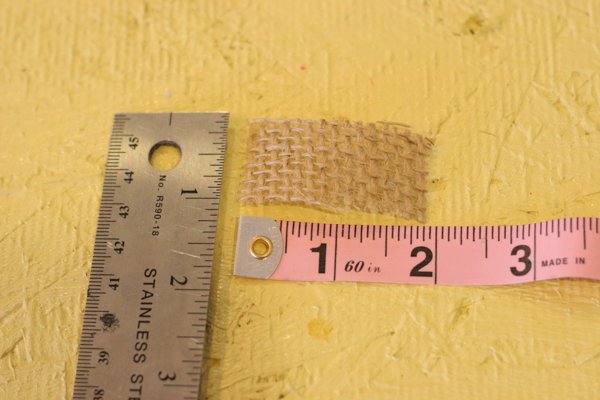
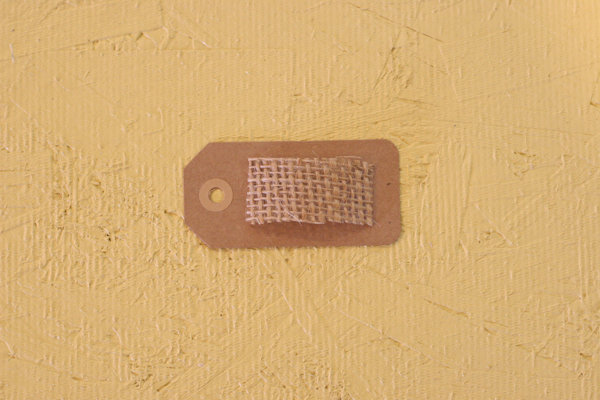
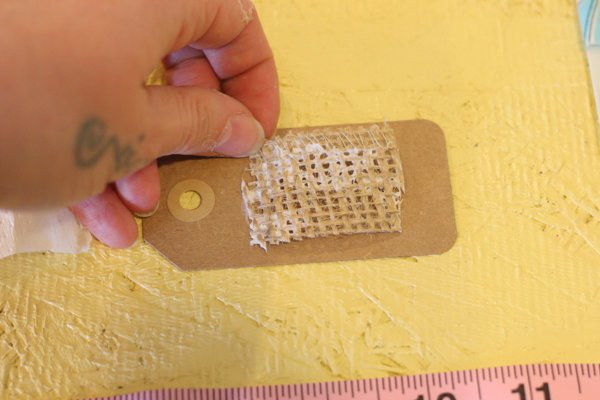
Check the burlap piece on the tag to see how it will look before gluing it. It looks like a good fit!
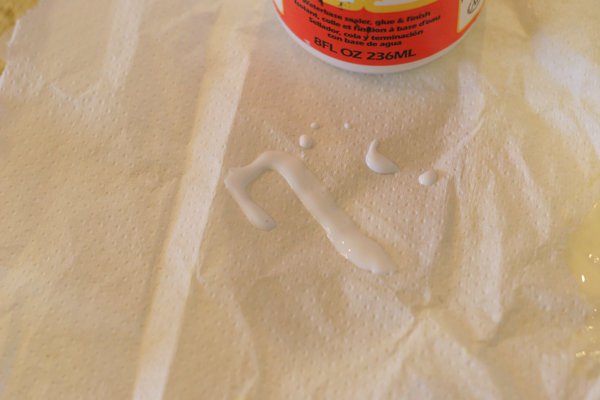
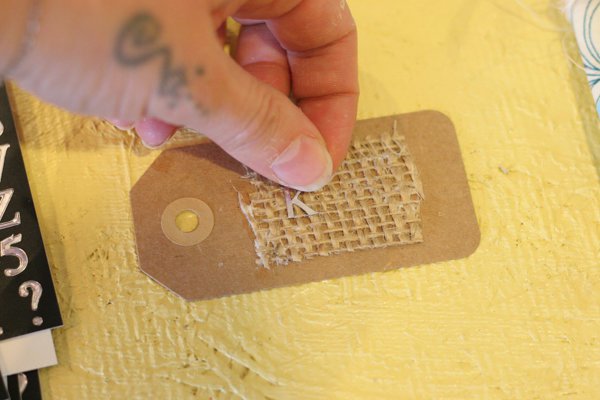
Break out the Mod Podge, (almost every good craft idea includes Mod Podge, right?!) and put some on the paper towel.
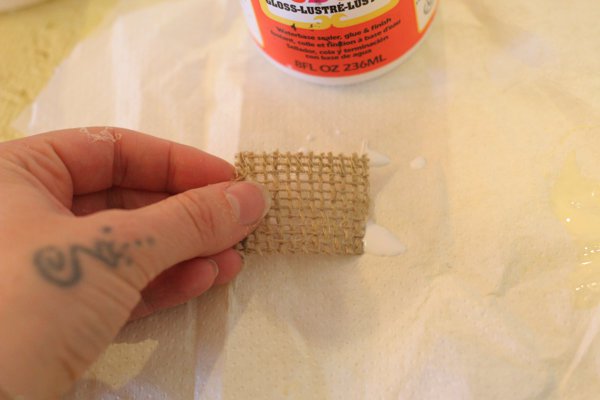
Dip the burlap into the Mod Podge.
Place the burlap on to the tag and press it down securely.
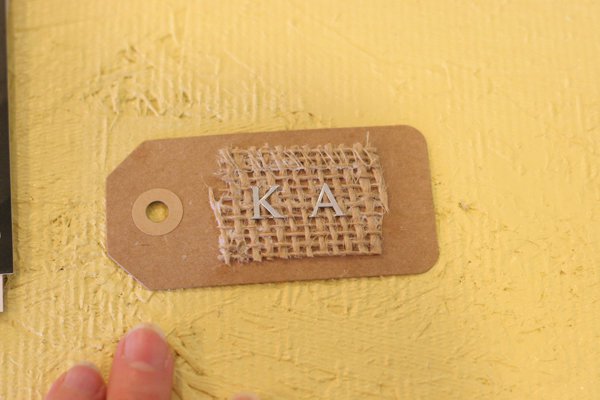
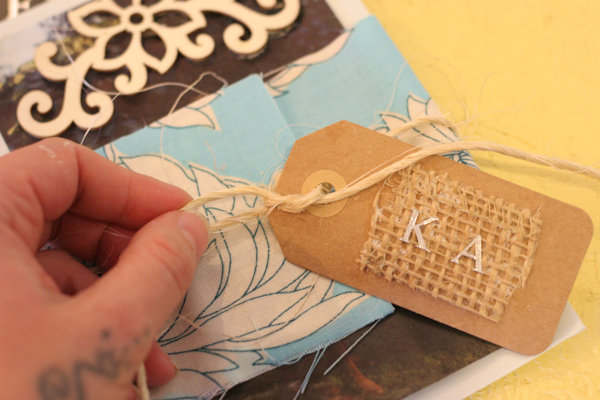
Place your sticker initials onto the tag. The letter’s here are just an example, obviously. You can use whatever letters you want, though I am assuming you will use your initials.
Place the other initial onto the tag.
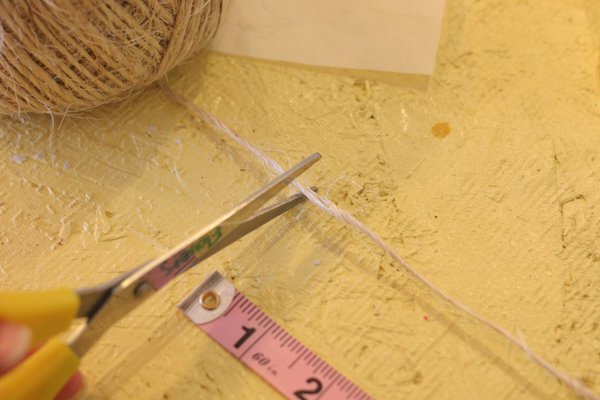
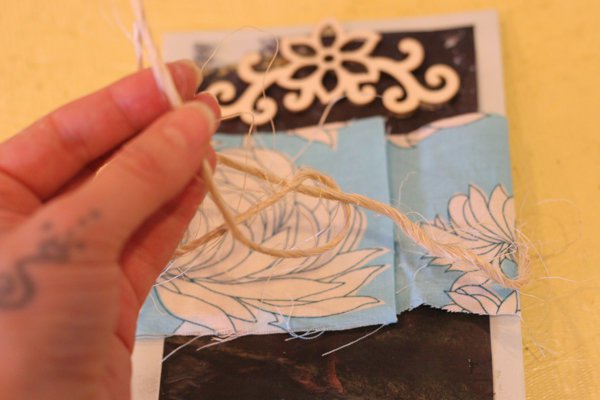
Now measure the twine at 23 inches.
Cut the twine at 23 inches.
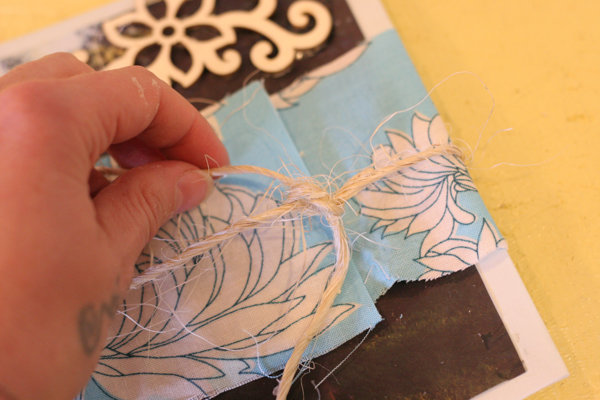
Wrapped the twine around the card and tie a knot.
Then another knot!
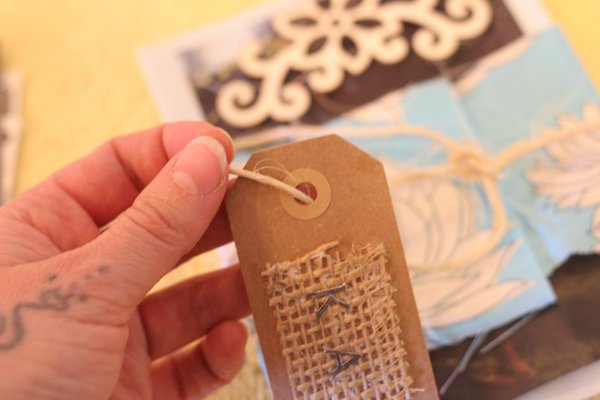
Put the twine through the hole on the tag.
Secure the tag with another knot.
Step 6: Beautify your flower
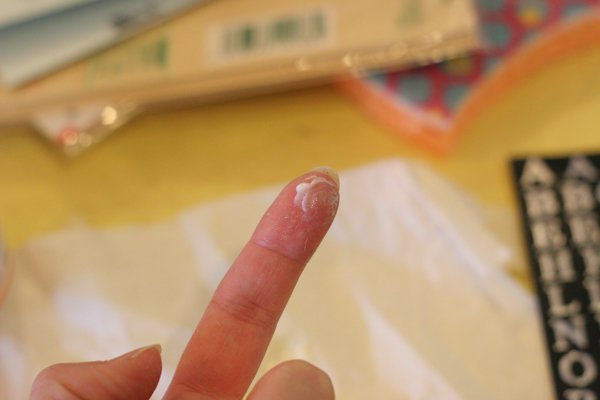
Put a little of the left over Mod Podge on your finger.
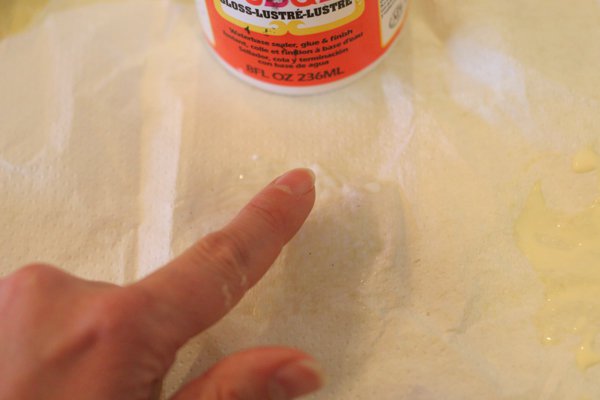
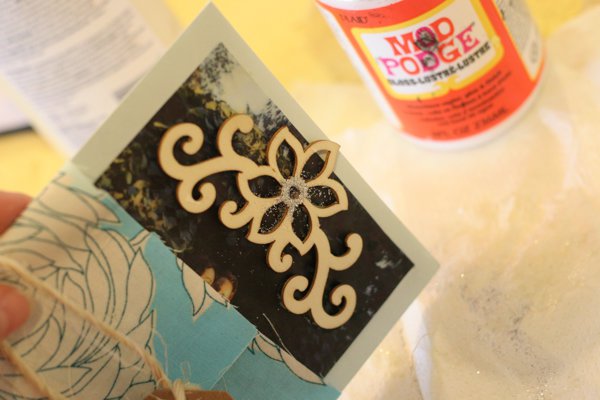
Push it onto the wood flower piece with your finger tip. If you don’t want to get dirty, just use a paint brush.
Then sprinkle glitter onto the paste. My favorite part!
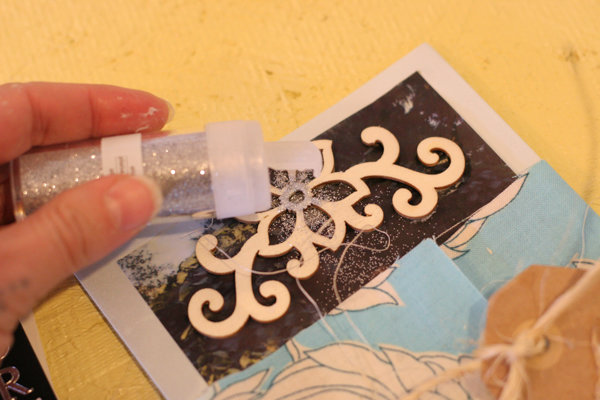
After tap off the glitter that was not attaching to the paste.
Now look at that! A beautiful and unique handmade wedding invitation for each of your dear friends! What a treasure!
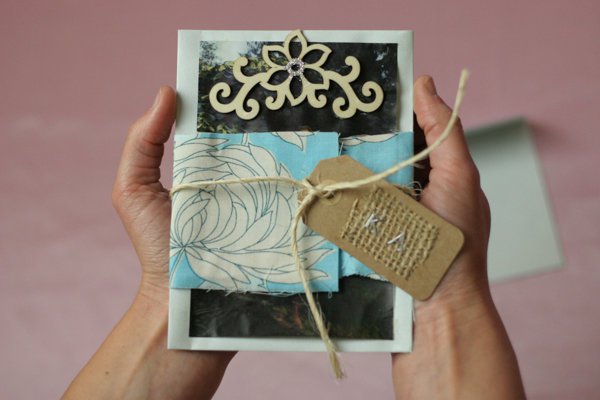
DIY Wedding Invitation Sample II: Heart and Key Wedding Invitation
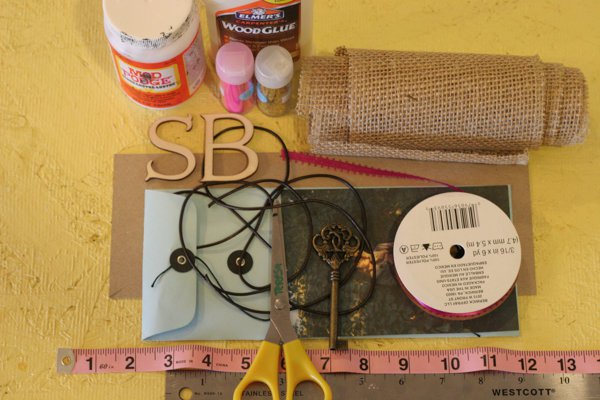
Supplies needed for this DIY wedding invitation:
- Mod Podge
- Glitter in pink and gold, (or what ever colors you prefer!)
- Burlap
- Wood initial letters
- Leather
- Pink ribbon
- Key
- Photo/printed info for wedding
- Long envelope
- Chip board
- Scissors
- Ruler
- Measuring tape
Step 1: Make the card
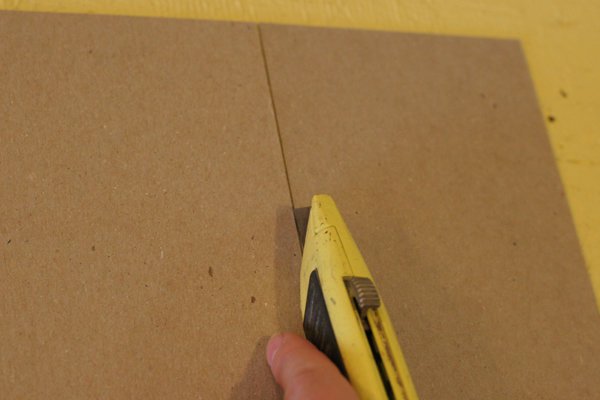
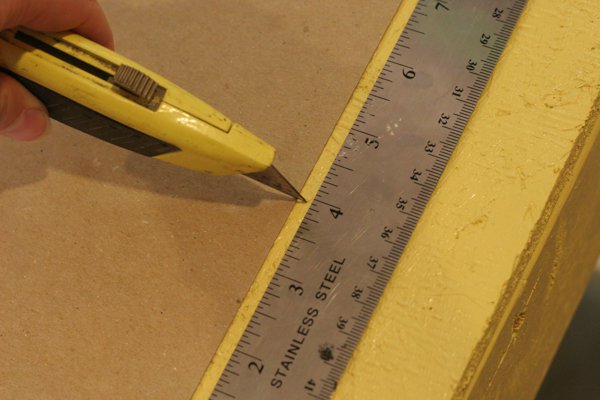
Start by cutting down the chip board to 4″ x 9.5″.
Step 2: Wrap your card
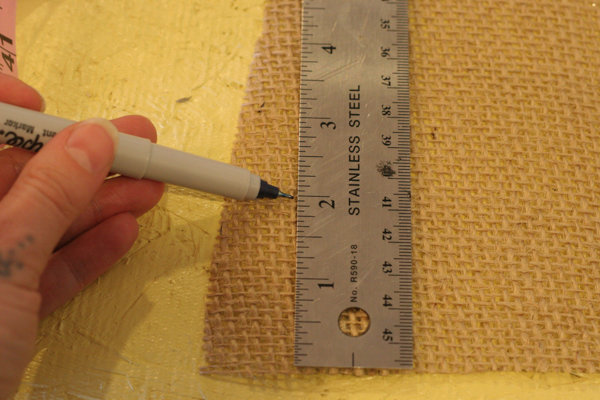
Measure the burlap out to 11.5 x 2.
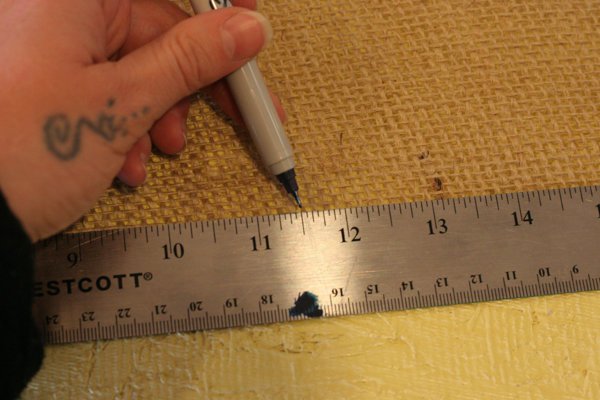
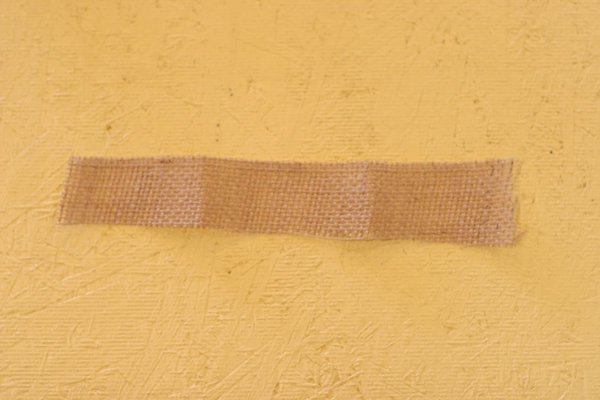
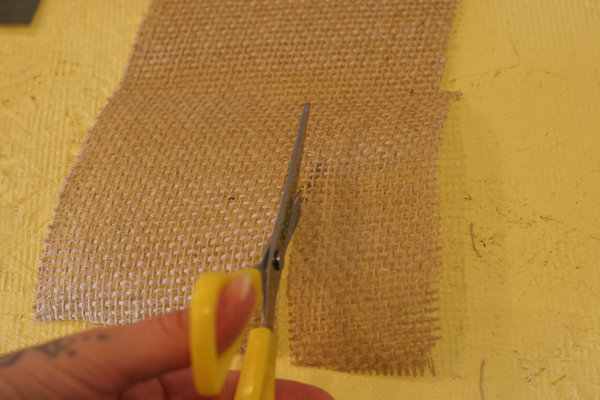
Then cut the burlap down to 11.5 x 2.
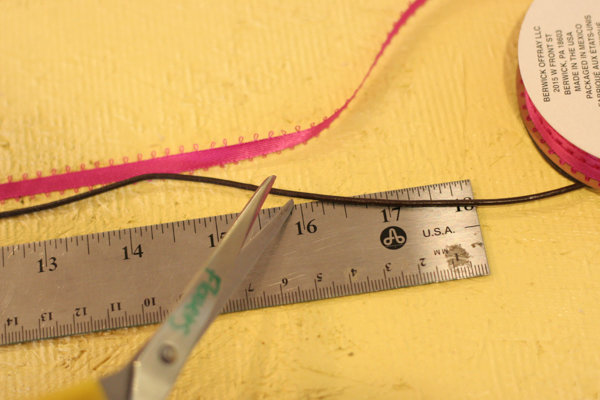
Now cut the leather and ribbon at 16 inches.
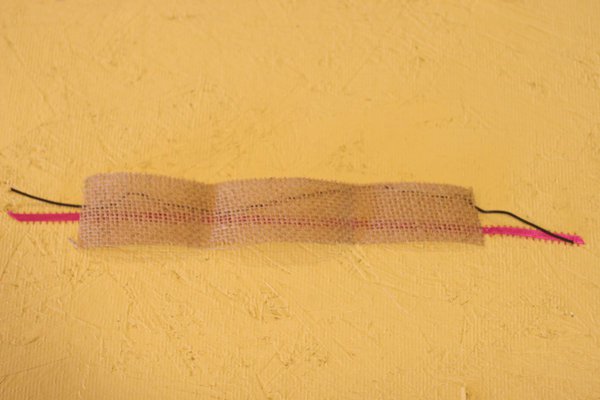
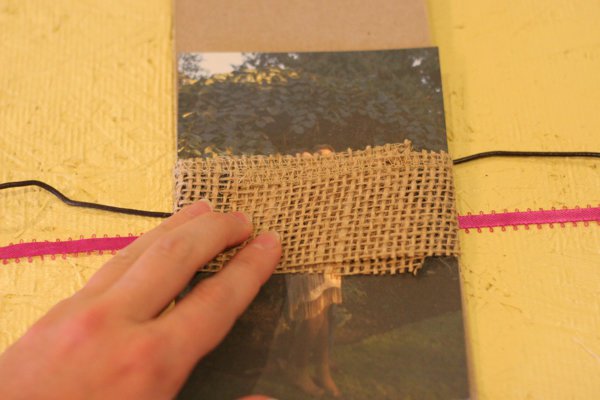
Lay out the leather and ribbon and place the burlap over it.
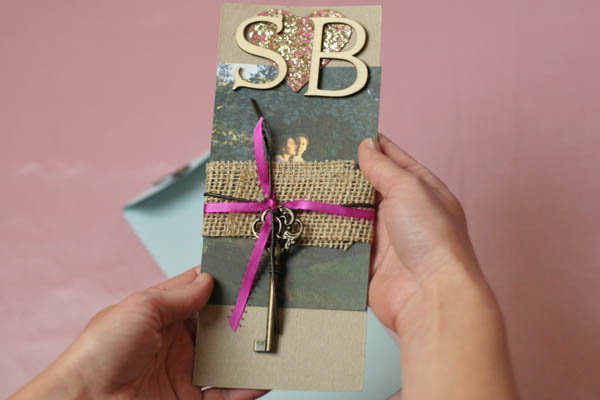
Center and place the chip board and your image, or printed invite. [ I used a photo from Flowers + Diamonds Wedding Photography], over the other pieces.
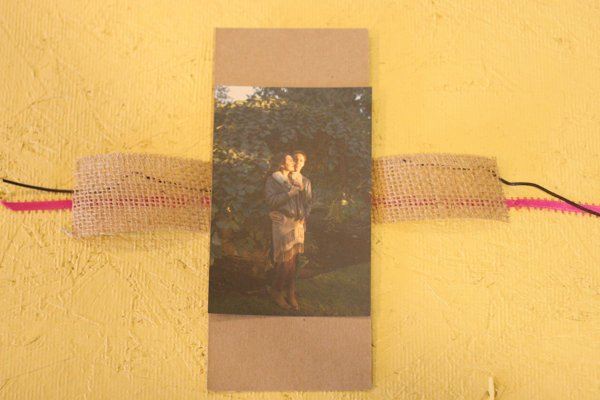
Wrap it all around the chip board and your image.
.
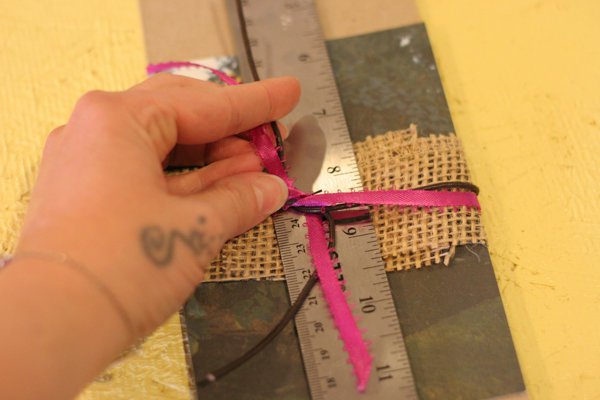
Tie the knot. Ha! Get it! I used a ruler to keep the burlap from getting crazy.
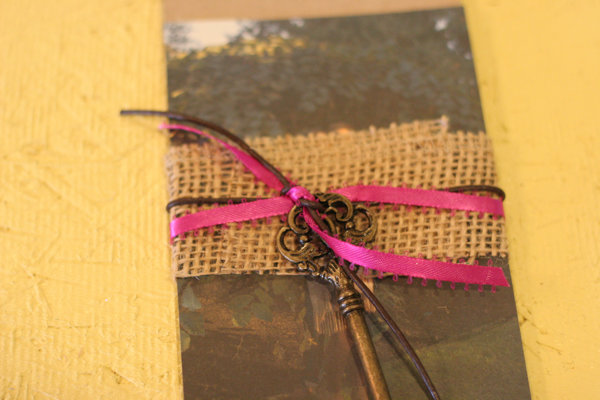
Place the key over the last knot, then tie another knot to hold it securely in place.
Step 3: Make a heart
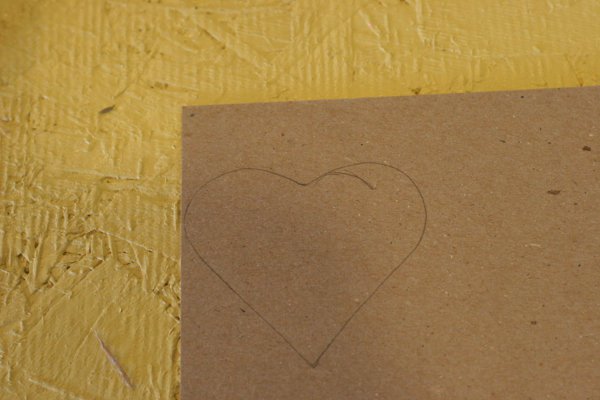
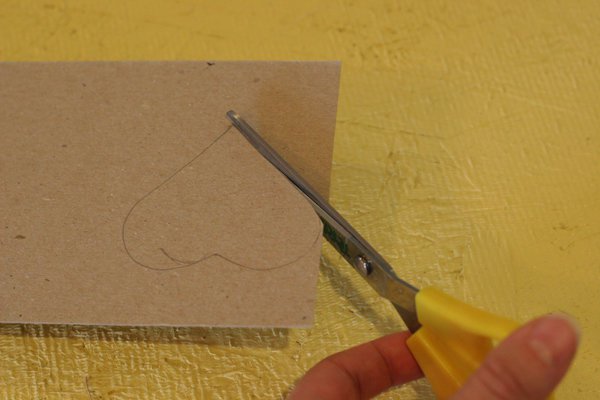
Now for the fun part! Hearts! Draw a heart onto the left over chip board.
Cut out the heart with scissors.

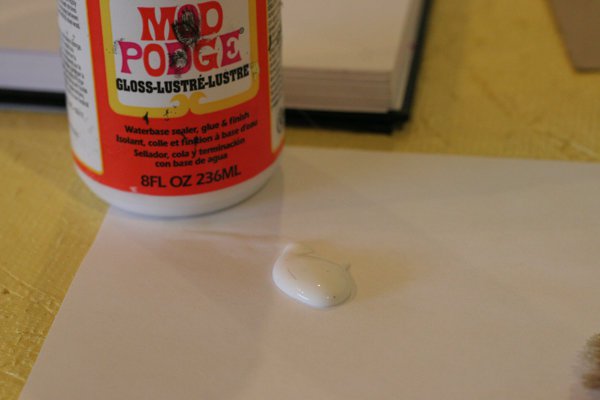
Put some Mod Podge on a piece of paper.
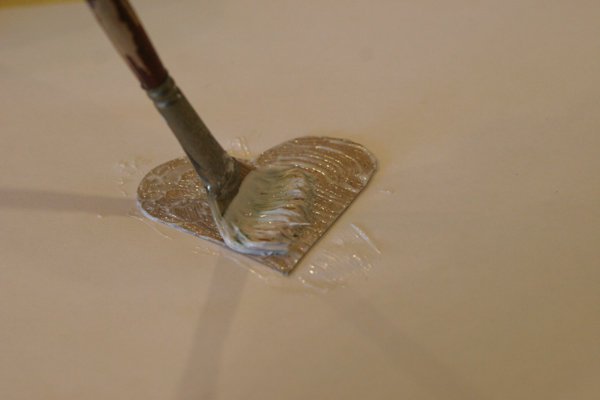
Paint the heart with the Mod Podge.
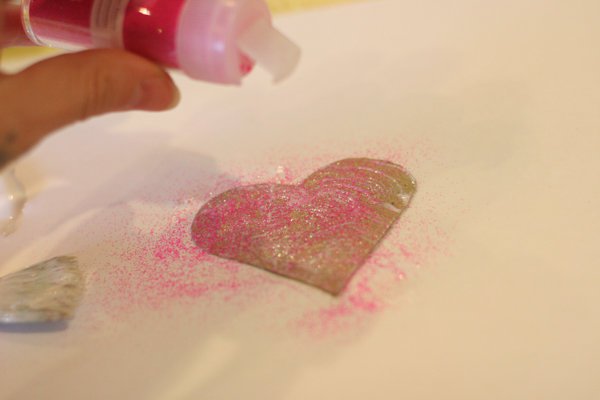
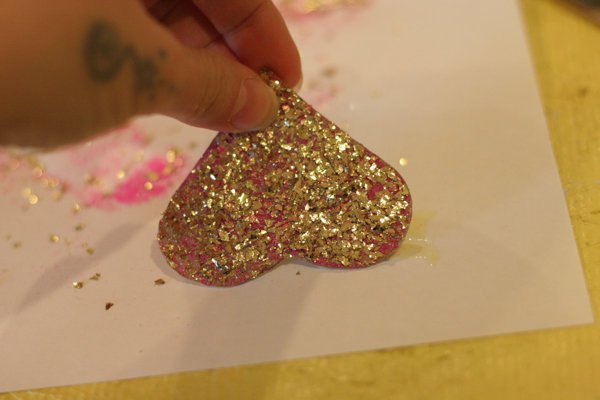
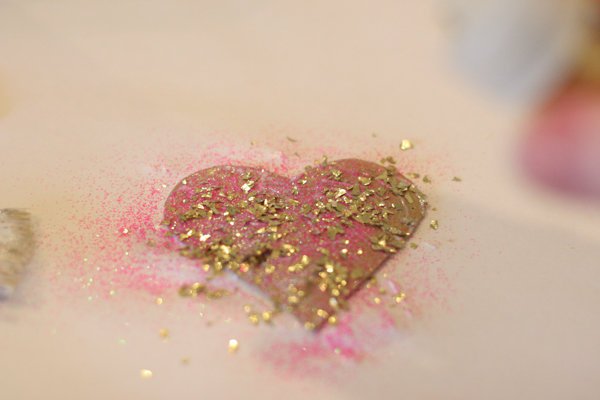
Sprinkle glitter onto the heart.
Now sprinkle Gold Glitter onto the heart!
Step 4: Attach the heart
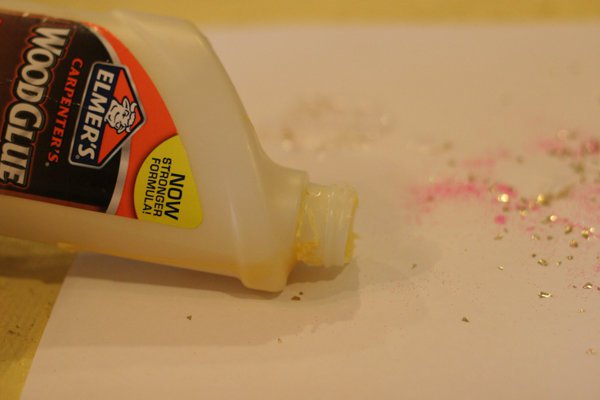
Put some glue onto the paper.
Dip your glitter heart into the glue.
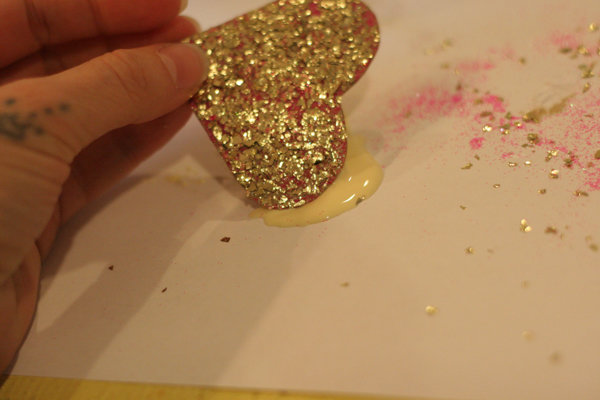
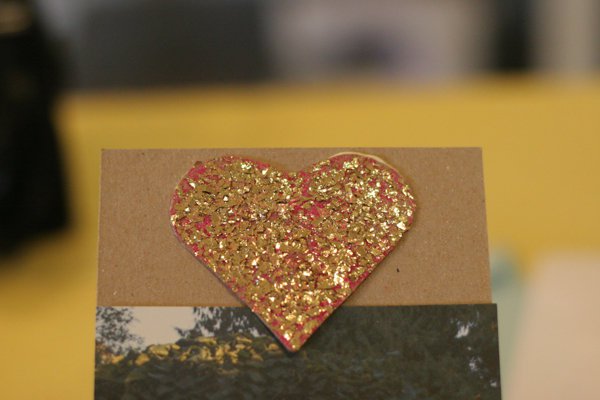
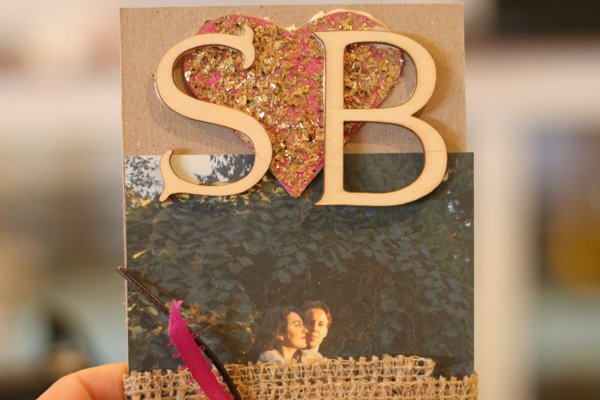
Center and attach to the top of the chip board.
Step 5: Attach your letters
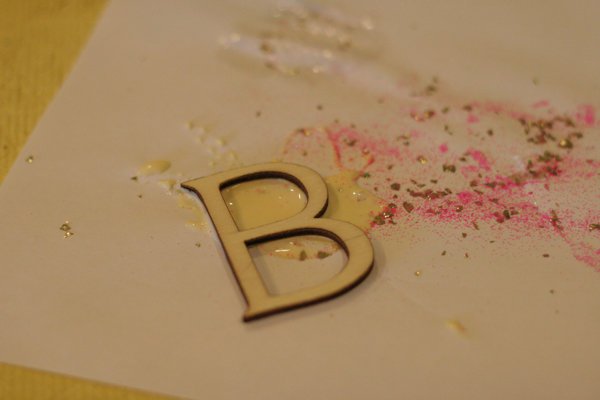
Now attach your letters the same way as the flower.
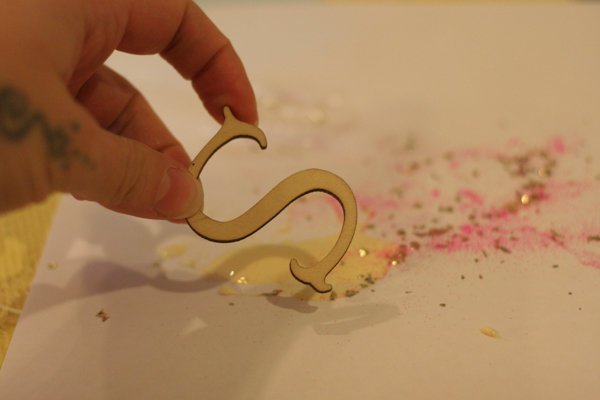
Center your initials while laying them down.
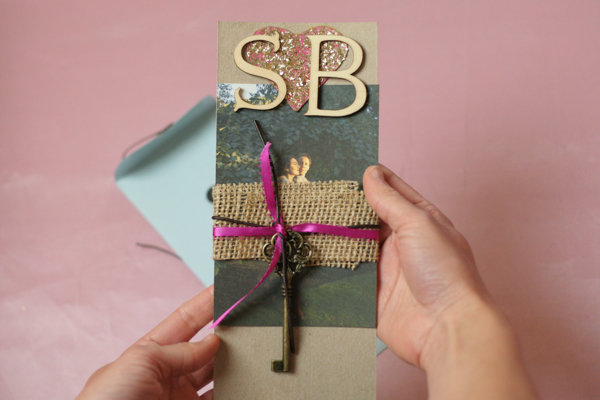
Wow look at that! A gorgeous piece of artwork dedicated to love!
DIY Wedding Invitation Sample III: Rustic Flower Wedding Invitation
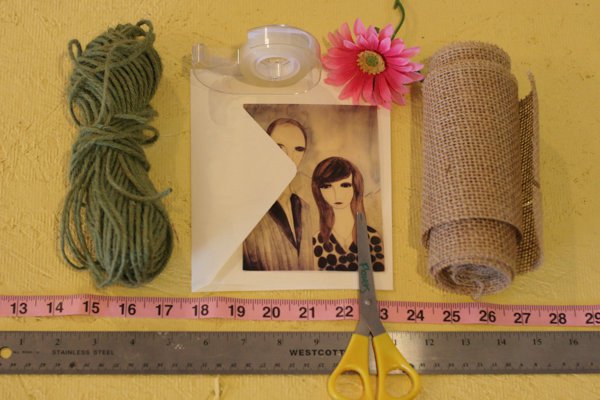
Supplies needed for this DIY wedding invite:
- Yarn
- Tape
- Flower
- Card and envelope
- Burlap
- Scissors
- Measuring tape
- Ruler
- Photo and/or printed info about your wedding
Step 1: Attaching burlap to the card
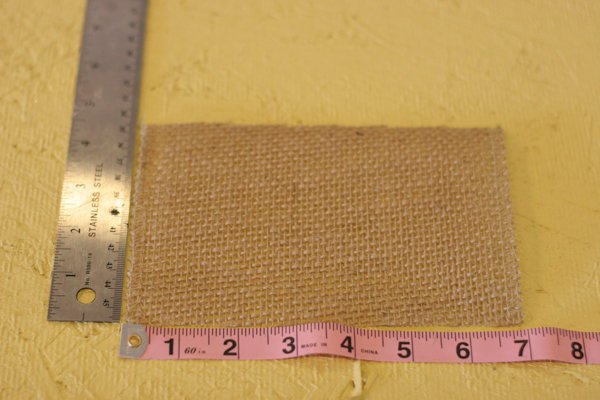
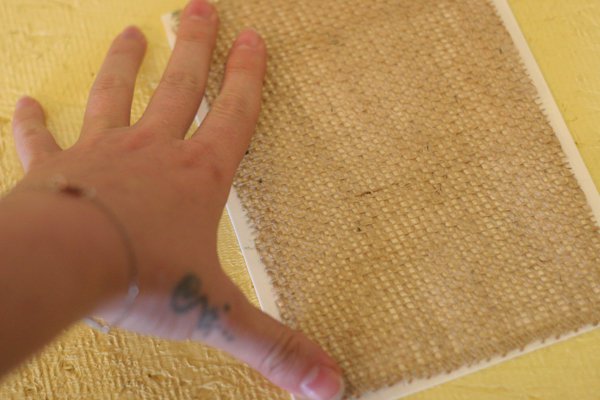
Start by measuring out your burlap to fit your card. I want mine to be 4.5 x 7.
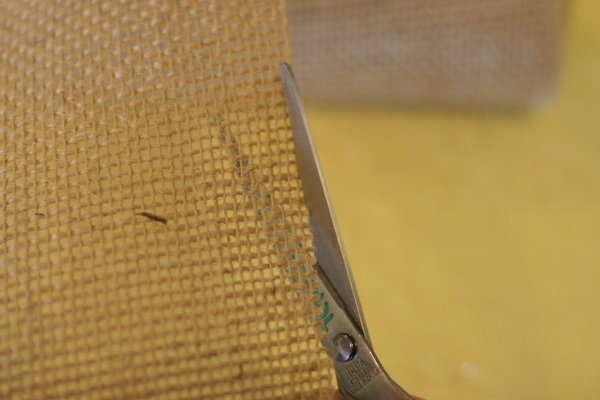
Use scissors to cut out your burlap.
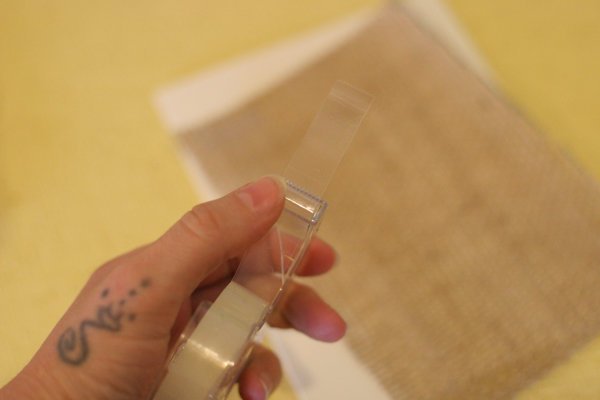
Now take 4 pieces of double sided tape and secure it to the corners of the burlap.
Push the burlap into place.
Step 2: Attach invite to card
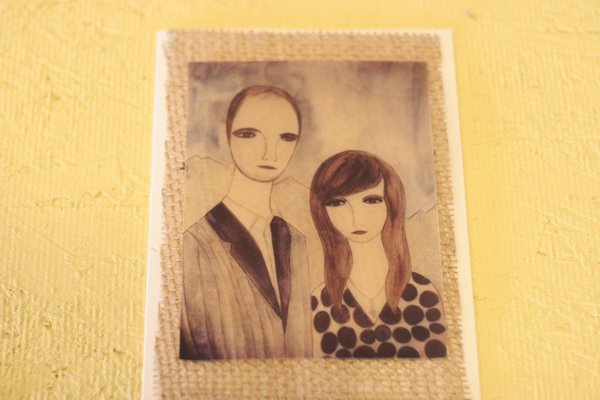
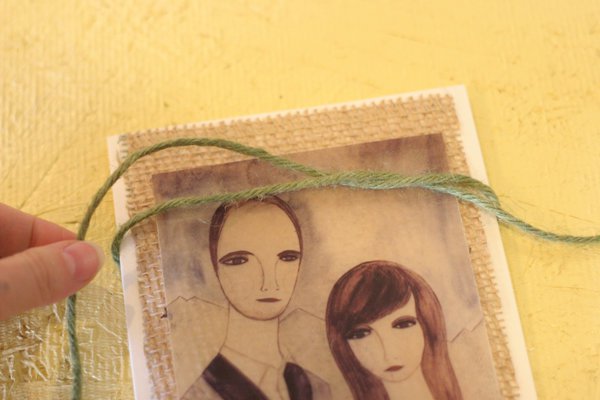
Now place your image onto the burlap using the same step as above. I used one of my illustrations I designed for two of my favorite clients and friends.
Step 3: Attaching the flower to the card
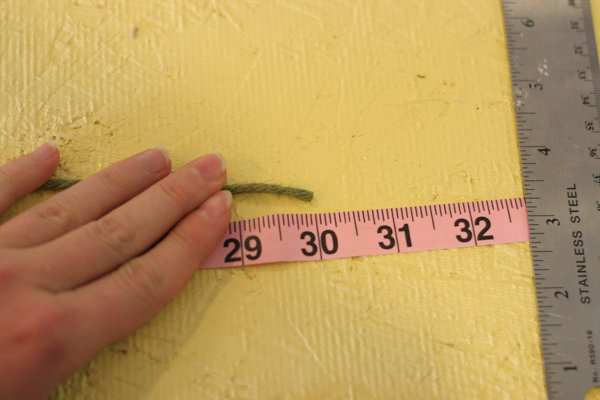
Measure out the yarn to 30 inches and cut with scissors.
Tie a knot.
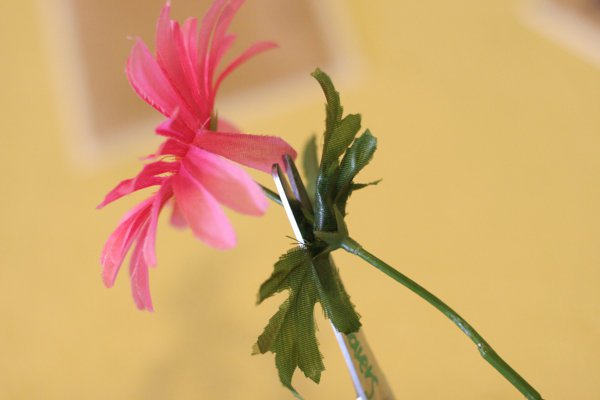
Cut the stem off of the flower.
Tie a bow around the flower to secure it to the card.
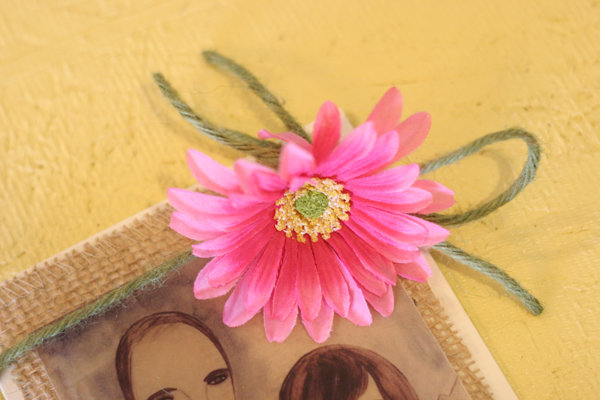
What a great little piece to get in the mail celebrating how awesome you and your love are!!
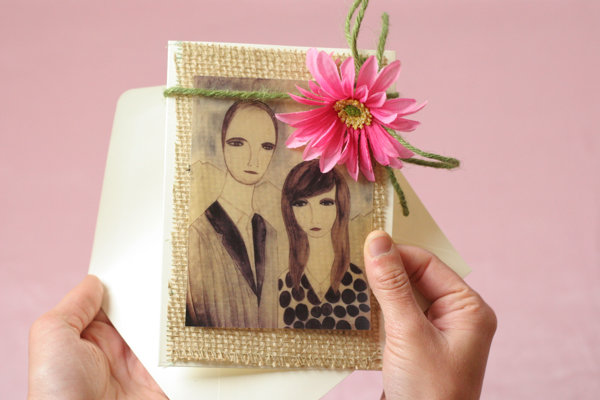
Customizing your wedding can be a fun experience, all while showing off how crafty you are! These 3 unique variations on wedding invitations are a great way to share the love! Now it is time to celebrate!
Like This Post?
Check out:
DIY Wedding Decorations | DIY Weddings
Check out more greetings card here sayitinasong.com
I’m Manas Ranjan Sahoo: Founder of “Webtirety Software”. I’m a Full-time Software Professional and an aspiring entrepreneur, dedicated to growing this platform as large as possible. I love to Write Blogs on Software, Mobile applications, Web Technology, eCommerce, SEO, and about My experience with Life.

