Paracord Knots and Hitches| How To Make Paracord Hitches
You are here: Home / Create and Decorate / Paracord Knots and Hitches| How To Make Paracord Hitches
So you want to ride your horse into town to get some chewing tobacco and a new set of spurs, but you don’t know how to hitch a horse. How embarrassing. Hitches are used to bind ropes to objects (whereas knots are technically meant to bind ropes to other ropes), and they are a necessity for the DIY survivalist and any self-reliance connoisseur. Here are four simple hitches that you can make with Paracord (or any rope, string, ribbon, lace, garter belt, whatever, we don’t judge) and practice at home.
What you do with them will no doubt go down in the annals of hitch-tory.
How to Make Four Badass Paracord Hitches
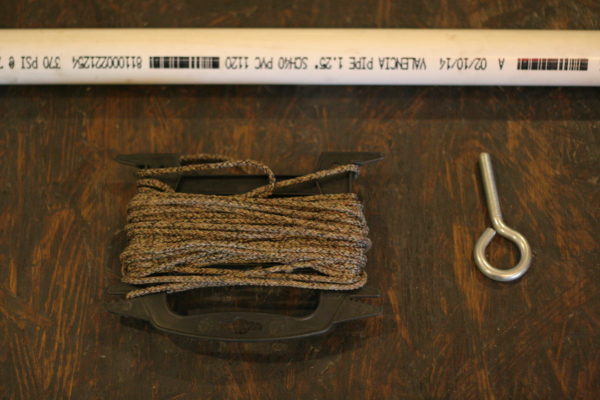
Supplies for Making Four Badass Paracord Hitches:
- Paracord
- (1) Screw eyelet (for practicing)
- (1) PVC Pipe or other straight bar (for practicing)
The Two Half Hitches
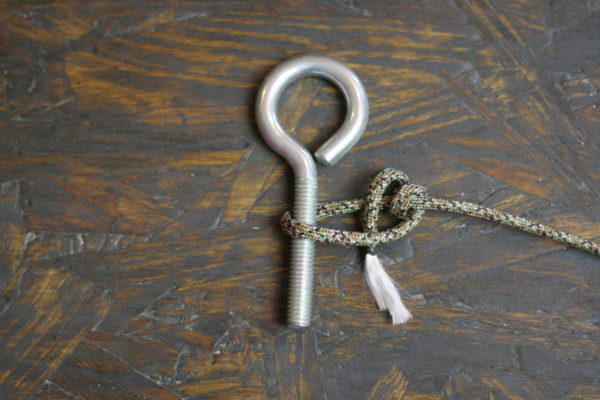
The two half-hitches is a part of a family called “binding hitches.” Not surprisingly, these types of hitches are meant to bind and, also not surprisingly, they are typically used in situations where you don’t want/need to quickly untie your hitch. You may have also heard it referred to as a “clove hitch over itself.”
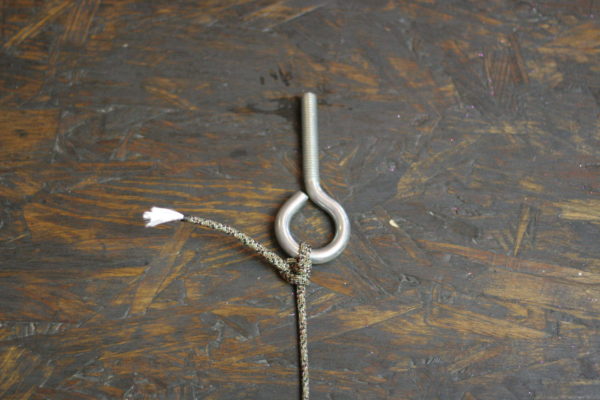
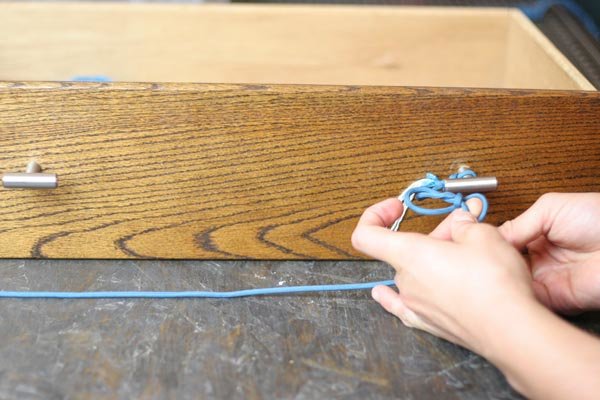
Step 1: Thread the paracord through the eyelet
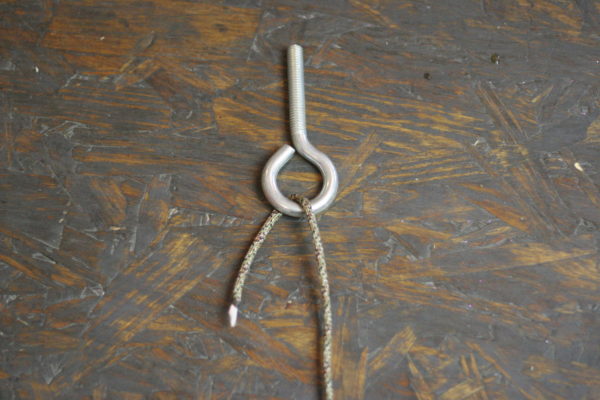
Step 2: Wrap the paracord around the outside and through the loop that it makes
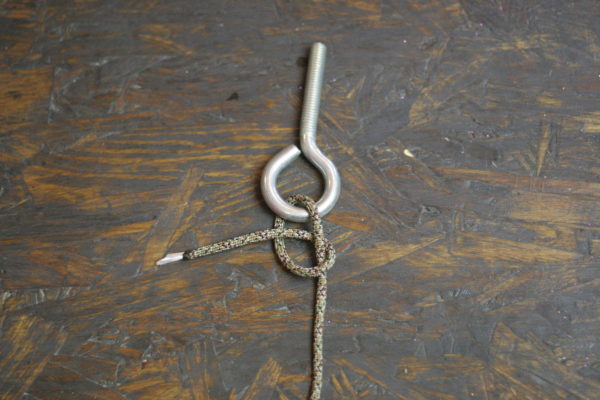
Step 3: Repeat step 2
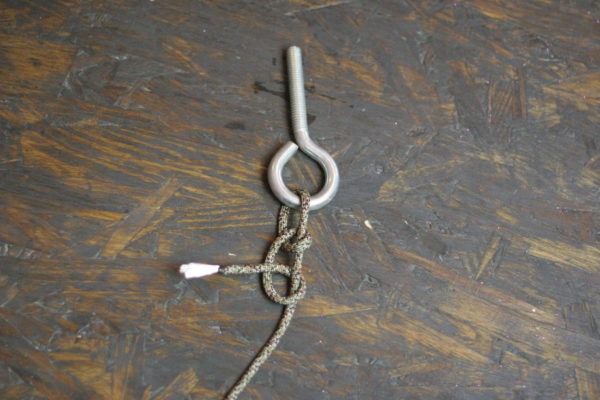
Step 4: Pull tight
Once weighted, this simple hitch seats very tightly and can be quite difficult to untie, especially with thinner rope and paracord.
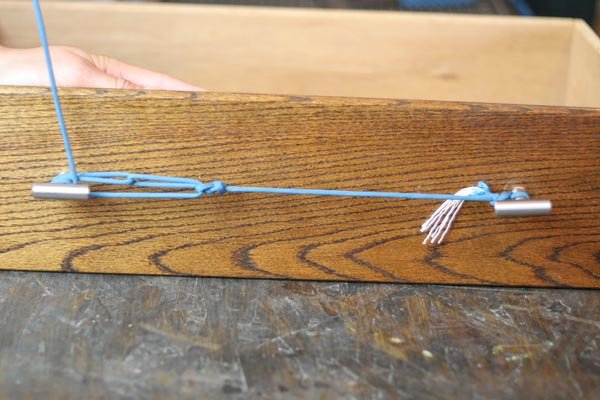
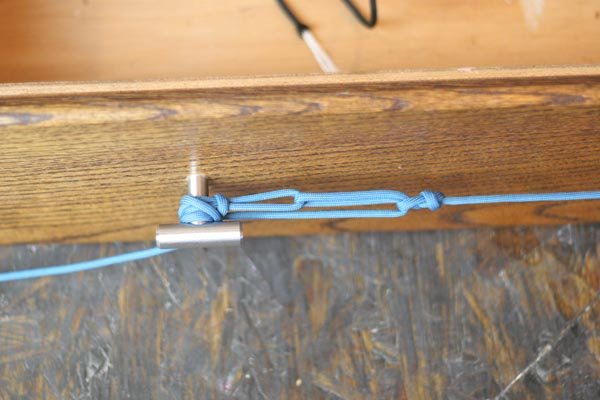
The Tautline Hitch
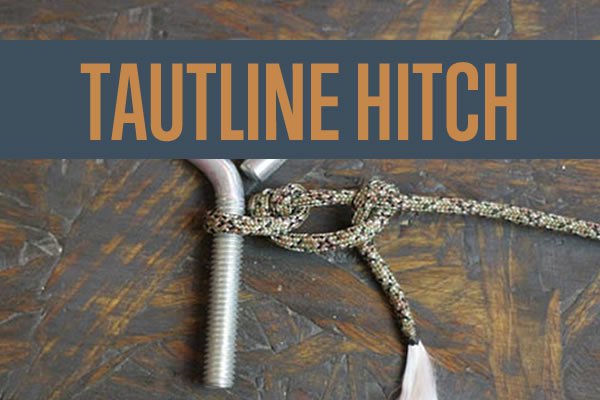
Unlike the Two Half Hitch, the Tautline Hitch is easy to untie. When it is not weighted, you can adjust its placement on your line easily, making it an ideal hitch for lashing down your tent, tarp, or any other situation where you might need to adjust the length of your line.
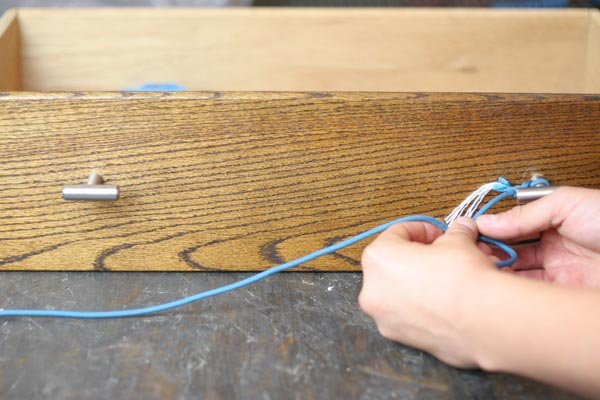
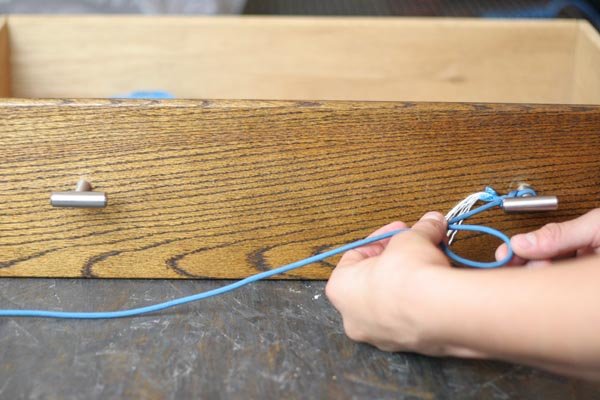
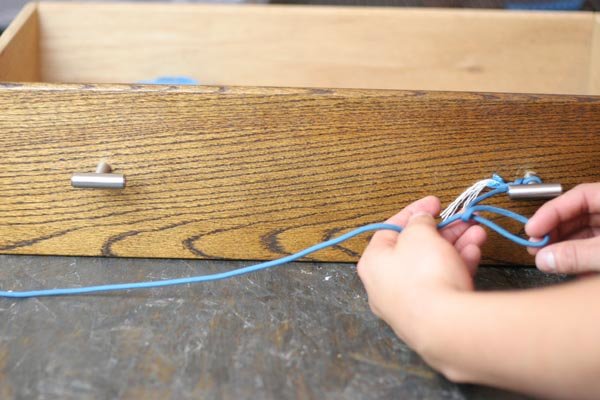
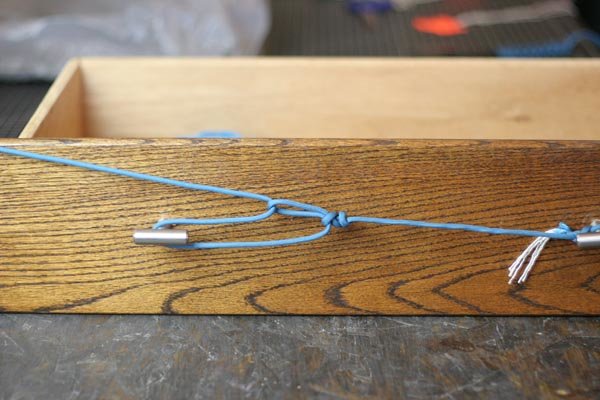
Step 1: Wrap the string around the pin and behind itself
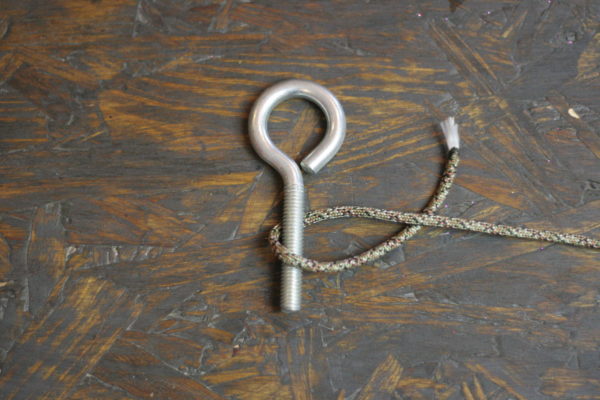
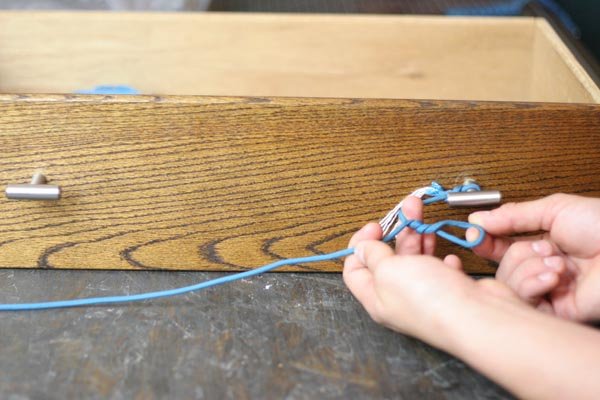
Step 2: Wrap the string over itself and through the loop two times
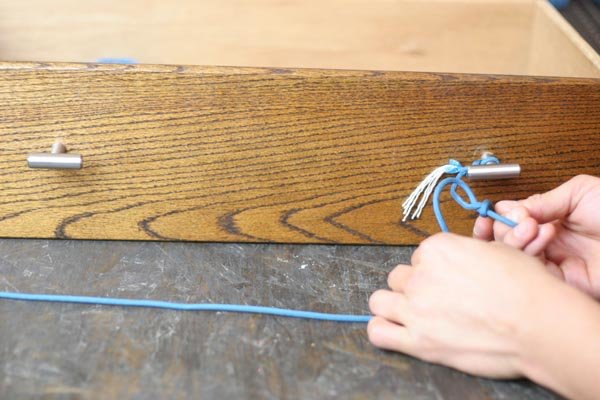
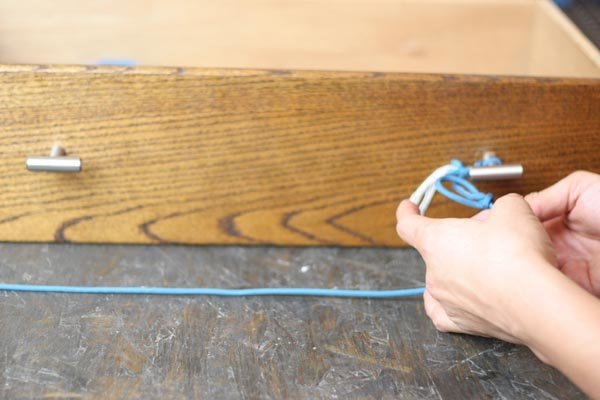
Step 3: Wrap the string over itself and through the loop again (behind, or to the right in this picture, of the other two loops)
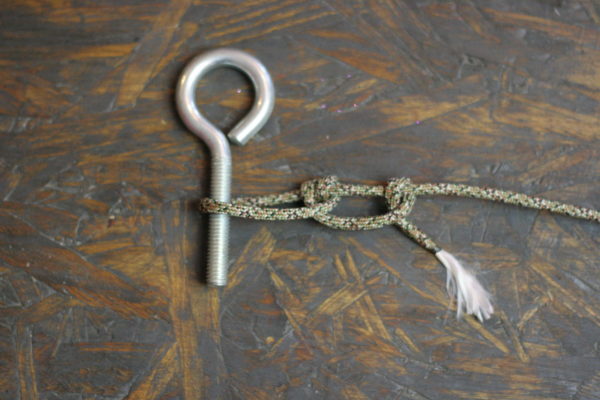
With the Tautline unweighted, slide your hitch up and down the line. It should move freely. Then pull tightly on your rope and it should cinch in place wherever you currently have it on the line.
The Slippery Hitch
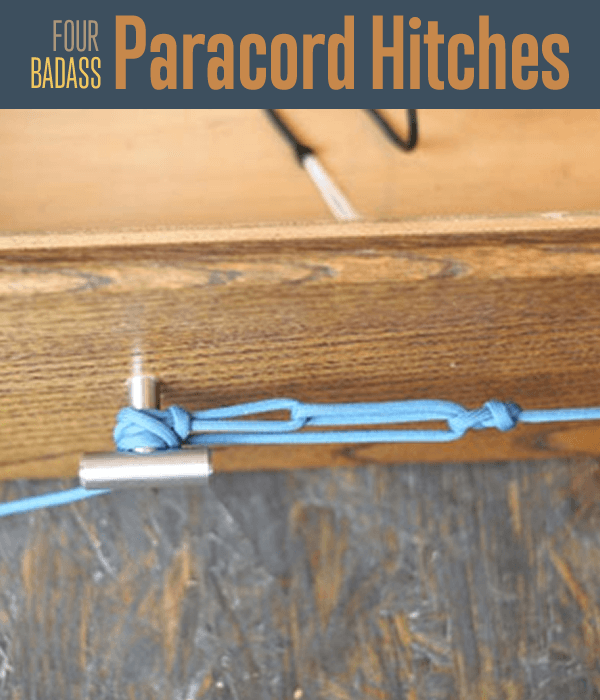
The Slippery Hitch is ideal for any situation where you may need to untie your hitch quickly. When fastened over an object, the hitch holds strong. But once the object is removed, a simple tug on the string undoes it.
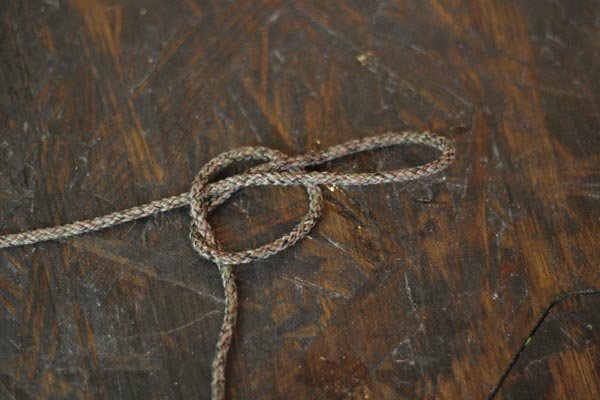
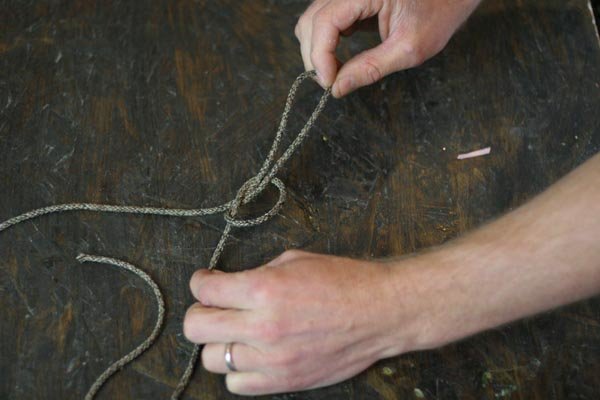
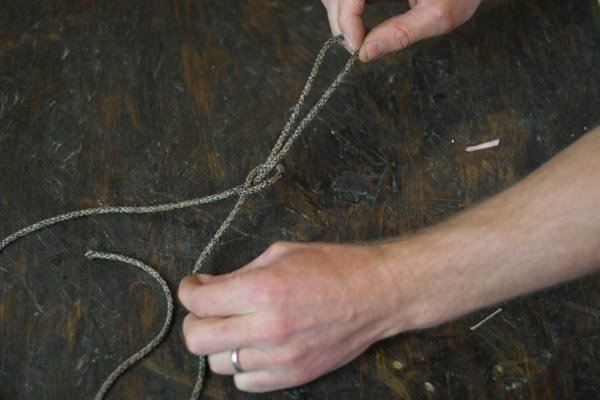
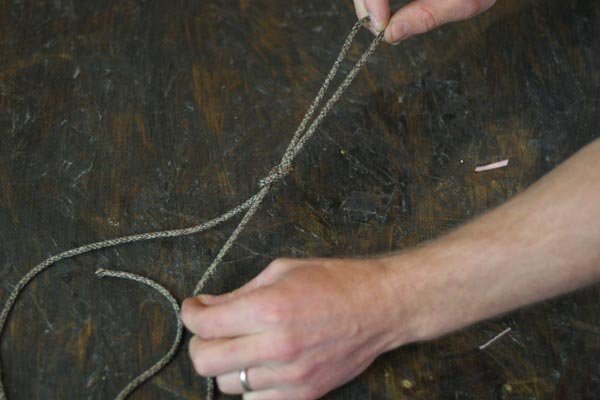
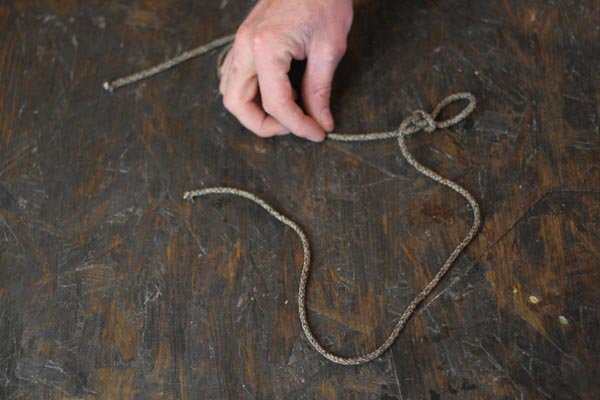
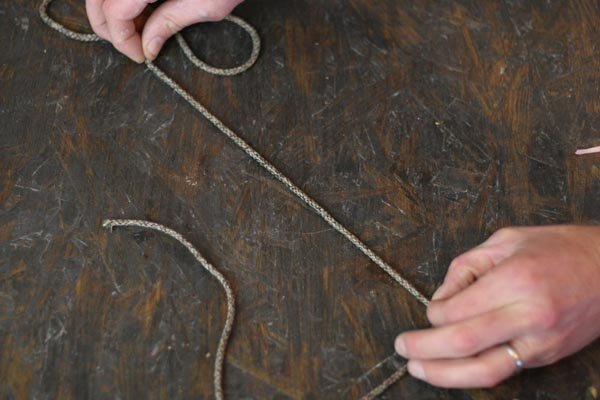
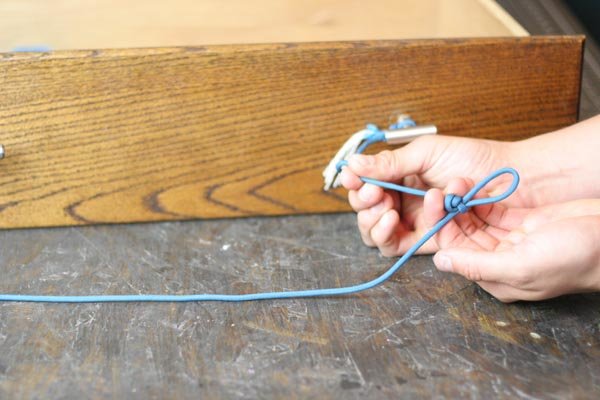
Step 1: Make two loops in your line (inverse to each other)
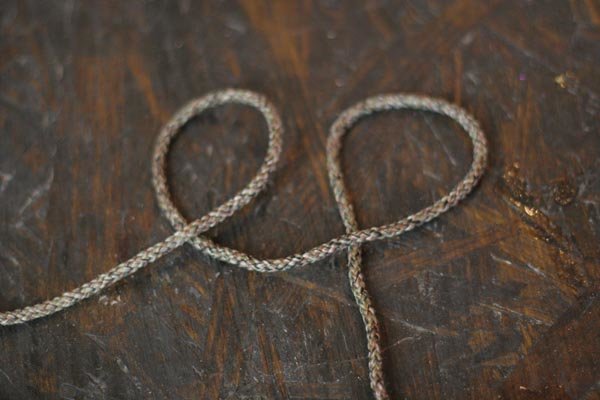
Step 2: Thread the left loop through the right loop
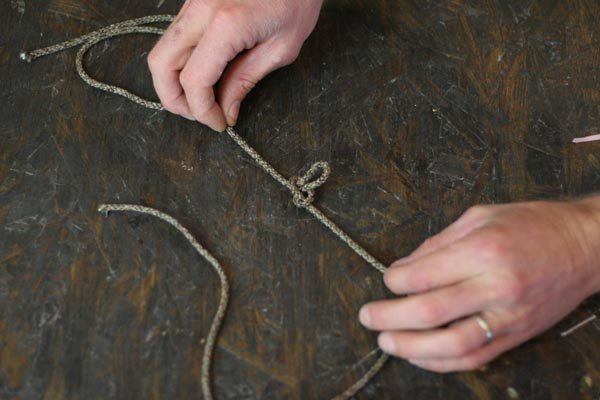
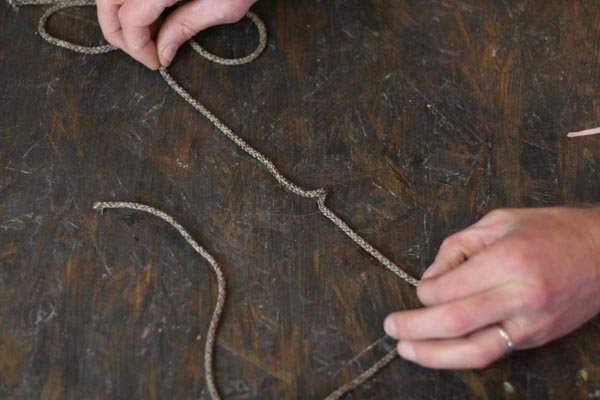
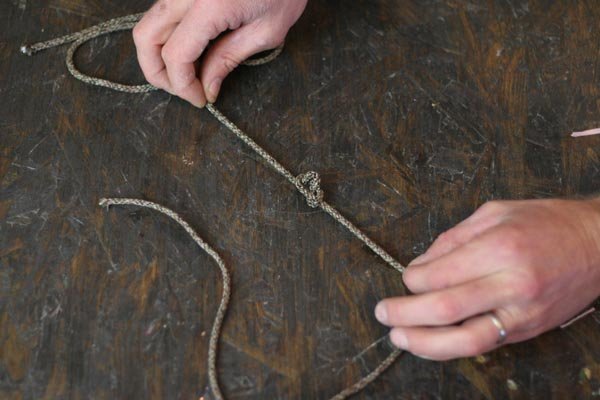
Step 3: Pull the right loop tight
Step 4: The remaining loop is what will be fastened on your object
When weighted, the loop will tighten up over the object.
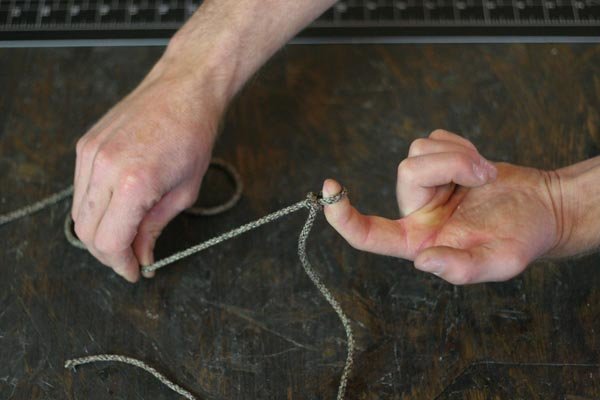
Step 5: When you no longer need to fasten to the object, take the loop off and pull either end of the rope
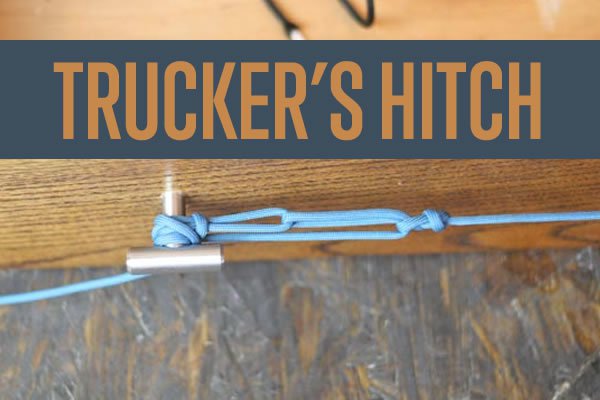
The Trucker’s Hitch
If you only have room in your head for one hitch, the Trucker’s Hitch should probably be it (though if you are that slow…you probably aren’t reading this). While it could be used in any situation where something needs to be secured as tightly as possible, it’s most obvious use is fastening things to the top of your car or into your truck bed.
Step 1: Hitch one end of your rope to a point (Perhaps use one of the hitches you just learned!)
It doesn’t matter how you affix this end, as the trucker’s hitch will evolve from this fixed point.
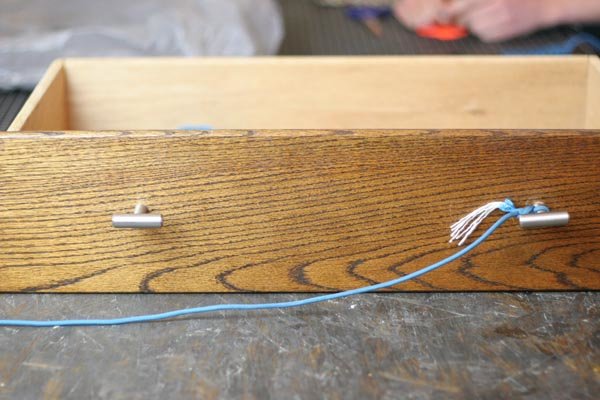
Step 2: Make a loop in the line outside your initial tie-down point
Step 3: Twist the loop three to four times
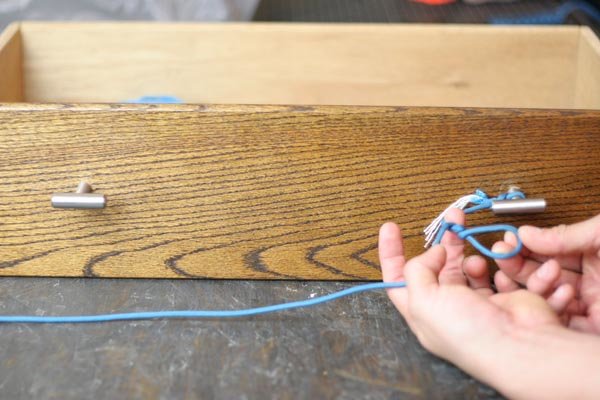
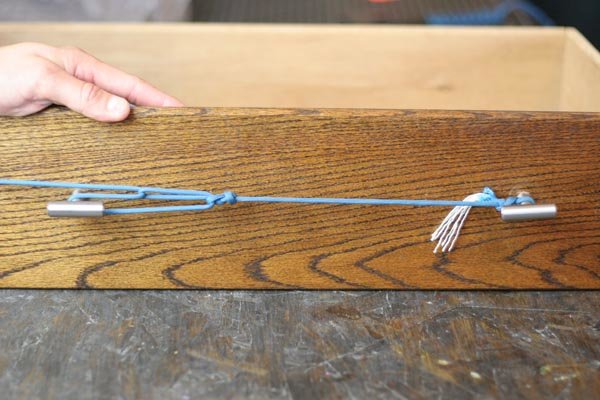
Step 4: Make a Slippery Hitch
Take the free end of your line and feed a bite of it through your twisted loop.
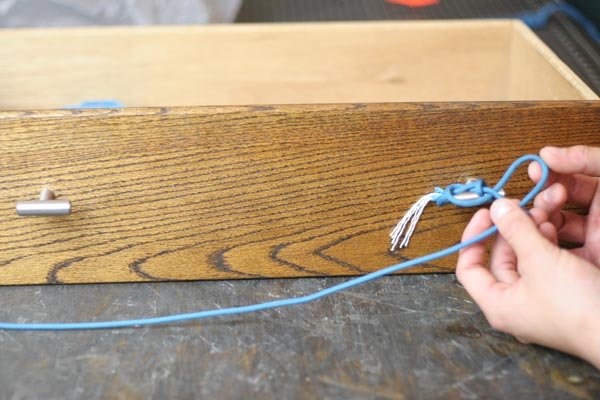
Step 5: Tighten up the Slippery Hitch
Take your line and pull it tight so the loop is cinched into place.
Step 6: Wrap the free end of your string around another point
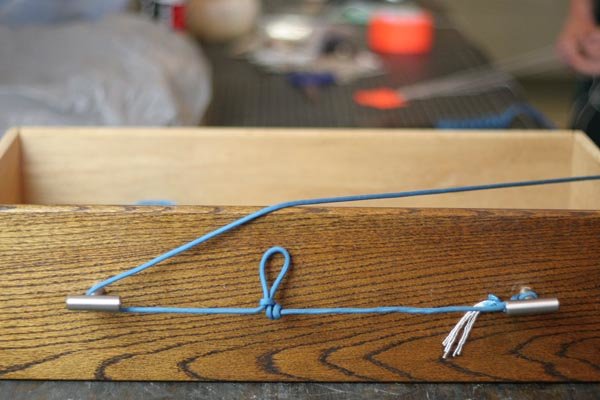
Step 7: Feed the string through the Slippery Hitch
Step 8: Pull as tight as you can
Step 9: Fix the loose end in place with another hitch
Through any hitch (we used a two-half from above) onto the second point with the rest of your line.
Now you have at least four hitches in your arsenal. Try practicing these hitches once a week until you know them by heart. Once you have them mastered, be sure to check out our other paracord tutorials and become a knot tying expert!
Like this post?
Check out:
I’m Manas Ranjan Sahoo: Founder of “Webtirety Software”. I’m a Full-time Software Professional and an aspiring entrepreneur, dedicated to growing this platform as large as possible. I love to Write Blogs on Software, Mobile applications, Web Technology, eCommerce, SEO, and about My experience with Life.

