Ombre Rope Dog Leash | DIY Pet Projects
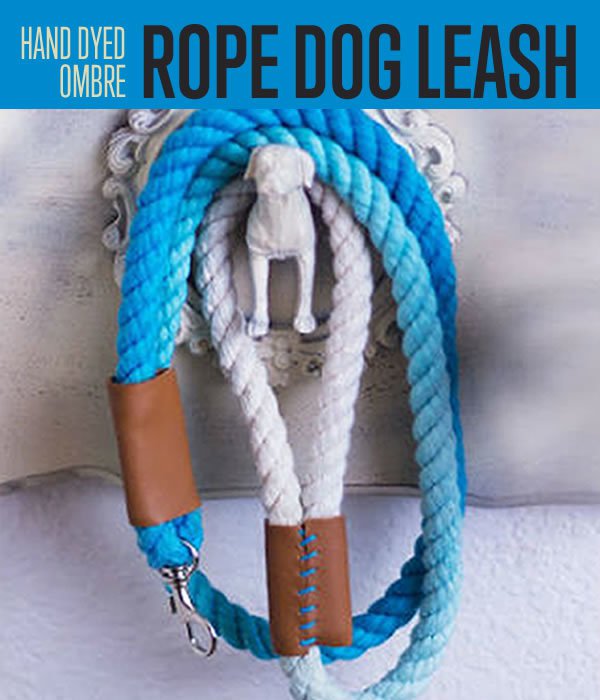
Walk your dog in style with this dip-dyed ombre rope leash! These sell online for a hefty price, and making one yourself with be fun and frugal project.
Supplies:
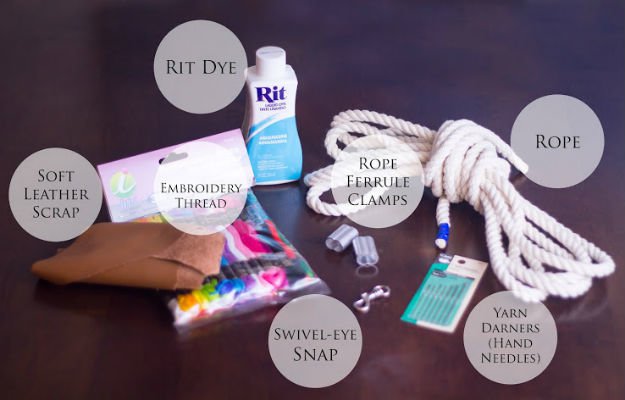
-Three strand rope (2 yards). I got my ⅜” wide rope from the Knot & Rope Supply website at this link. They also offer thicker and thinner rope for larger or smaller dogs.
-Rit Dye. Available from Amazon.com, Michael’s Crafts, and many other places.
-Rope ferrule clamps from your local hardware store. I would recommend taking your rope into the store with you to size it (my ferrule clamps ended up being really hard to get the rope through, so I wish I’d taken my rope into the store!)
-Swivel eye snap. Available from Amazon.com or your local hardware store.
-Hand darning needles. I got mine from Amazon.com at this link.
-Embroidery thread in the colors of your choice.
-Leather scraps. I had leather handy in a scrap bag, but I know that Michael’s Crafts sells bags of scrap leather that would work splendidly.
Other Household Items to Have on Hand:
-Tape (masking or electrical will work best)
-Scissors
-Hammer
-Nail
-Bowl
-Big soup pot (grab one from Goodwill that you can keep as a “crafting pot”, because it isn’t recommended that you eat out of your pot after you heat Rit Dye in it)
Step 1
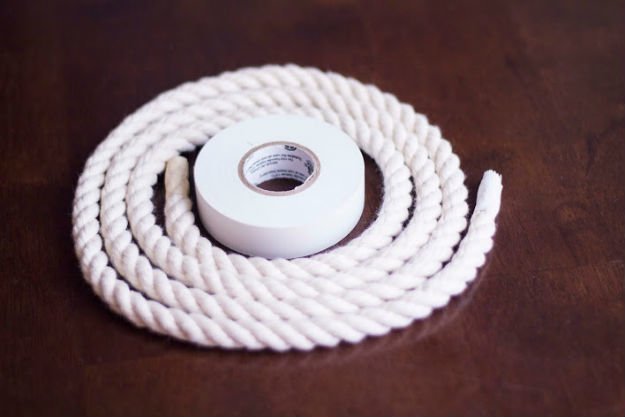
Cut the rope to your desired length. I cut mine to 5 feet long, and it made a nice, average leash. If you want it a little longer, you can cut yours to 6 feet or more. After you cut the rope, tape off the ends to make sure they don’t fray. Try to bind the ends nice and tight so that threading the rope through the ferrule clamps will be easier later in the process.
Step 2
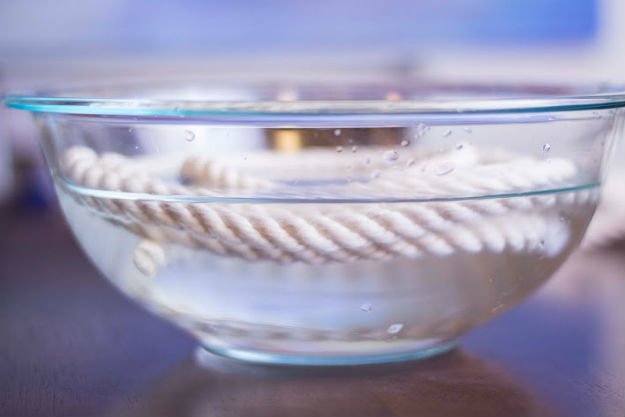
Soak your rope in a bowl of warm water – this will really help your dye soak evenly through the rope in a few minutes.
Step 3
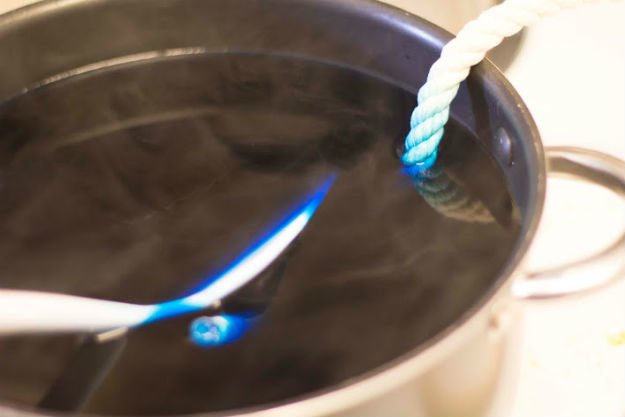
While your rope is soaking in the warm, clean water, you can mix up your Rit Dye on the stove. Turn the stove to a temperature between medium and high (don’t boil the water), and add your Rit Dye. Because you will be working on the stove, with a small quantity of water, and with a little rope, there isn’t a hard and fast rule for how much dye to add. I added about half of my Rit Dye bottle to the pot of water, and that seemed to work very well!
Step 4
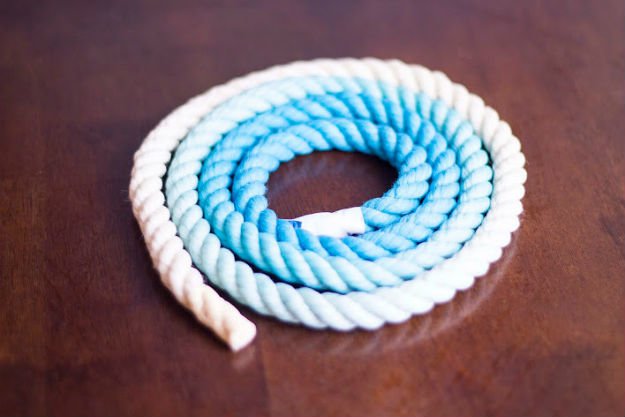
After about ten minutes of letting your rope soak in its bowl and your dye heat on the stove, it’s time to start dip-dying! 1-Dip a couple of feet of your rope into the pot of dye and let it sit for a while (I let this first part sit in there for about 30 minutes). I had to use a plastic spatula to hold the rope under the water, because it wanted to bob to the top! 2- Once the first part of your rope is nice and vibrant, dip another foot of rope into the water (keeping the first part in there, as well), letting that sit for about 5 minutes. 3- Once 5 minutes is up, quickly dip another foot of rope into the water for just a few seconds and move on to the rinse process.
Step 5
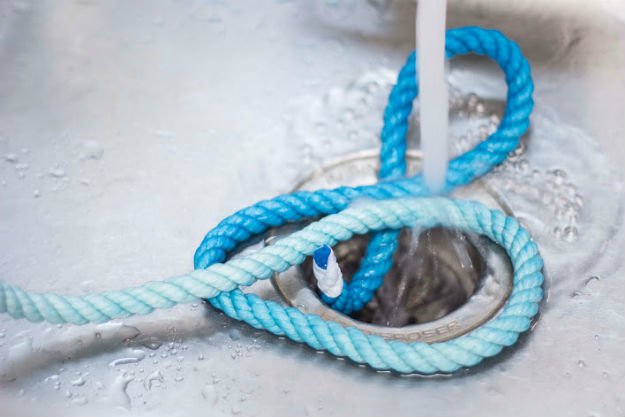
Working from the lightest part of your rope downward, rinse everything out with cold water until the water runs clear.
Step 6
Let your rope dry for a while (you can blow dry it if you’re in a hurry), and decide which end of the rope you want to use as the handle and which end you want to use for the snap.
Step 7
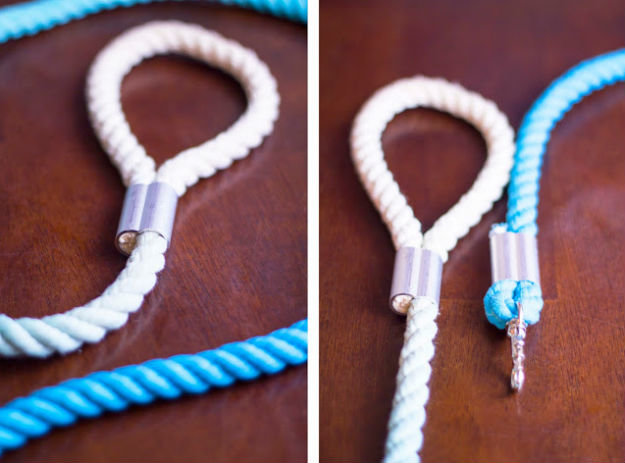
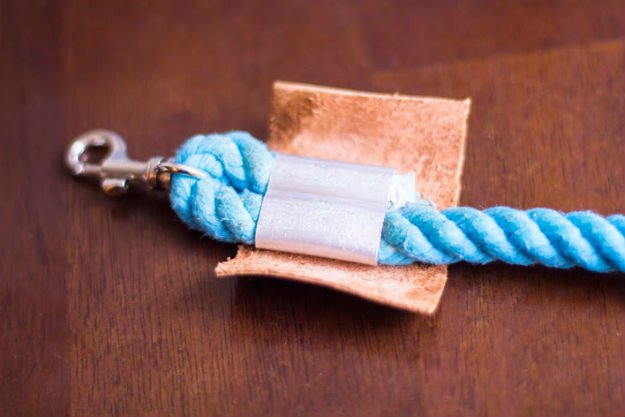
Thread the rope through the ferrules as pictured in the photo for Step 7. It took me absolutely ages to wedge mine both in there, because I got ferrules that were just a tad too small. That’s why I’d recommend taking your rope into the hardware store with you when you buy the ferrules, haha.
Step 8
Lay the ferrule sections flat on a hard, protected surface and smash them with a hammer along the wide, flat sides. Easy as that (and quite a lot of fun). It only takes a few whacks with the hammer to lock those ropes into the ferrule for good.
Step 9
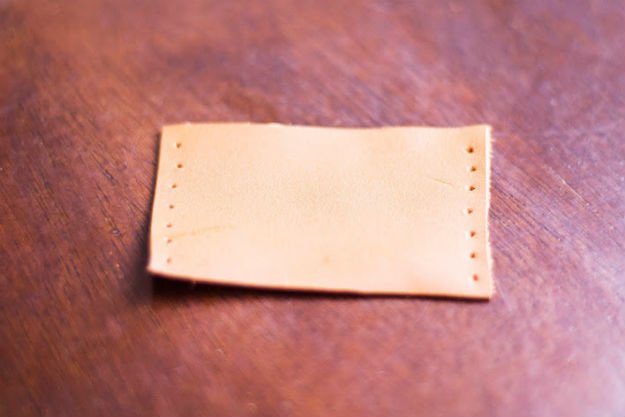
Your leash is technically done, but why stop here! Is it strong and functional? Yes, but what about those ugly, metal, hammer-smashed ferrules – let’s cover those up in style! Cute a rectangle of leather that will wrap all the way around the ferrule and cover it completely.
Step 10
To make the next step easier, use a nail and hammer to pound little holes along the edges of your leather rectangles.
Step 11
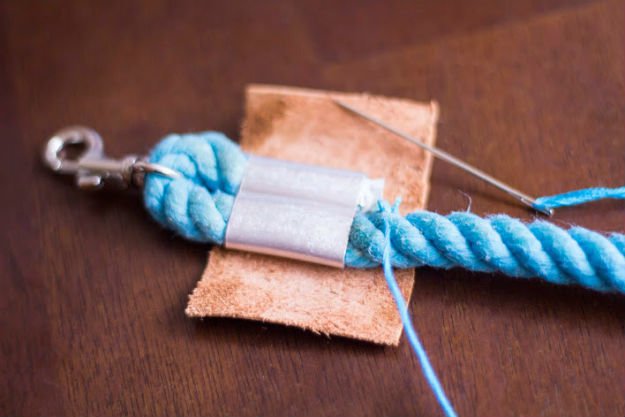
Pick an embroidery thread color, thread it through one of the darning needles, and tie a knot at the bottom. We’ll want to hide the knot, so pierce through the rope, just inside of where the leather strip will go, and pull the thread through until the knot catches at the bottom.
Step 12
Working back and forth in a zig-zag pattern, sew your leather edges together (tightly!) where they meet.
Step 13
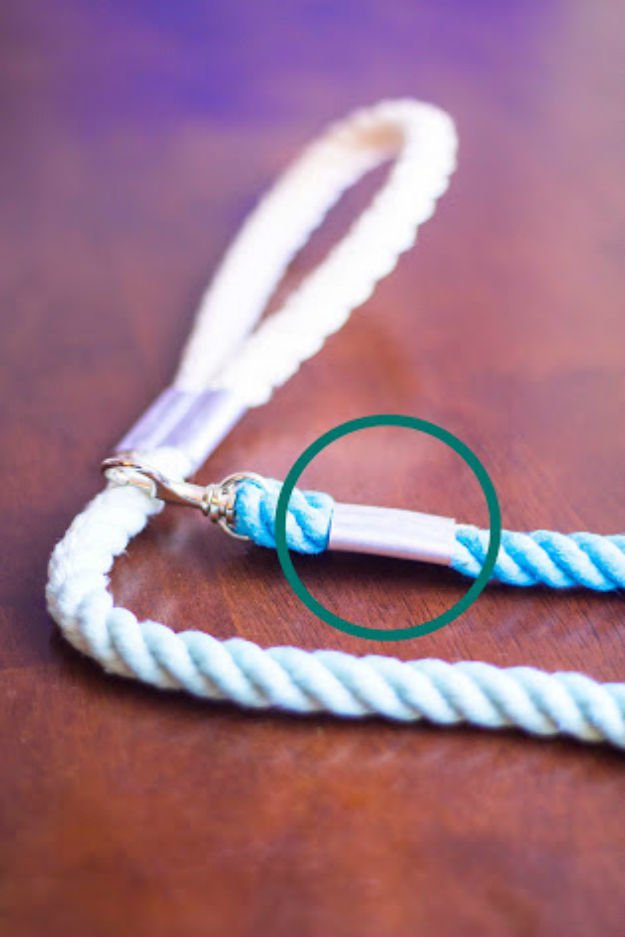
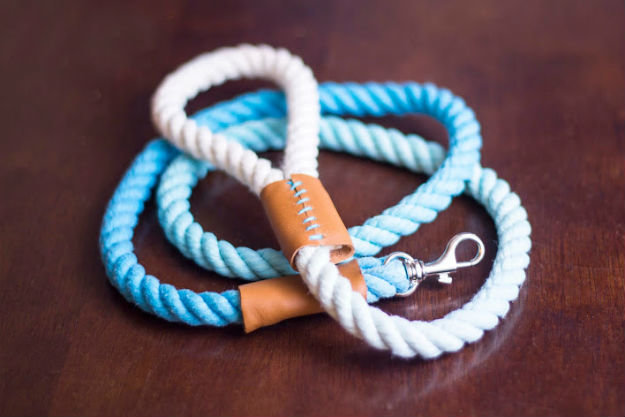
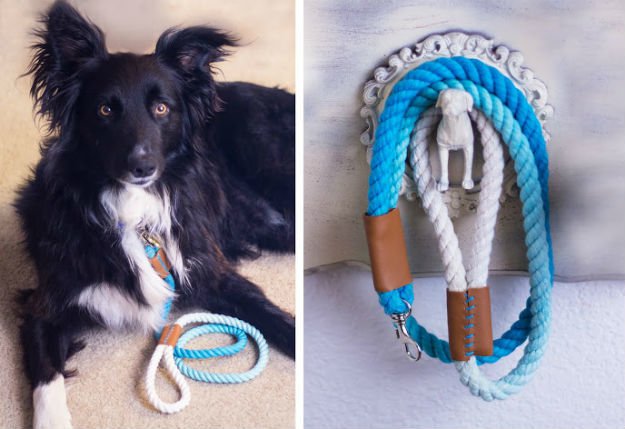
You’re done! This is what it will look like when both leather sections are sewed on. Now grab your dog and stroll down the sidewalk in style.
Want more pet projects to show your love? Check out these other posts just for you pet lovers:
-
DIY Fabric Dog Collar | How to Make a Dog Collar
-
How To Make a Shabby Chic Dog Leash and Treat Wall Hanger | DIY Pet Project
-
Easy DIY No Sew Dog Jacket
-
15 Homemade Dog Treats | Recipes and Instructions
-
Easy DIY No Sew Dog Jacket
-
How To Make a Chic Dog Sweater
-
How to Make a Paracord Dog Collar | Instructions
-
DIY Dog Crafts Man’s Best Friend Will Love
-
Awesome DIY Pet Projects to Keep Your Furry Friends Happy
-
15 DIY Pet Projects & Recipes
-
12 DIY Dog Clothes and Coats
I’m Manas Ranjan Sahoo: Founder of “Webtirety Software”. I’m a Full-time Software Professional and an aspiring entrepreneur, dedicated to growing this platform as large as possible. I love to Write Blogs on Software, Mobile applications, Web Technology, eCommerce, SEO, and about My experience with Life.

