Mason Jar Crafts | Homemade Rainbow Cake | Recipe
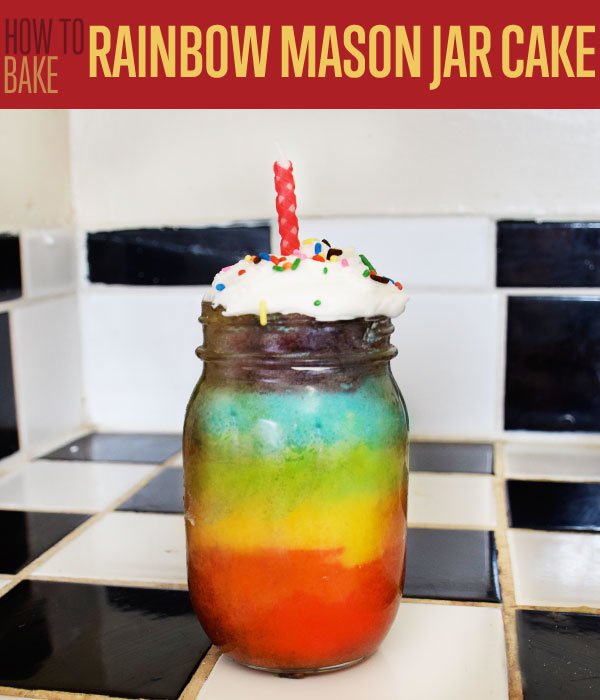
Delish, reusable, and an instant smile maker, this mason jar craft really takes the cake. Our mason jar rainbow cake is bursting with flavor and fun, making this baking project perfect for the whole family.
If giving this cake as a gift, remember to include this little riddle: “this rainbow has no ends, so where is the pot of gold?” after the first bite, they are sure to know the answer!
(Because it’s good, not because you put a gold nugget in it. Which would be awesome…because it would pay for their dental bill)
How To Bake A Mason Jar Rainbow Cake:
Supplies Needed To Bake A Mason Jar Rainbow Cake:
- 1 stick of softened butter
- 3 cups of sugar
- 2 eggs
- 1 tsp of vanilla extract
- 4 cups of plain flour
- 1 cup of milk
- Food coloring gel in red, blue, yellow and green
- Icing
- Sprinkles
- Mason jar
- Baking tray
- Electric mixer or wooden spoon
- Mixing bowl
- 7 small bowls
Step 1: Mix Sugar and Flour
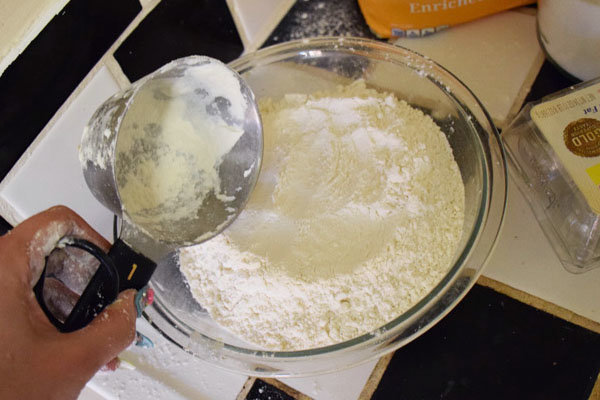
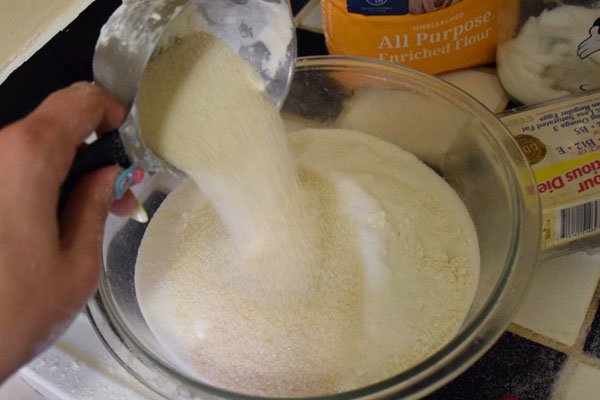
Preheat your oven to 350 degrees, and then get your materials out for cooking! Add 3 cups of sugar and 4 cups of flour to your large mixing bowl. Use your mixer or spoon to slowly stir up the foundation of our cake.
Step 2: Add Eggs And Butter
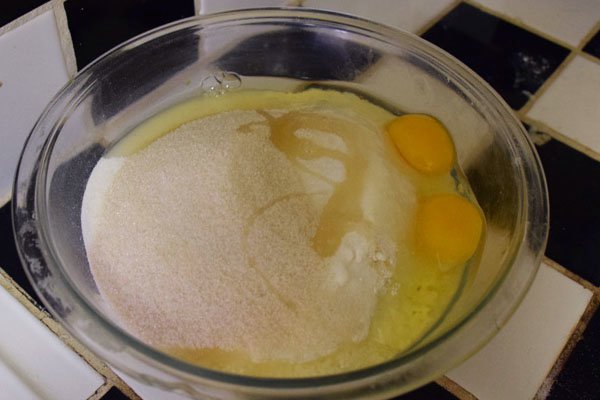
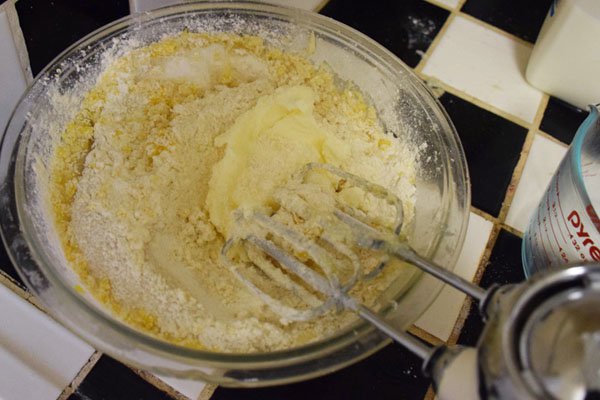
Add each egg one at a time, then your stick of butter, and mix together gently to avoid the mix going everywhere (trust me on this one). Just pulled your butter from the fridge? Transfer butter to a microwave safe container and nuke for 20-30 seconds.
Step 3: Mix In Vanilla Extract And Milk
Milk and Vanilla will help give our cake flavor and texture. Mix in slowly to avoid any spilling.
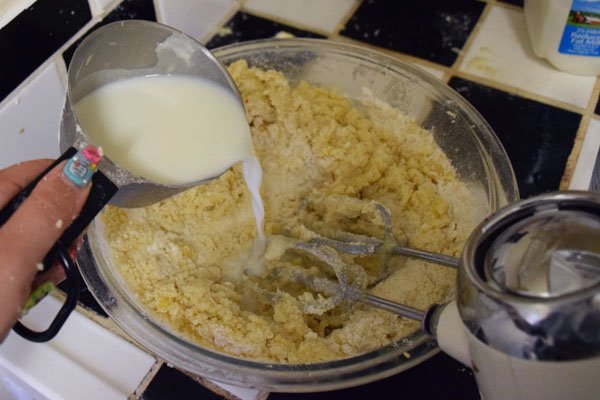
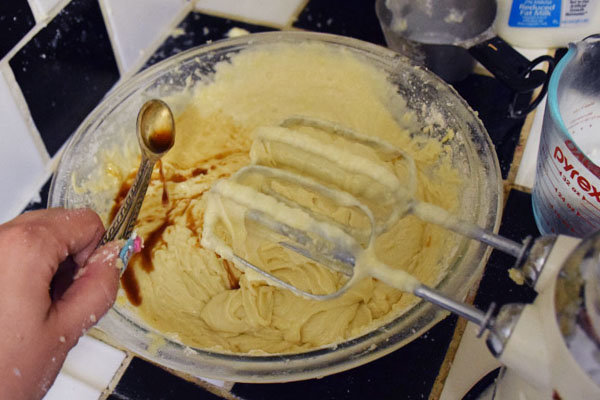
Step 4: Distribute Batter And Add Color
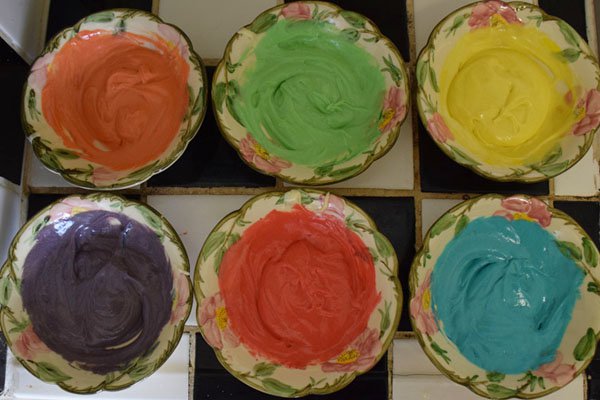
Distribute about a cup of the batter into each bowl, then take our your food coloring gel and squeeze out a small amount into all of the bowls. You may have noticed that there are 7 bowls and only 4 colors of gel to work with. Mix red and blue to make violet, red and yellow to create orange. Now you have a full rainbow to work with!
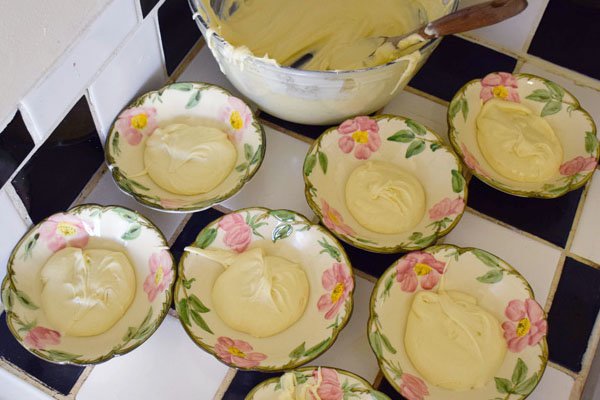
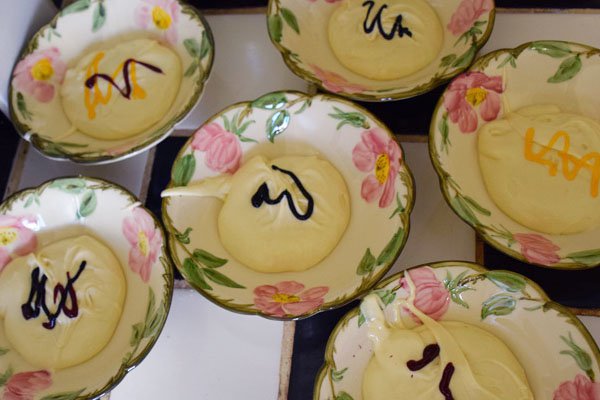
Step 5: Create piping bags
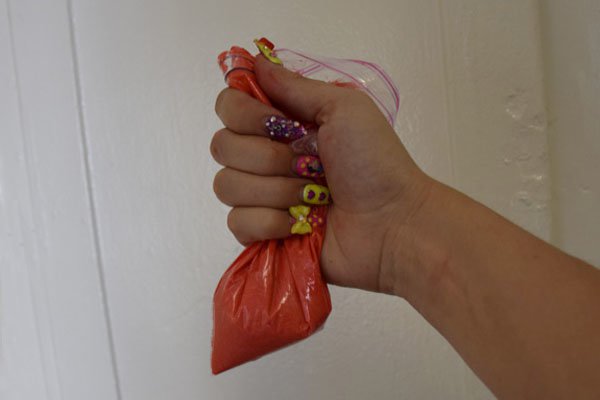
The easiest way to get seamless layers is with a piping bag. Don’t have any? You can use any plastic storage pouch for this step. Just roll down the plastic bags and fill up with one of your cups of color. Squeeze all the batter to one edge of the bag, then cut off the plastic bag edge with scissors. Now you have some piping bags!
Step 6: Layer Up!
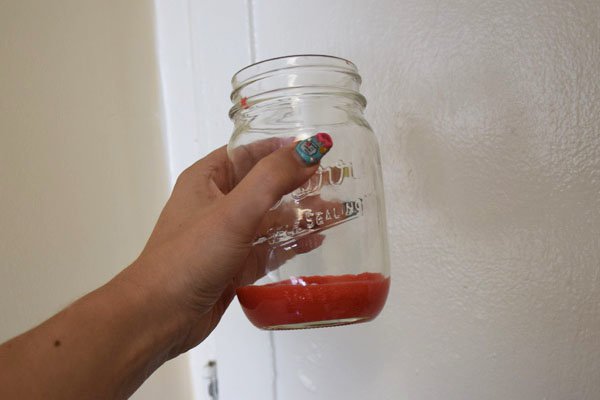
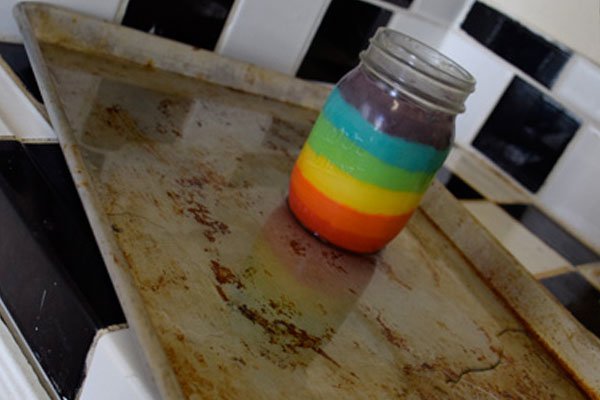
Clean your mason jar and then add the red batter in as your bottom layer. Remember the order of the rainbow? It’s okay -I had to look it up too. It’s Red, Orange, Yellow, Green, Blue, Violet – in case you needed a refresher course. Take your time with each layer!
Step 7: Prep Your Cake
Set your mason jar on a baking tray, then add about a 1/2 cup of water to the tray. This helps prevent your jar from cracking under pressure. Insert jar into oven and set timer for 20-30 minutes. Keep watch on your cake to make sure it does not brown.
Step 8: Finishing Touches
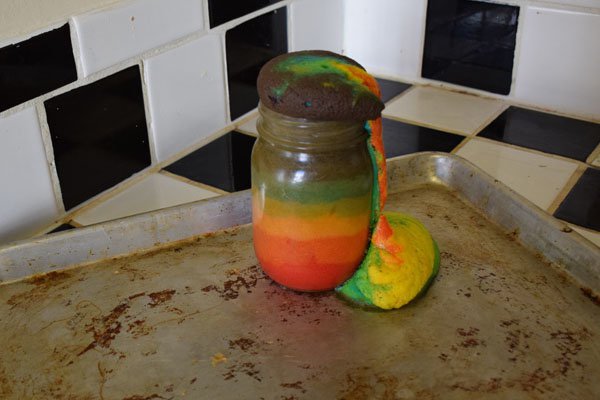
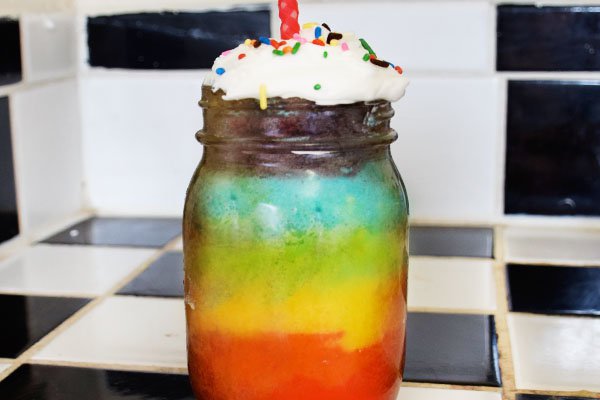
Your cake may be over flowing with its rainbow guts when removed from the oven. No worries- this is normal. You can take a knife to cut off any overflow once the cake has completely cooled. Add some icing or frosting on top, sprinkle on some sprinkles and you are just one unicorn away from pure magic!
Like This Craft?
Check Out
I’m Manas Ranjan Sahoo: Founder of “Webtirety Software”. I’m a Full-time Software Professional and an aspiring entrepreneur, dedicated to growing this platform as large as possible. I love to Write Blogs on Software, Mobile applications, Web Technology, eCommerce, SEO, and about My experience with Life.

