Mason Jar Craft Ideas | How To Make A Terrarium
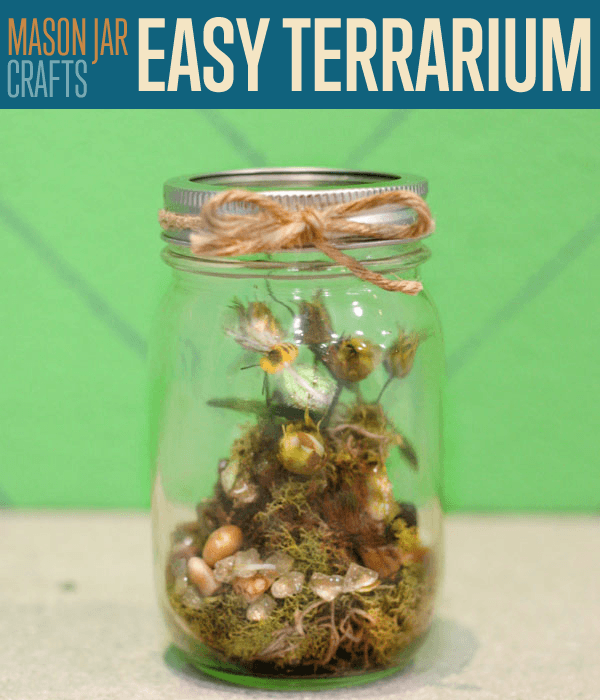
Want to make a mason jar into a terrarium? This easy mason jar craft is just for you! Beautiful in a group or a centerpiece, our mason jar terrariums are perfectly dreamy and surprisingly simple. Create a mini mystical forest that’s perfect for your desk, home, or as a gift. Don’t have a green thumb? This mason jar terrarium requires no watering!
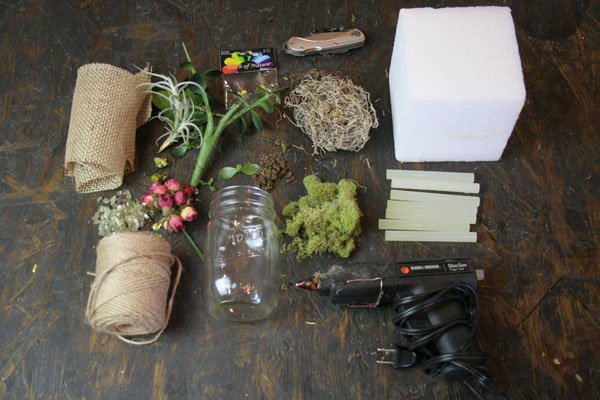
Supplies Needed To Make A Mason Jar Terrarium:
- Mason jar
- Twine
- x1 bag of moss
- x1 bag of Rocks
- x1 small bag of dirt
- Styrofoam block
- x1 bag dried flowers
- x1 bag of plastic flowers or succulents
- x1 artificial bees
- Hot glue gun
- Scissors
- Razor cutter
- Tape
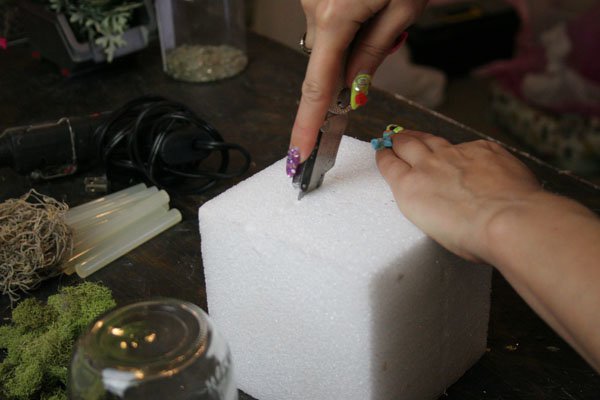
Step 1: Cut Styrofoam
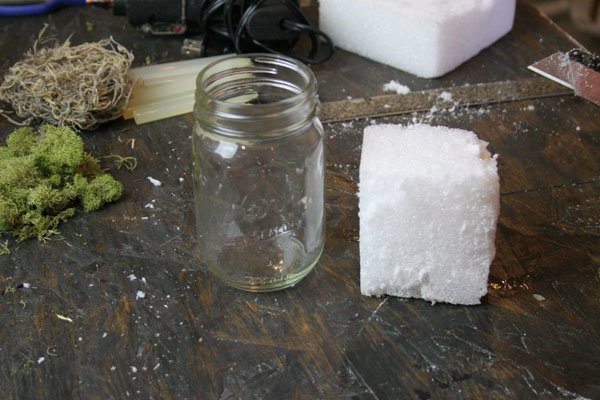
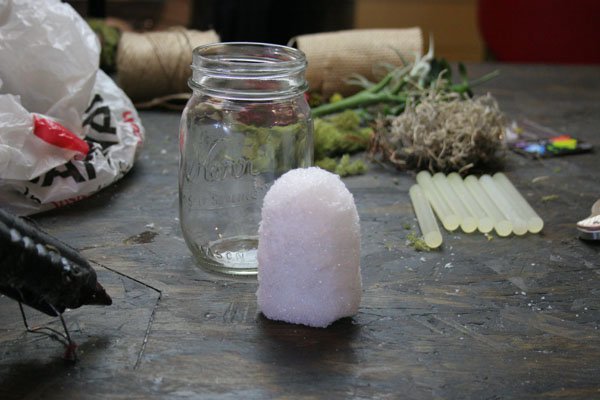
Our Styrofoam is going to act as a small hill in our terrarium. First cut a rectangle that is about the same size as your mason jar. Next, carve the Styrofoam block piece into a hill shape with your razor, curving your cuts at the top.
Step 2: Size Styrofoam
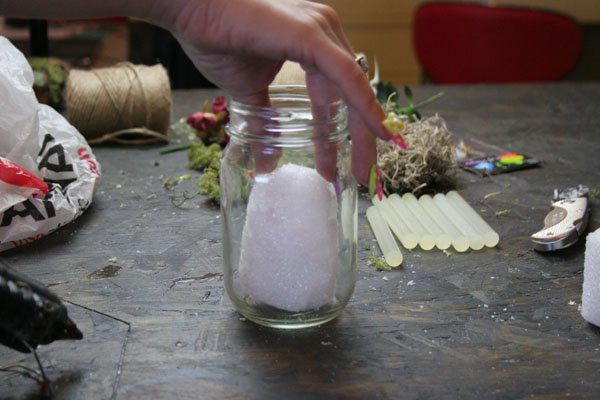
Test your hill out by placing it into your mason jar. The final hill should be about half as tall as the jar, as we will be adding height with flowers, moss and other pretty things. If too tall, cut off base with razor till it fits perfectly.
Step 3: Apply Dirt
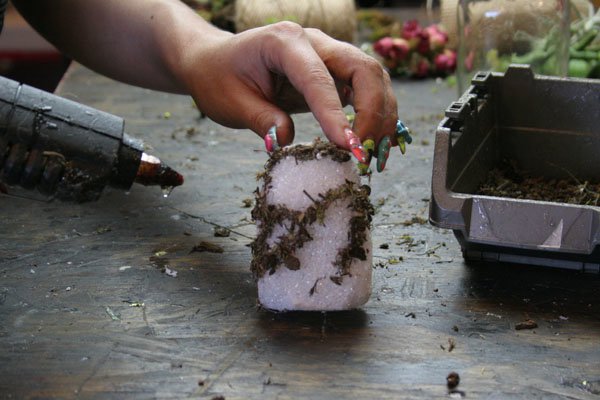
Time to get your hands dirty, literally. Start off by gluing a line of hot glue to the Styrofoam hill, then sprinkle dirt over the glue, shake off excess dirt, and there you have it – a dirt road! Cover the Styrofoam in dirt roads sporadically around, leaving gaps of Styrofoam for the moss. I did this step over my container of dirt to keep my workspace clean, FIY. Terrariums can be seen from all sides, so remember to evenly add dirt to all sides of your hill.
Step 4: Apply Moss
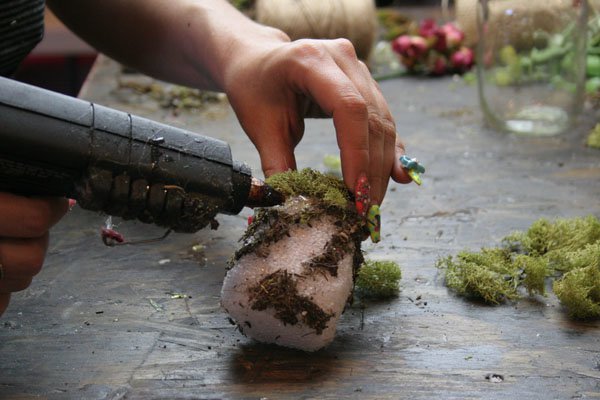
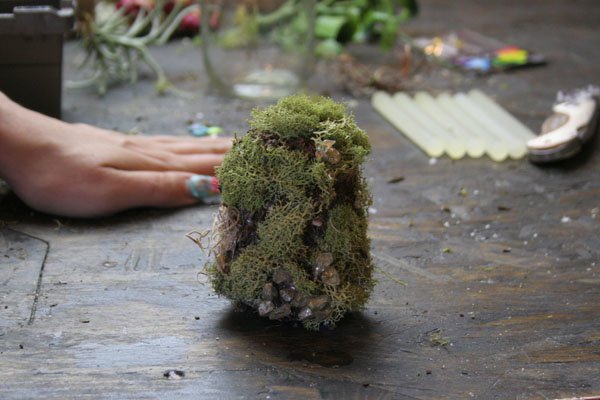
Hot glue any spaces where the Styrofoam is still visible. Take small bunches of moss and cover the hill. Use scissors to trim moss on sides or top to create more of a hill silhouette if desired.
Step 5: Add Rocks
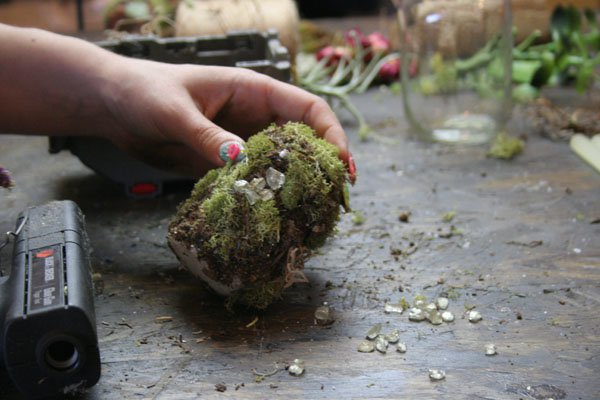
Next pick a few spots than need some extra sparkle. Hot glue a few areas on your hill and apply rocks. I’m using glittered rocks because I love a good sparkle. You can also use quartz, plain rocks, or shells.
Step 6: Add Flowers
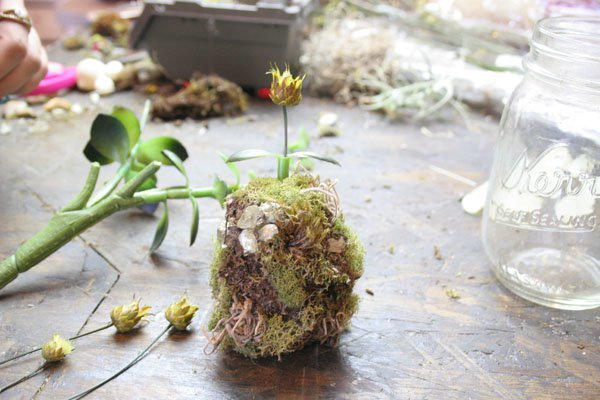
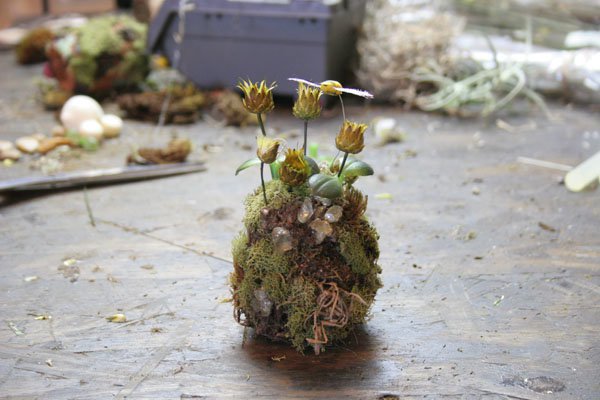
Time for the main event! Add your dried flowers to the top of your hill, like they are sprouting from the ground. I also used a mixture of plastic succulents to create fake petals. No need to glue these babies down, just push through to the Styrofoam.
Step 7: Insert Hill Into Mason Jar
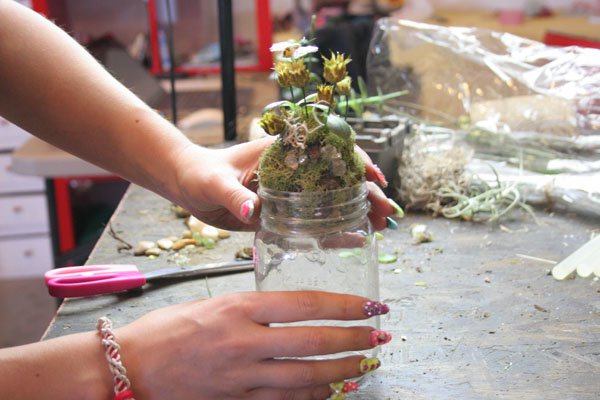
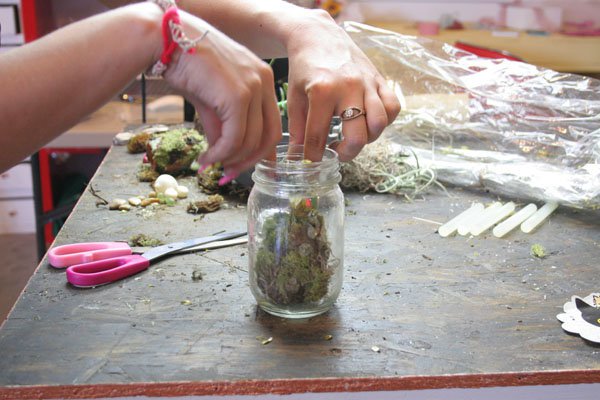
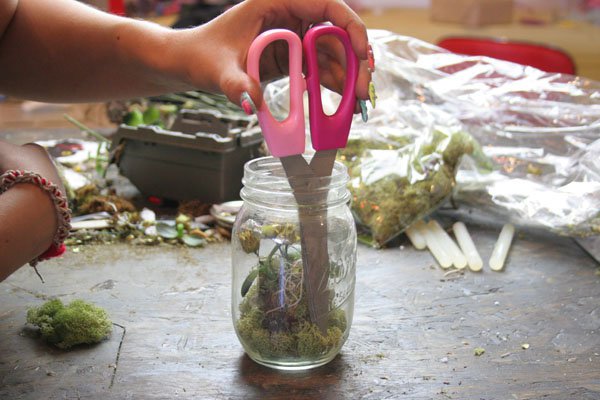
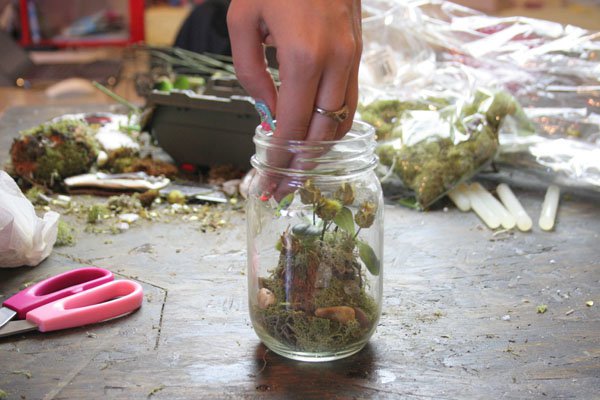
Carefully push Styrofoam hill into your mason jar. Then cover edges of the hill with extra moss, rocks and anything else you think would be cute. I used scissors to help push the moss around the hill without disrupting my dried flowers.
Step 8: Add Moss Details
To create a more polished look, add more moss and rocks around the edge of the hill. I used my scissors to push down the moss without disrupting my dried flowers.
Step 9: Add Bee To Mason Jar Lid
We need some more life and color in our mini imaginary world. This is where our artificial bee comes in. Attach bee to mason jar lid with tape. Position the bee how you like with the wire attached.
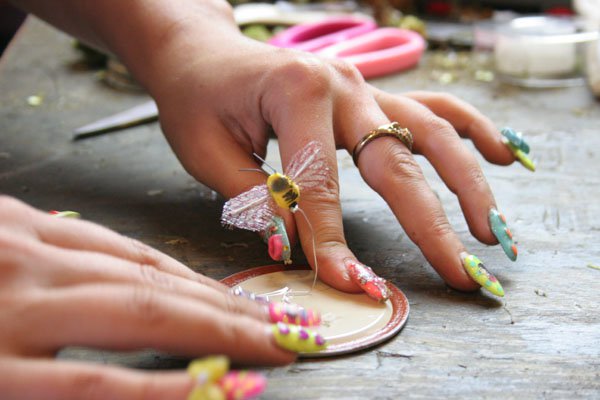
Tie twine or ribbon around the lid and now you have a mini habitat that will always stay green!

Like This Post?
Check out:
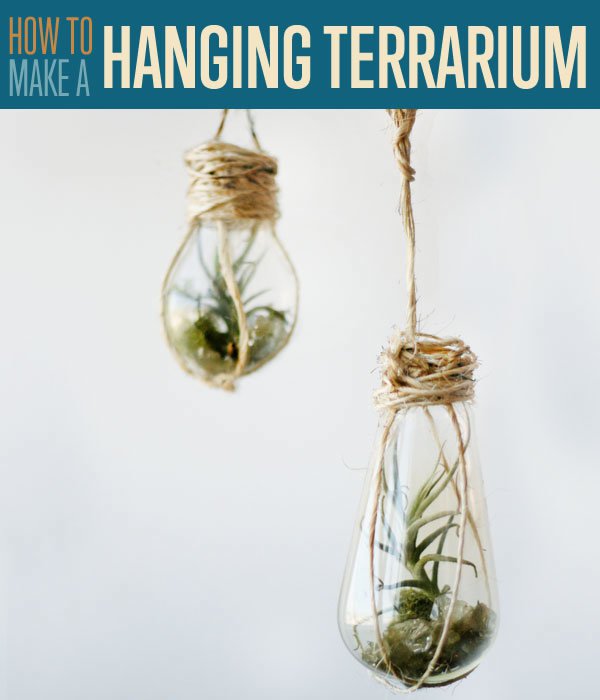
How To Make | Hanging Terrariums With Light Bulbs
I’m Manas Ranjan Sahoo: Founder of “Webtirety Software”. I’m a Full-time Software Professional and an aspiring entrepreneur, dedicated to growing this platform as large as possible. I love to Write Blogs on Software, Mobile applications, Web Technology, eCommerce, SEO, and about My experience with Life.

