How to Sew a Pillow | Make DIY Throw Pillow Covers
You are here: Home / Create and Decorate / How to Sew a Pillow | Make DIY Throw Pillow Covers
Haven’t you always wanted to sew your own pillows? I know I have, mainly because pillow shopping makes me depressed since I can’t afford the small little luxuries. Well, now that I know how to sew my own pillows, I don’t have this issue. Instead I go to the fabric store, choose from a wide selection of beautiful fabrics, buy a pillow insert, and sew all my troubles away! Each pillow only takes about 20 minutes to complete. I could have a whole fleet of decorative throw pillows in no time! With this simple sewing tutorial, you too can learn how to make your very own pillows for a fraction of the cost of buying pre-made pillows. The best part about it is, with these simple instructions, you can now make pillows of any shape, size, color, or pattern. You could even use two different fabrics on the front and back for twice the decorating options. Bring your rooms to life with pillows, an easy and low-cost handmade accessory!
Watch our project video tutorial:
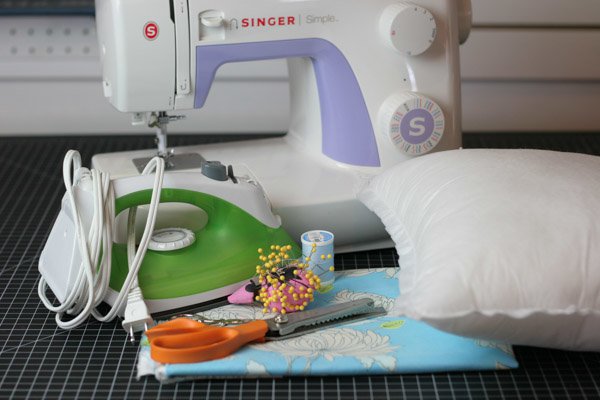
Supplies Needed to Sew a Pillow:
- Fabric
- Pillow Insert
- Sewing Machine
- Sewing Kit:
- Thread (same color as fabric)
- Pins
- Fabric Scissors
- Snips
- Seam Ripper
Purchase fabric that is at least 1.5″ larger than the dimensions of your pillow. I am working with a pillow that is 14″ X 14″ so I asked for 1/2 yard of fabric, which gives me 18″ length. Your max width will come from whatever the width of the bolt you are using, which in my case was a 45″ bolt. That’s pretty standard, though I don’t plan on making a pillow quite that wide in this tutorial.
Step 1: Prepare Pillow Fabric
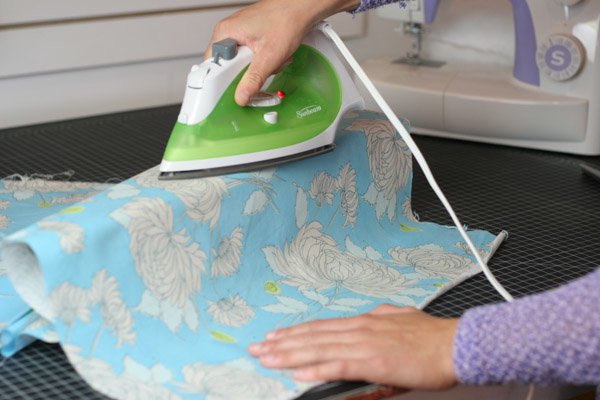
Before you begin, press your fabric flat with an iron. Get out all the wrinkles or creases so they don’t interfere with your finished product.
Step 2: Measure Pillow Fabric
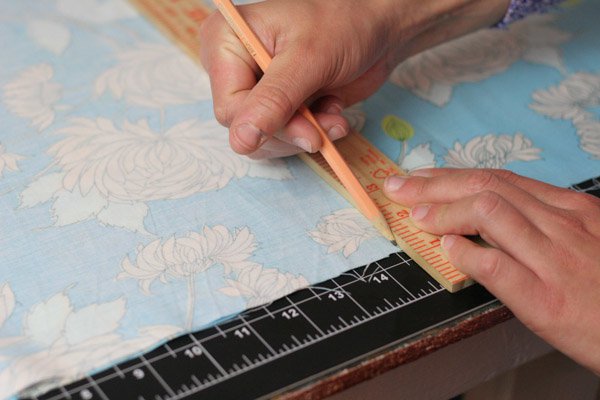
Measure out the pillow fabric to have the same dimensions of the pillow insert you are working with, but add 5/8″ on all sides for the seam allowance. To know the dimensions of the pillow insert, either check the tag or you can measure it with a measuring tape. Ours here was 14″ x 14″, so I measured out 15-1/4″ of fabric for my pillow cover. Hint: 5/8″ + 5/8″ = 1-1/4″
Step 3: Cut Pillow Fabric
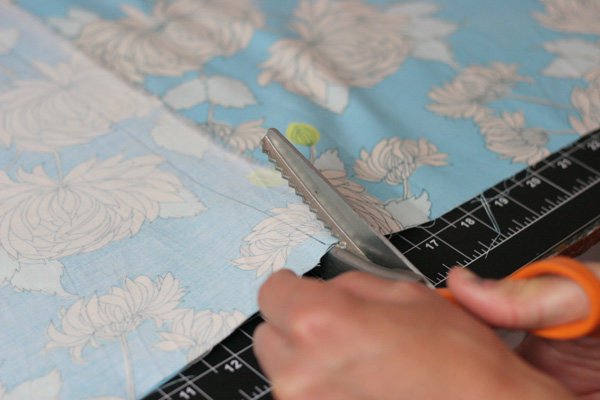
Cut out your pillow fabric in a straight line. You can use either fabric scissors, a rotatry cutter, or pinking shears. I like to work with pinking shears because the jagged cut line prevents the fabric from unraveling as I work with it.
Step 4: Pin Pillow Sides
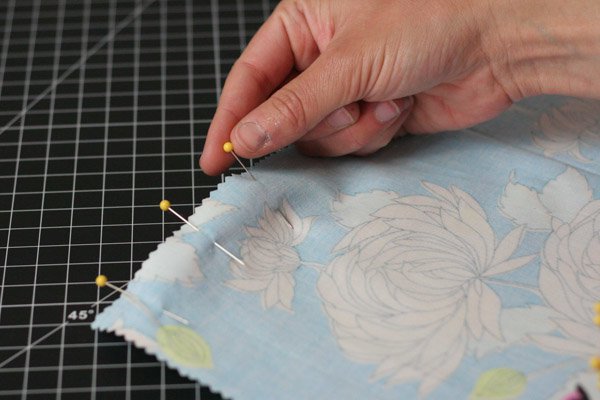
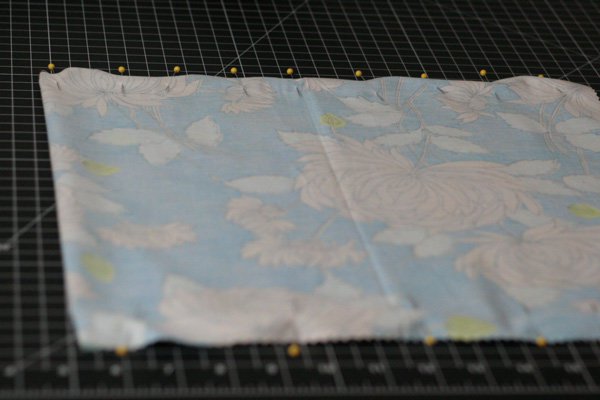
The next step is to pin the sides of the pillow together. With right sides together, (that means the pretty side of the two fabrics should be touching), pin them in place to prepare for sewing. Pin the right, left, and top sides together. Note: I cut my fabric on the fold, which means it will already have one side in tact, so I do not need to sew this side.
Step 5: Sew Pillow Sides
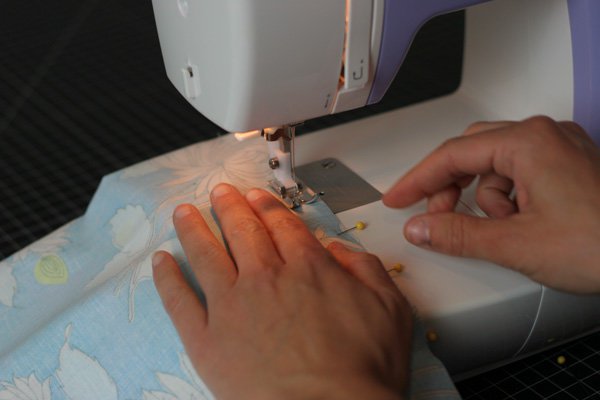
Sew the two pieces of fabric together in a straight line using a 5/8″ seam allowance (That means sew with 5/8″ of fabric to the right of your needle. You can view this measurement on the throat plate, each of those notched lines are 1/8″ apart). Leave the bottom side open. I was working on the fold so I only needed to sew up two of the sides, but if your top side is not on the fold, make sure you sew that together as well, also using the 5/8″ seam allowance.
Step 6: Press Pillow Sides
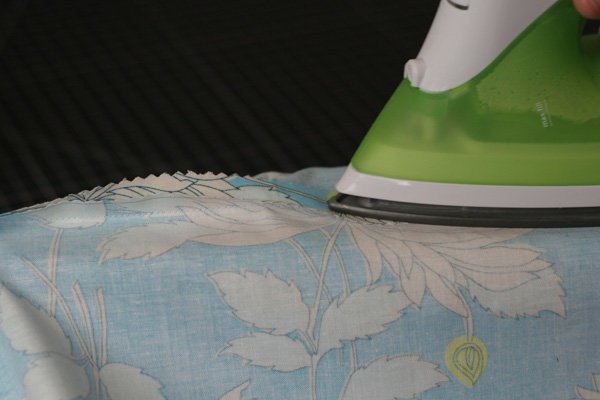
Press the seam open with an iron to ensure a crisp finish. Do this by placing the fabric with the seam facing up over the ironing board, then place your iron on the point between the seam and guide it slowly upward to press the seams open and flat.
Step 7: Clip Corners on Inside of Pillow
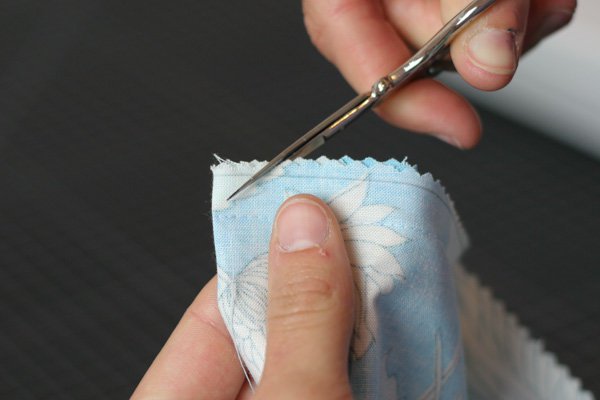
You must clip the corners on the inside of the pillow so the fabric won’t get in the way and they can be extremely pointy. Clip the fabric by snipping away at a 45″ angle over the corner. Repeat on all sides as necessary.
Step 8: Turn Pillow Inside Out, Poke out Corners
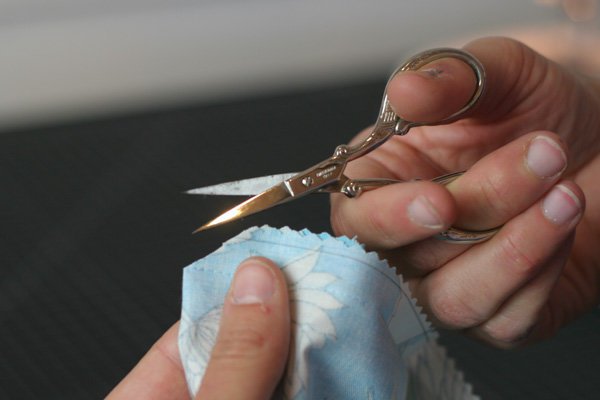
Use your hands to turn the fabric inside out so the right side (the pretty side) faces out. Use your fingers to poke out the corners to be perfect 90 degree angles. If your fingers aren’t working you can also use the end of a pair of scissors or a point turner.
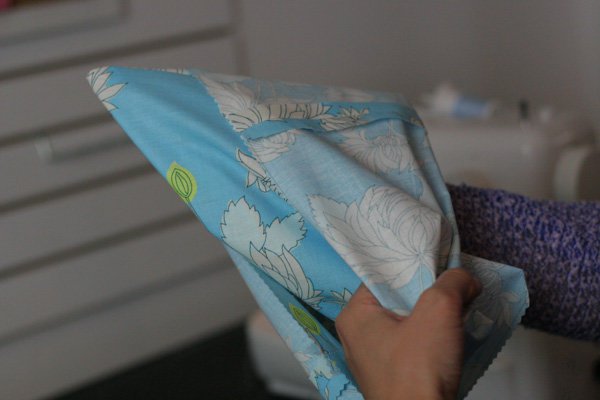
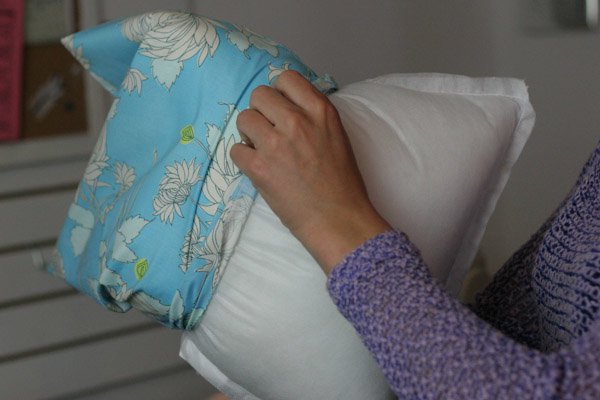
Step 9: Stuff Pillow Insert into Pillow Fabric
It is now time to put the pillow insert into the pillow cover (Now you know why it’s called the pillow insert). Wiggle it in and watch it fit perfectly snug in its new home.
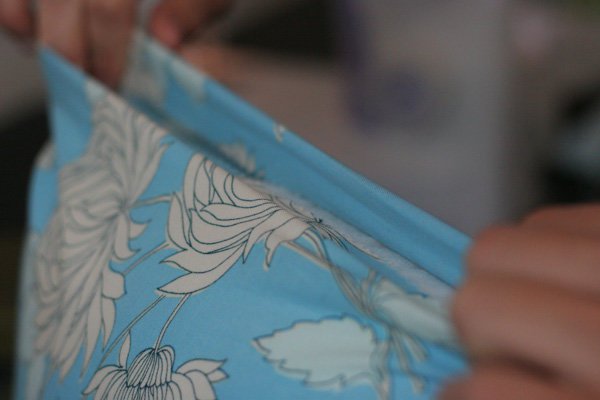
Step 10: Prep Bottom of Pillow to Hand Stitch Shut
All you have left is closing the final side of your pillow to secure it permanently in place. Do this by holding open the bottom side and folding the fabric under 5/8 of an inch on both sides.
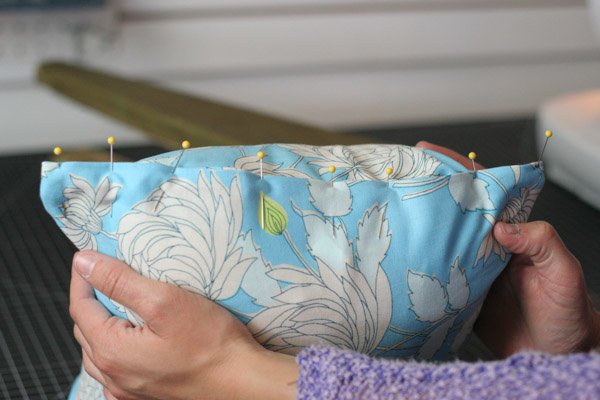
Step 11: Pin Bottom of Pillow Shut
Use your ball pins to close the bottom sides shut. Pin across the bottom in preparation to hand sew.
Step 12: Prep Needle, Tie Knot at End
Prep the sewing needle with thread, use the same color thread as the fabric. About 20″ of thread will do. Tie a small knot at the end
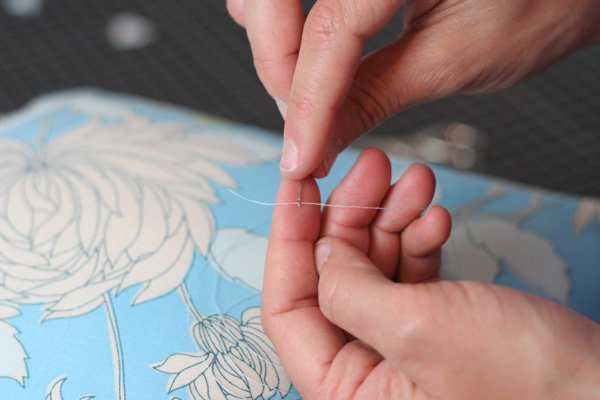
Step 13: Begin Slip Stitch to Close the Pillow
Pull your needle with the knot at the end up through one of the bottom corners, your knot should be low enough to hide away from view.
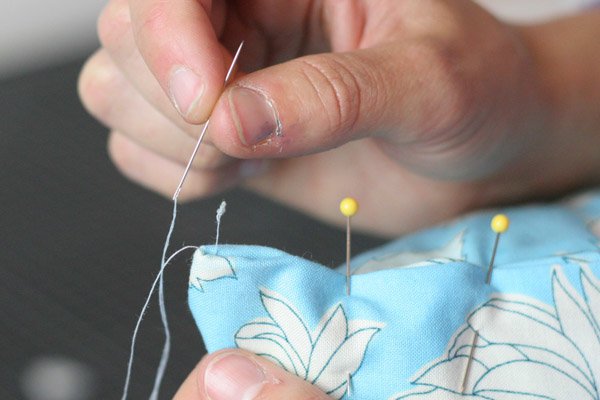
Step 14: Slipstitch Pillow Shut
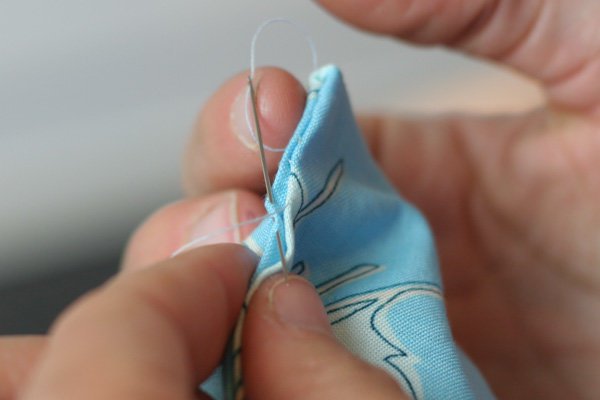
Use the slipstitch to hand sew the two pieces of fabric together. Do this by poking the needle through the folded-under edge on the right side, and then moving it through the folded-under edge of the left side. This allows the needle to pass between the two sides with hardly any thread showing. I like to think of it as a little rabbit ducking under the tunnels as it makes its way across a field…The field being the length of your unfinished edge, and the rabbit being the needle.
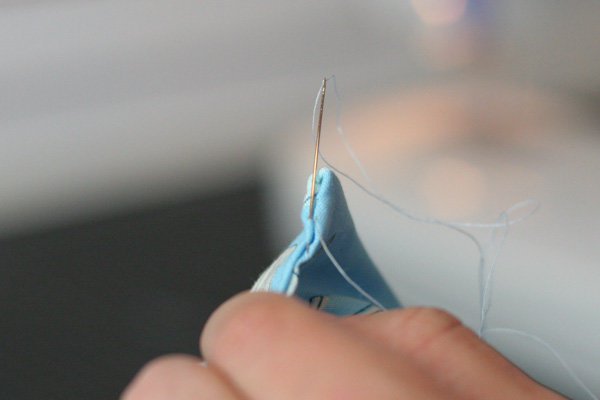
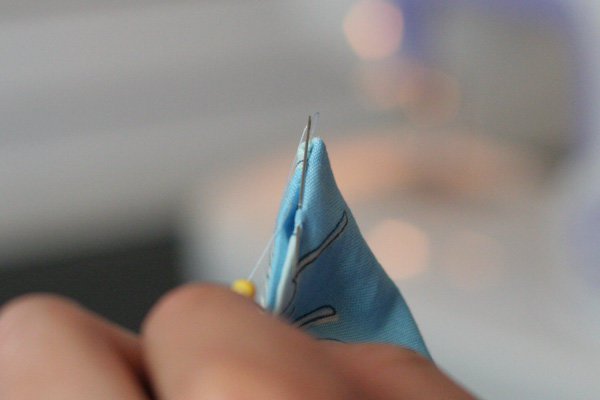
Step 15: Tie Off the Slipstitch
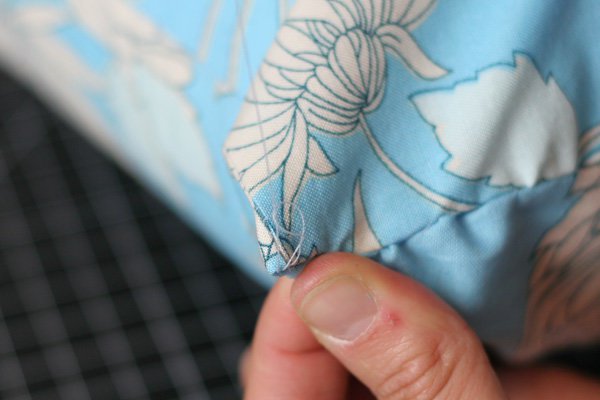
Tie a small knot at the end by stitching over yourself, then creating a loop and pulling the thread through the loop as you pull it tight.
Step 16: Use Your New Pillow!
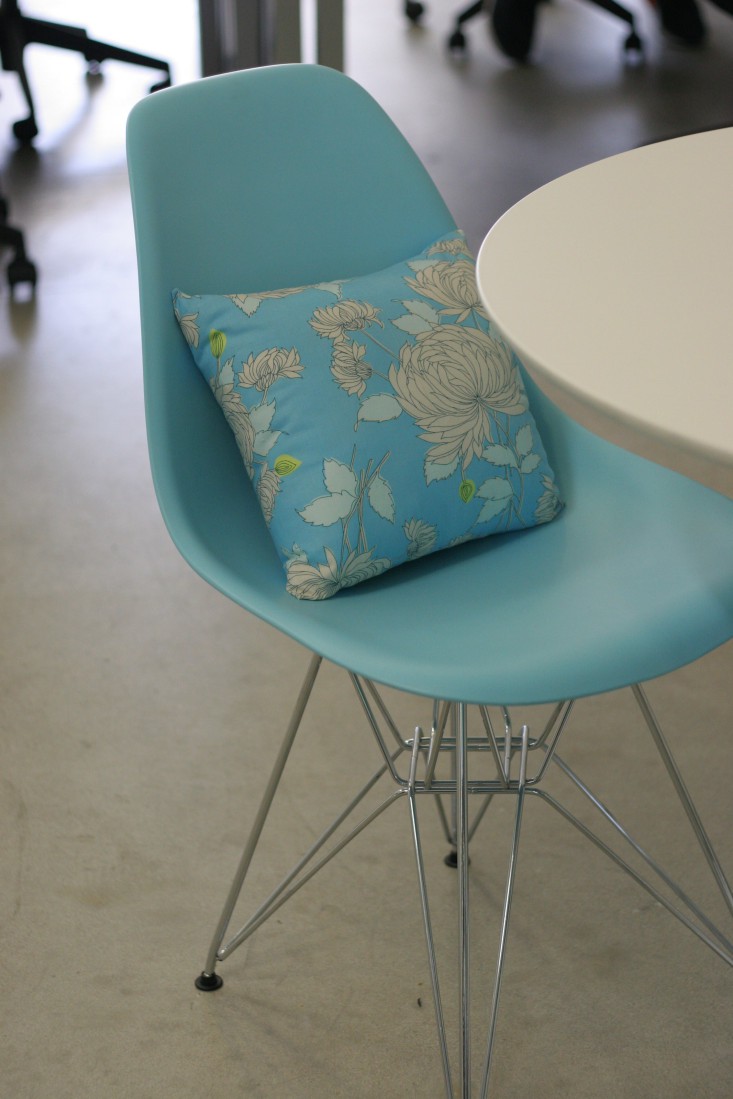
Congratulations, you have now mastered the art of sewing a pillow. Enjoy this skill, as I’m sure your home and the homes of your friends and families will soon be filled with delightful new home decor accessories!
Like this post?
Check out another favorite sewing tutorial:
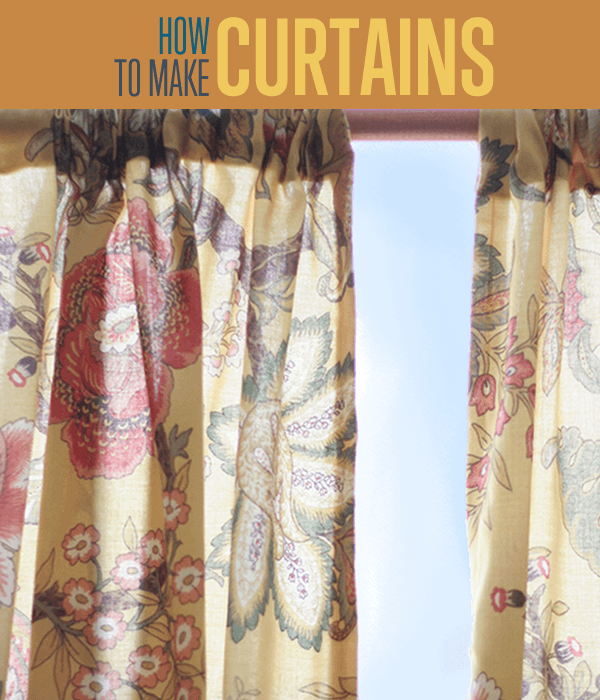
How to Make Curtains | DIY Curtain Ideas
I’m Manas Ranjan Sahoo: Founder of “Webtirety Software”. I’m a Full-time Software Professional and an aspiring entrepreneur, dedicated to growing this platform as large as possible. I love to Write Blogs on Software, Mobile applications, Web Technology, eCommerce, SEO, and about My experience with Life.


