How To Make Teardrop Earrings | Wire Wrapping Techniques
You are here: Home / Create and Decorate / How To Make Teardrop Earrings | Wire Wrapping Techniques
How To Make Teardrop Earrings | Wire Wrapping Techniques
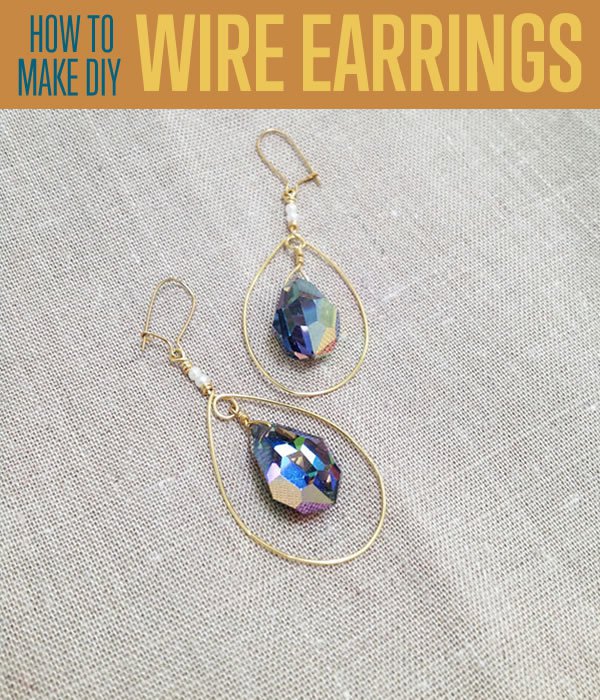
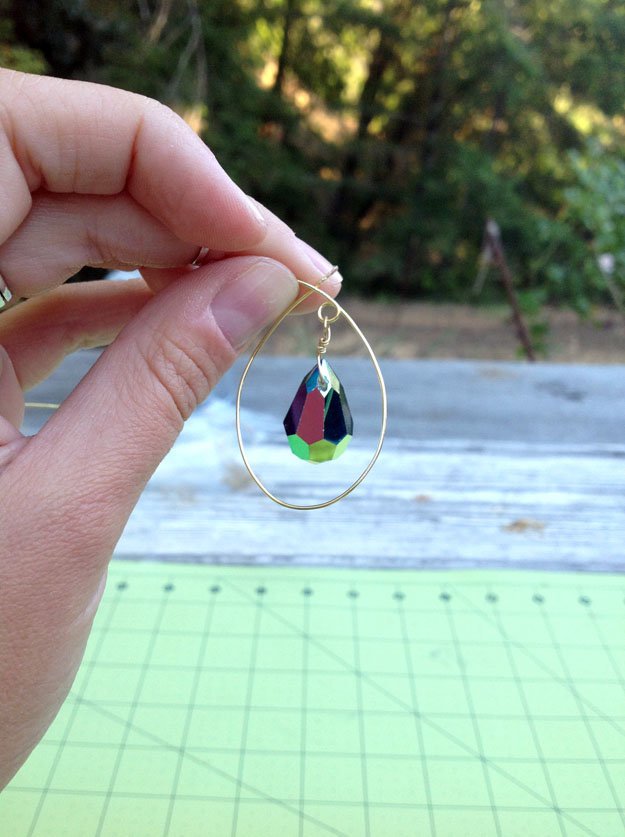
These earrings are fun and a breeze to make, and pack a lot of bang for your… time and effort (I’ll work on the rhyming).After familiarizing yourself with wire-wrapping basics, you’ll be able to whip these beauties up in under an hour. Don’t hesitate to customize them. Not a gold person? Use silver! Not a sparkly bead person (but come on…)? Use a more subtle briolette! Make a big teardrop! Make a small teardrop! Poke them into a square of fabric or leather and give them as a gift! Oh, the possibilities!
Supplies:
- – 5″ of 24 gauge gold jewelry wire
- – 10″ of 22 gauge gold jewelry wire
- – 2 large faceted briolette (teardrop-shaped) beads, just under 1″ tall
- – 4 imitation pearl seed beads
- – 2 gold kidney earring wires
- – round nose pliers
- – flat nose pliers
- – jewelry wire clippers
Step 1.
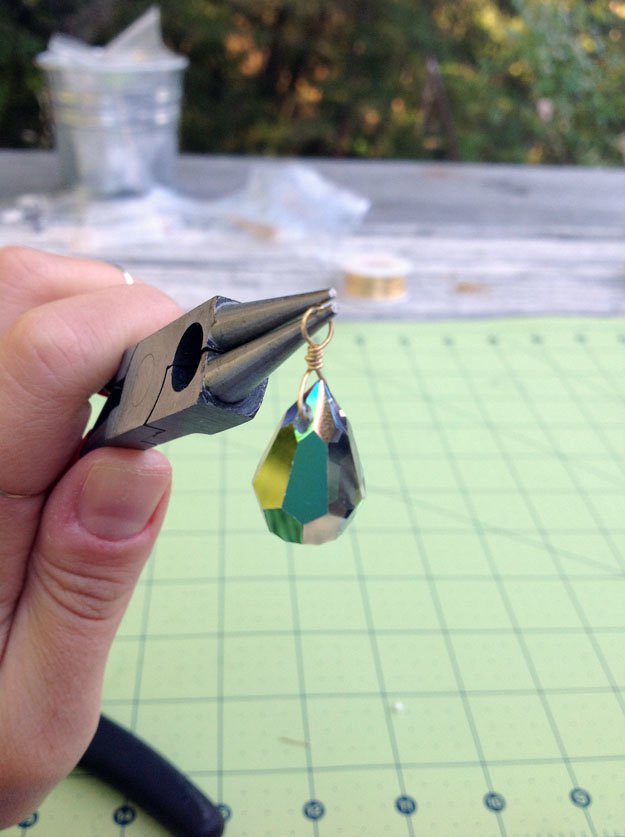
Make a wire-wrapped briolette dangle (basics tutorial).
Step 2.
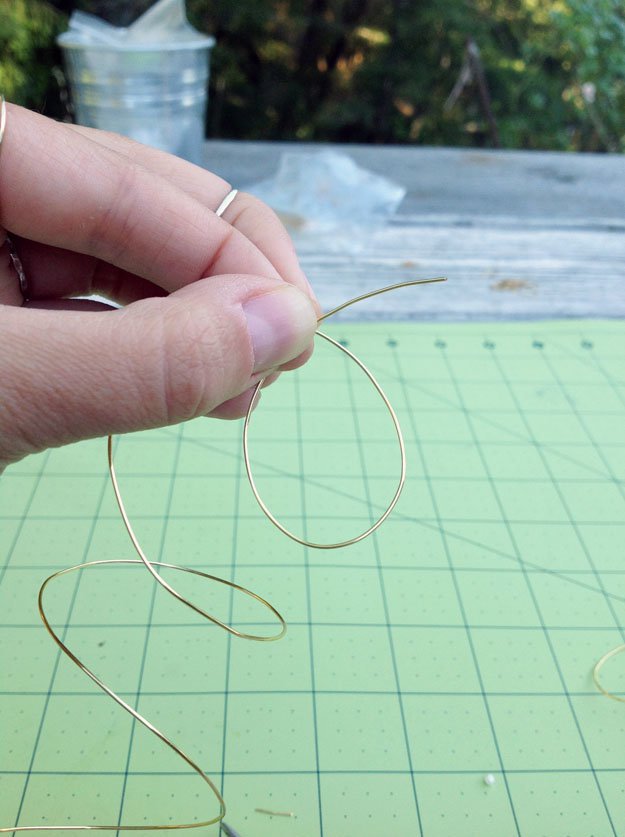
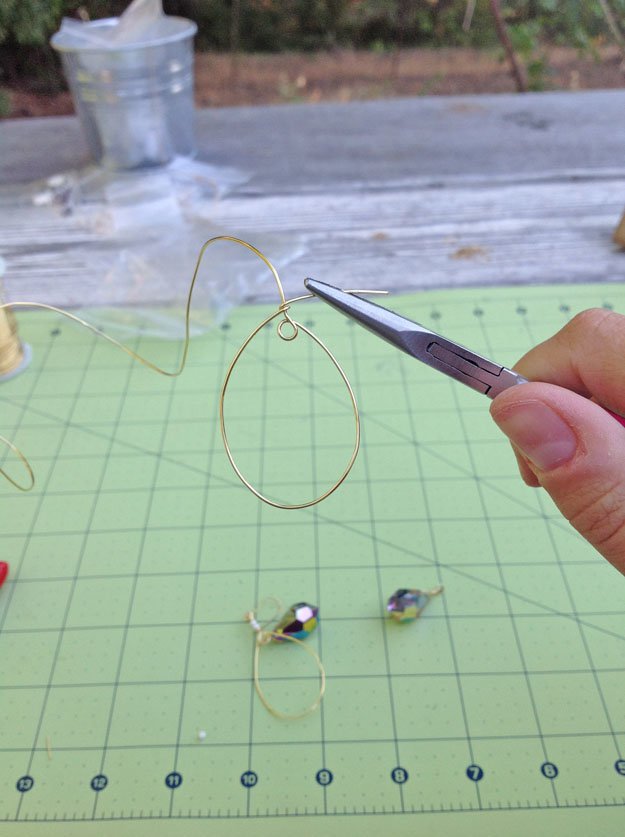
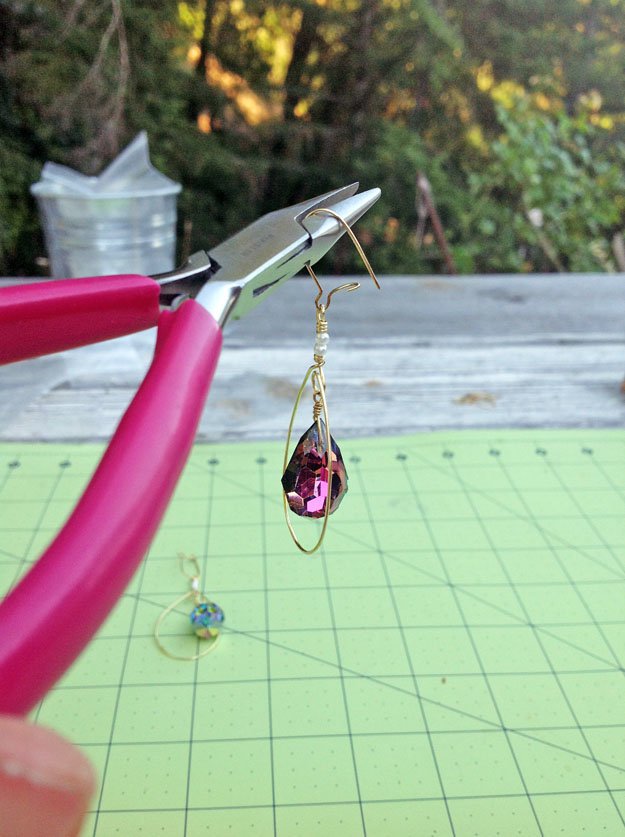
With your fingers, form a teardrop-shaped loop with 22 gauge wire and hold in place. The teardrop should be about 1.5″ tall with a short tail of about .5″ ending on the right. You may have to play with the wire a bit to get it to hold the shape you want, but do be gentle. It can be tedious (but possible) to work out kinks in your wire. Your strung briolette will dangle from the top of the teardrop, so make sure the bead will have plenty of space for movement.
Step 3.
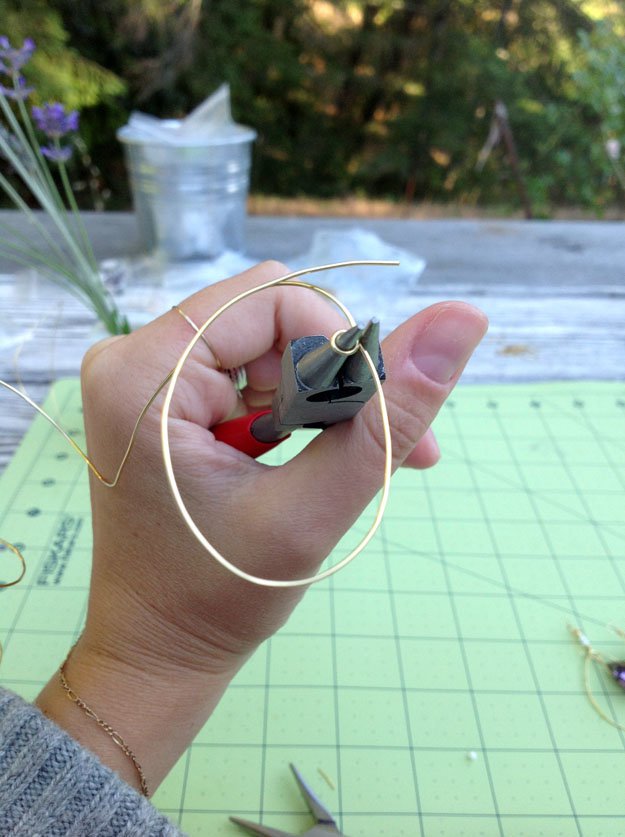
Grabbing the right side of the teardrop with round nose pliers just below the point where the wire crosses itself, wrap the long tail to form a loop.
Step 4.
String your briolette bead onto the teardrop wire so that it hangs in the loop at the top.
Step 5.
Cross the short tail just above the loop so that the loop is roughly centered at the top of the teardrop. Wrap the short tail around the long tail twice and snip excess. Don’t worry if the wrapped wire won’t stay in place on the long tail. It will be held in place by adding beads in coming steps.
Step 7.
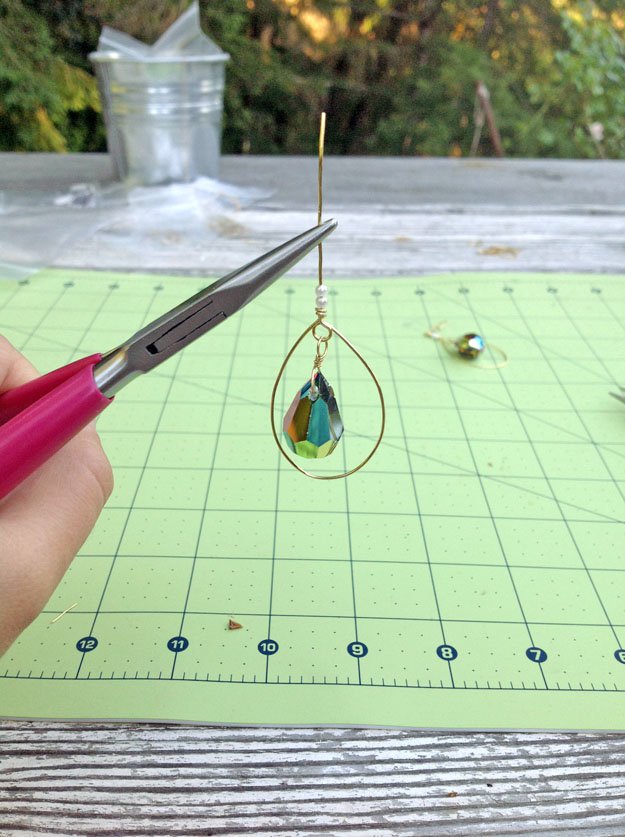
String two pearl beads onto the wire shaft.
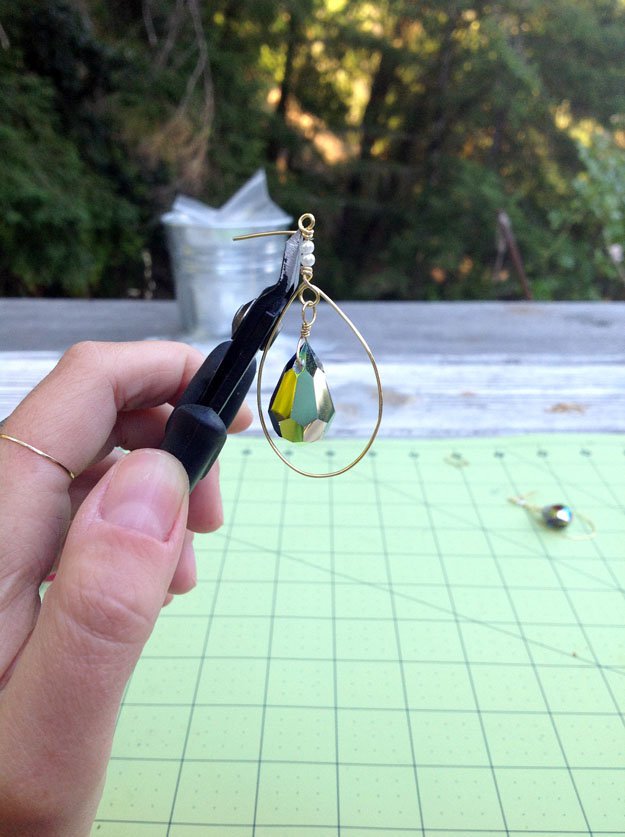
With round nose pliers, make a loop above the beads and wrap the tail around the base. Make sure to wrap the wire snug against the beads so that the teardrop keeps its shape. Snip excess wire.
Step 8.
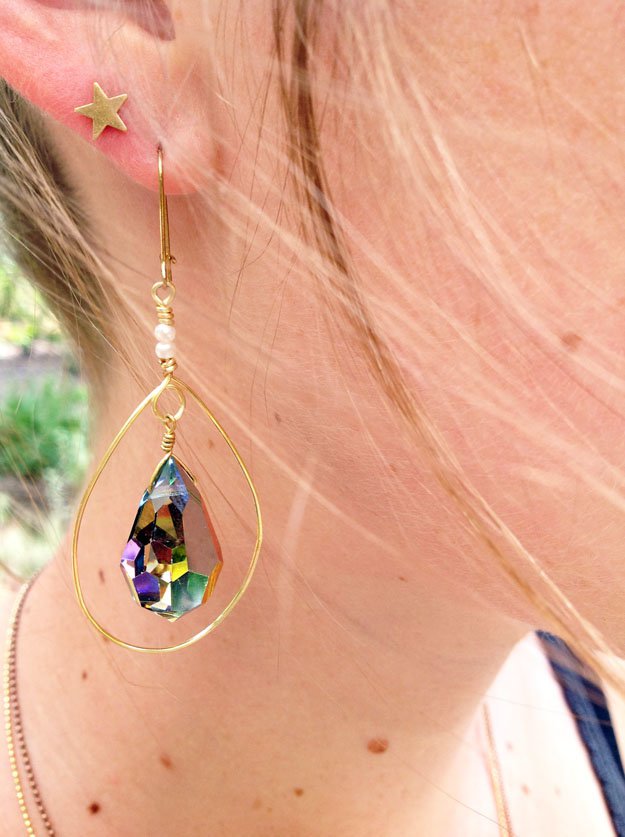
String top loop onto open earring wire and rejoice!
Voila!
Thanks for checking out our wire wrapping basics tutorial! Have some more craft projects that you’d like us to attempt? Leave your feedback in the comments section below and we’ll do our best to make it happen. Are you a jewelry expert? Tell us how this tutorial worked out for you! We appreciate your feedback. Can’t find what you’re looking for? Suggest a fun project and we will get our team on it faster than you think. We love hearing from our subscribers.
Don’t forget to sign up to our mailing list to get the latest and greatest on everything DIY related.
Check out our Facebook page (button below) and follow us to get a quick look at our daily projects. Pin It to Pinterest to share our DIY craft projects with friends.
For more related posts:
I’m Manas Ranjan Sahoo: Founder of “Webtirety Software”. I’m a Full-time Software Professional and an aspiring entrepreneur, dedicated to growing this platform as large as possible. I love to Write Blogs on Software, Mobile applications, Web Technology, eCommerce, SEO, and about My experience with Life.

