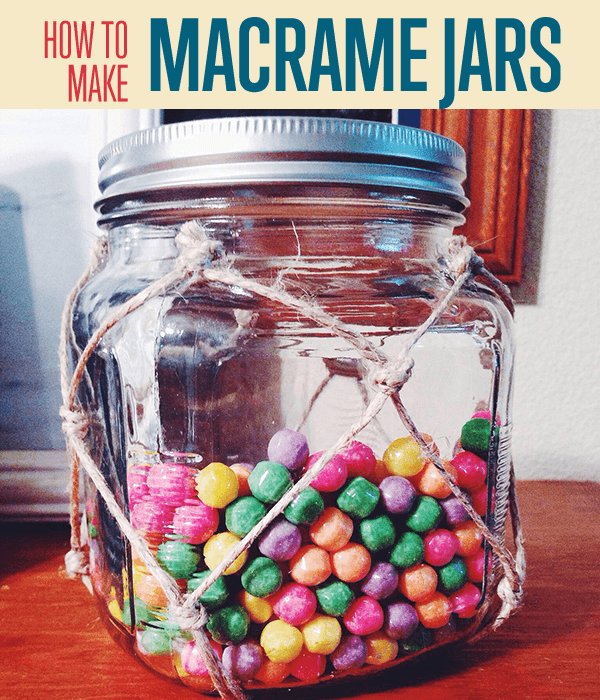
How To Make Macrame Glass Jars
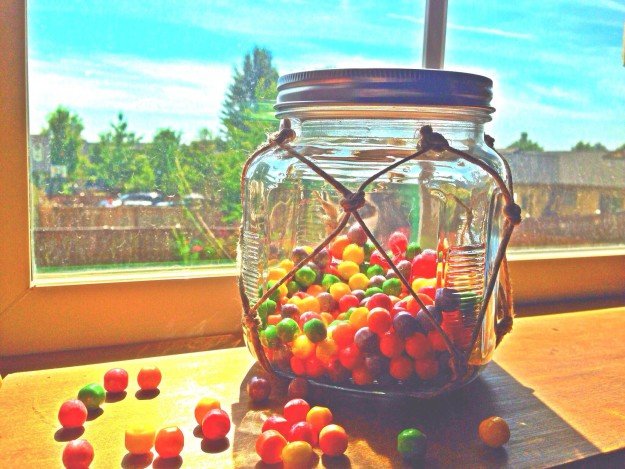
I absolutely love macrame. To me, the nautical-looking net pattern is reminiscent of my days in coastal South Carolina. Besides the beach-y look of these containers, they’re so easy and inexpensive to make which makes them a simple and economical DIY!
Supplies:
- Glass container with a lid–the one I used I found for a few dollars at my local store. However I’m sure you could always find some at your local thrift store. The one I used was approximately the size of a pickle jar.
- Twine–This is also something that I picked up pretty inexpensively at my local store in the craft section. You will approximately 30 feet depending on how big your container is. I found that 6’ was the perfect length to cover a “pickle-jar” sized container.
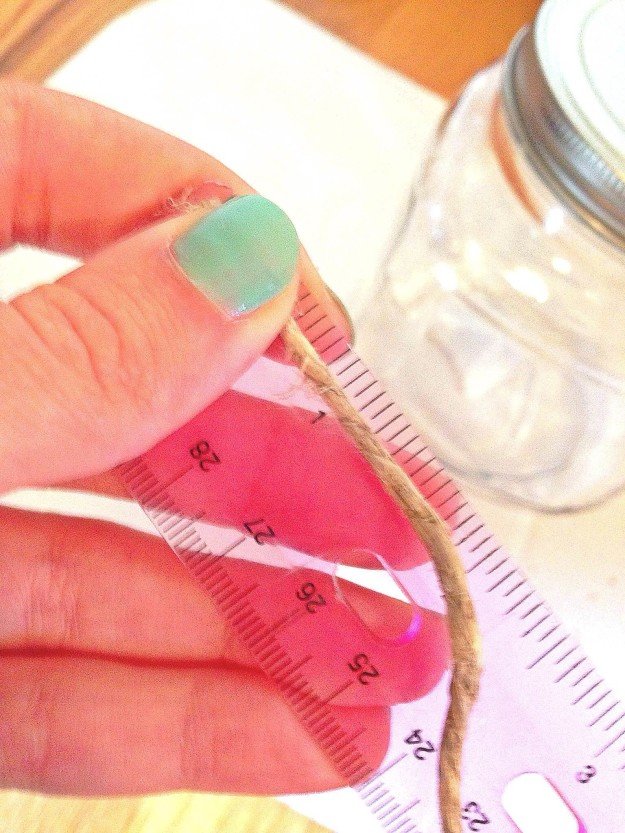
- Ruler–You will need a ruler in order to measure out the twine you’ll use, as well as to measure where to place knots in the string.
- Scissors-these will be used to cut the string
- Hot Glue Gun–Hot glue will be used to secure the macrame netting to the container.
Step 1.
Using a ruler measure out 5 6’ pieces of twine and cut with scissors.
Step 2.
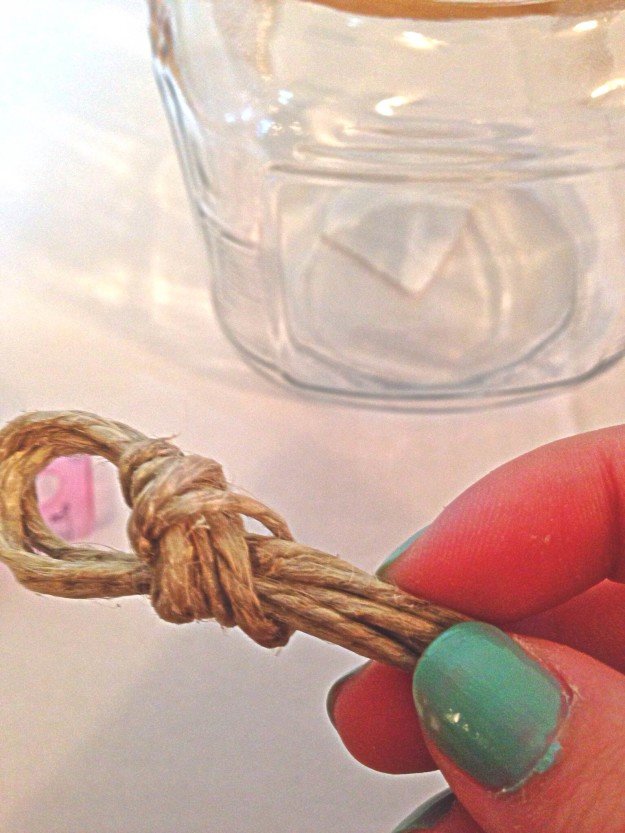
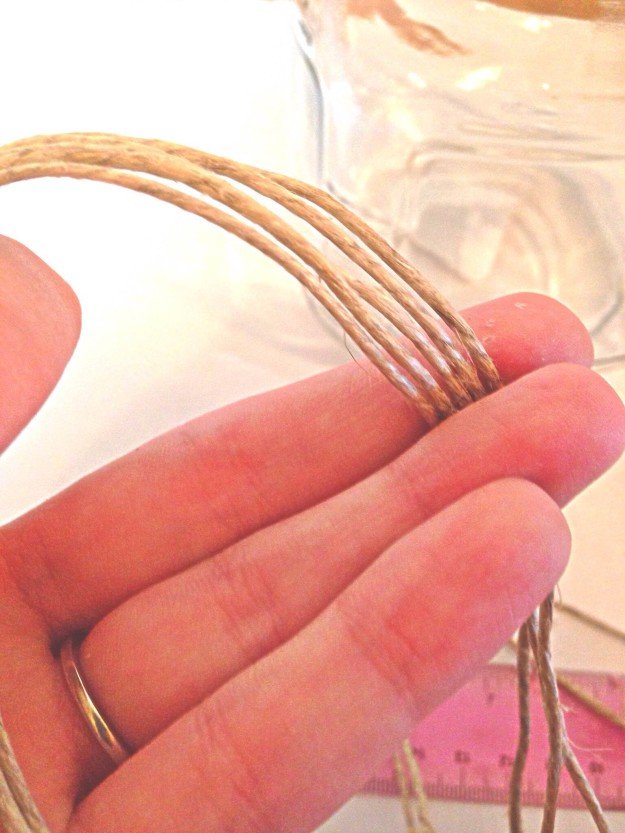
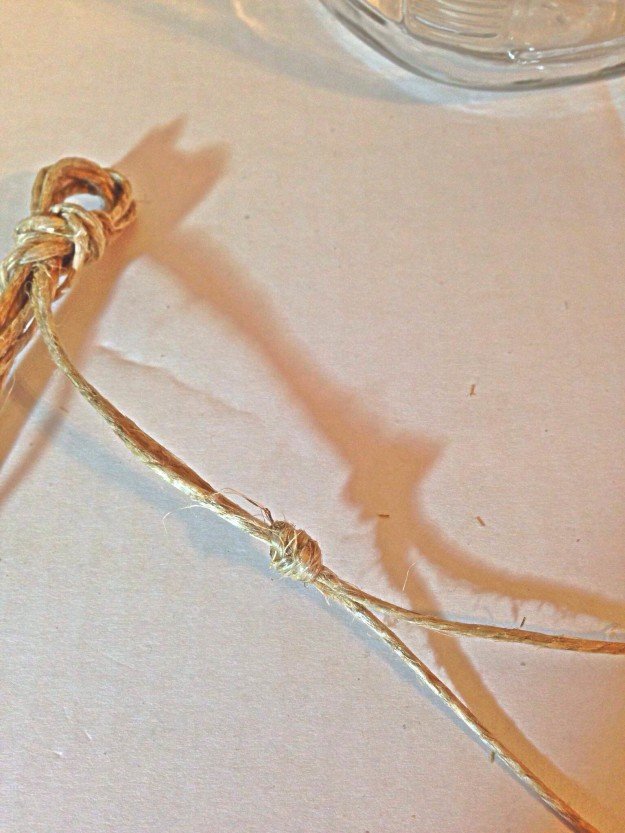
Holding all 5 of the strings, fold them in half and create a slip knot in the middle of the string. This should create 10 3’ sections
Step 3.
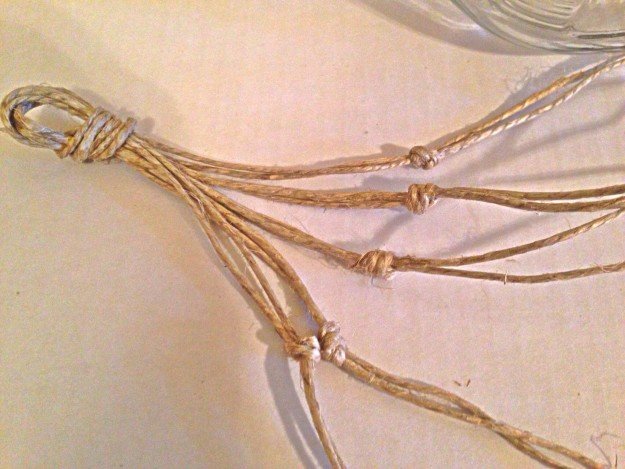
Using a ruler, take two of the 10 strings and measure about 2’’ from the original knot and place a knot in the strings at this point.
Step 4.
Repeat step 3 on the remaining strings.
Step 5.
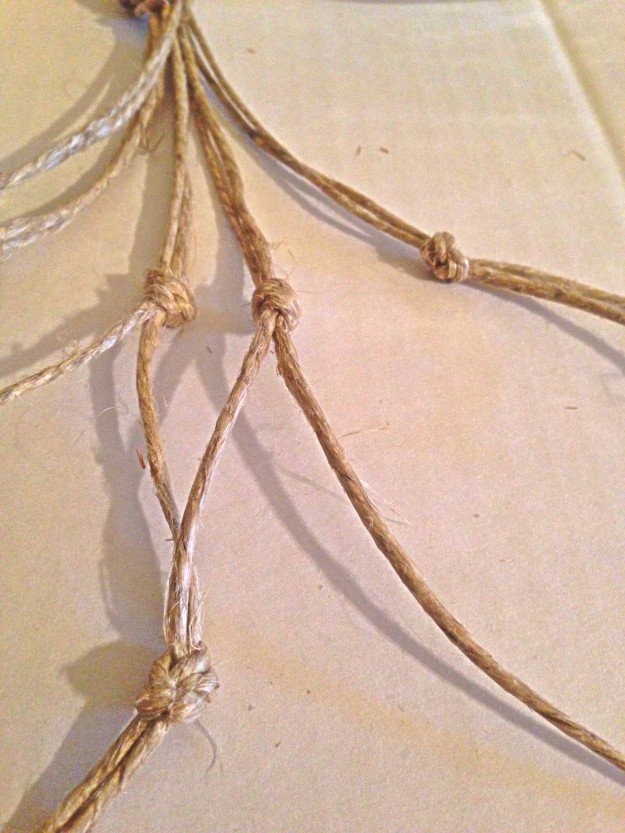
Using a ruler, take one of the stings and measure 2’’ from the new knot and grabbing another string directly next to the current string, create a knot in the string at this point.
Step 6.
Repeat step 5 on the remaining sections, making sure to make the knots by tying them with another nearby string.
Step 7.
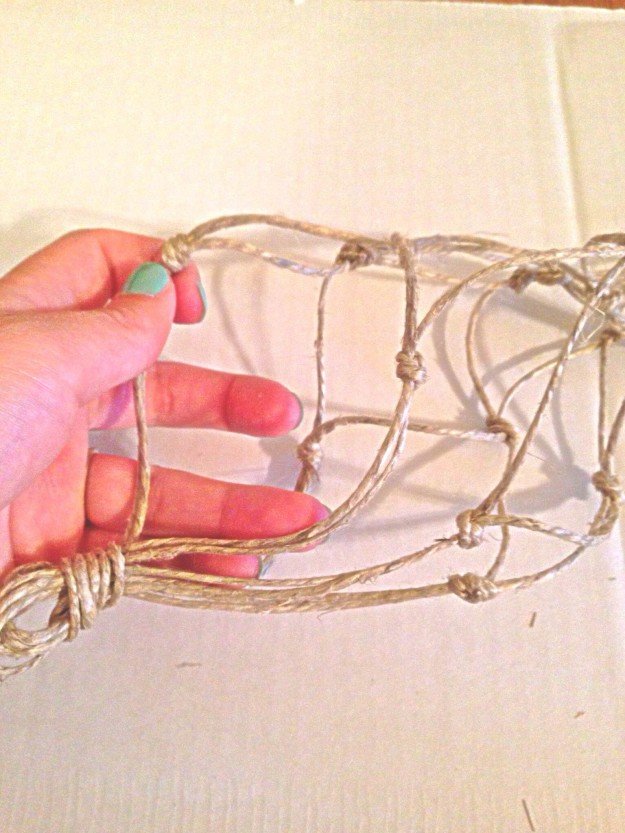
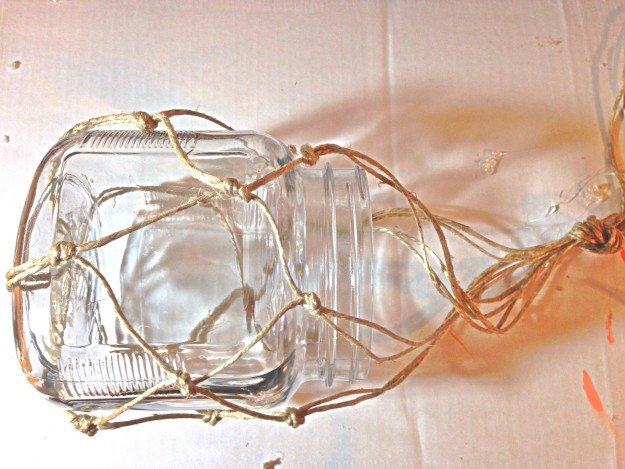
Repeat step 6 until the macrame netting will cover the container. You may want to check and make sure that the netting will fit your container frequently.
Step 8.
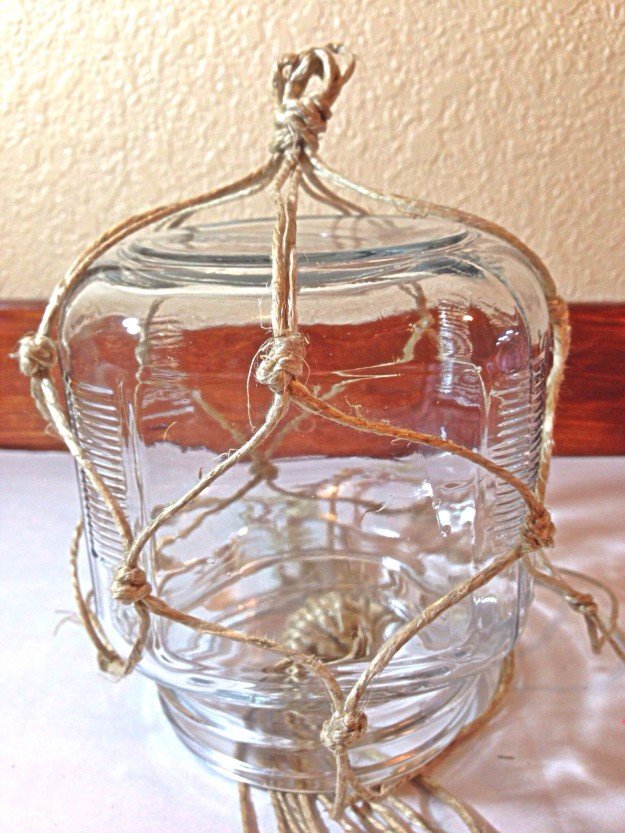
Once the netting is the desired length, place it on the container and then turn the container upside down.
Step 9.
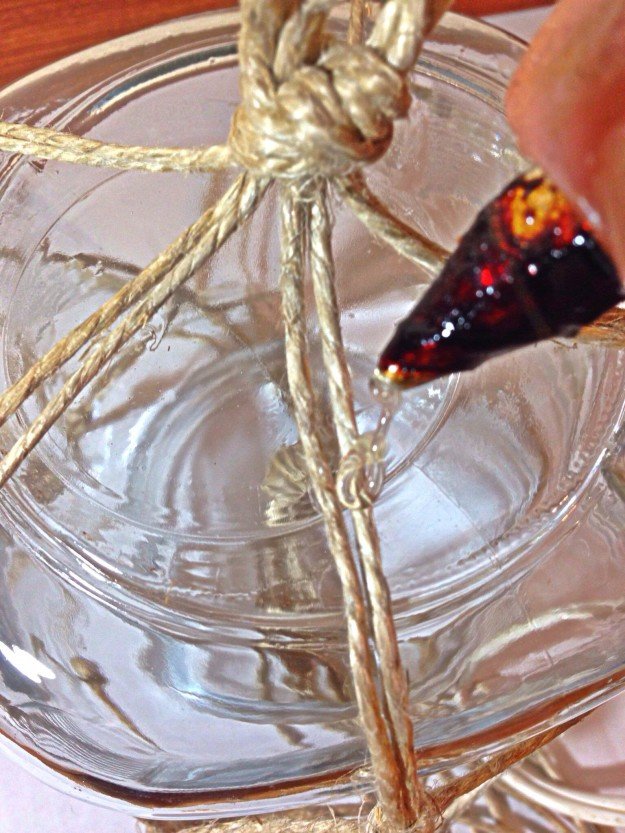
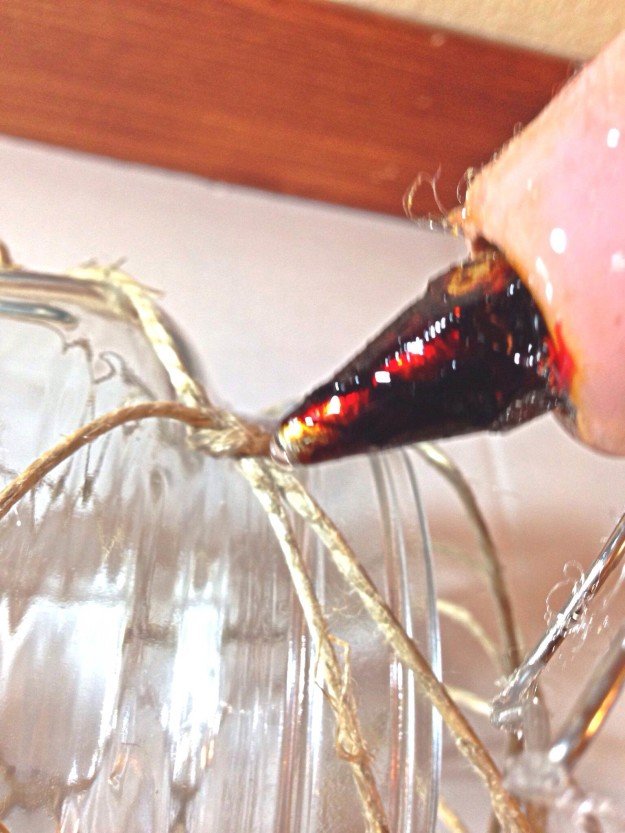
Using a hot glue gun, glue the strings at the bottom of the container, near the original knot.
Step 10.
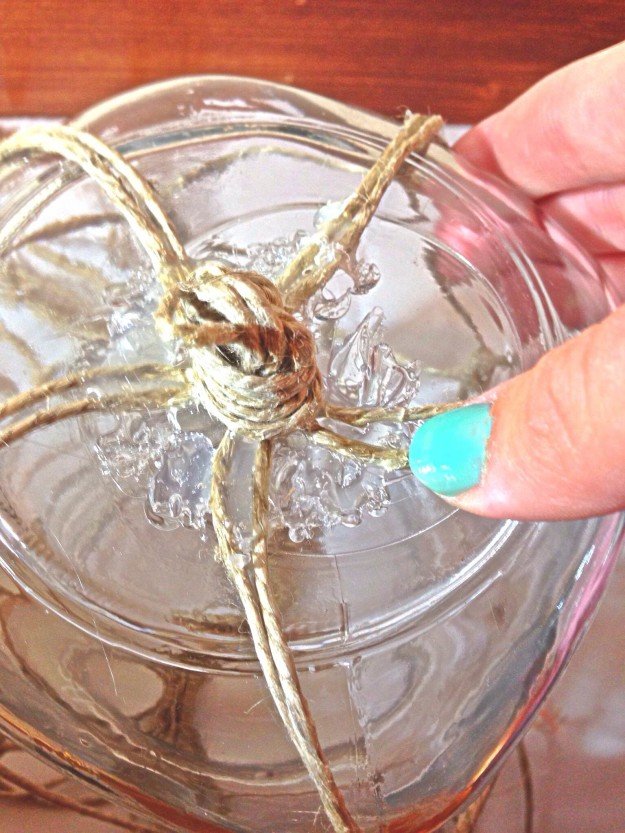
Continue to glue these strings until they are completely glued to the bottom of the container.
Step 11.
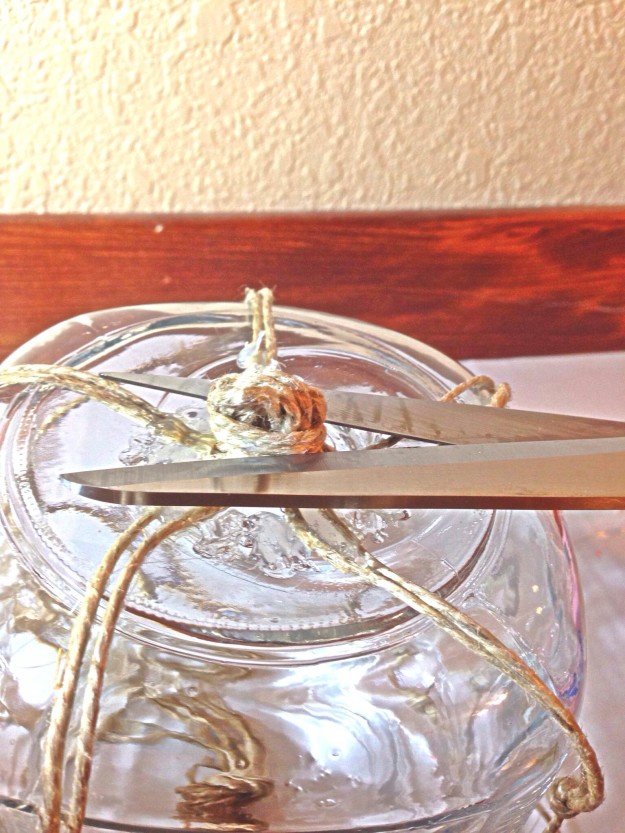
Then, using scissors, cut the original knot from the bottom of the container. Cutting this knot should allow the container to be turned upright.
Step 12.
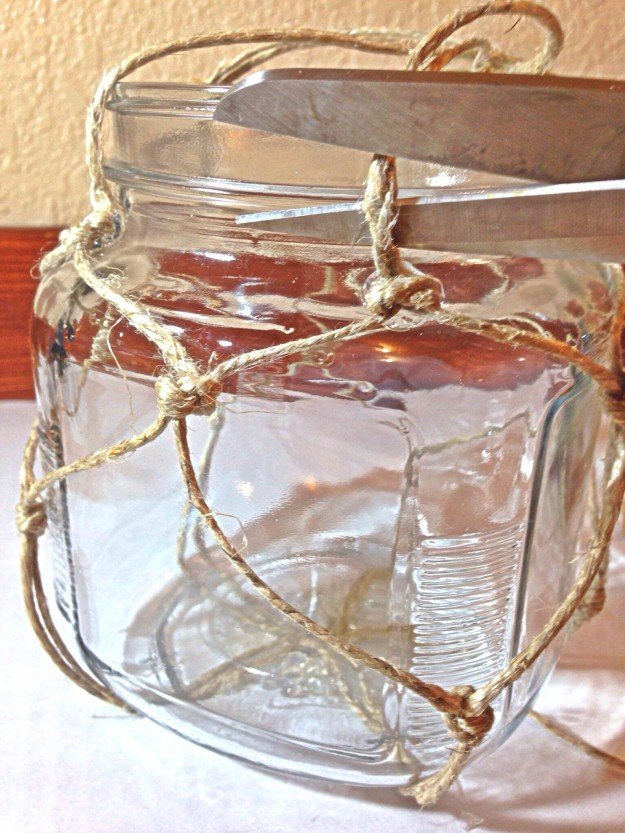
Then, using scissors, cut directly above where the final knot near the top of the container is.
Step 13.
Continue step 12 until all of the loose strings have been cut from the container.
Step 14.
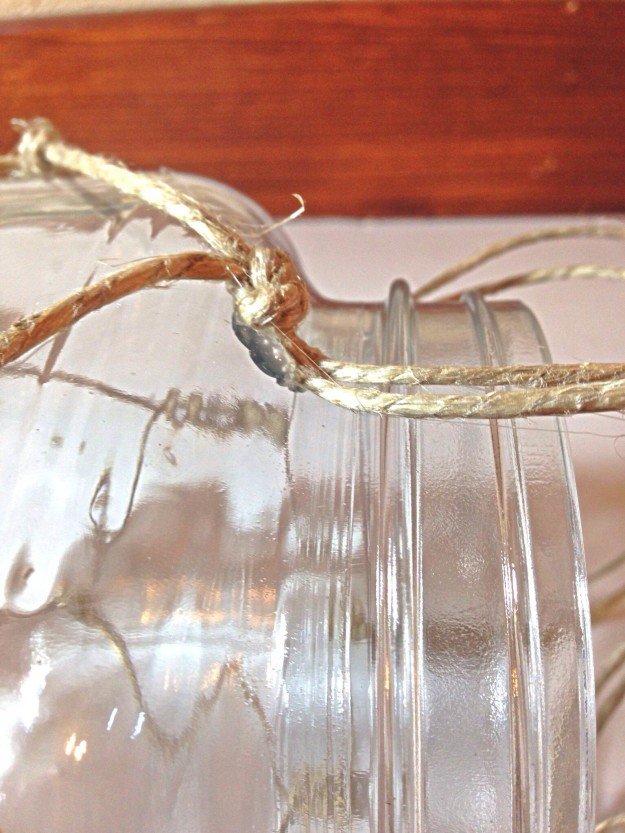
Then, use the hot glue gun to secure the knots to the top of the container. Make sure that the knots are placed where it still allows the lid to be shut.
Step 15.
Congratulations, you have now created a gorgeous nautical-inspired macrame container that can hold anything from shells, pencils, or your favorite…candy!
This tutorial is so simple you’ll most likely want to share it with friends and family – so go ahead! We love when you share our projects. Take the time to poke around our site and see what tickles your fancy. We’re confident there’s something here for everyone. Why not try something new? How did this project work out for you? Leave your feedback or questions in the comments section below and we’ll answer as soon as possible. If you have a fun project that you’d us to give a whirl, let us know in the comments as well. We love hearing from you! The more you comment, the more likely we are to do craft projects like that in the future!
Thanks and happy DIY’ing.
Don’t forget to sign up to our newsletter to get all the latest updates on craft projects in the making!
Like us on Facebook (button below) to get fun craft projects in your feed! Pin your favorite projects to Pinterest to share with friends.
Check out some related craft posts here:
I’m Manas Ranjan Sahoo: Founder of “Webtirety Software”. I’m a Full-time Software Professional and an aspiring entrepreneur, dedicated to growing this platform as large as possible. I love to Write Blogs on Software, Mobile applications, Web Technology, eCommerce, SEO, and about My experience with Life.

