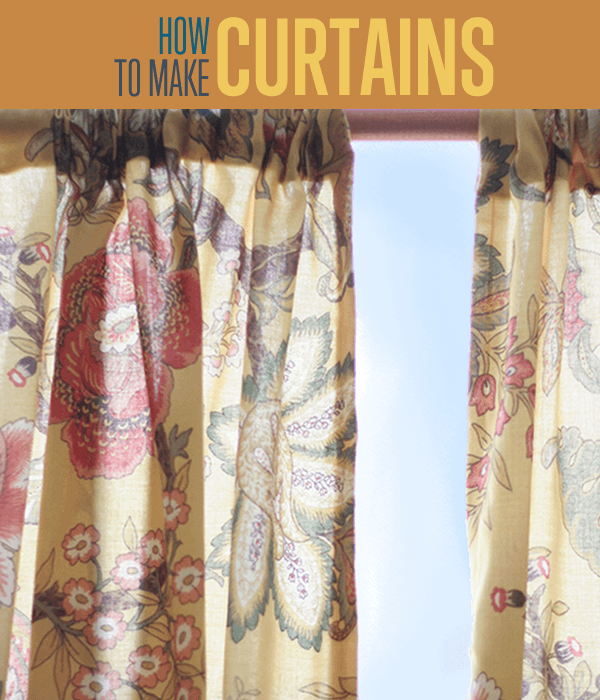
How to Make Curtains | DIY Curtain Ideas
Wanting to know how to make curtains and get DIY curtain ideas for an update on your home decor? Follow our step by step DIY sewing tutorial to learn how to sew curtains that look great for hardly any effort. With customized homemade curtains, you’ll have the window coverings of your dreams, plus save quite a lot of money in the process.
Check out our video tutorial of this easy sewing project:
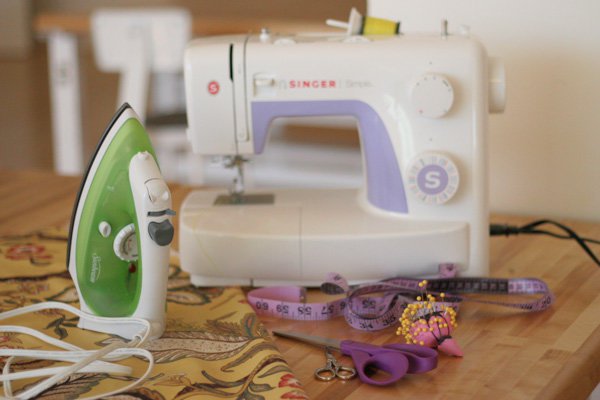
Supplies Needed to Make a Curtain:
- Curtain Fabric
- Thread (match color to fabric)
- Sewing Machine
- Sewing Kit:
- Ball Pins
- Seam Ripper
- Snips
- Fabric Scissors
- Curtain Rod
Measuring Notes:
Measure your fabric. How big is the window that you want to cover? In this demo, we are working with a window that is 4 feet wide by 4 feet tall, so I bought fabric that was 5 feet wide and 5 feet tall, so that I would have enough material to span the window after the sewing process is complete.
Step 1: Press the Fabric Before You Cut
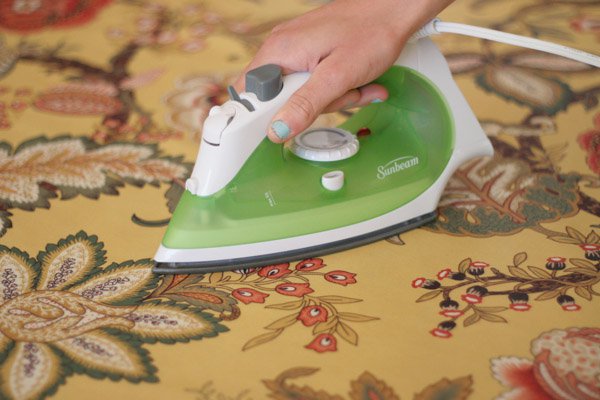
Press the fabric. You always want to start with clean and freshly pressed fabric so it will lay out nicely as you sew. When you deal with a lot of fabric, any little wrinkle could cause undesirable gapping in your overall look.
Step 2: Cut Fabric
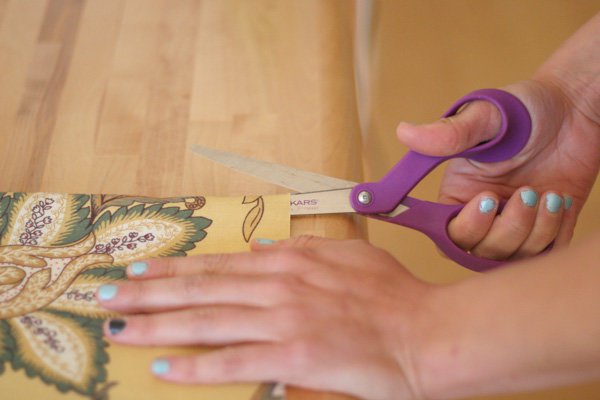
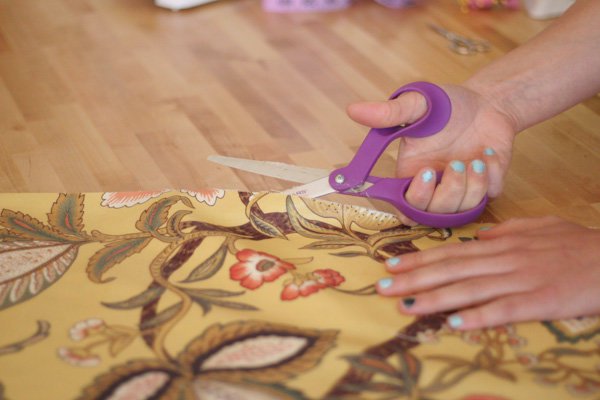
Cut the fabric to size. If you weren’t able to get exact measurements, now is the time to cut the fabric you do have down to the right size. Here I cut the fabric down the middle to create equal 2.5′ x 5′ segments, because I want two curtain panels to frame my window. Make 1 panel at a time.
Step 3: Fold Side Edges Under and Press
Now that you have the shape of the curtain, putting it together is fairly simple. You will be finishing all 4 edges, let’s focus on them one at a time. Let’s start with the two side edges.
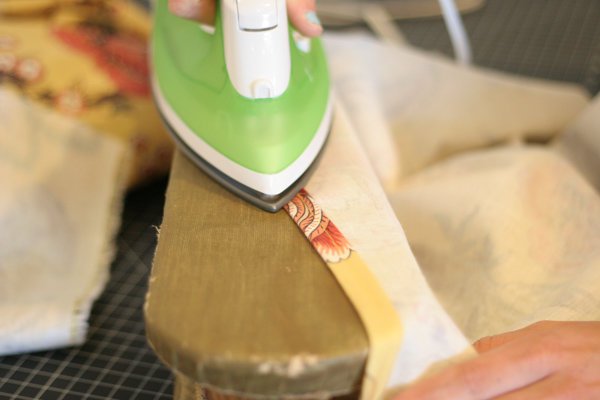
Fold the side edges under 1/2″ and press with an iron.
Step 4: Fold Fabric and Pin
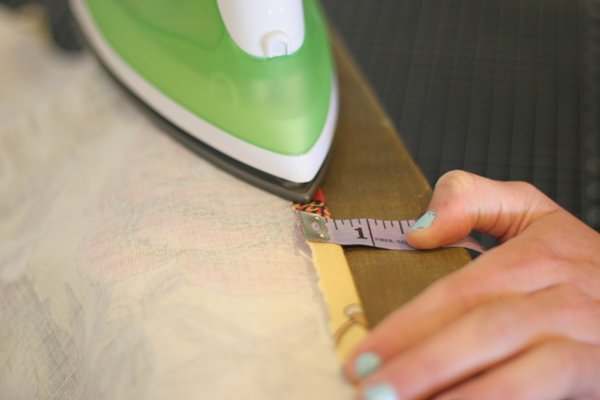
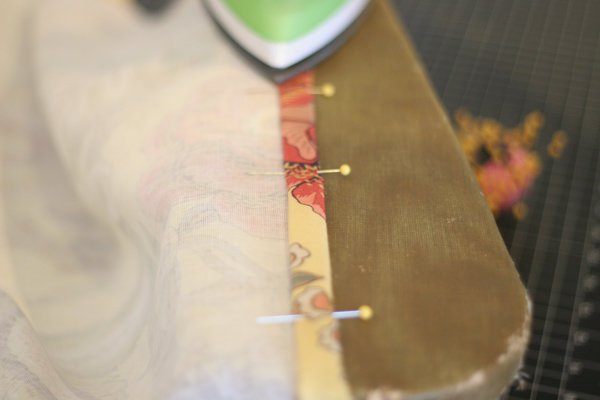
Fold side edges under 1/2″ again, and pin them in place. Press with an iron so the seam lies flat.
Step 5: Top Stitch with Sewing Machine
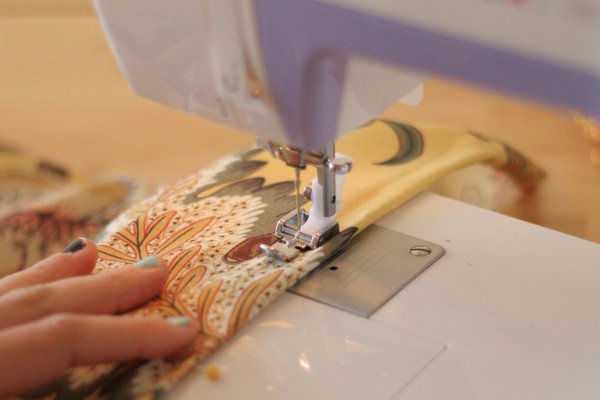
Now you want to top stitch to keep the thread looking nice and straight on the front of your curtain panel. Place your fabric face up into the sewing machine, and top stitch along the length of the fabric using a 3/8″ seam allowance. The goal here is to catch the folded under fabric in your top stitch. You can use your finger as a guide to feel the bump in the fabric.
Step 6: Repeat on Other Side
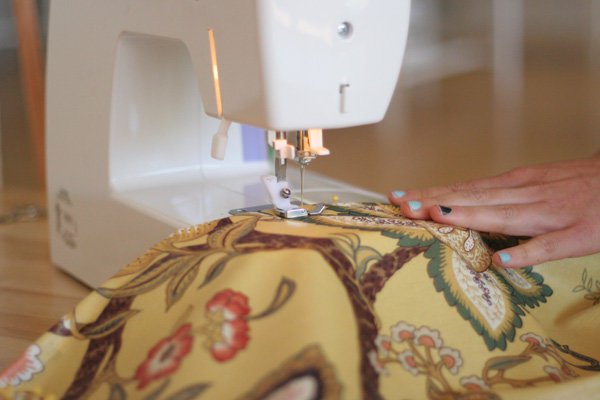
Repeat the last 3 steps on the other side of your curtain panel. Now both sides will be finished, and you are ready to work on the top.
Step 7: Finish the Top Seam
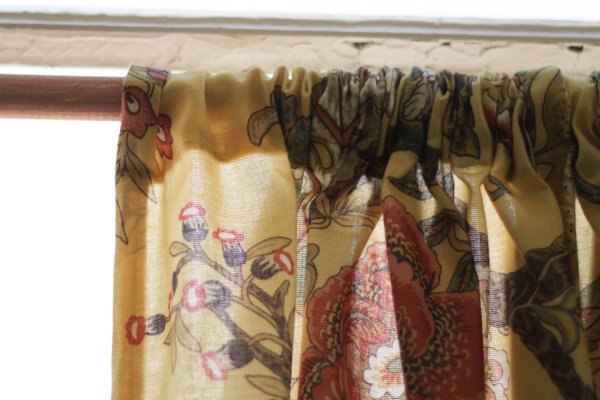
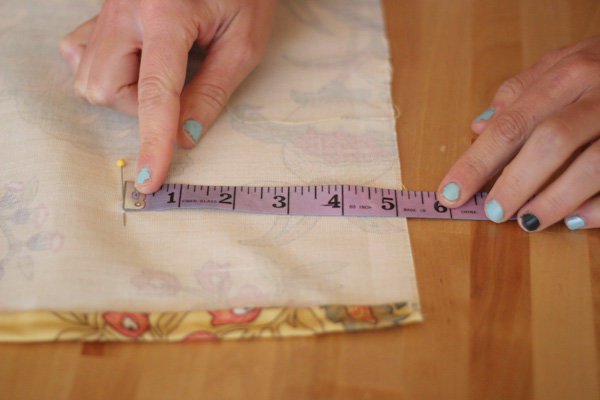
The top seam differs slightly from the side seams. You want to finish the edge and create a tunnel for the curtain rod to slide through. Begin this step by measuring down 5″ from the top of your fabric, mark it with a ball pin or a pencil.
Step 8: Fold Top Over 5″
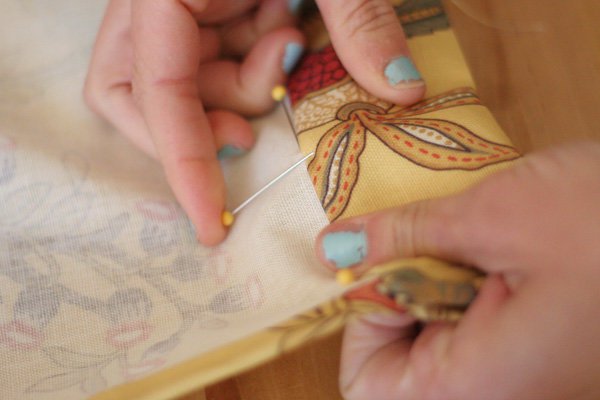
Once you’ve marked the 5″ off the top, fold your fabric under 1/2″ and press as you’ve been doing, but this time instead of folding under another 1/2″, you will fold the top to the 5″ mark. Pin it in place.
Step 9: Topstitch over Top of Curtain
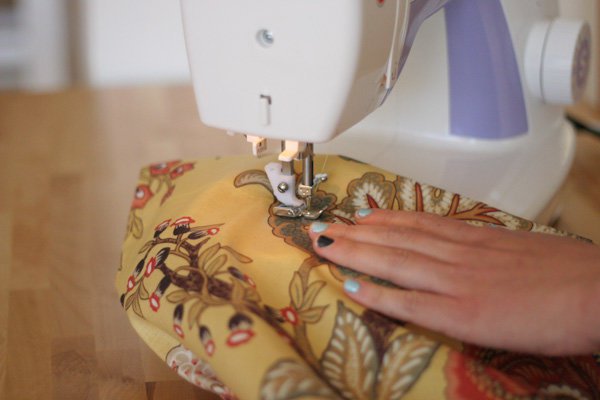
Topstitch over the folded edge as you did before, but this time instead of following a seam allowance, just carefully catch the edge of the fold in your stitch. You can use your finger as a guide, feel the bulk of the fabric beneath it as you guide it through the sewing machine in a straight line all the way down.
Step 10: Check Height of Hem
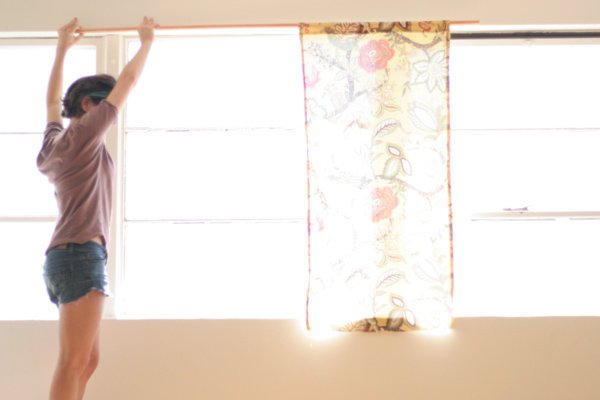
You’ve now completed your top and side seams, all you have left is the bottom! Before you finish it, you want to double check that you have a good height on the curtain. Put the curtain rod through the curtain and hold it up over the window where you want it. Is the height ok? You might need an extra pair of eyes to take a look from the distance.
Mark the length of your curtain where you want it to fall. The reason we do this step during the process instead of before, is to make up for any lost height or inches lost while sewing.
Step 11: Finish Bottom of Curtain
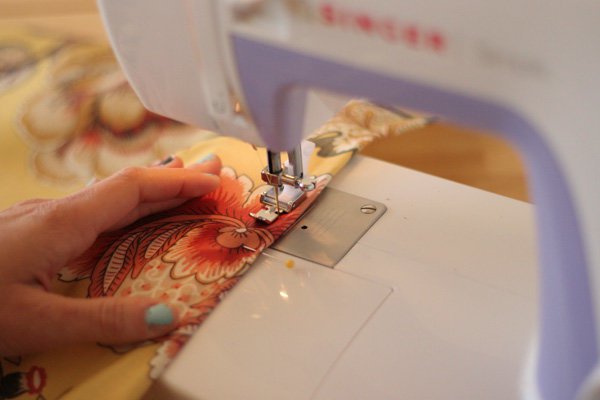
Turn the bottom edge under 1/2″ and press, just as you’ve been doing. Then fold under another 1/2″, pin it, press it, and topstitch it with your sewing machine.
Step 12: Snip off extra thread
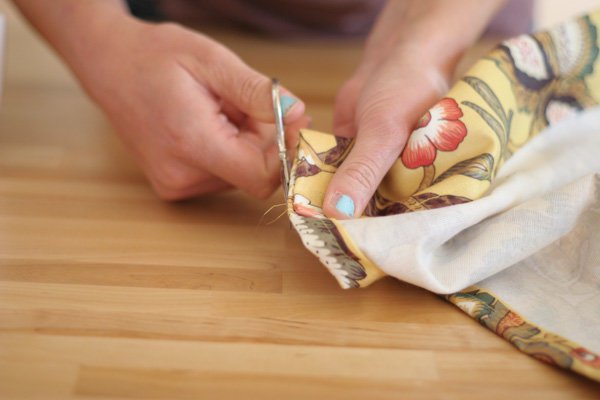
Use your scissors to cut off any excess thread. This is an important step to remember on any sewing project.
Step 13: Press all Seams
Press the curtain and all 4 of its seams so it wil fall super straight. You want the corners to be nice and crisp.
Step 14: Make More Panels
Repeat the process on 1 or more panels, until you have the desired number of curtains. I made 2.
Step 15: Put Curtains on Curtain Rod
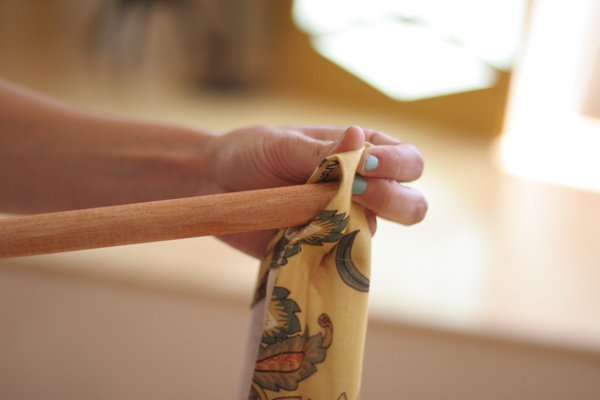
Place the rod through the top of the curtains.
Step 16: Hang and Enjoy
Hang them up and enjoy your custom curtains that make your space the one you always dreamed of!
I’m Manas Ranjan Sahoo: Founder of “Webtirety Software”. I’m a Full-time Software Professional and an aspiring entrepreneur, dedicated to growing this platform as large as possible. I love to Write Blogs on Software, Mobile applications, Web Technology, eCommerce, SEO, and about My experience with Life.

