How To Make Cheesecake | Best Dessert Recipes
Have you been curious about how to make cheesecake, but never thought to attempt it yourself? Cheesecake recipes can seem insanely difficult to the unimaginative eye, however, they’re not really! Cheesecake can be a fun and simple dessert recipe that you make with your friends and family. Check out our quick and easy how-to tutorial that will have you making cheesecake like a pro!
Versatile and simple, a cheesecake is suited for serving at the most casual of family get togethers, yet elegant enough for the most formal occasions. I love changing up how I make cheesecakes, using different crusts or additions to the filling depending upon the occasion or time of year. To keep my chocolate-loving husband happy, I have used crushed chocolate cookies for my crust, and have even added in cocoa powder and small chunks of chocolate into the filling. For Halloween and Thanksgiving, I like making a spiced cookie crust, and add in cinnamon and pumpkin puree to the cheese.
Lately, though, I have a suspicion that I have an intolerance to gluten because, after taking it out of my diet for several months, every time I eat a small amount my eczema comes back. Fortunately for me, making a gluten-free, walnut crust is not only simple, but also very tasty. You may also notice that I often use honey, and rarely use refined sugar in my recipes. For me, the combination of walnuts and honey in the crust is reminiscent of baklava, which I happen to love.
It isn’t just about the flavor, though. I believe that the less processed a food is, the healthier it is, so I strive to make my recipes as “real” as I can. If you aren’t as fond of the honey flavor as I am, the honey can easily be substituted for any sugar or sweetener that you choose. In fact, I highly recommend that you add in your sweetener of choice last, and to taste. Some people, after all, prefer their desserts much sweeter than others! When making the recipe, I started with only 3 tablespoons of honey, and we kept adding in a little more, and tasting, until we got a sweetness that we could agree on. In the end, we were all happy with the recipe. This is a great basic creamy cheesecake recipe. I prefer soft, light, creamy cheesecakes to the denser, drier varieties. My husband, of course, had to eat it with chocolate sauce. I, on the other hand, prefer the simplicity of berries and whipped cream.
You Will Need These For This Recipe:
Cheesecake
Crust:
- 1 ½ c. (160g) Walnuts
- 2 Tbsp. Honey
- 1 Tbsp. Butter
Filling
- 20 oz. (565g) Cream cheese
- 8 oz. (230g) Greek Yogurt
- ½ c. Heavy Cream
- 1 Tbsp. Vanilla extract
- 3 Eggs
- 5 Tbsp. Honey
Directions for Cheesecake:
Step 1.
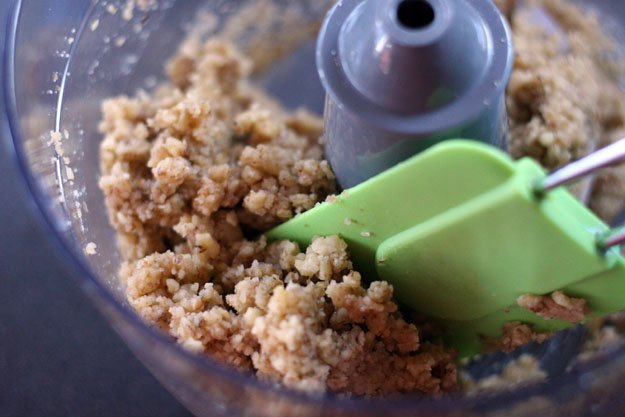
Combine the ingredients for your crust in a food processor until they have been ground into a somewhat coarse paste. The honey and butter will help the ground walnuts stick together to form a crust.
Step 2.
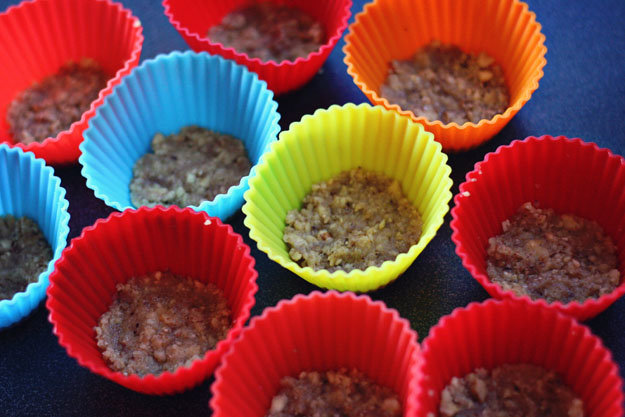
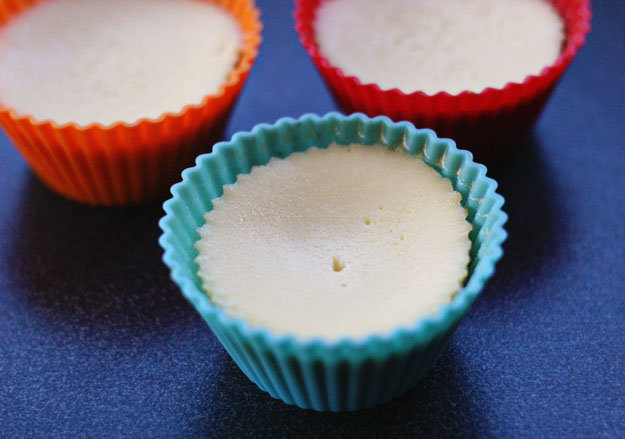
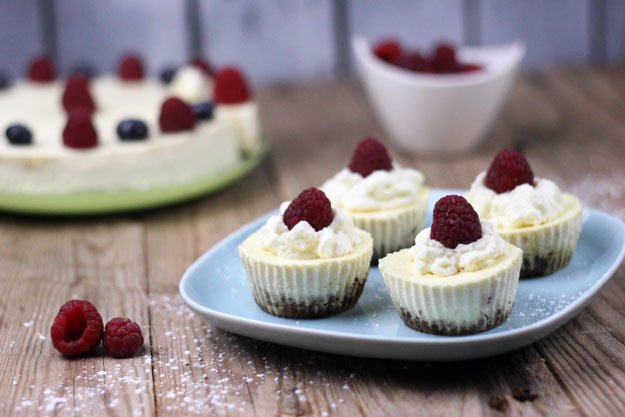
Press the mixture into the bottom of your springform pan. You can also use silicone muffin tins, cupcake liners, or similar type silicone molds for easy to eat and serve, party-sized cheesecakes.
Step 3.
Bake the crust at 350ºF (175ºC) for 10-12 minutes.
Steps 4-6.
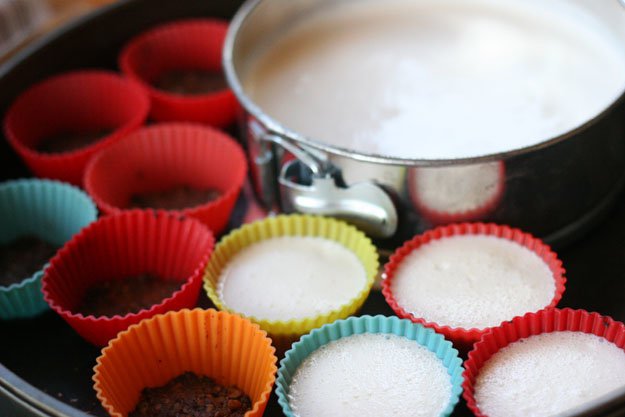
Meanwhile, blend together all of the filling ingredients until the mixture is smooth. You can use a blender to easily mix them all together, but keep in mind that bubbles will likely be formed that will settle to the top, meaning that you likely won’t end up with a perfectly smooth cheesecake top when baked.
If you are going to be covering your cheesecake with jam, or some other topping, then it isn’t really a problem. If not, though, either combine them by hand, or let the bubbles settle before pouring your mixture over your crust.
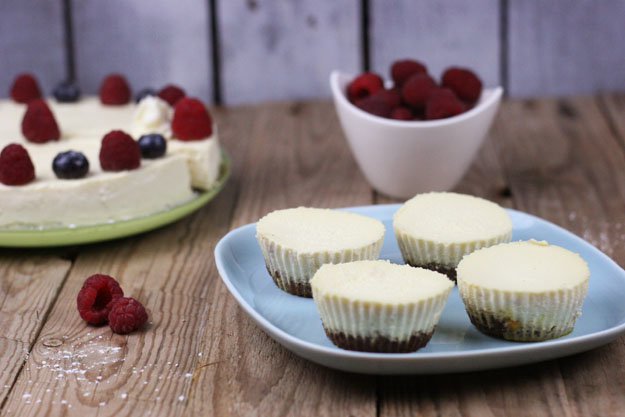
Bake at 300ºF (150ºC) for 45-65 minutes, depending upon the size of your molds or pan. I baked the mini cheesecakes in the silicone muffin liners for 45 minutes, and kept the larger cheesecake in my small, springform pan for another 10 minutes (55 minutes total). If you are using all of your mixture in a larger pan, it should take just over an hour.
Step 7.
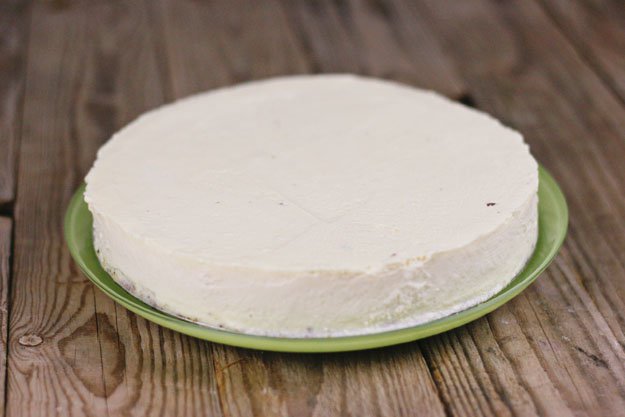
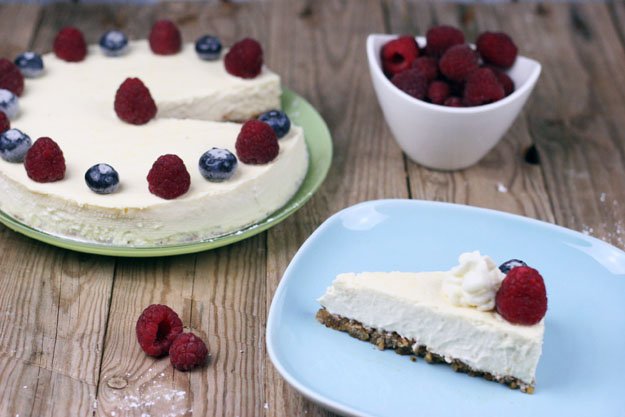
Take your cheesecake out of the oven, and let cool. Then refrigerate for several hours to chill it. To unmold the cheesecake, run a knife around the edge of the pan before opening the springform pan. You can then move the cheesecake, still on the bottom of the pan, to a serving plate.
Step 8.
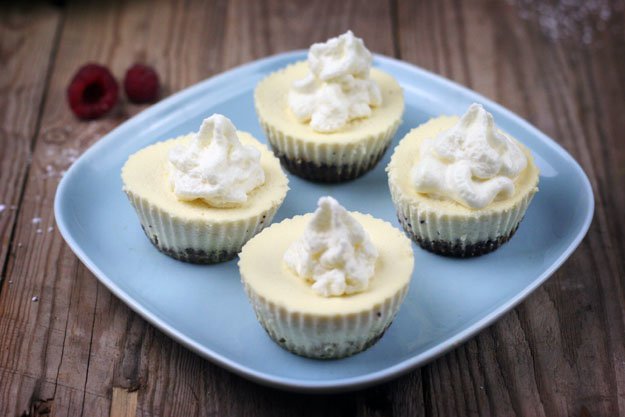
If you have used small silicone molds, unmold the mini cheesecakes by lightly pulling the silicone away from the cake on all sides, and then lightly tapping on the bottom of the mold, releasing the cake into your hand.
Step 9.
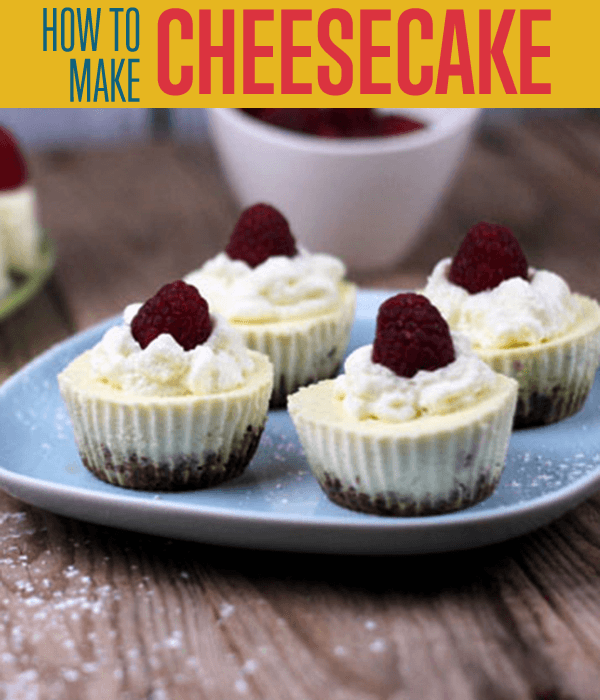
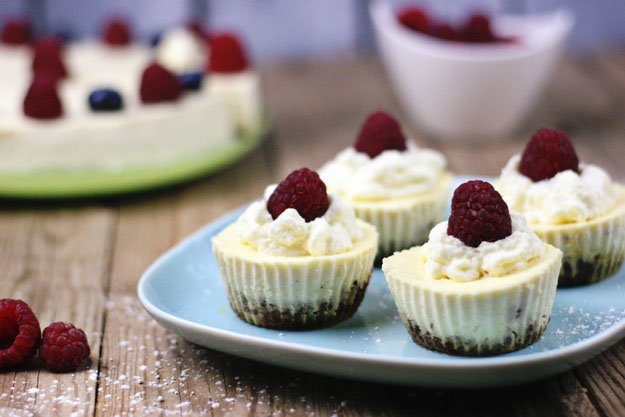
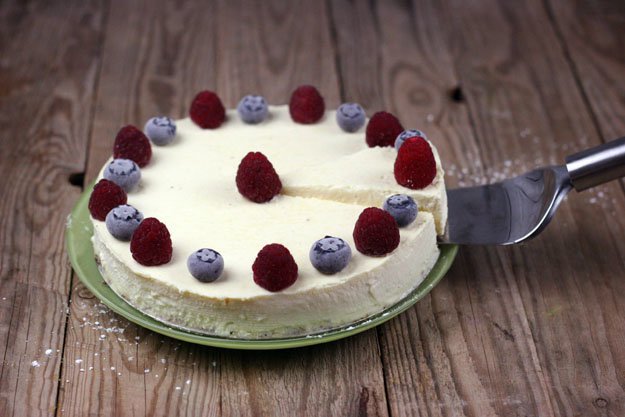
Decorate and serve the cheesecake(s) with your topping of choice. I used raspberries, blueberries and whipped cream, but you can use whatever you like. Great toppings include jam or shredded chocolate.
Thanks for checking out our homemade cheesecake recipe! Don’t miss all of our great recipes made with love! We hope you enjoyed making these just as much as we enjoyed eating them! How did this tutorial work out for you? Let us know in the comments section below. We’ve got plenty of awesome craft projects, recipes, and more to keep you busy for hours. Did we miss a crucial step in our cheesecake making? Leave your feedback in the comments section below and we’ll do our best to update our recipes. Do you want a particular recipe that you can’t find on the site? Suggest that we do it in the comment section as well. Your feedback matters. Thanks again!
Want more great recipes like this? Check us out on Facebook and Pinterest!
Check out some related craft projects here:
I’m Manas Ranjan Sahoo: Founder of “Webtirety Software”. I’m a Full-time Software Professional and an aspiring entrepreneur, dedicated to growing this platform as large as possible. I love to Write Blogs on Software, Mobile applications, Web Technology, eCommerce, SEO, and about My experience with Life.

