How to Make a Woodland Flower Crown | DIY Hair Accessories
You are here: Home / Create and Decorate / How to Make a Woodland Flower Crown | DIY Hair Accessories
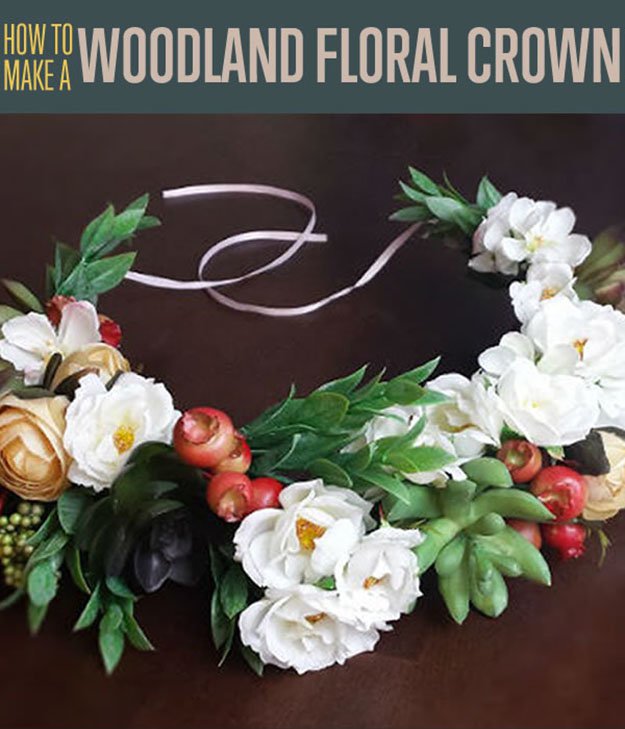
Whether you’re dancing through the woods for a whimsical woodland photo shoot or walking down a grassy aisle at your woodsy wedding, this whimsical floral crown is a breathtaking headpiece that is sure to turn heads.
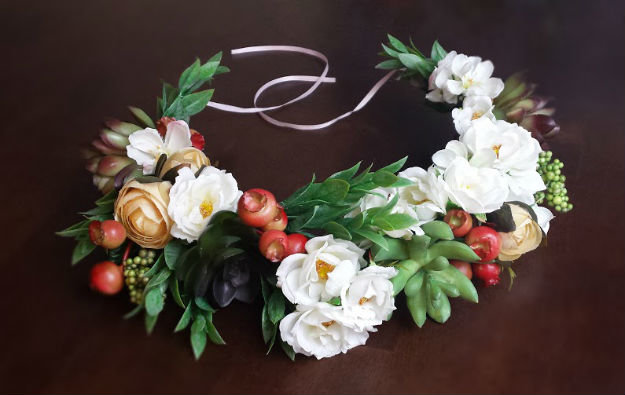
Supplies:

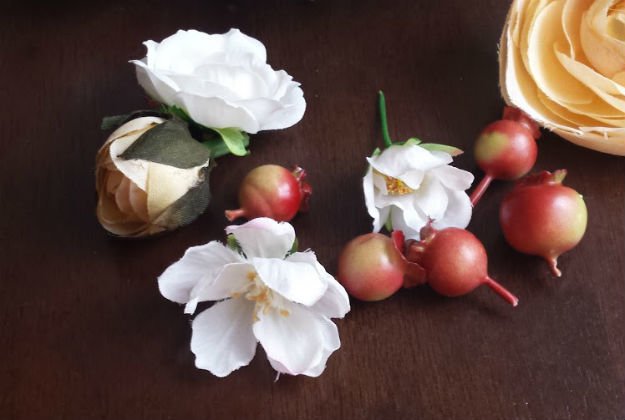
- Artificial flowers
- Artificial greenery
- Artificial twiggy vine
- Floral wire (in a spool or in the long, straight pieces)
- Floral tape (you should only end up needing one roll for this project)
- Ribbon
Common Tools That You’ll Need:
- Wire cutters
- Scissors
- Hot glue gun
- Tape measure
Step 1
Use a soft tape measure to measure around your head where you would like your floral crown to sit. I measured 20” around my head, but since I want to make this crown adjustable down to smaller head sizes than mine, I am going to make the floral part of the crown a bit shorter and the adjustable ribbon ties a bit longer. I decided to make the floral part of my crown 18” in length, and that ended up working out perfectly!
So, with all of that being said, step one is to lay your tape measure out flat on a table, and arrange a few twiggy vine pieces so that they form a line that is the appropriate length (in my case, that was 18”, as mentioned above). This twig formation is going to be the base of our crown, and will even show through in a few spots to enhance the woodland look!
Step 2
Use your floral tape to firmly wrap your line of twigs at both ends – anchoring the various pieces together. The key with floral tape is to stretch it as you wrap. The stickiness of the tape is activated by stretching, so if you simply wrap the tape around without pulling it, the adhesive won’t activate, and the tape will not hold anything together.
Step 3
Before we start attaching flowers to the crown base, we need to attach the adjustable ribbon ties at the back of the crown. Cut two ribbons, about 6”-12” in length (you can always trim them shorter later!)
This step is identical on both ends of the twig crown base: about two inches up from the end of the twig, tie a very firm knot with the ribbon. It’s best if you can loop the ribbon through a fork in the twig before tying the knot (see the photo on the left for Step 3). Once you’ve tied the knot, run the ribbon down towards the end of the twig and let the excess hang freely. Use your floral tape to once again wrap the end of the twig crown, this time encompassing the ribbon running along the twig.
Step 4
Time to start attaching the flowers and greenery! This is where things really come down to your own personal flare and sense of floral arranging. I chose a few lovely little white roses to start off, and began at the front of the crown, facing the stems of the flowers towards the back of the crown (running the length of the twigs towards the ribbons). Pinch your first flower, or cluster of flowers, in place with your fingers, and use floral tape to firmly cinch the stems to the twig base
Step 5
Repeat that step over and over, adding flowers and greenery, and wording from the front for the crown towards the back. Notice that in the photo for Step 5, I’ve tied on those leaves with the floral wire instead of the floral tape. That’s because the wire worked better for holding that bit of thickness in place with the leaves, but it’s overkill with the tiny little rose stems. Use a combination of floral tape and floral wire as you go around the crown attaching the lovely flowers and leaves.
Step 6
When you reach the back of your crown, and find yourself a few inches away from the ribbon at the very end of the twigs, you’re going to do something just a bit different. We don’t want a bunch of ugly stems hanging off the back of the crown where the ribbon begins, so at the very end of the line, take a piece of greenery and flip it “backwards”, so that it goes the opposite direction of the other flowers and leaves you’ve been attaching. Use floral tape to anchor it in place. Notice in the photo for Step 6, we now have a lovely transition from leaves to pink ribbon. We just have to take care of that gap in the leaves now. On to Step 7!
Step 7
Hook your floral wire around the base of a succulent (or flower), and anchor that succulent right in the gap that we created in Step 6. Look how nicely that covers over everything! This is an instance where the floral wire is better than the floral tape – my succulent has no stem!
Step 8
When you’ve worked from the center-front of the crown to the back on one side, repeat on the other side.
Step 9
When your flower crown is done, you may notice a few accidental spots that look a little bare, or some places on the top that don’t look good from above – but not to worry! Use the miscellaneous little flower heads that you will most likely have lying around at the end of your project, and hot glue them into any bald-spots that you see on your crown.
And you’re done!
Did you enjoy our easy tutorial on how to make a flower crown? Let us know in the comments section below what your thoughts are on this DIY hair accessory. Do you have any other craft ideas you’d like to share? Share it with us and we’ll give it a try. We love doing cool DIY projects by making craft projects, home decor projects, upcycling ideas, recipes, tutorials and anything you can do yourself. That’s why we created this site, we want people to be more in touch with their creative side and realize that there’s a lot of things that they can do themselves. We’d love to hear from you and create a community of DIY enthusiasts where any project is just a click away. Stay connected with us on Facebook, Twitter, Pinterest and Instagram!
If you would want to get your hands on more craft projects and DIYs, follow these links to our posts:
16 Cool DIY Bracelets
Homemade Resin Jewelry Made from Pressed Flowers
4 Wire Jewelry Making Techniques | DIY Bracelets
I’m Manas Ranjan Sahoo: Founder of “Webtirety Software”. I’m a Full-time Software Professional and an aspiring entrepreneur, dedicated to growing this platform as large as possible. I love to Write Blogs on Software, Mobile applications, Web Technology, eCommerce, SEO, and about My experience with Life.


