How To Make a Shabby Chic Dog Leash and Treat Wall Hanger | DIY Pet Project
You are here: Home / Create and Decorate / How To Make a Shabby Chic Dog Leash and Treat Wall Hanger | DIY Pet Project
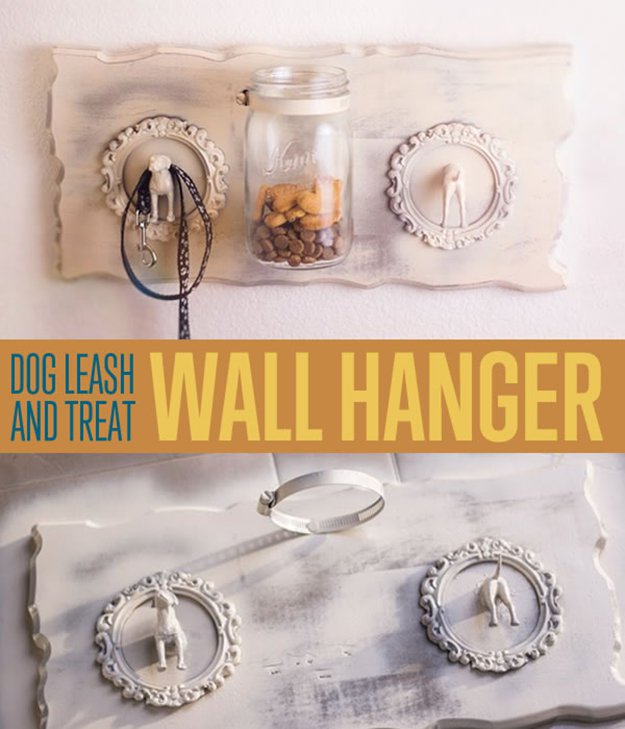
When you’re grabbing your dog leash and treats on your way out the door, this shabby chic doggie supply rack will keep everything stylishly at your fingertips!
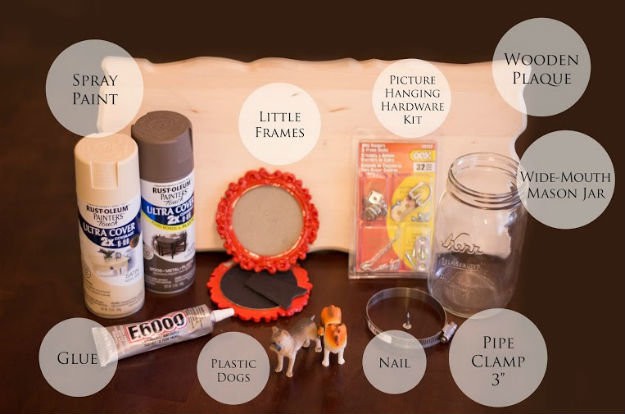
Supplies:
- Wooden plaque. You can find these at Michael’s Crafts or in my case, Amazon.com
- Picture hanging hardware kit (also available from Michael’s or Amazon)
- Wide mouth mason jar
- Pipe clamp (I used a 3” clamp from Ace Hardware). To be on the safe side, you’ll probably want to just bring your mason jar into the hardware store and find the appropriately sized clamp.
- Little frames from Michael’s/The Dollar Store. Get something with a texture you love, and don’t worry about the color!
- Spray paint. Get an “undercoat” and a top coat. When we distress the top layer with sandpaper later, the under color will peek through. I chose a warm brown and an ivory.
- Plastic dogs. If you want two dog heads for the leash hooks, get two dogs. If you want a dog head and a dog bum, you can just use one.
- Extra-strength adhesive
Other Common Items from Around the House:
- Hammer
- Screwdriver (A power drill will make things easier, but a hand screwdriver will work)
- Sandpaper
- Large serrated kitchen knife
- Pencil/Pen
- Q-tips
Step 1
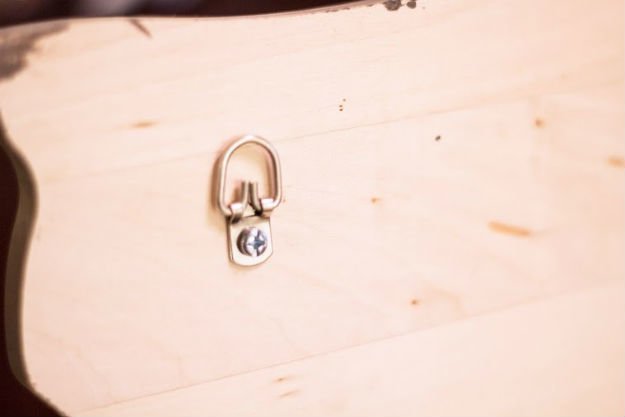
Attach the picture-frame-hanging-hardware to the back of the wooden plaque. If you get a kit with a variety of hook options, choose the one that will work best for you. I like this sturdy little tab hook system with the screws. I simply used one on each side.
Step 2
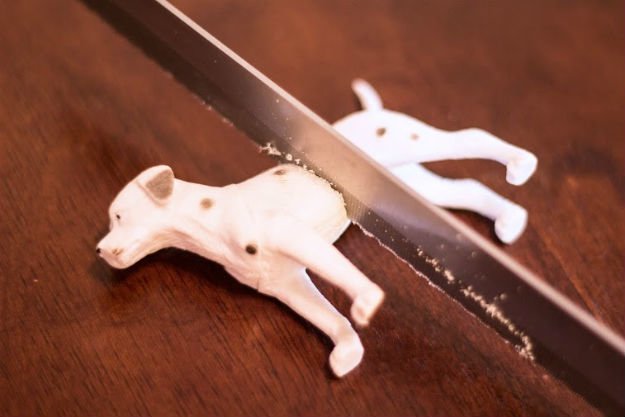
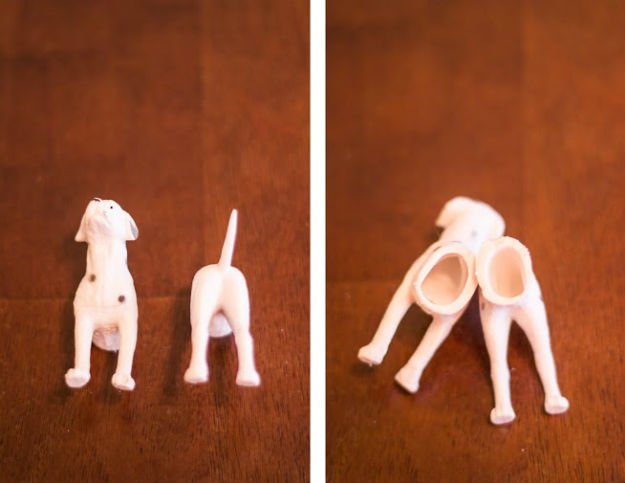
Now it’s time for a not-so-intricate surgery on your plastic puppy. Using a sharp, serrated kitchen knife, cut the plastic dog in half.
Step 3
Once your plastic dog is cut in half, take a look at the cut lines around each half. If there are bumps and warbles, trim those away so that each half will sit flat and not topple over. You’ll want the halves to sit flush with the plaque when you glue them on.
Step 4
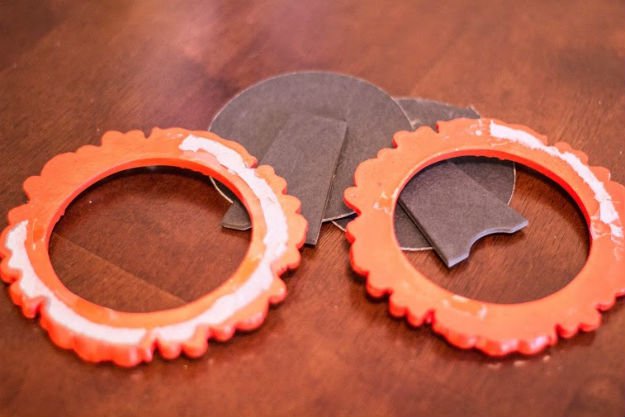
Rip the backs off of your small frames and peel away any residual cardboard or glue.
Step 5
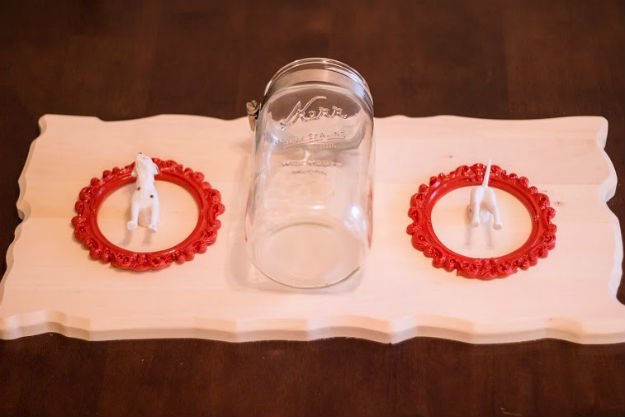
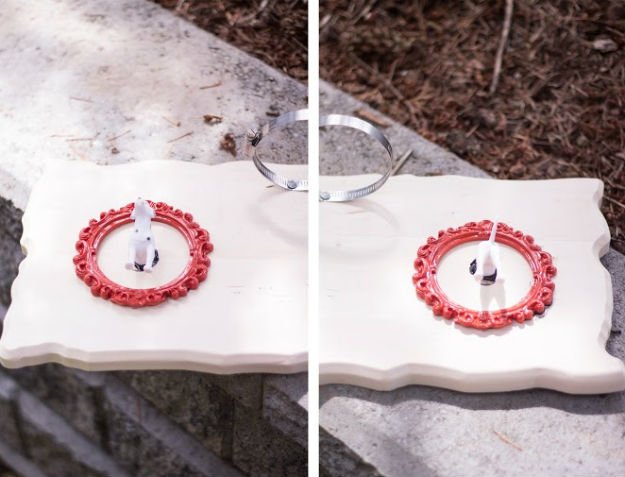
Let’s lay everything out on the plaque and make some reference marks. Arrange the frames, dog halves, and mason jar (with its pipe clamp around the neck) on top of the plaque. Slide them around until they are exactly where you want them, and then use a pencil or pen to mark around the edges.
Step 6
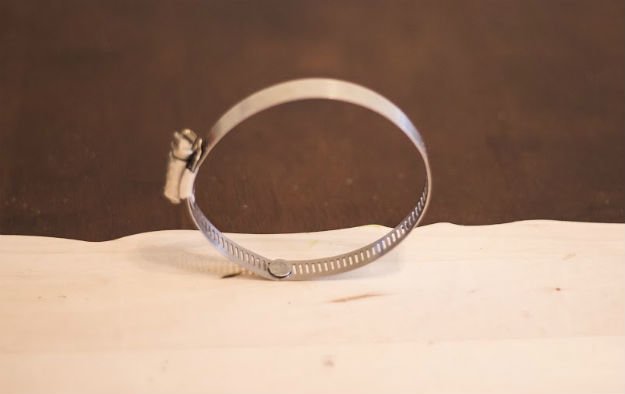
Using a short, sturdy, nail – attach the pipe clamp to the plaque (where you just marked it). This is the only party of the project that I would say is a bit time consuming. You’ll have to really work that nail to pound it through one of the little openings. Be patient and use your brute strength – you can do it! Luckily, the metal is flexible, so you can push the top part of the band out of the way while you pound the nail in.
Step 7
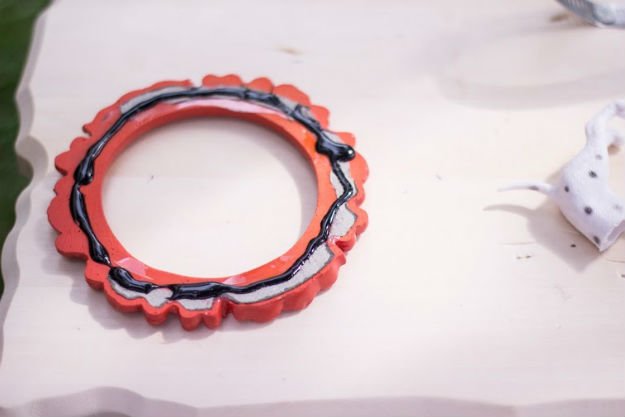
Now that the hammering and jostling is done, you can glue on the other elements. I’m using a super-strength adhesive, which you can find at a hardware store or Michael’s Crafts. The brand isn’t particularly important – just something that is super-strength and non-expanding.
Step 8
Glue the dog halves in the middle of the frames with a generous amount of glue. It will likely ooze out a bit, but use a q-tip to swab away the extra.
Step 9
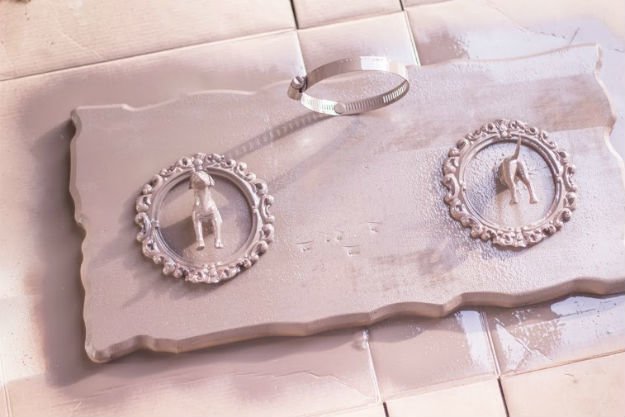
When the glue dries on everything, spray your project with your base color. I’m using a nice, sandy brown for the base.
Step 10
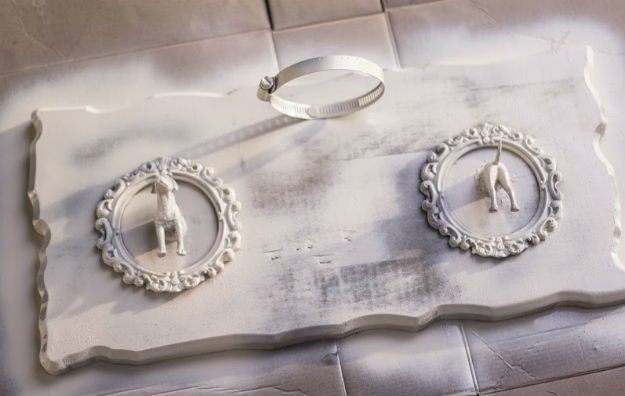
When the base layer dries, sparingly apply the top color. The picture for step 10 shows where I stopped in the application of the ivory layer. I love how that base color shows through in spots – so weathered looking!
Step 11
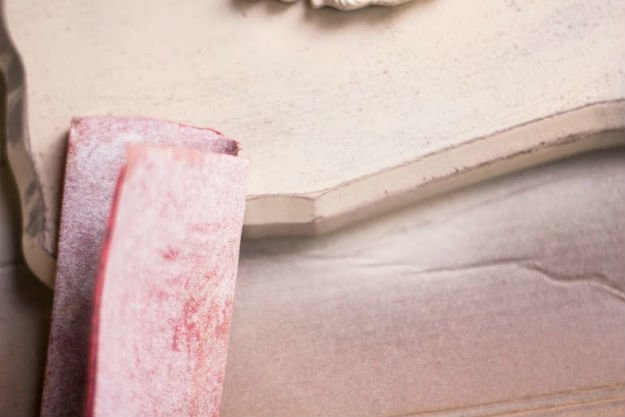
After everything is thoroughly dry, use sandpaper to rough up the edges of the plaque. That lovely base color will start to poke through the top coat and create a very aged look. Use the sandpaper until you feel like your project is “weathered” enough.
Step 12
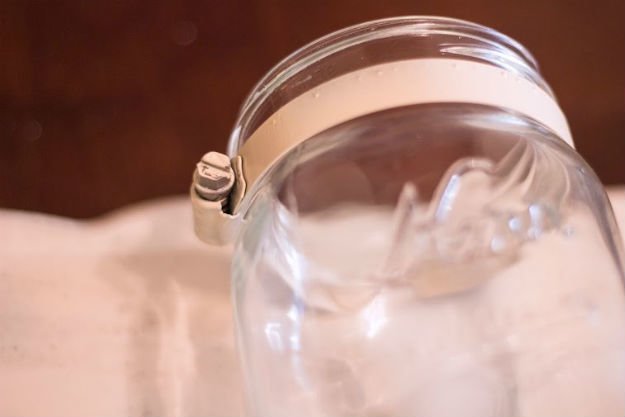
Slip the mason jar into the pipe clamp and tighten the screw on the side until it is firmly locked in.
You’re done! Time to hang the project.
Wall Hanging Tip:
I like to use toothpaste to help me out with hanging wall decor. Here’s how: Squeeze a little dot of toothpaste onto the top-center of each metal hanging tab. Hold the plaque up to the wall, without touching it to the wall. When the plaque is straight and even, press it against the wall. The toothpaste dots will leave little spots on the wall exactly where the nails should go – easy as that! Stick the nails in, clean off the little bits of toothpaste, and you’re ready to hang the pet project.
Did you enjoy our easy pet project tutorial? Let us know in the comments section below what your thoughts are on this cheap dog craft. Do you have any other craft ideas you’d like to share? Share it with us and we’ll give it a try. We love doing cool DIY projects by making craft projects, home decor projects, upcycling ideas, recipes, tutorials and anything you can do yourself. That’s why we created this site, we want people to be more in touch with their creative side and realize that there’s a lot of things that they can do themselves. We’d love to hear from you and create a community of DIY enthusiasts where any project is just a click away. Stay connected with us on Facebook, Twitter, Pinterest and Instagram!
Want more easy pet projects? Here are some of our other easy DIY crafts you’ll surely get inspired with:
Ombre Rope Dog Leash | DIY Pet Projects
Peticure Elite Review | Safely Grind and Trim Your Dogs Nails At Home
15 DIY Pet Projects & Recipes
I’m Manas Ranjan Sahoo: Founder of “Webtirety Software”. I’m a Full-time Software Professional and an aspiring entrepreneur, dedicated to growing this platform as large as possible. I love to Write Blogs on Software, Mobile applications, Web Technology, eCommerce, SEO, and about My experience with Life.

