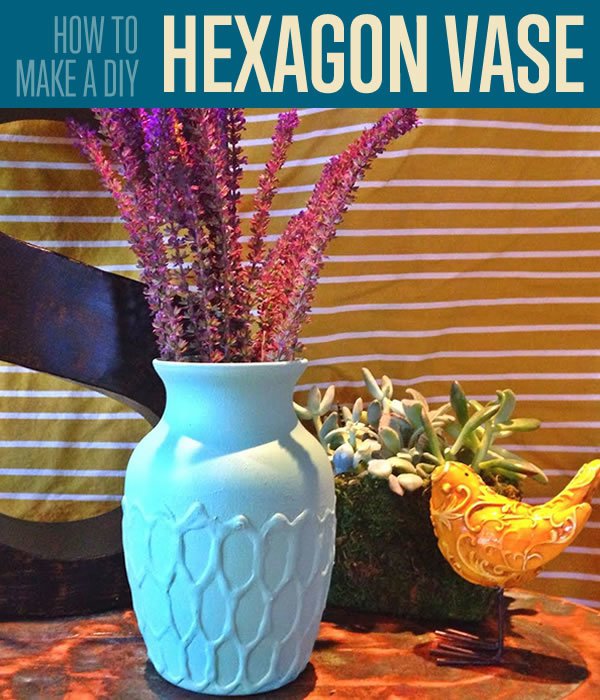
How To Make A DIY Puffy Paint Hexagon Vase
One of the things I love the most about spring and summer is the abundance of flowers. However I have become pretty bored with the old glass vases that I have so I decided to personalize one. Here are the steps to creating the hexagon vase I made:
Supplies:
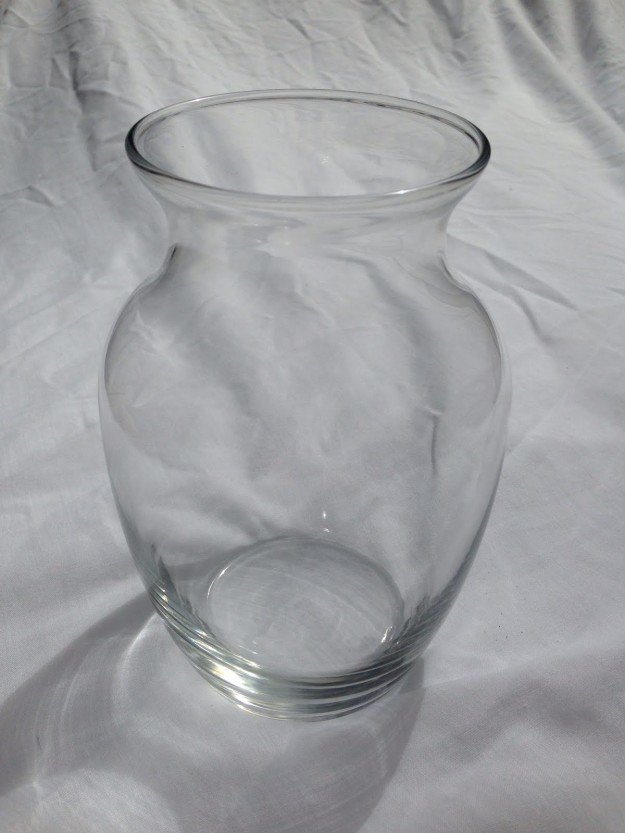
- Glass vase–I found the one I used at the Dollar Tree for just a buck, however I’ve found that thrift stores also seem to have these in stock, if you don’t have a plain vase lying around already.
- Puffy Paint–I found this for under a dollar in my craft aisle. White is preferred because it won’t show through once you paint the vase.
- Accrylic Paint–I used some that is actually from the 90’s in sage green. But you can find it in a multitude of colors at your craft store.
- Foam paintbrush–Or any paint brush will do the trick.
Step 1.
Wash the vase with warm water in order to remove any dirt or dust that count affect the paint job.
Step 2.
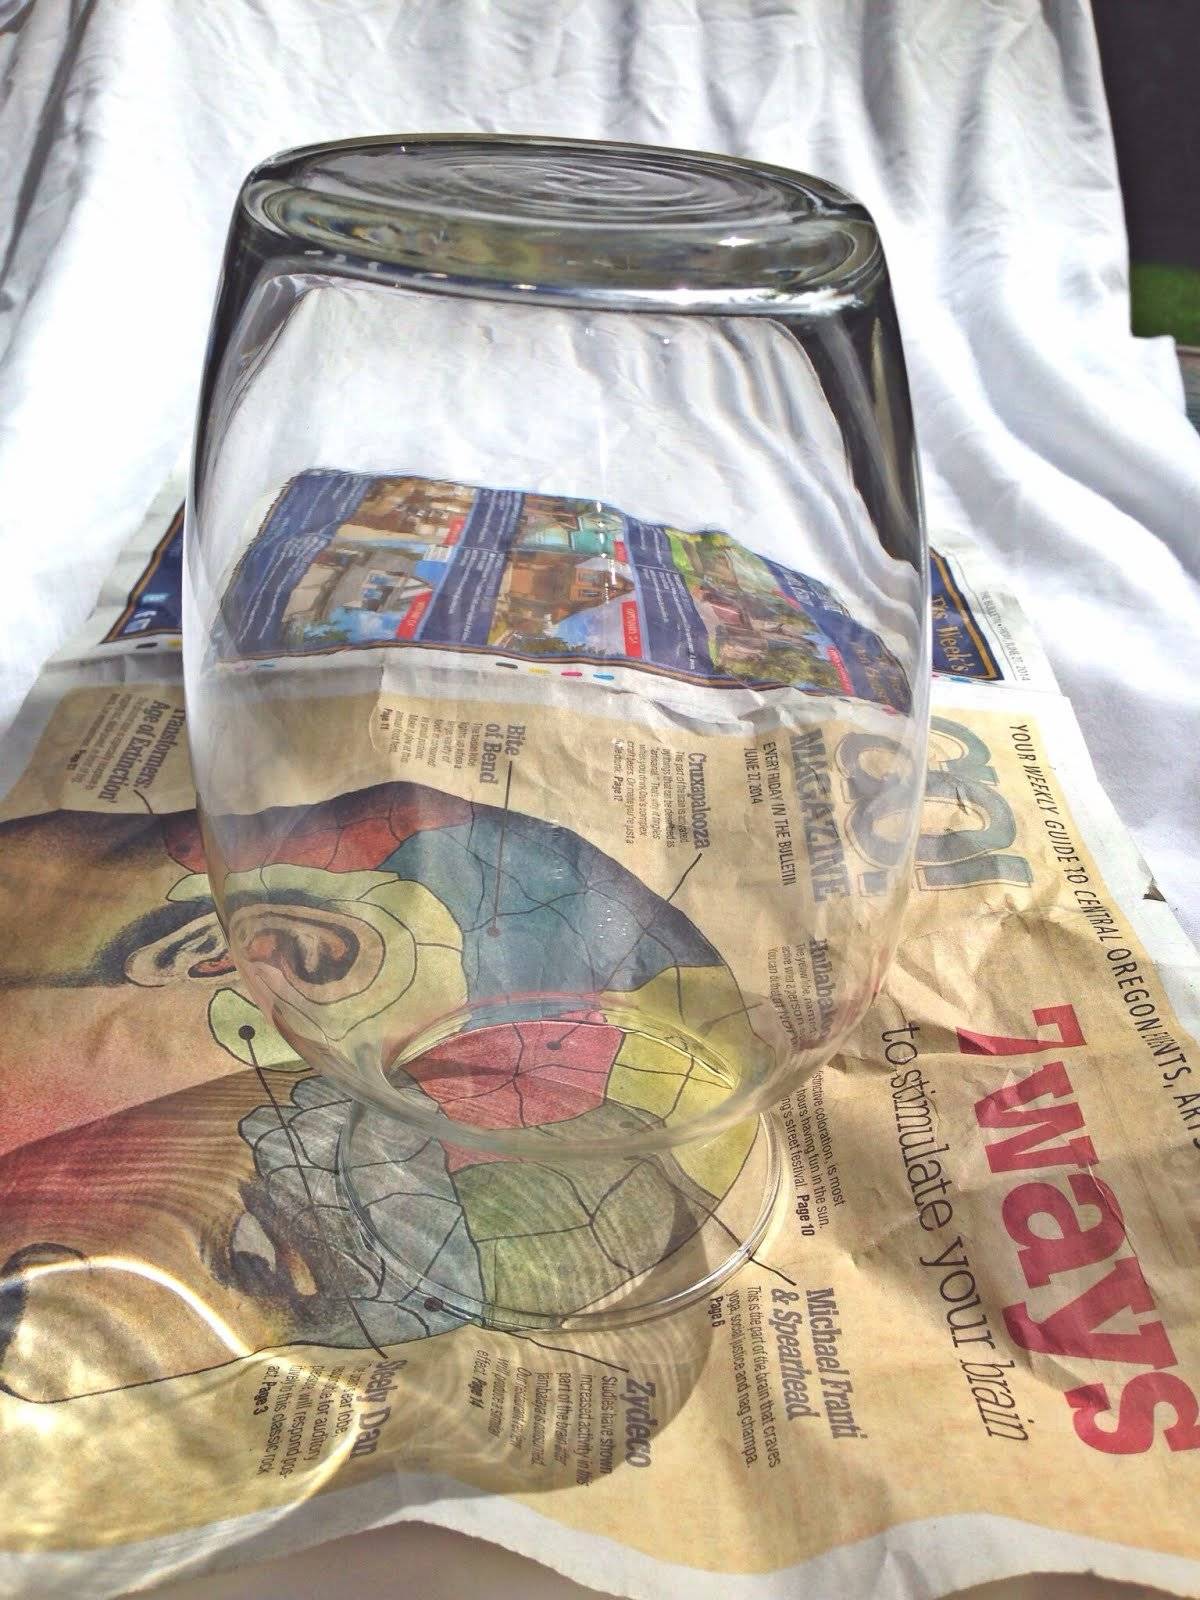
Place the vase upside down on newspaper.
Step 3.
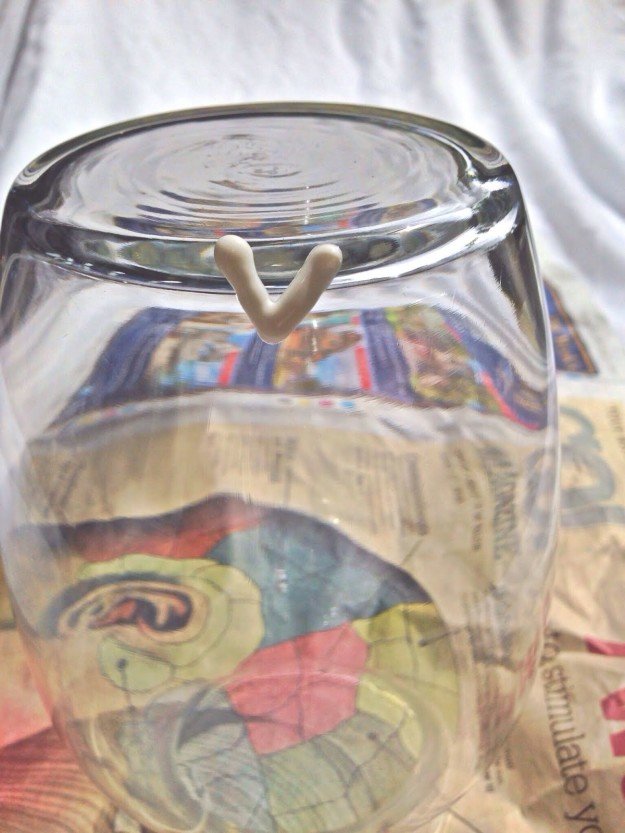
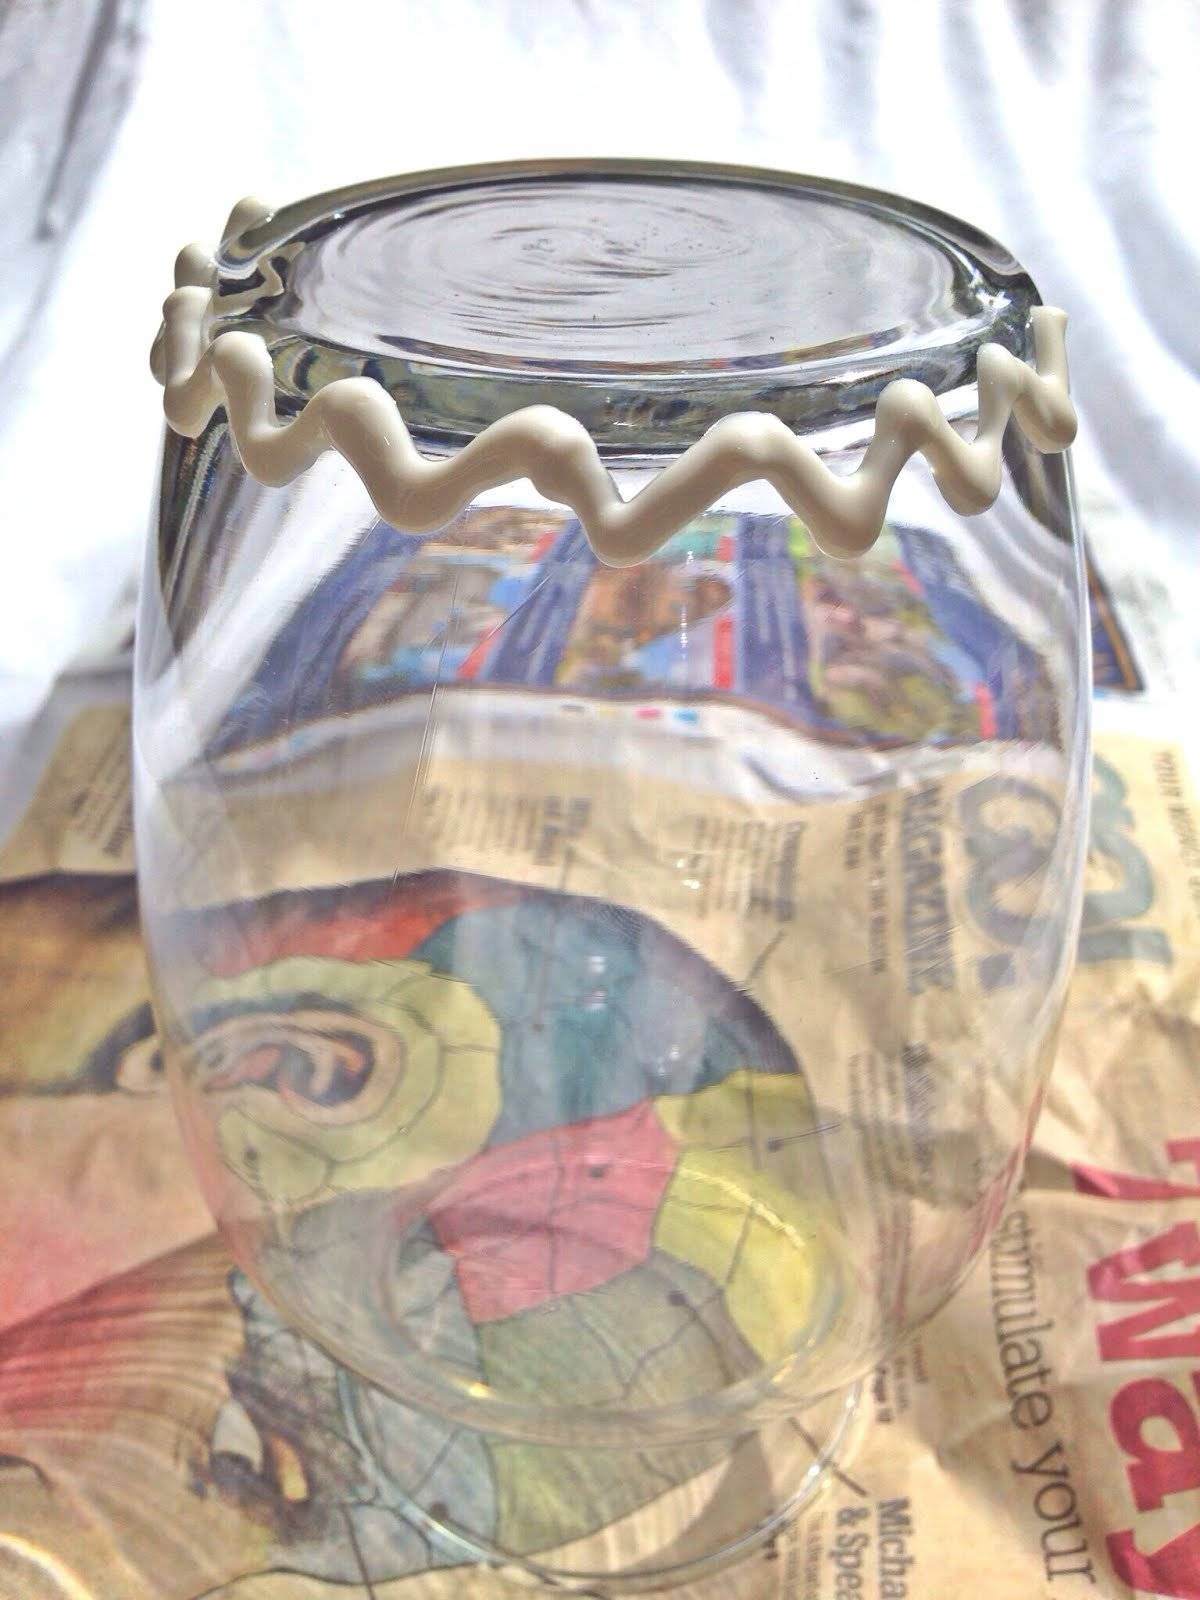
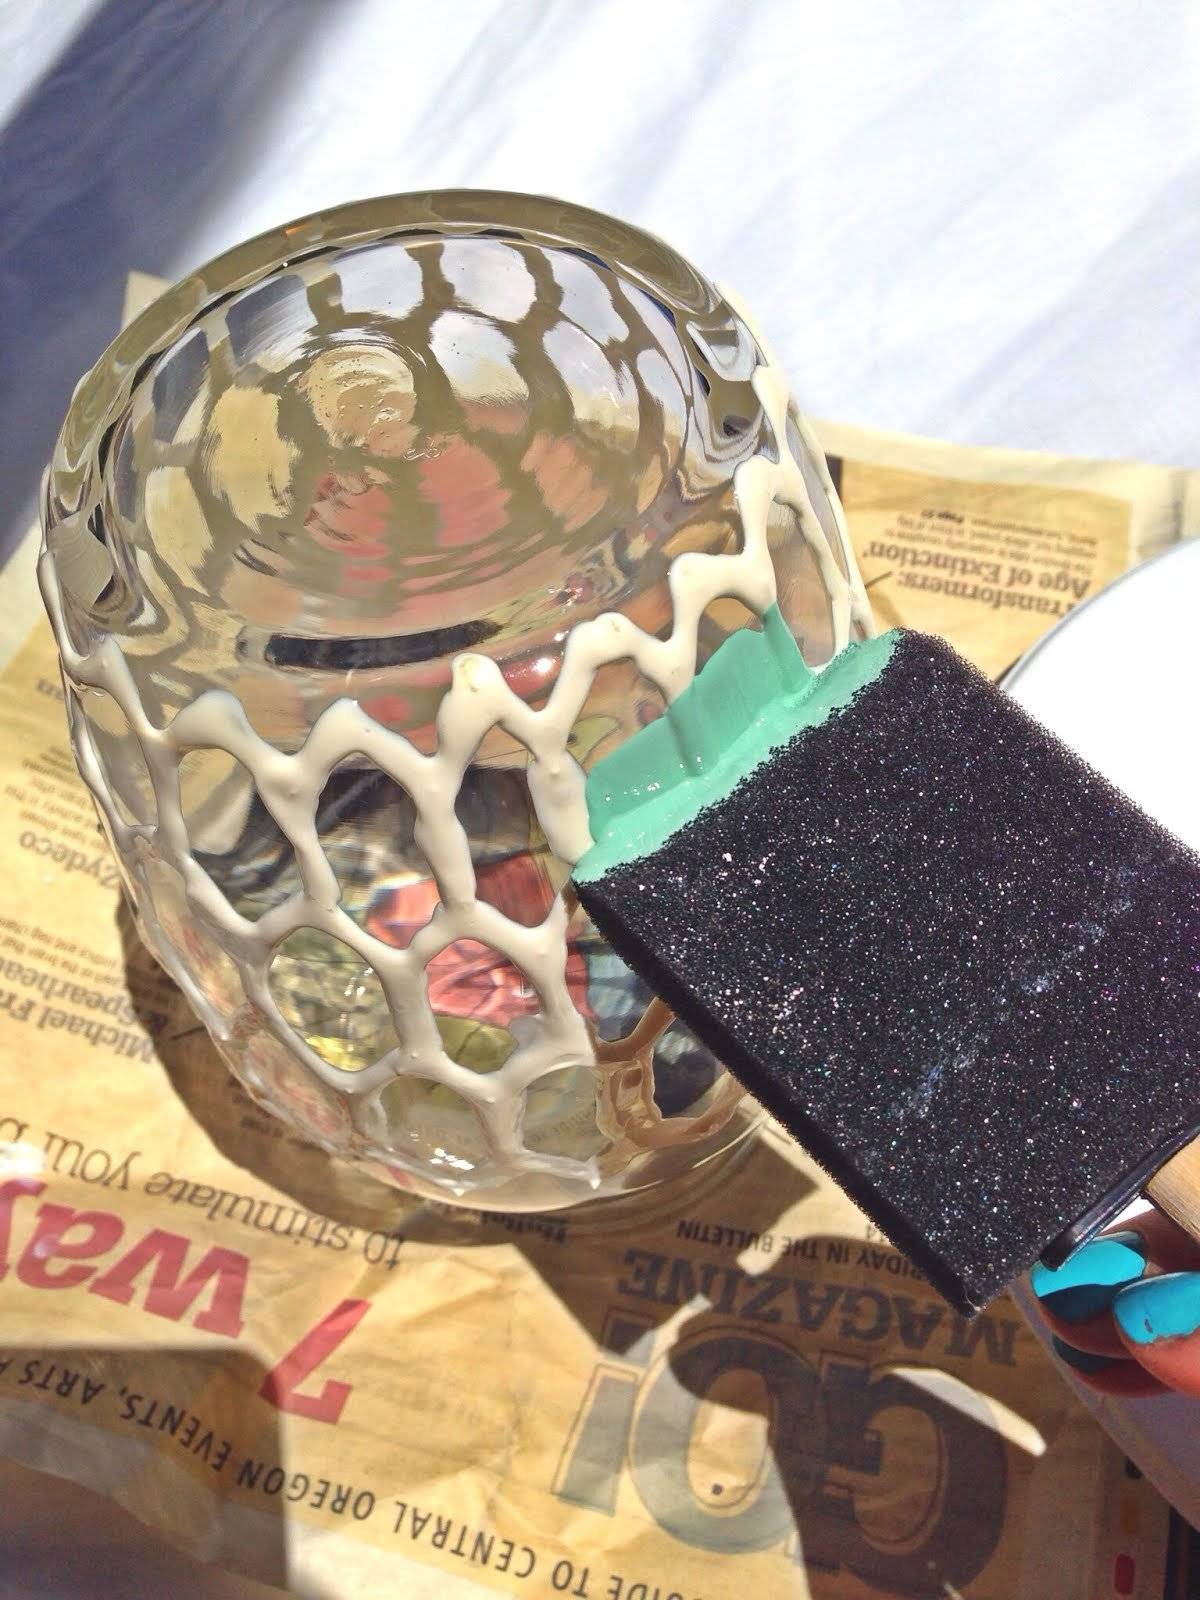
Using the puffy paint, make an upside-down “V” at the base of the vase.
Step 4.
Repeat this pattern along the bottom of the vase.
Step 5.
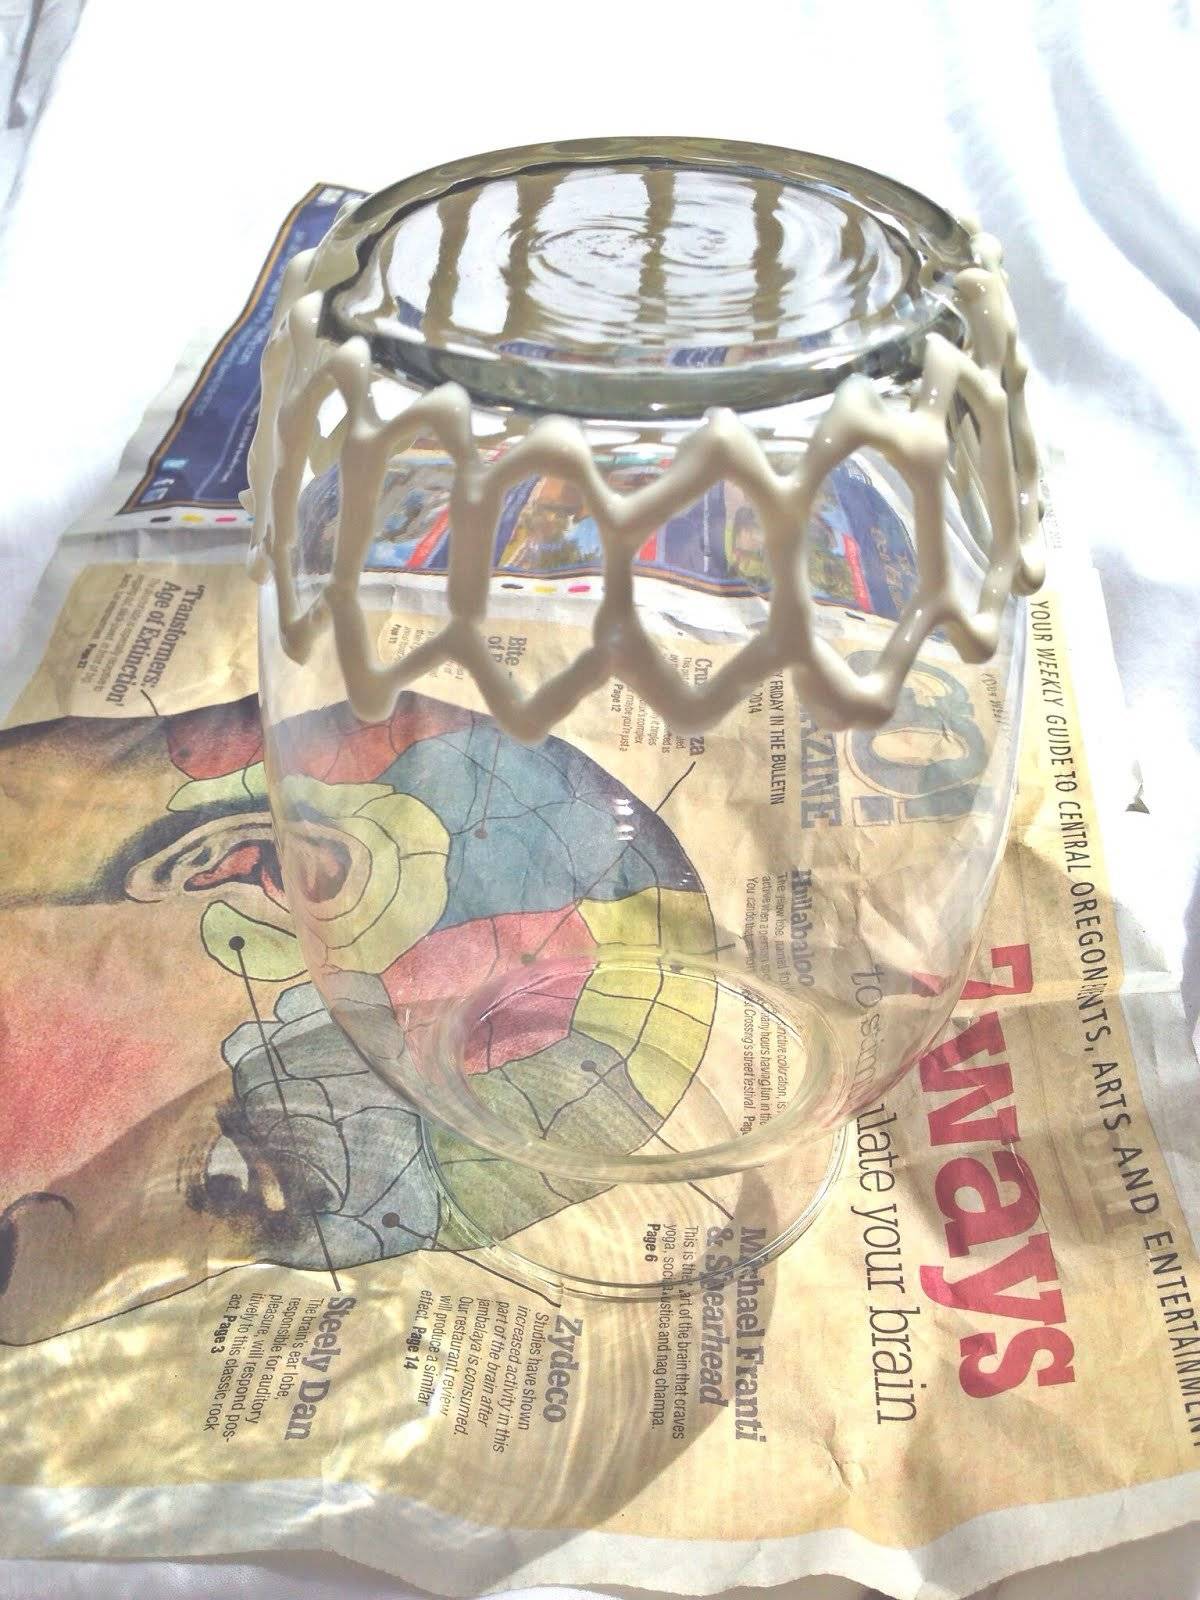
Then, make a line down the point of the “V”.
Steps 6-7.
Repeat this pattern around the vase. Make an upside-down “V”, connecting two of the lines made earlier.
Steps 8-9.
Repeat this pattern around the vase.
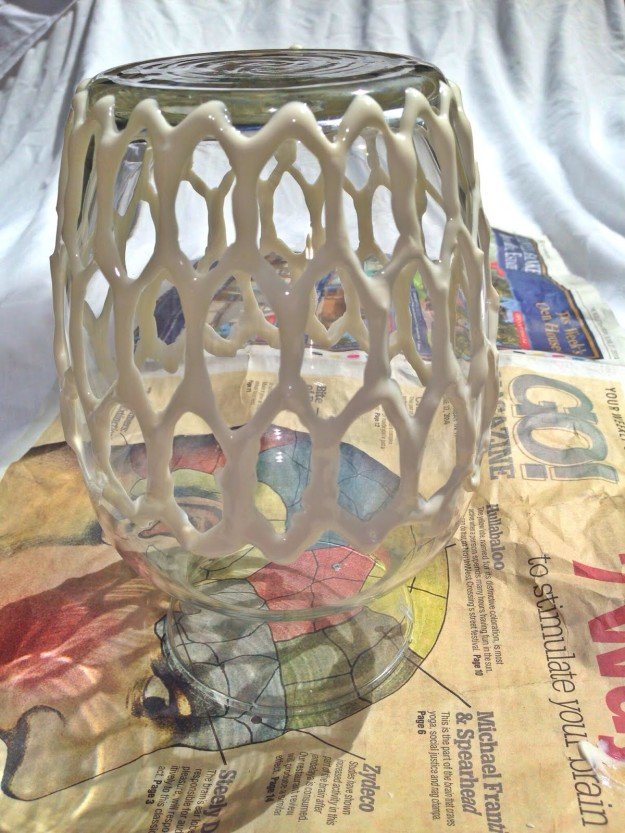
Repeat steps 3-9 as many times as necessary in order to obtain the desired affect you want. I continued this pattern three times to create a cool hexagon pattern.
Steps 10-11.
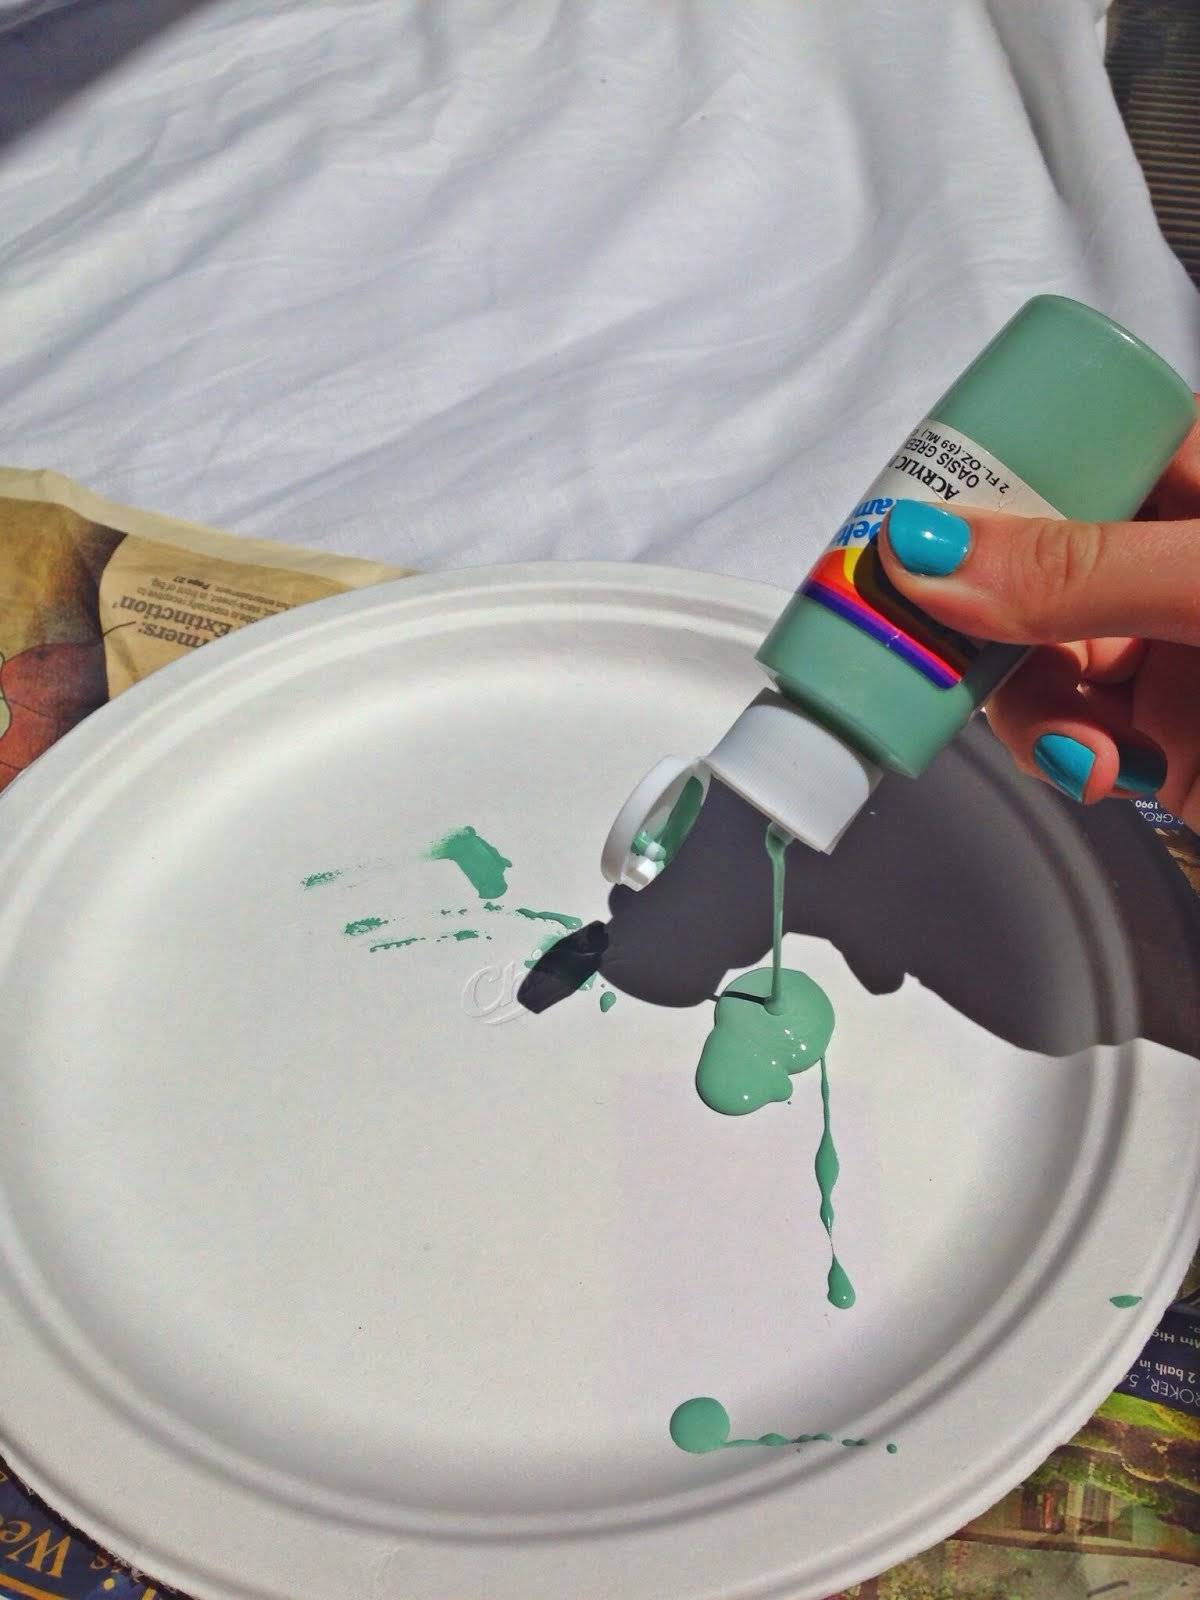
Allow the puffy-paint to dry for several hours. I found that about 4 hours seemed to allow the paint to dry thoroughly. Pour your acrylic paint onto a paper plate.
Step 12.
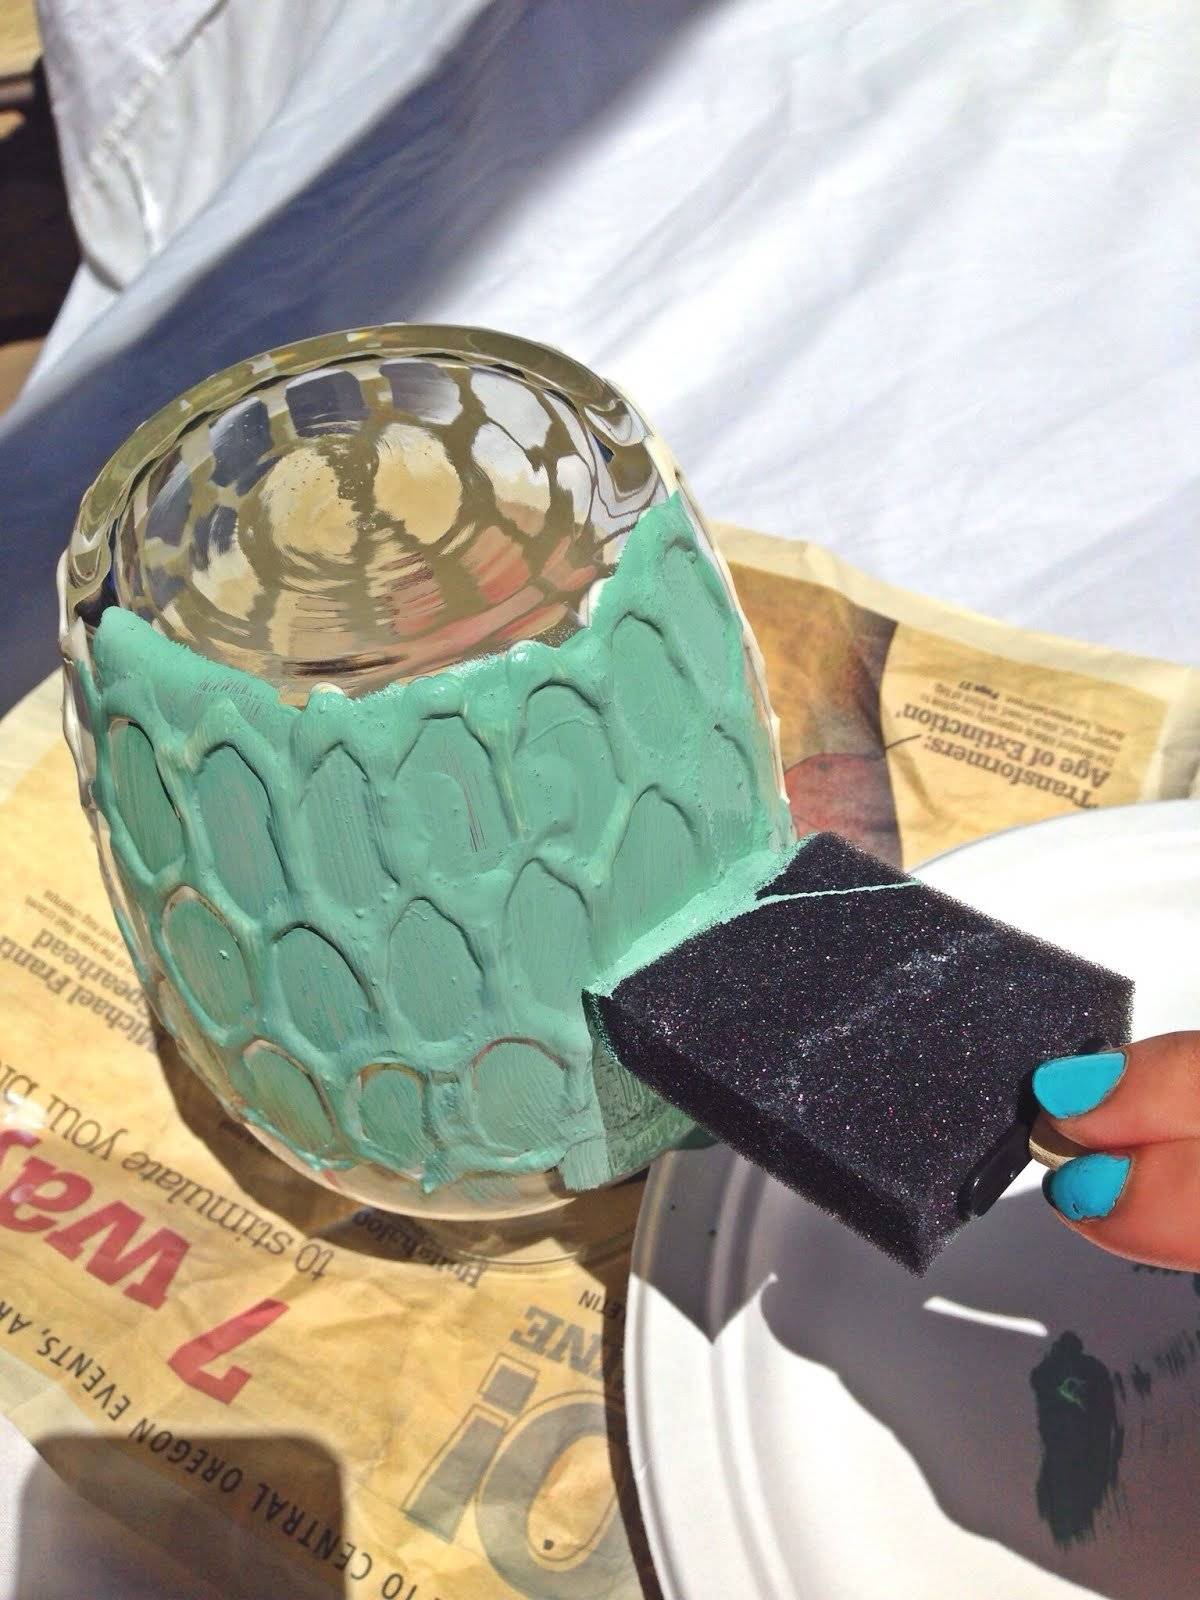
Using the foam brush, apply the paint to the vase in a thin coat.
Step 13.
Paint the entire vase and let dry.
Step 13.
Once the vase is thoroughly dry apply a second coat to the vase and let dry. Depending on how the vase looks you may need to apply a third coat–I know I had to. I also placed my hand in the vase in order to paint the top of the vase. Allow the vase to dry thoroughly.
Step 16.
Congratulations! You’re done. Make sure to put some fresh flowers in the vase and enjoy!
That’s it for our DIY Hexagon Vase Tutorial! Thanks for stopping by! Do you have any tips for designing a vase that we may have missed? Let us know in the comments section below. Don’t forget to sign up to our newsletter to get all the latest updates on craft projects in the making!
Like us on Facebook (button below) to get fun craft projects in your feed! Pin your favorite projects to Pinterest to share with friends.
Check out some related craft projects here:
I’m Manas Ranjan Sahoo: Founder of “Webtirety Software”. I’m a Full-time Software Professional and an aspiring entrepreneur, dedicated to growing this platform as large as possible. I love to Write Blogs on Software, Mobile applications, Web Technology, eCommerce, SEO, and about My experience with Life.

