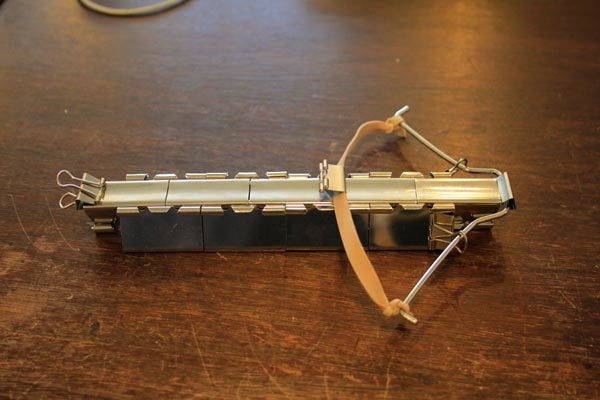
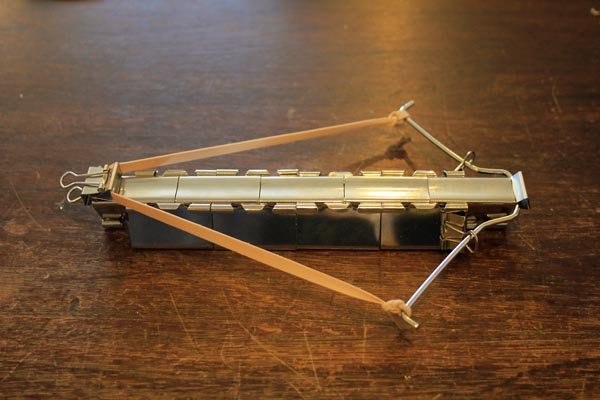
How To Make A Bow | Binder Clip Office Supply Crossbow
You are here: Home / Create and Decorate / How To Make A Bow | Binder Clip Office Supply Crossbow
So you have real crossbow-making tutorials and then you have what we like to call “non-lethal but still gleefully fun and potentially revenge-worthy” crossbow-making projects. This lies in the latter, and comes up when you find yourself stuck in the office and dreaming of the weekend.
Or maybe you’re just looking to put an end to that in-office feud, once and for all. Or maybe you’re looking for a way to tell that cute guy/girl in the next cubicle that you like him/her, and since you never really learned to show your emotions you choose instead to chuck things at them.
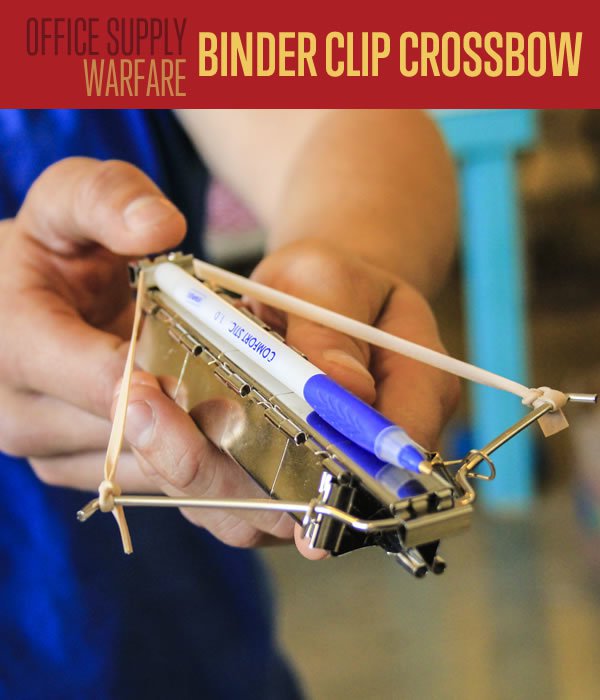
This simple and easy crossbow is made from everyday office supplies used around the world! Shoot pens, food from the lunch room fridge, or whatever else you can think of. Happy hunting.
DIY Office Supply Weapons | Binder Clip Crossbow
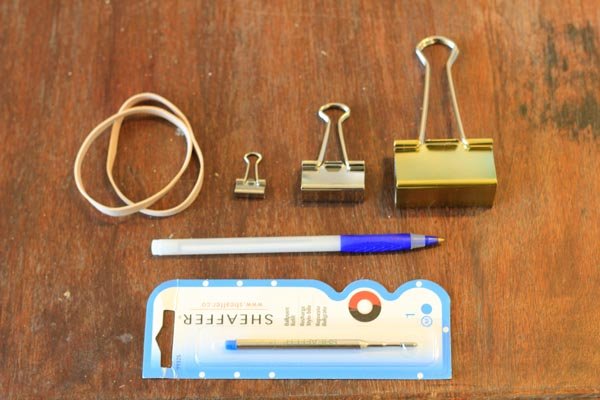
Supplies for the Binder Clip Crossbow of Death:
- x1 Large Binder Clip
- x13 Medium Binder Clips
- x5 Mini Binder Clips
- x2 Rubber Bands ( we used #64 size )
- Ball Point Stick Pens or Ball Point Refill Cartridges (ammo)
Step 1: Take Apart & Bend
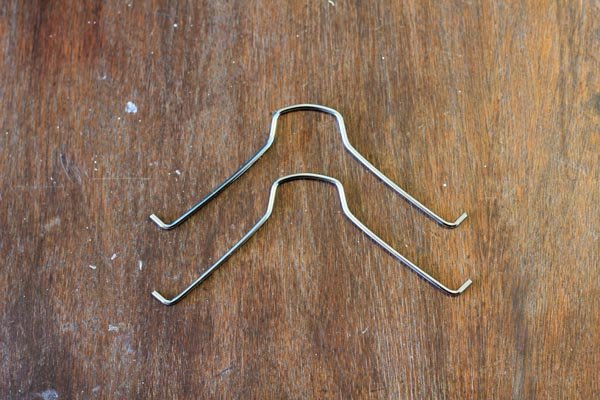
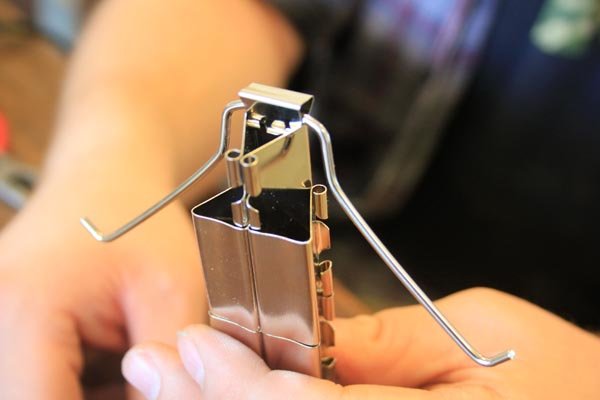
First we will take the one singe large clip. All we need from this are one of the wire handles inside the clip (the other can be a spare for a second crossbow later). All you will need to do is pinch the two wires together, until the little 90 degree bend in the wires pop out of the clip frame.
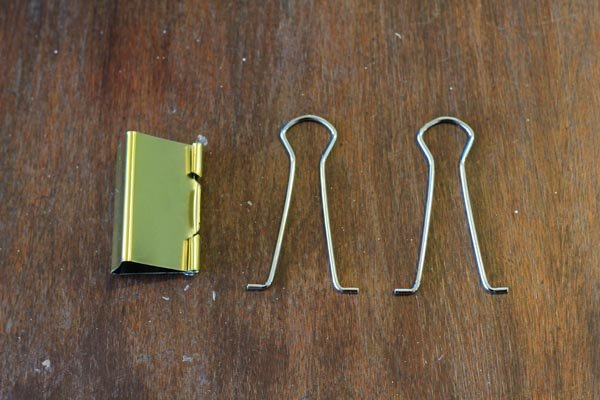
Evenly bend out the wire as pictured to create your crossbows string limbs.
Step 2: Prep your Clips
Now take your 13 medium clips and remove their wire bars. You wont need the wires from this, so go ahead and chuck them at the annoying guy in accounting. All you need are your 13 medium clip bodies.
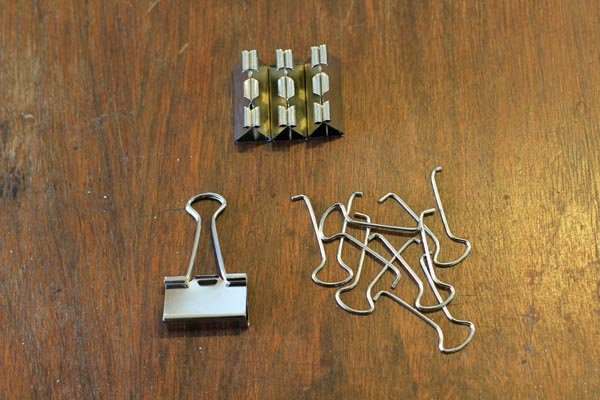
Step 3: Building The Fore Grip
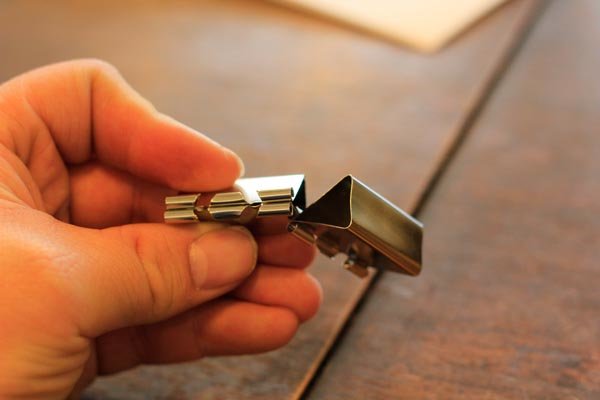
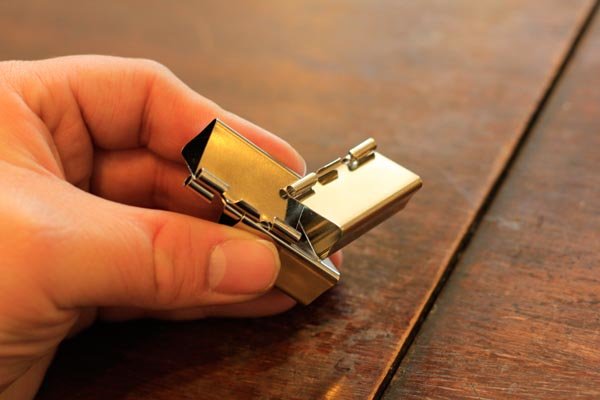
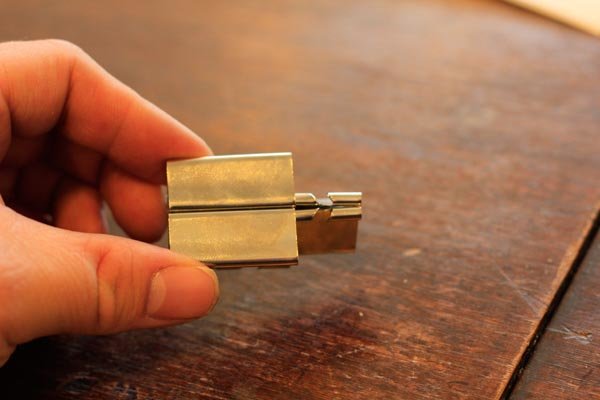
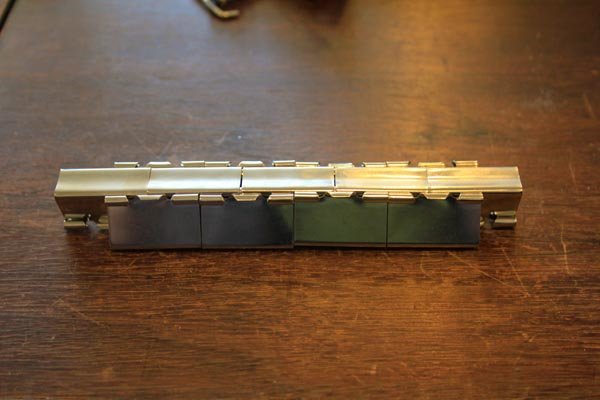
The crossbows fore grip (which will hold and act as the body of the crossbow) will be made up of 5 medium clips facing down and a row of 4 medium clips on either side. You will start by clipping two clips to the halfway mark on one clip as shown:
It looks confusing at first, but once you jump in, putting this part together will start to feel like those lego days as a kid.
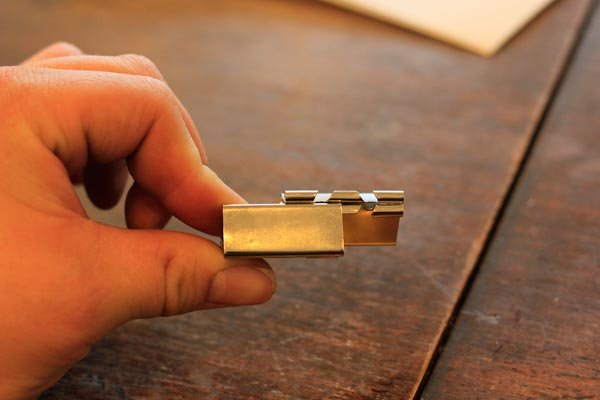
Then continue the pattern till you get a bar that looks like this:
Step 4: Attaching the Limb
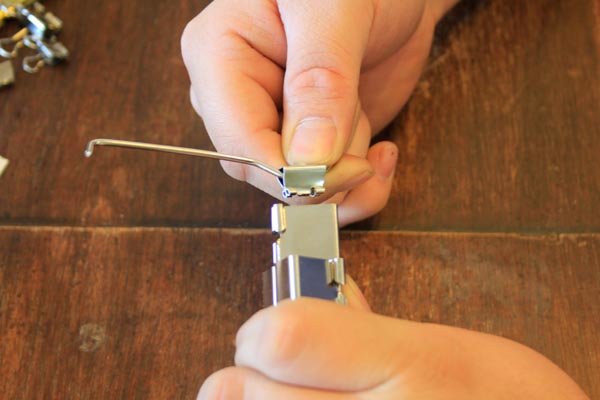
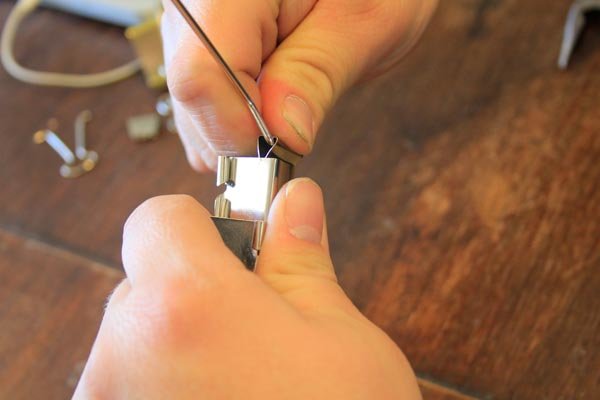
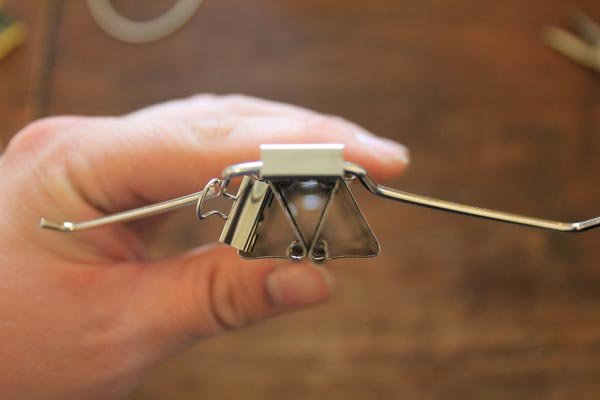
Take the limb that you bent from your large clip and add a mini clip to the middle. Then remove the mini clips wires.
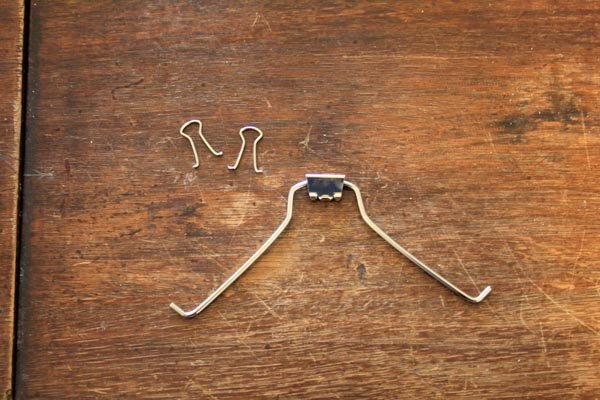
Then take the mini clip and jam it into your larger fore grip section. Stick it in vertically first, then turn it so it seats into the medium clip.
Step 5: Adding Support to Limb
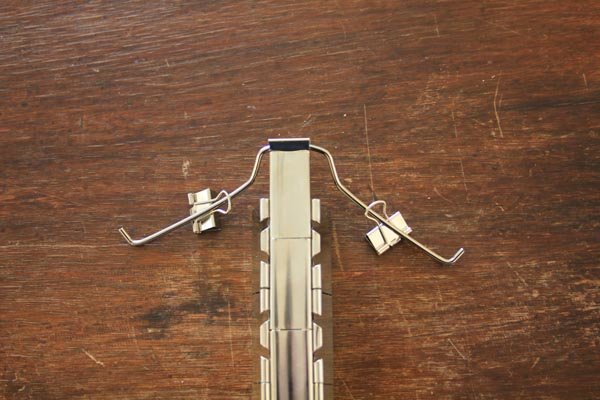
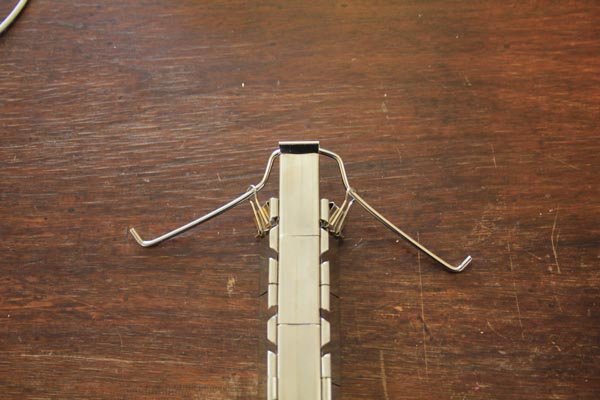
Take two more mini clips, and remove the wire from one side of the clip only. Then slide the wire that remains onto each side of the limb.
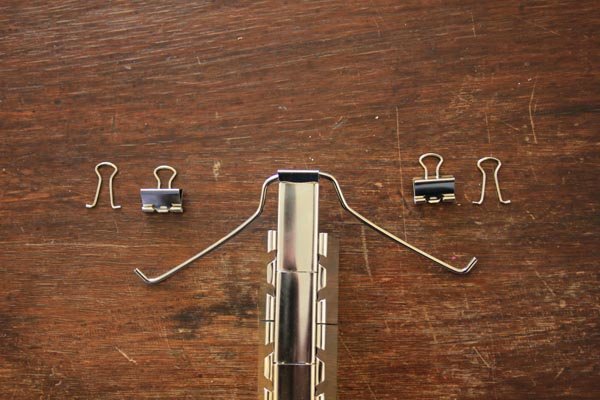
Once the small clips are hanging off the wire as seen above, clip them to either side of the medium clips’ outer edge. This will give your limb extra stability and help it stay in place.
Step 6: Add your Trigger
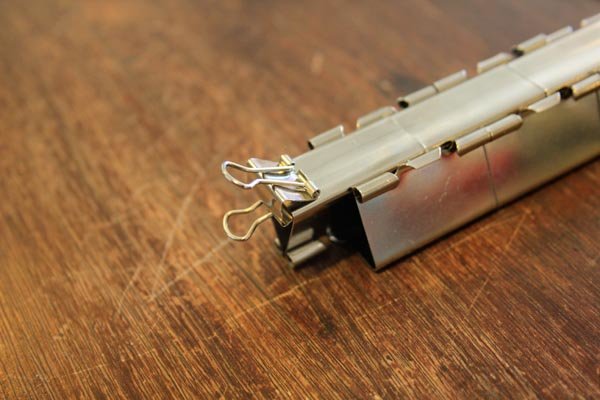
Take a mini clip and attach it the other end of your fore grip body. This is going to serve as your trigger mechanism, so you will only be attaching the bottom half of the clip to the body.
Step 7: Add The Bow String
Take your two rubber bands and cut them so they lay flat. You only need ONE for the bow, but we made two so that we have a backup bow. You can stick one onto the hollow body of your bow for later.
Take the band you will be using and tie both ends to either side of your large clip wire with simple double-overhand knots.
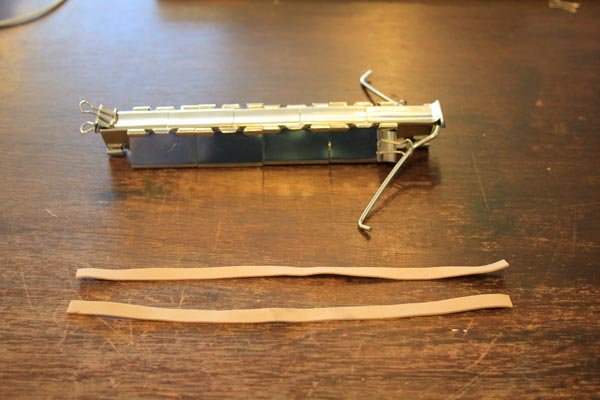
Then clip on your last mini clip (with the wires remove) onto the center of the band bow string.
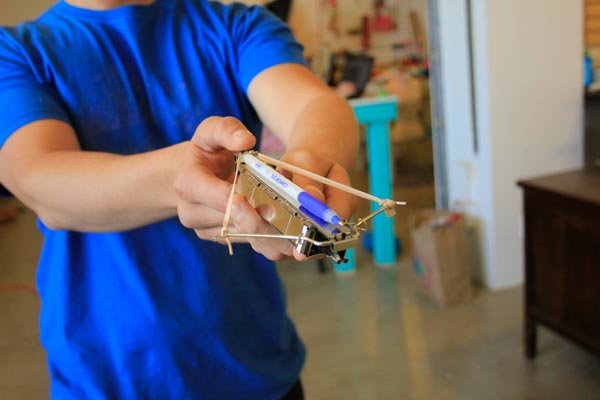
Draw back the string clip, and push it under the trigger clip so the fat bottom of the clip faces forward to push the ammo.
Ready to fire!
Step 8: Find a Target
Before starting an office war, go practice your aim.
We found the heavy ball point stick pens shot better, stayed straight, and traveled about 12 feet.
The ink pen refill cartridge we found liked to spin through the air like a chopper blade, making it drag, and not fly as far. We only averaged about 5 feet with the cartridge.
Like this post?
Check out:
Cool Quick Draw DIY Sleeve Gun
I’m Manas Ranjan Sahoo: Founder of “Webtirety Software”. I’m a Full-time Software Professional and an aspiring entrepreneur, dedicated to growing this platform as large as possible. I love to Write Blogs on Software, Mobile applications, Web Technology, eCommerce, SEO, and about My experience with Life.

