How To Distress A Table | Furniture Painting Technique
You are here: Home / Create and Decorate / How To Distress A Table | Furniture Painting Technique
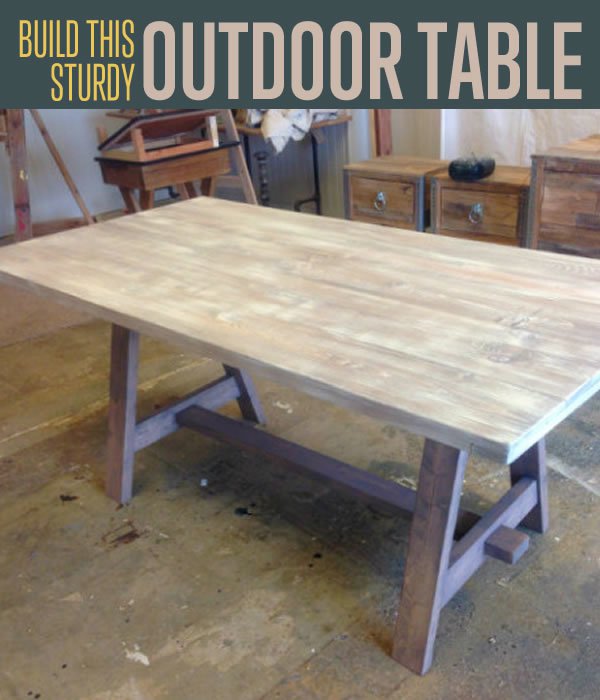
If you haven’t checked out our How To Refinish A Table For Painting tutorial already, then you probably should! Once you have prepared your table surface, its time to paint and, if you so choose, distress it. This is a very easy process. We’re confident that it is quite simple and anyone can do it at home by learning these quick and easy tips and tricks for furniture revamping! We’re excited to share our unique and beautiful results. Each table (depending on the color) will end up with a different turnout. We hope you enjoy!
How to Refinish a Table: Painting and Distressing
Alright, now that you’ve checked out our refinishing post, you’re ready to start your table distressing journey. Let’s make your home look like new!
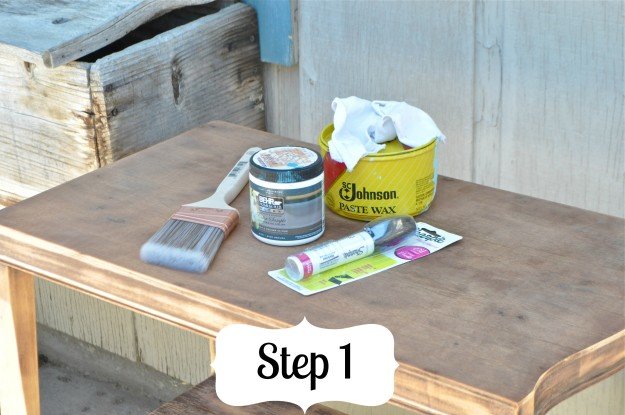
You will need:
- Paint brush
- Flat Paint – I used homemade chalk paint
- Black Sharpie paint marker
- Clear furniture paste wax
- Soft cloth
- Candle
- Scraper and Sandpaper for distressing
Step 1.
Gather your materials:
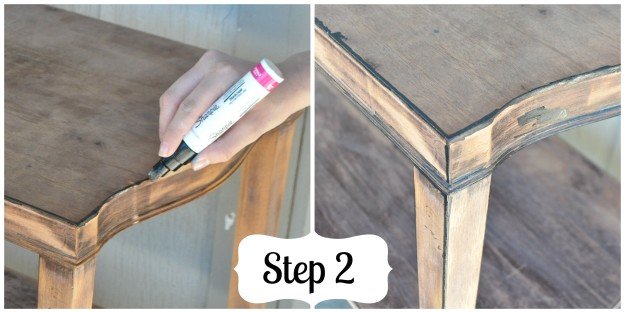
Step 2.
Use the Sharpie paint marker to darken the edges of the piece and any areas you would like to distress.
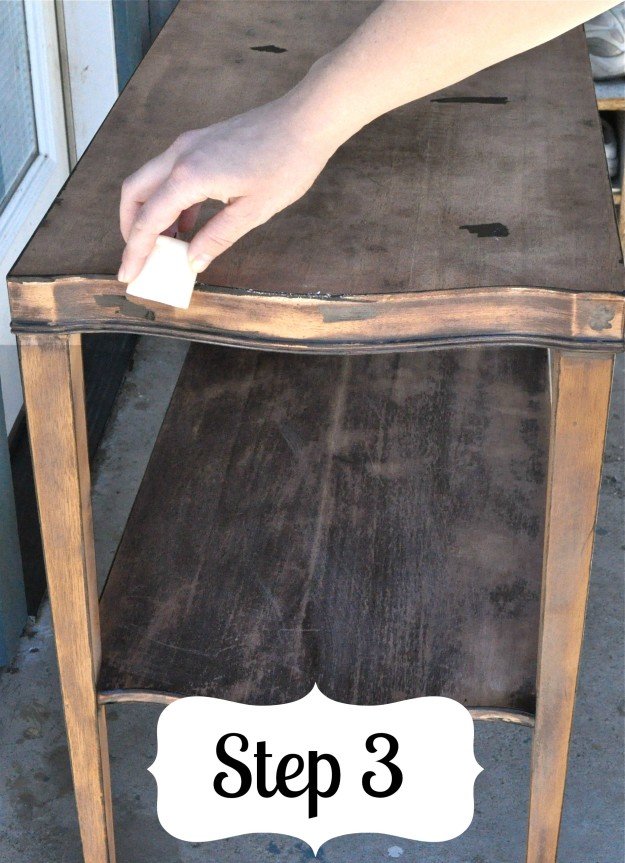
Step 3.
Use an old candle to apply a light coating of wax over all the areas you have darkened with the marker. This will create a slight resistance to the paint and make it easier to distress.
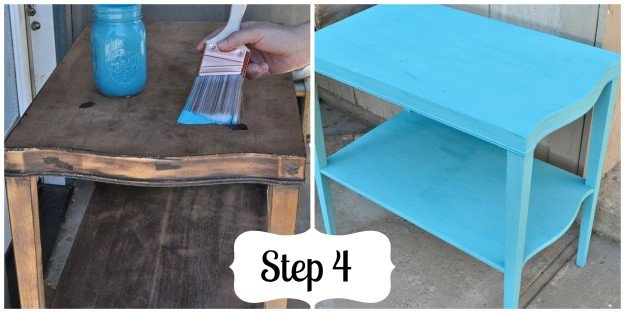
Step 4.
Paint your piece until you have the desired coating. I did three coats on this table. Allow paint to fully dry.
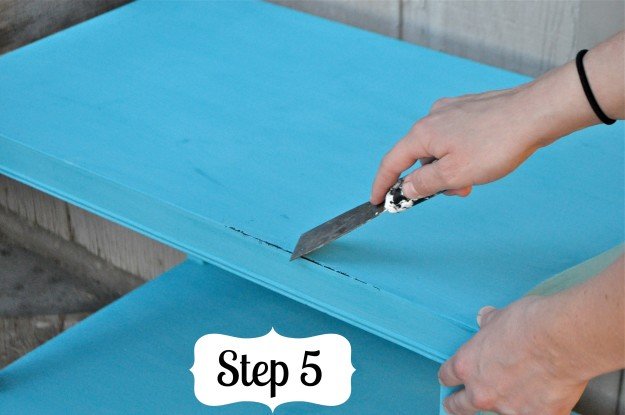
Step 5.
Scrape the edges and other spots where you applied the wax. The wax should allow the paint to peel right off, showing the darkened areas underneath. Use 120-150 grit sandpaper to sand the edges and the surface smooth.
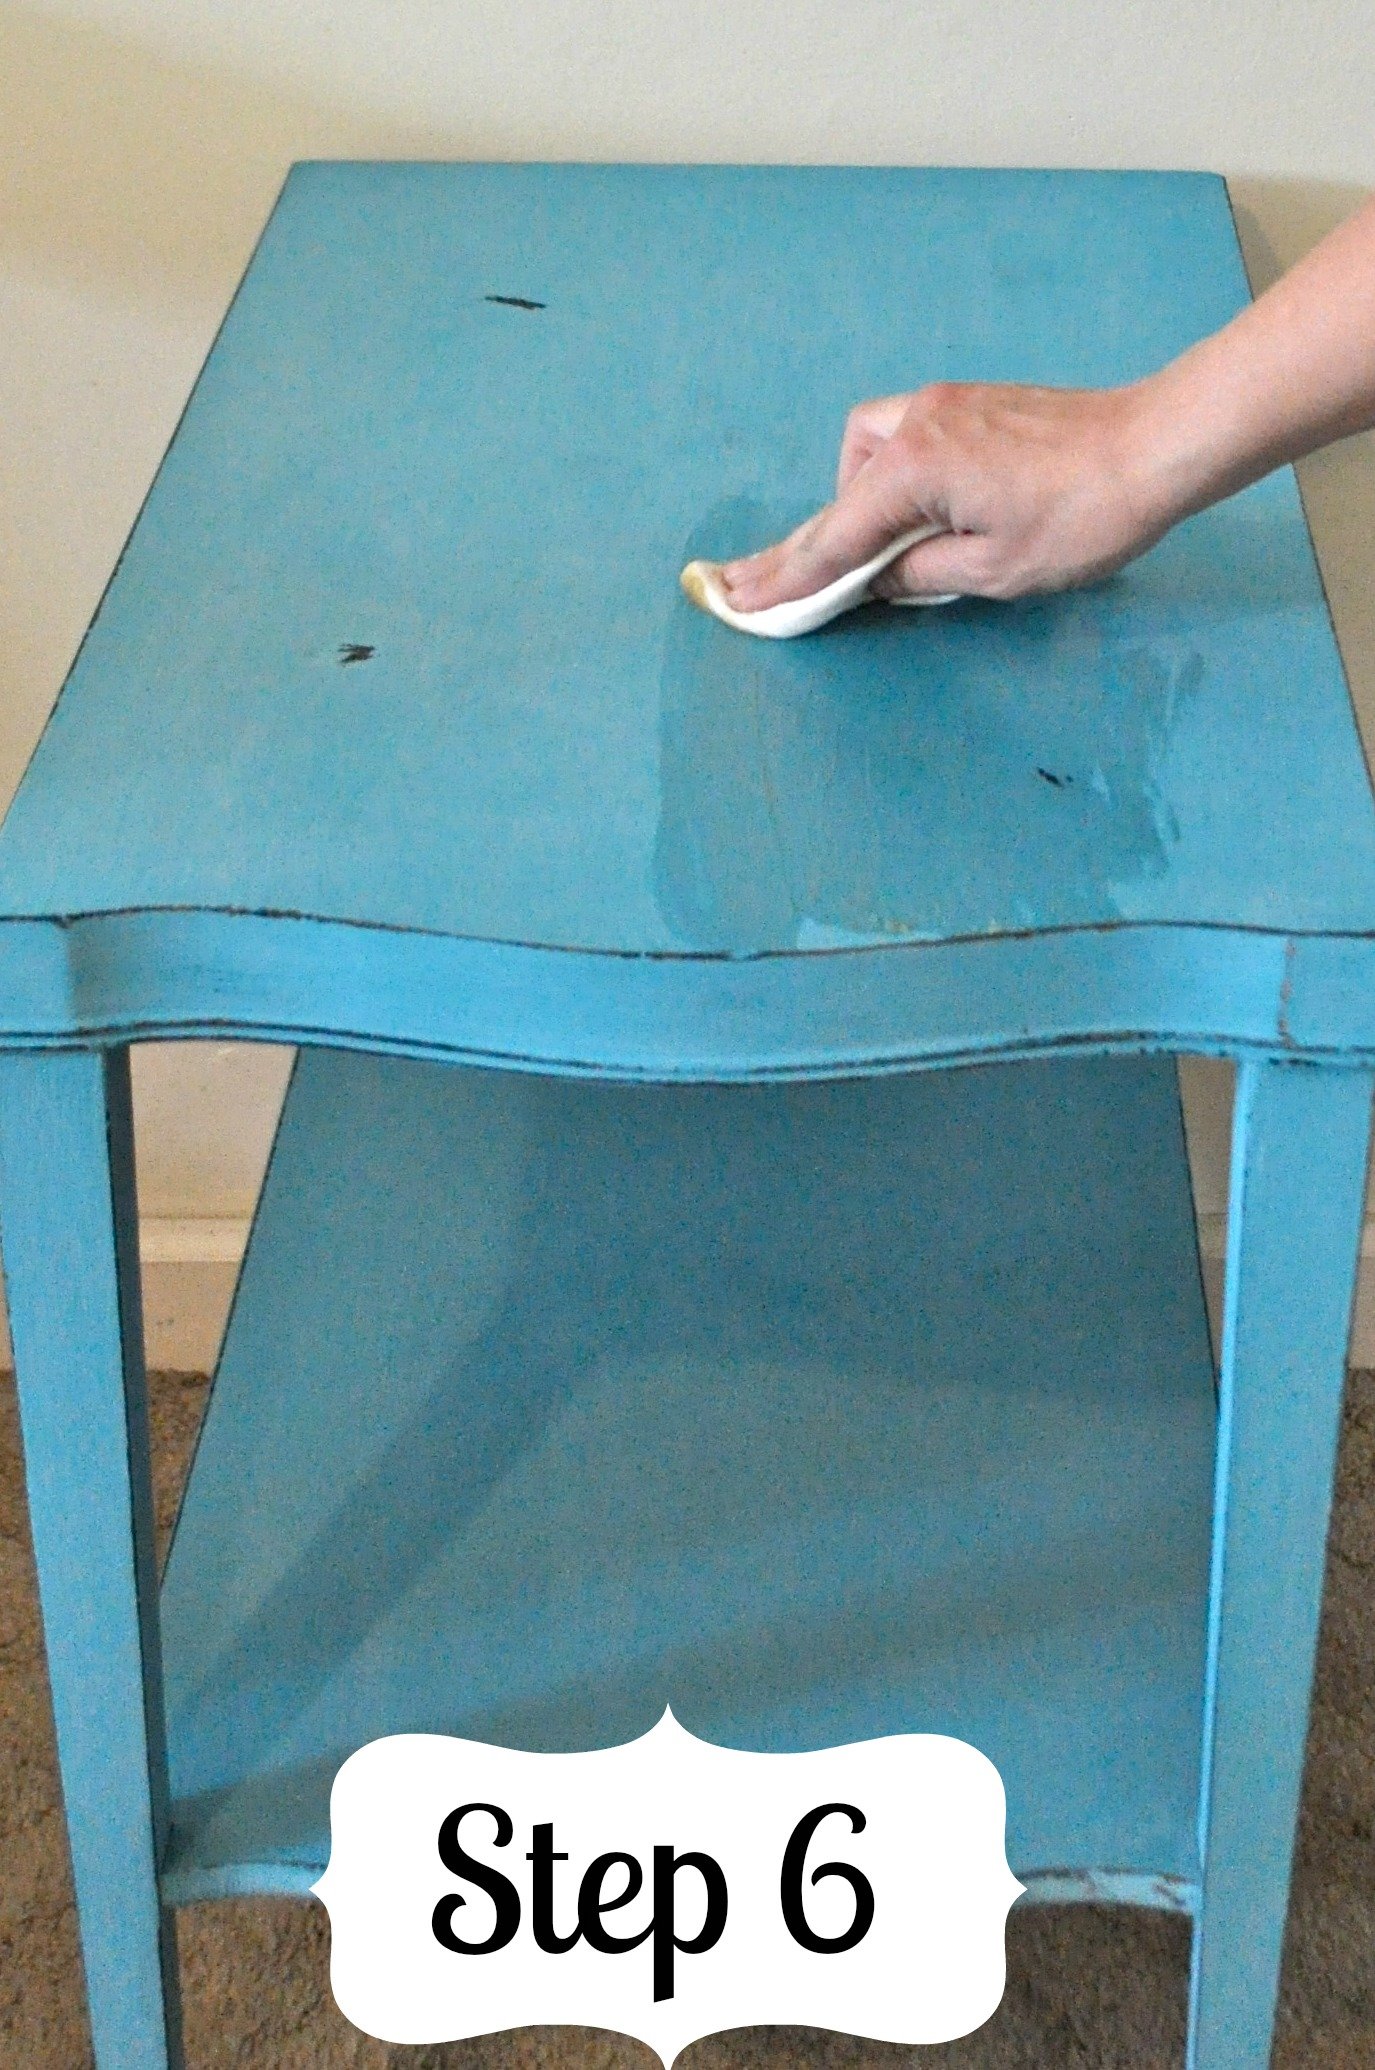
Step 6.
Finish your piece off with clear paste wax. The wax gives the paint a nice sheen and will create a waterproof, protective coating. Apply as shown with an old cloth. Buff any excess away. I recommend at least two coats for a table top to protect from water. The wax will take 3 days to fully harden, so be careful to protect the surface until that point.
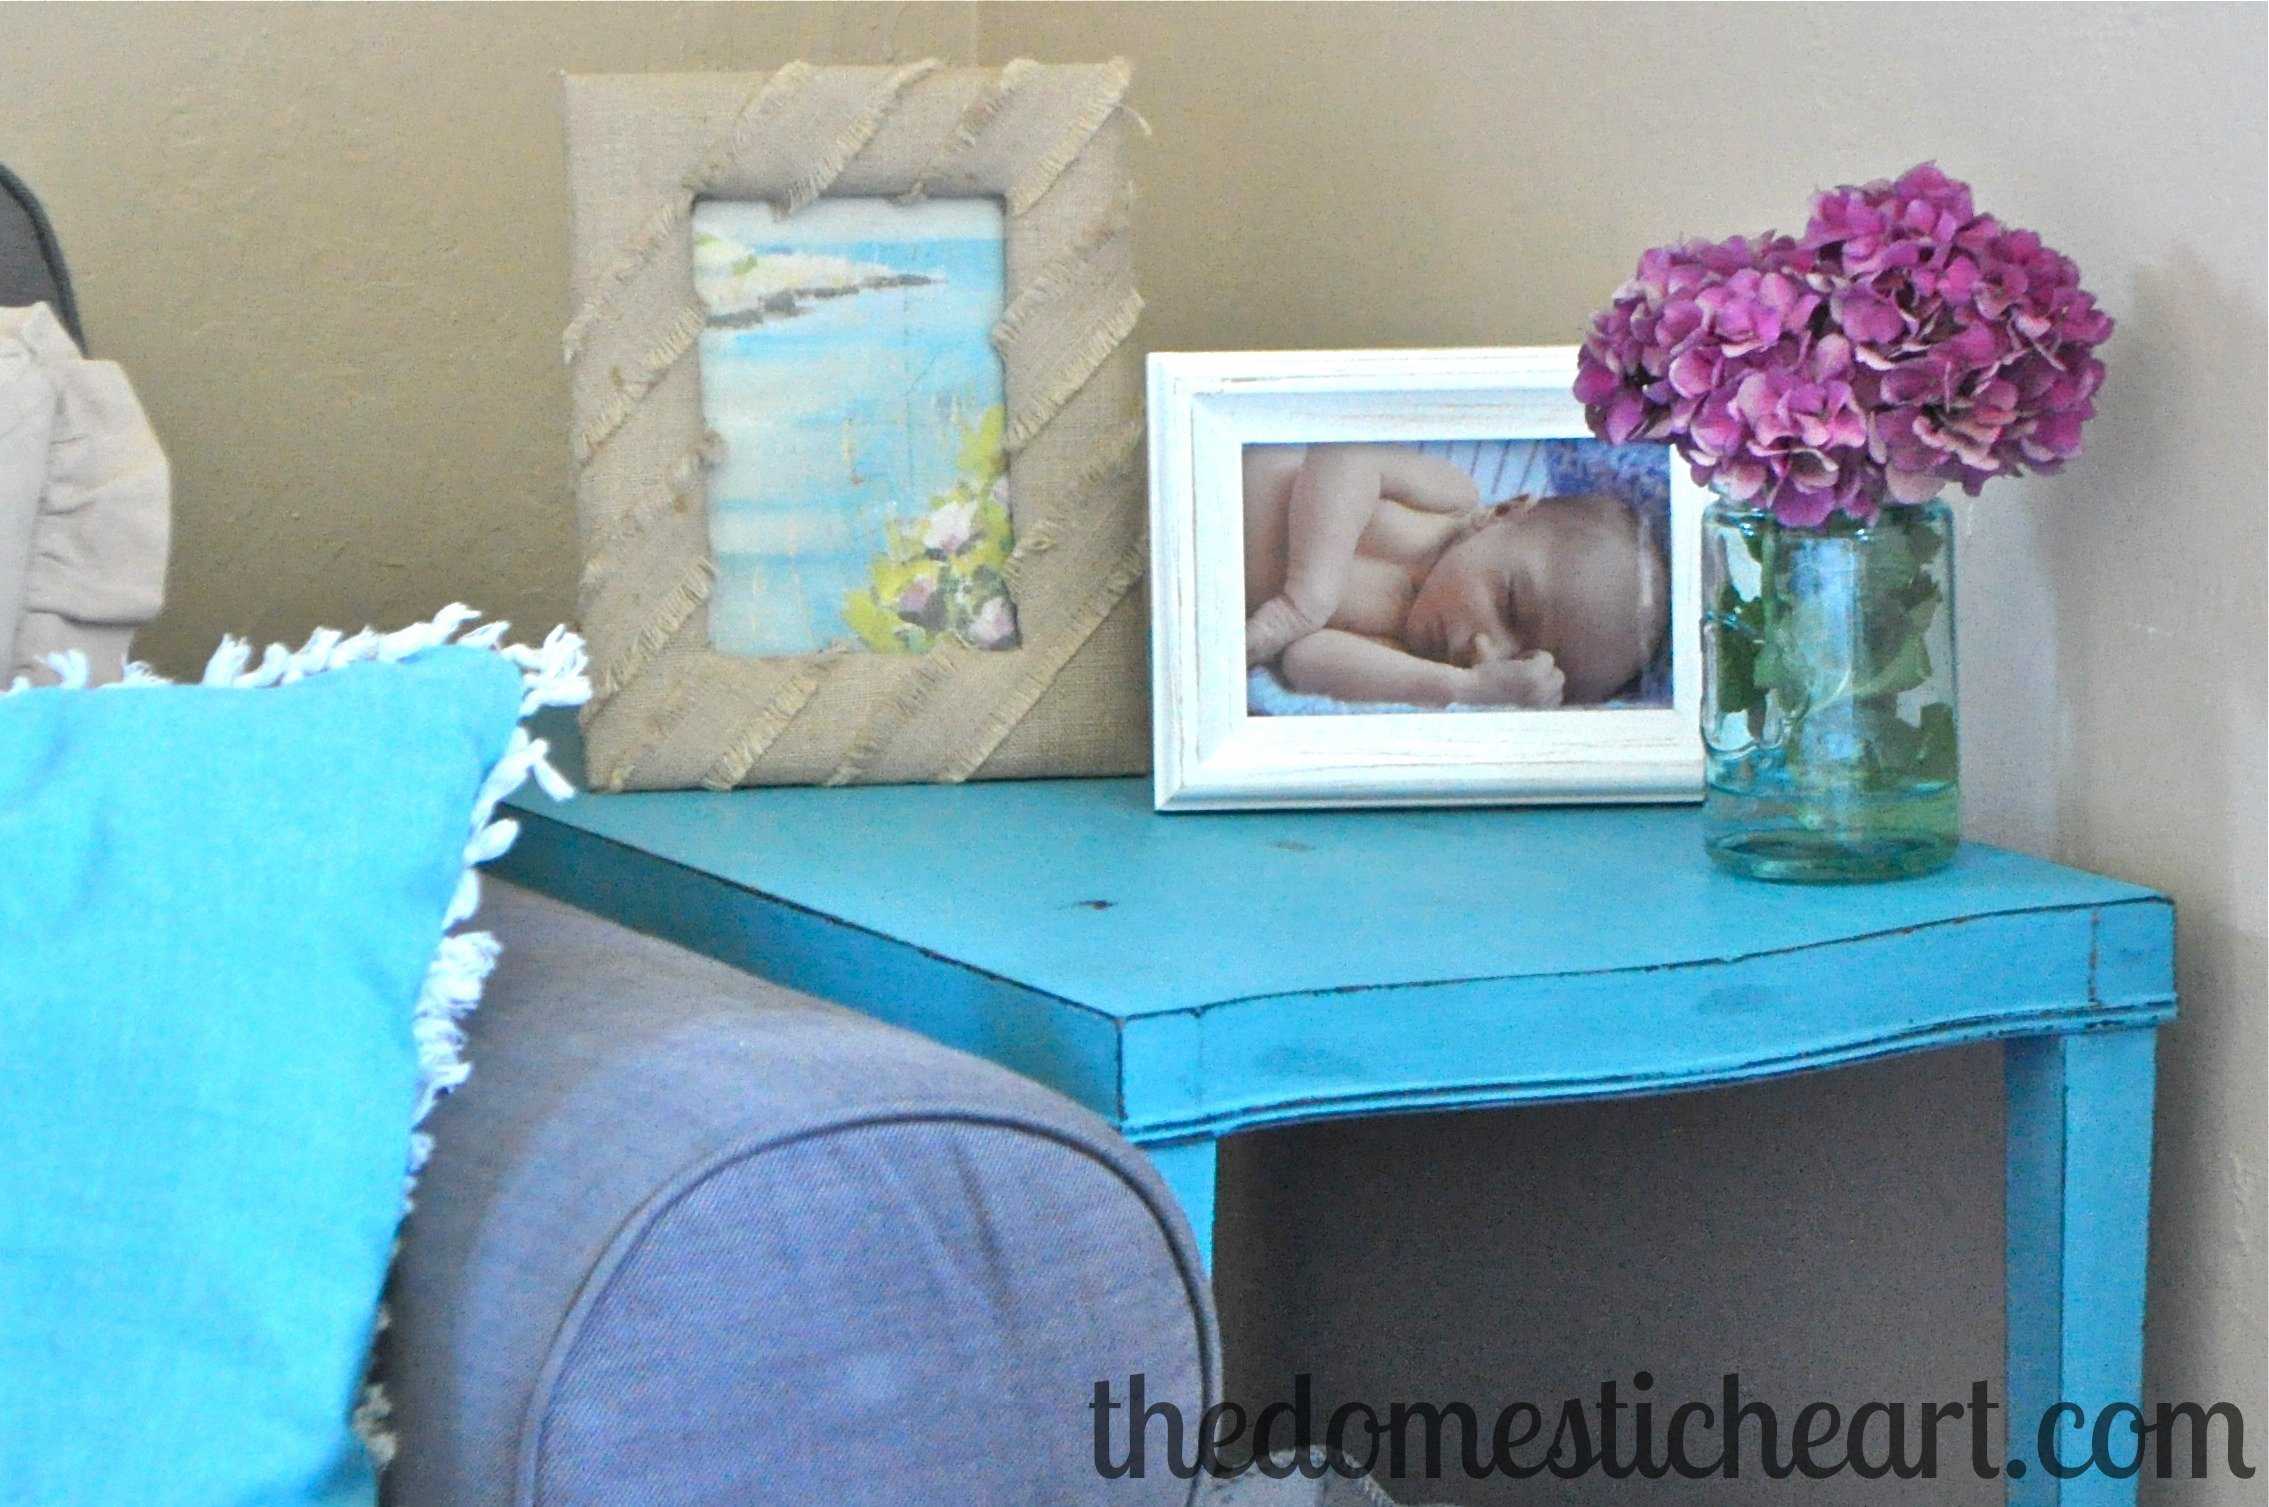
Sit back and enjoy your beautiful “new” table!
You are ready to make your furniture beautiful! Thanks for checking out our tutorial on how to refinish a table with a distressed paint look! As simple as this tutorial may be, we know that refinishing a table isn’t the easiest task. With a few simple stages of prep work, your table won’t be sad and lonely looking anymore! With this refinishing process all you need to do is buy a particular color of paint that you like and voila! You can refinish your thrift-store table to look like a rare gem from Pottery Barn!
Can’t find what you’re looking for? Don’t forget to check out all of our favorite furniture projects in our Workshop Section on DIY Projects! Suggest a fun project and we will get our team on it faster than you think. We love hearing from our subscribers. Don’t forget to sign up to our mailing list to get the latest and greatest on everything DIY related. Check out our Facebook page (button below) and follow us to get a quick look at our daily projects. Pin It to Pinterest to share our DIY craft projects with friends.
Here are some related posts:
I’m Manas Ranjan Sahoo: Founder of “Webtirety Software”. I’m a Full-time Software Professional and an aspiring entrepreneur, dedicated to growing this platform as large as possible. I love to Write Blogs on Software, Mobile applications, Web Technology, eCommerce, SEO, and about My experience with Life.


