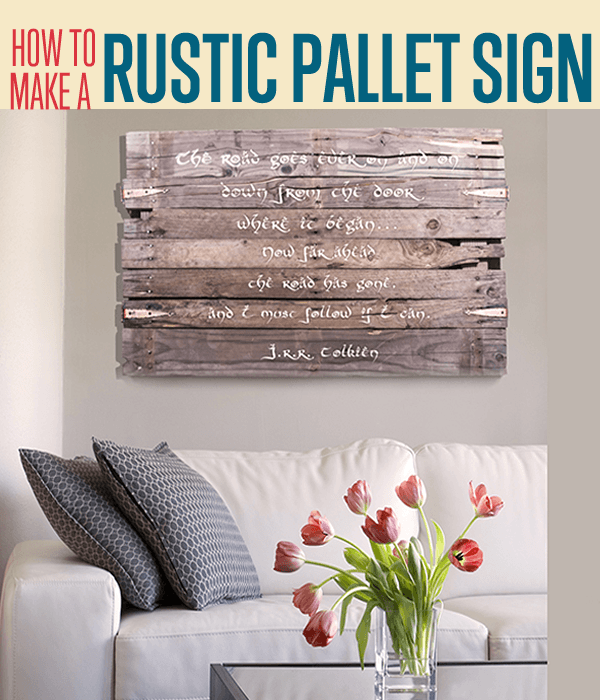
How To Create A Pallet Wood Wall Art Sign
Do you ever wonder how to create those lovely weathered wood wall art signs that you see on Pinterest? We can show you how to create this awesome DIY project in a few simple steps. The most tedious part? Going out and scouring your neighborhood for some disposed shipping pallets. We recommend checking our article on How To Know If A Shipping Pallet Is Safe. There are plenty of safe ways to use shipping pallets and the best part is that they’re generally free. Of course, you can source them from eBay if you really wanted to.
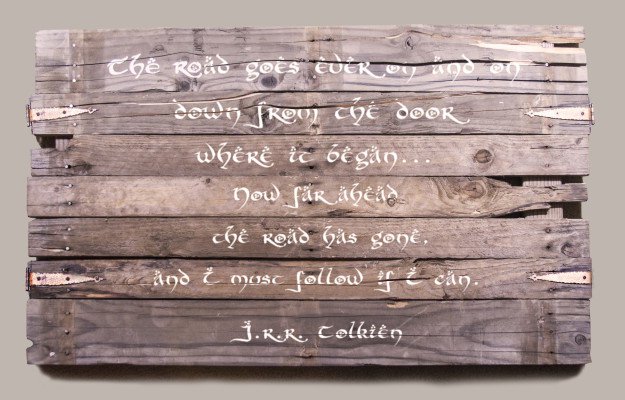
Bring your favorite inspirational or literary quote to life with this hand-painted, charmingly rustic DIY project. With a little elbow grease, some artistic flair, and simple supplies, you can make this stunning wall art for any room in your house!
Supplies:
- -Weathered Old Pallet
- -White + Brown Acrylic Paint
- -Delicate Paint Brush for Fine Detail Work
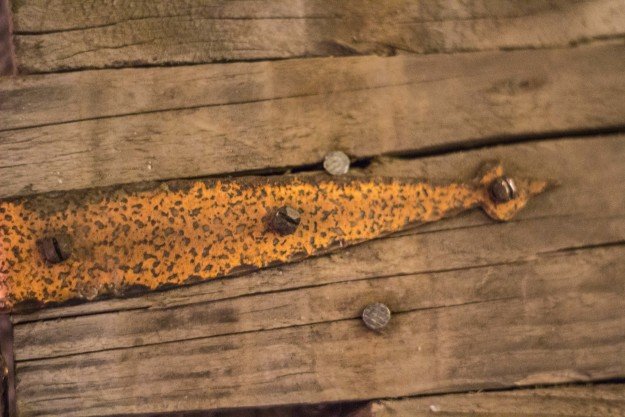
- -Old Barn Hinges (Check your local architectural salvage shop for great, rusty old hinges)
- -Long Nails (I used 2” nails)
- -Printed quote of your choice (described in more detail in Step 6)
General Tools:
- -Hammer
- -Rubber Mallet
- -Chop Saw (or Hand Saw, if you don’t have an electric chop saw)
- -Scotch Tape
- -Duct Tape
- -Pencil
- -Paint Mixing Bowl
Step 1.
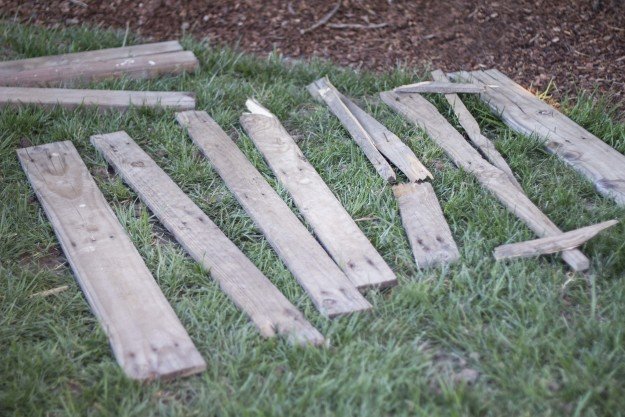
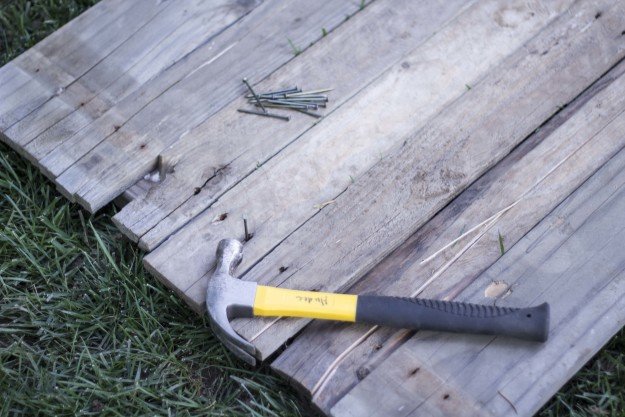
Use your rubber mallet to pound apart the pallet. Because I picked a pallet with lots of natural age and even a bit of wood rot, for that extremely weathered look, I had some trouble pulling it apart (the rust on the screws did not want to budge!) Using the rubber mallet and hammer intermittently worked well, but took some elbow grease. Use the rubber mallet to pound the boards from behind, forcing the nails out of the three support beams.
Notice that my pallet really took a beating when I pulled it apart – some pieces even split into chunks. That’s okay! It’s all part of that great, weathered and character-chiseled look that you’ll get in the finished project.
Step 2.
Taking all of your disconnected pallet-top pieces (you’ll notice that we’re not yet using the three back-brace boards – those come later), arrange them attractively together to form your wooden “canvas”. I ended up using all of the top boards, because I wanted a nice, big finished project, but you can use as few or as many as you’d like, depending on what size you would like your art to be in the end.
Step 3.
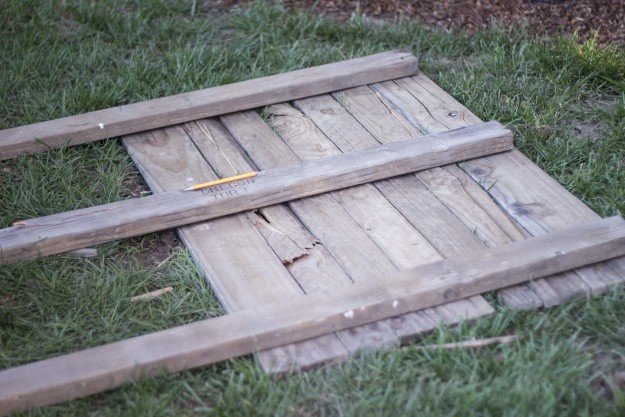
Lay your three back-boards across your new pallet arrangement. Naturally, since we slid all of the boards together and removed the gaps between them, the back-boards are now much too long. No worries, we just have to cut them! But first, you need to mark the correct length. I’d recommend lining up the back boards so that they won’t come quite to the edge – that will give the whole piece a “floating” look when it is mounted onto the wall in the end. Use a pencil to mark your cut lines.
Step 4.
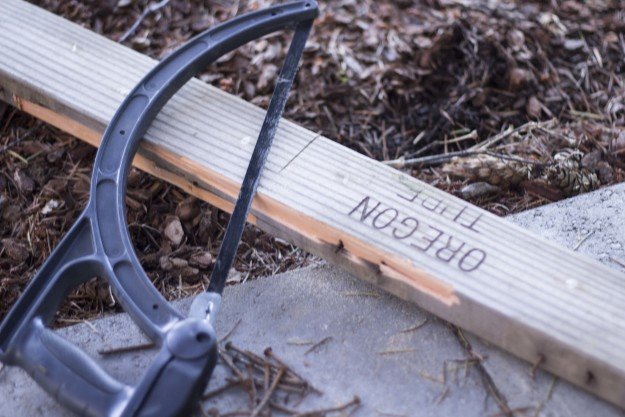
If you have a chop saw, then your work will be a snap. If you have a boring old hand saw like I do, gear up your favorite radio station, because we’ll be sawing for a few songs! Make sure to do a nice, straight cut, and remove any splinters and nails from the board so that it’s ready to safely sit flush against your wall when everything is done.
Step 5.
The great thing about hammering all of the boards into place for this step is that we’ve already got nail holes! Once you have three neatly sliced back-boards from step 4, you’ll want to carefully slide them into position underneath all of the other boards. Originally, they will have been attached with the narrow side flush against the front boards, but you’ll want to turn them on their sides – that is, with the widest side facing up towards the nail holes. I found that most of the nails I had originally pried out of the pallets were very much bent out of shape, so I used new nails for all of this re-attachment. It’s so much easier when they’re straight and sharp! Nail everything together using the existing nail holes.
Step 6.
Now that you’ve got your “wooden canvas” masterfully assembled, it’s time to begin laying on the words. Here are my tips on how to print your quote:
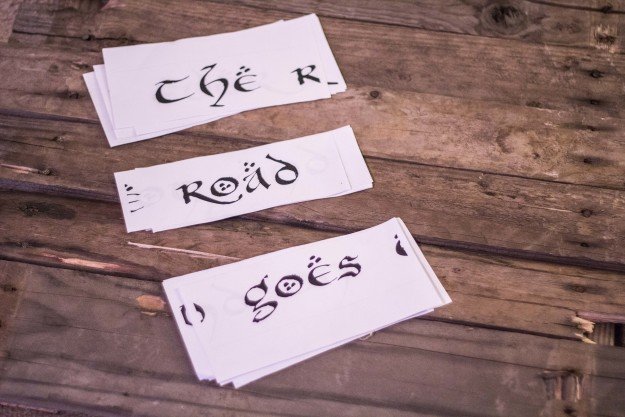
-In Photoshop (or a word processor like Microsoft Word), lay your text out, a few words at a time on a standard 8.5×11 template (standard computer paper size). I found that my average pallet board height was 3”, and I therefore could fit three words per page onto a template for printing. I ended up printing nine pages, and then I chopped up my papers into individual word strips.
Step 7.
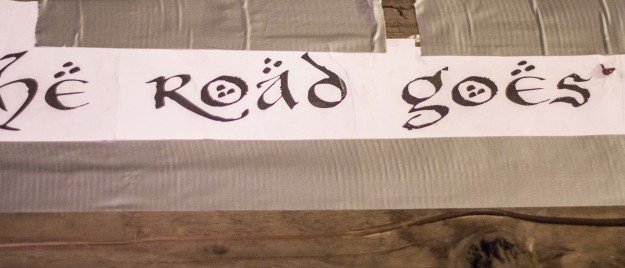
Now patch your printed words together with some good old fashioned scotch tape and lay them out across your board. I’d recommend only doing one length of board at a time, because I ended up laying across the whole piece to get a good angle, and if you spread out all of the paper on the boards at once, it tends to catch on clothing and peel up. Take a ruler and measure from the tops of the letters to the top of the board to ensure an even line. Choose letters that are the same height (in my case, those O’s and E’s) to measure the tops of as you slide your ruler along the length of the sentence – that will give you a nice, even measurement of the space between the tops of those letters and the top of the board.
Step 8.
Use duct table to secure your carefully measured paper sentences to the board. Duct tape peel up nicely in the end, and also holds fast until you need to remove it.
Step 9.
Not only do you need to take into consideration your sentence placement on the boards, but you’ve also got to make sure that your wonderful rustic hinges aren’t going to cover up any letters. Before you start stenciling the outline of your letters, make sure you have a suitable place to attach your hardware. Go ahead and screw those hinges in to anchor them in place before you proceed with the next letter steps.
Step 10.
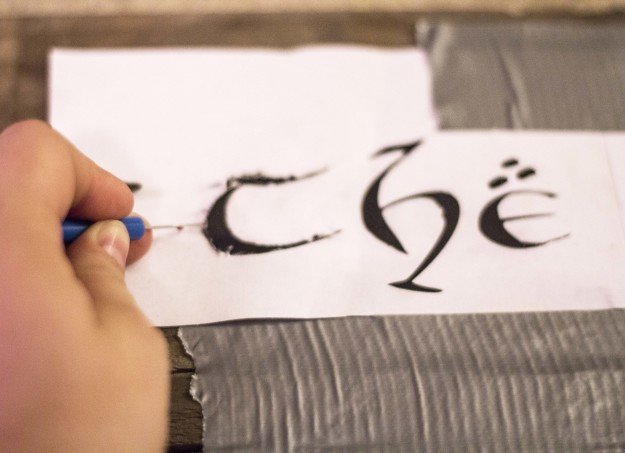
Using something sharp and hard (I used a seam ripper, but you can use many many household items), carefully and firmly trace the outline of your lettering onto the wood. Make sure to really press hard to get that indentation sunk into the wood enough to see when you peel back your paper. This step gets a little hard on the wrists, but hang in there! It’ll be worth it in the end, I promise.
Step 11.
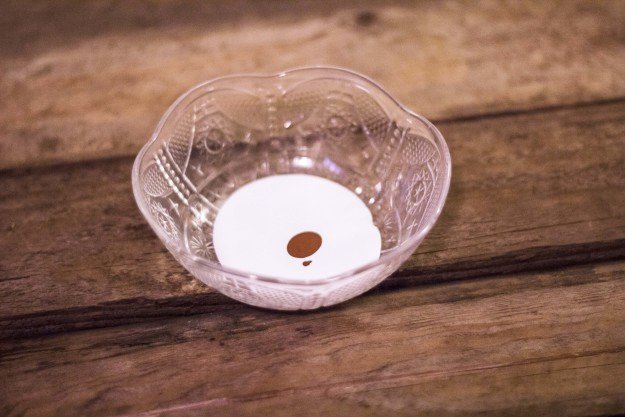
Let’s mix up our paints! I chose not to use stark white, because this whole piece is weathered, old, and charmingly dusky. So I dropped just a touch of brown into my white paint bowl. Just barely enough to turn it a soft shade of ivory when it was all mixed in.
Step 12.
After completing step 10 for all of your words and sentences, it’s time to being painting. Instead of peeling off my entire strip of paper in one swoop, I decided to play it safe, and slice off each letter as I painted it. That way, if I didn’t make a groove deep enough when I etched it in step 10, I could simply lay the paper back down, give a quick re-etch of the letter, and proceed. So, simply peel back the paper from one of the letters, paint it, use scissors to slice that letter off the paper sentence, and continue. This is the most time-consuming part, because we’re hand-painting an entire piece (it’s a good time to gear up a movie!)
Step 13.
Once all of your lettering has been painted and has dried, you can flip your piece over and mount your wall-hanging hardware. The hanging-hardware that you choose is up to you. You can use wire, metal hooks, brackets, lean it on your mantel, or my personal favorite – earthquake proof hooks (which make me feel better about little kids rambunctiously bumping around the walls and not having art topple on them). You can find earthquake-proof, large art hanging kits from Amazon.com.
Well Done!
This project takes a bit of patience and time, but if you made it to the end – congratulations! I hope you have a stunning piece of art for your home that will bring you inspiration for years to come. Thanks for checking out how to make weathered wood wall art. We’d love to hear how it worked out for you. Leave us your feedback in the comments section below.
Don’t forget to Like Us on Facebook (button below) and Pin your favorite projects to Pinterest!
Check out some related posts here:
I’m Manas Ranjan Sahoo: Founder of “Webtirety Software”. I’m a Full-time Software Professional and an aspiring entrepreneur, dedicated to growing this platform as large as possible. I love to Write Blogs on Software, Mobile applications, Web Technology, eCommerce, SEO, and about My experience with Life.

