How To Build a DIY Upholstered Headboard and Bed Frame
You are here: Home / Create and Decorate / How To Build a DIY Upholstered Headboard and Bed Frame
Love tufted headboards? This DIY upholstered headboard project is for you! You can make a do it yourself upholstered headboard and DIY platform bed frame with a few steps and materials. Learn how with our easy to follow step by step tutorial. This DIY upholstered headboard and bed frame can be put together in one afternoon. You can have your hardware store cut the wood for you to save time and then assemble everything at home.
Building your own DIY furniture has a lot of advantages. So many options are available when we build things ourselves: You can choose the size, color, the materials used, etc. So be creative with the stain you select or a fun fabric! Let those jaws drop when they learn that YOU built this bed ;). We chose white fabric, but you can choose anything you like to match your home decor and create the ultimate beautiful shabby chic DIY bedroom. Let’s start by learning how to make a DIY headboard!
Headboard Supplies:
- 1 sheet of Ply wood ¾” thick
- 1 2×4” @ 8’ Long
- 2” thick Foam
- Batting (Tip: I doubled mine to flatten out the seams in the foam, so get extra)
- Spray Adhesive
- Washers and wood screws
- Decorative Nail Heads
Bed Supplies:
- 4 1×6” @ 8’ Long
- 6 1×2” @ 8’ Long
- 1 4×4” @ 8’ Long
- Stain
- Bed Rail Brackets (I use these: http://www.rockler.com/no-mortise-bed-rail-brackets)
- Pocket Hole Screws (1 ¼” coarse thread)
Step 1
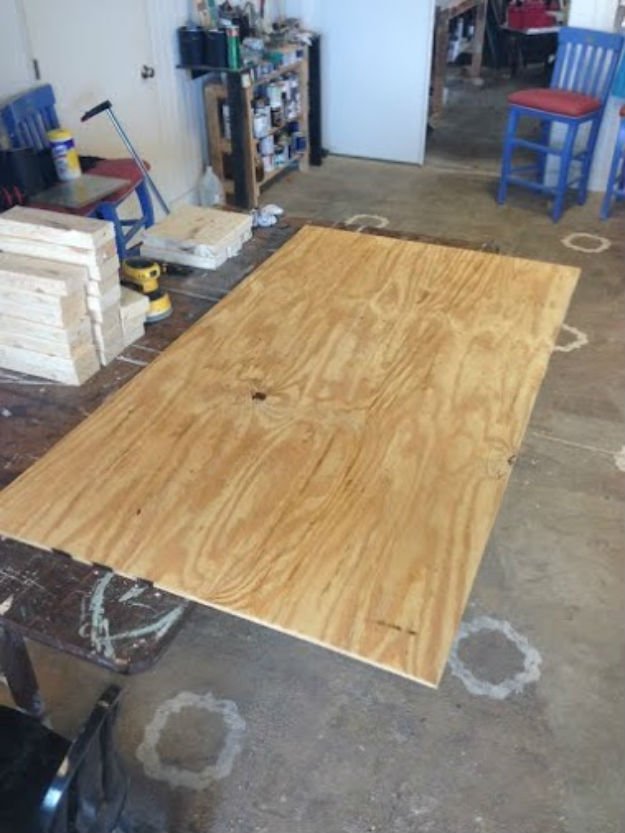
Begin by determining the size of the headboard you want to build. I made mine 62″ x 36″. Get your 3/4″ plywood cut down to your size (62″x36″ if you’re using these measurements).
Step 2
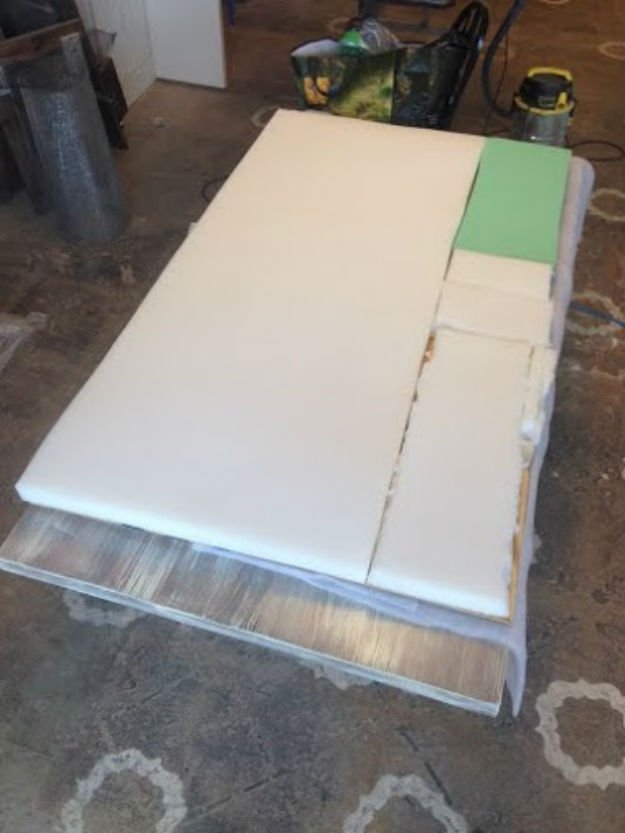
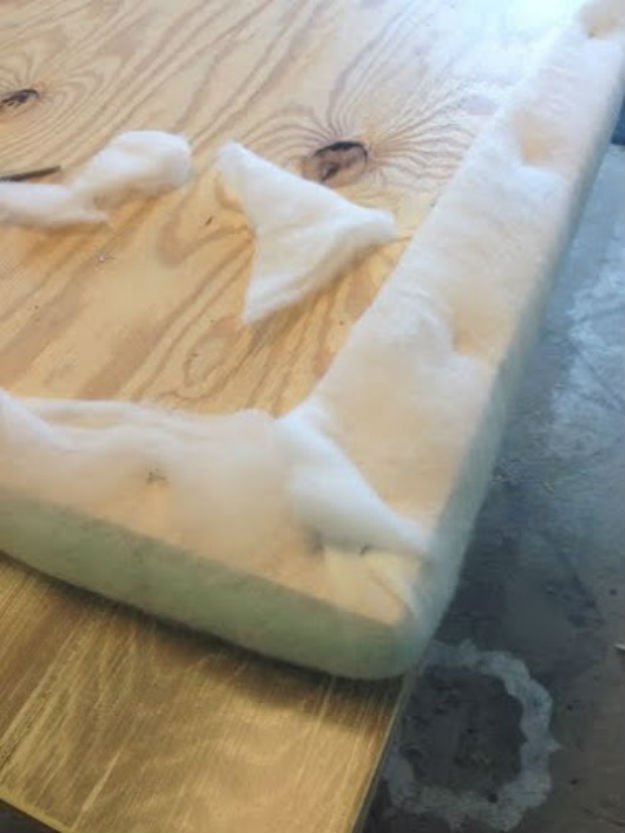
Cut your 2″ foam to fit the plywood base. You can piece together foam here, all the batting and fabric will smooth it out. Using spray adhesive, glue your foam in place.
Step 3
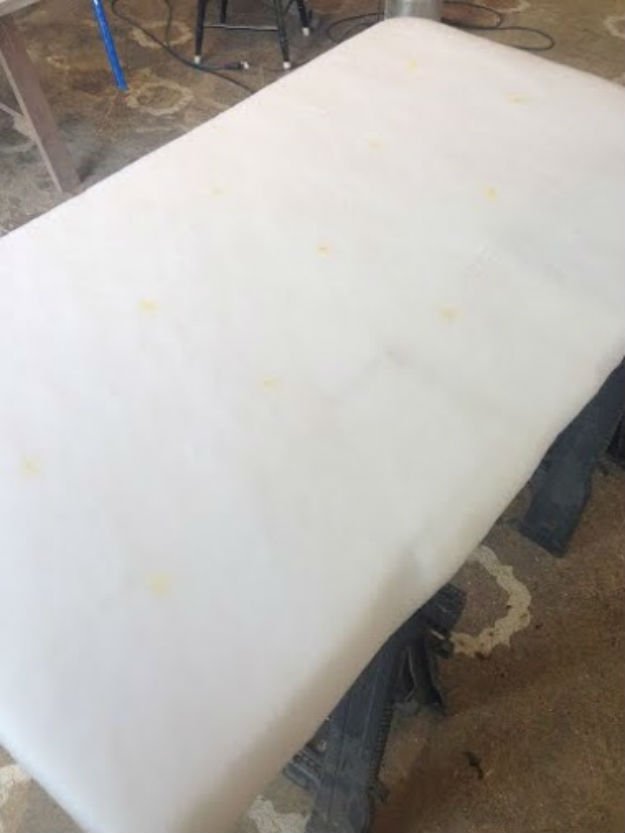
Spread your batting over a clean large work surface. Place the headboard face down on the batting. Using a staple gun with 1/2″ staples, begin on one of the long sides and staple the batting around the edge of the back of the plywood.
Do the other long side next, be sure to pull snugly. Repeat on both short sides and smooth and pull snugly while stapling. Once you have the batting attached smoothly, flip it over and you are ready for fabric!
Step 4
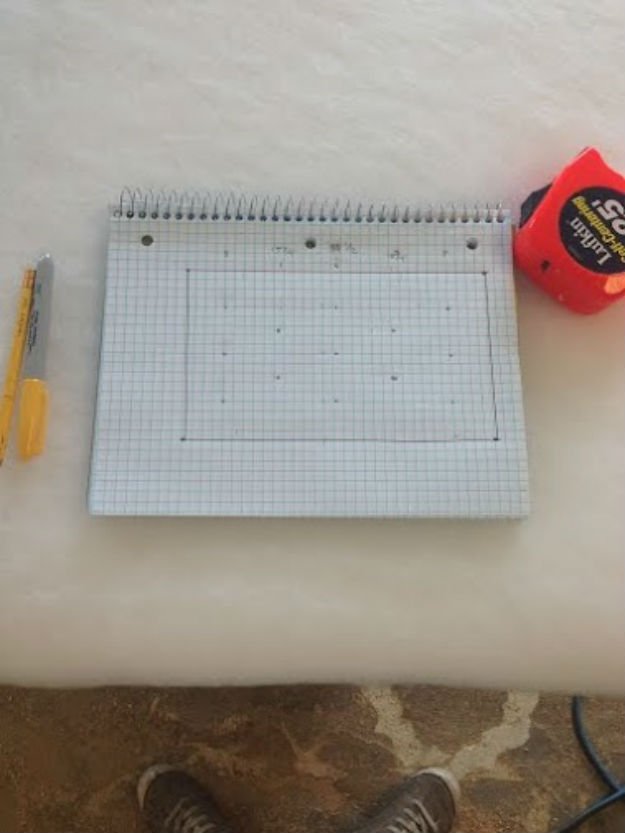
The next step is marking out where you will want all the tufts. I used large nail heads, so I wanted them adequately spaced to avoid looking crowded. Make a grid with a light colored maker (so that it won’t show through your fabric) right on the face of the batting. Pictured is my grid with where I planned to put the tufts.
Once you are happy with the spacing you choose, lay your fabric over the batting. Trim the fabric so that is hangs 6″ past the plywood back.
Step 5
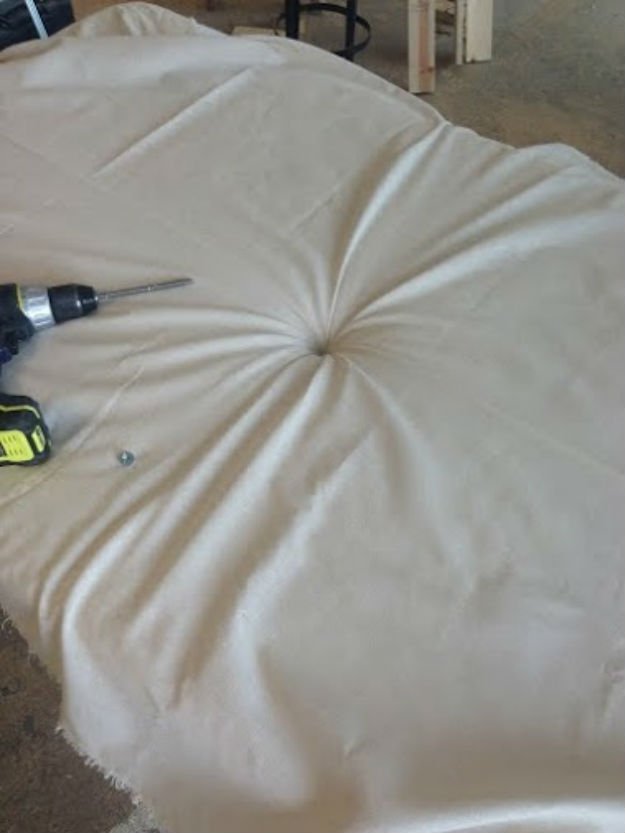
Starting with the center “dot”, take you 3/4″ wood screw and 1/4″ washer and using a power screw gun and push firmly though the batting and foam till you feel the ply wood, screw in most of the way, but don’t over tighten.
Step 6
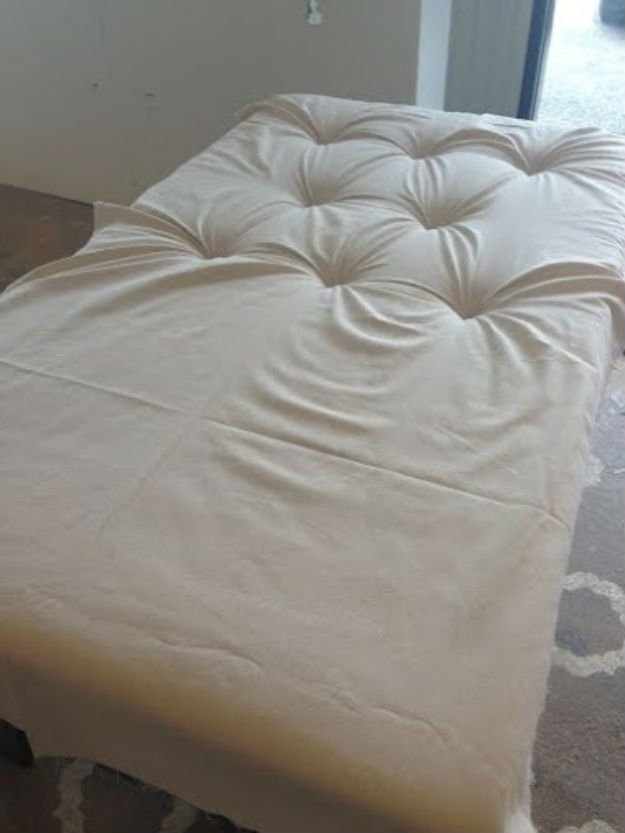
Continue with each tuft working from the center and moving out. Tip: Lift up the fabric to line the screws with the dots of your grid.
Step 7
Once you have the all the tufts in place, flip the headboard over to staple the fabric to the back.
Step 8
Make sure to match the tightness of the tufts to how tight you pull the fabric before stapling.
Step 9
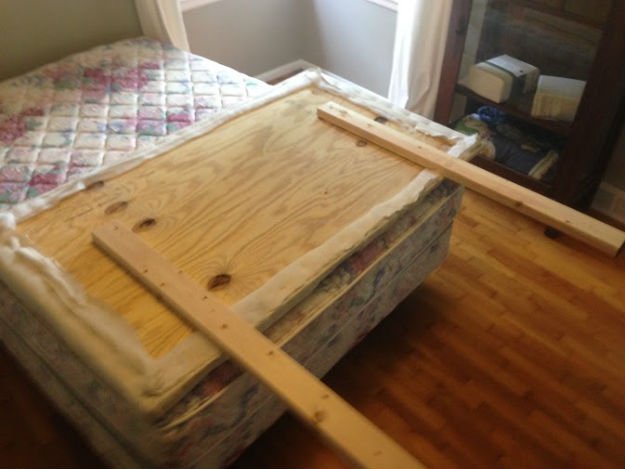
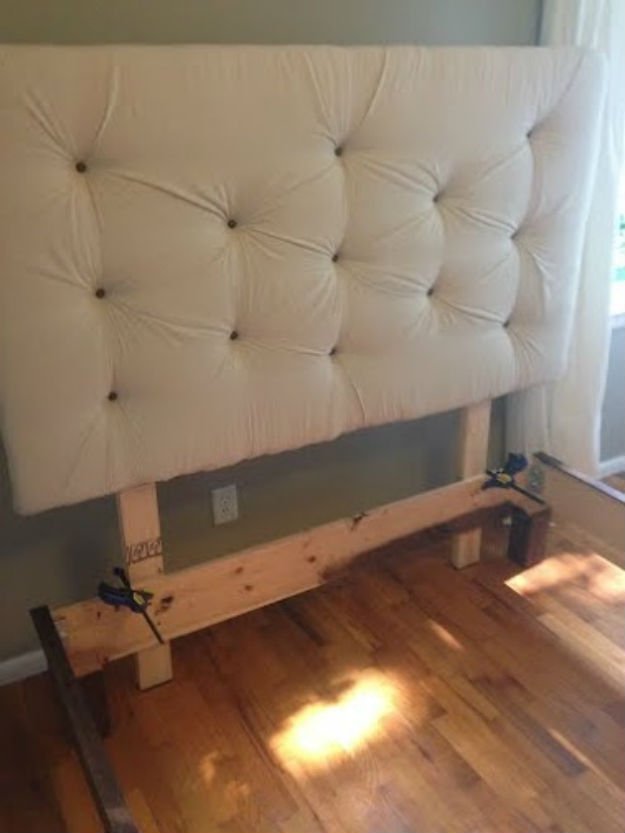
The last step for the headboard portion is to attach some 2×4″s to the plywood for attaching the headboard to the bed frame in a later step.
Now it’s time for the bed frame! I made a queen size bed (60″x80″ mattress). If you are making a different size, add or subtract the difference to all measurements for the new dimensions.
Cut list:
- (2) 1×6″ : 81″ Long
- (2) 1×6″ : 61″ Long
- (2) 1×2″ : 79″ Long
- (2) 1×2″ : 81″ Long angled at 45 degrees off square (Tip: cut these boards after you have the bed frame together so that you can get the exact measurements to get the 45 degree angles flush)
- (4) 4×4″ : 8″ long
Step 10
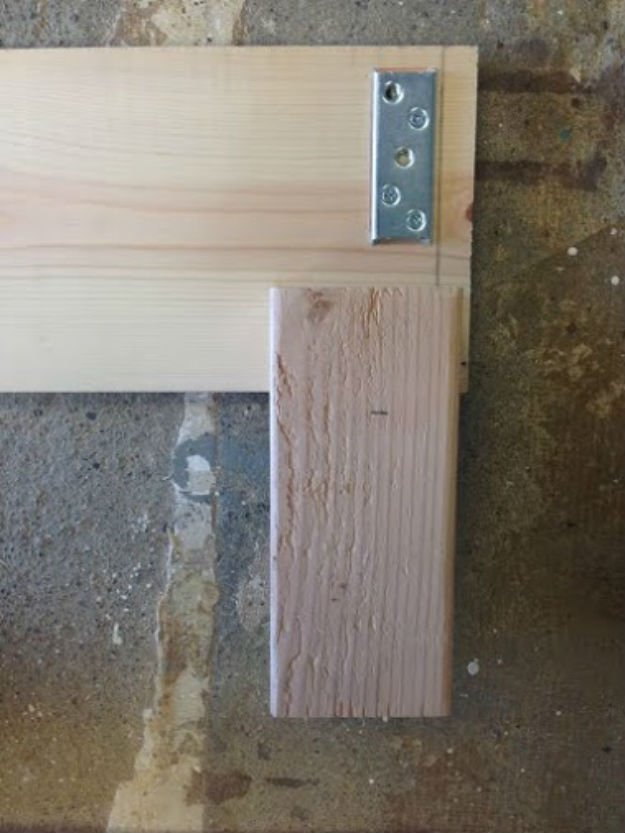
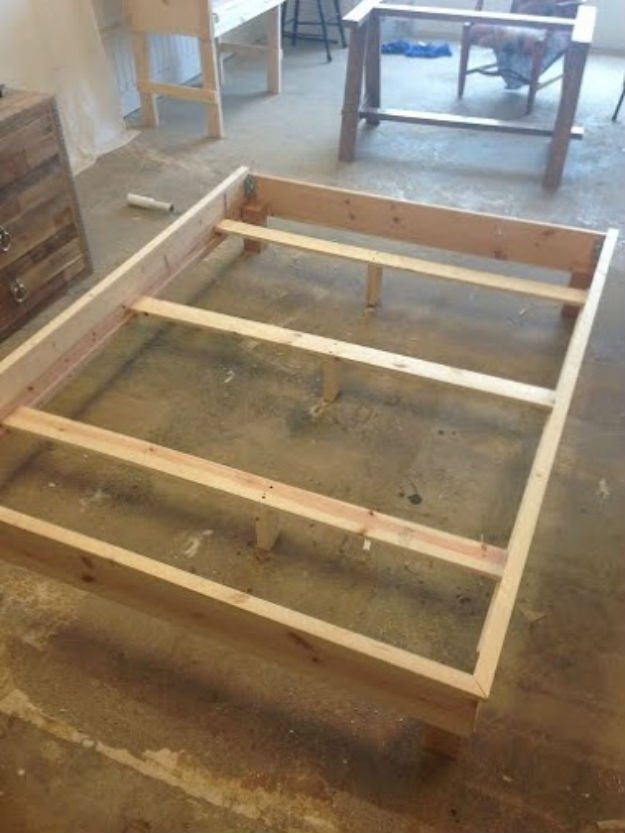
Start with the 1×6″ boards to make the . Attach one 1×2″ along the bottom edge of the 1×6″, glue, clamp, and screw using 1 1/4″ wood screws. Repeat for the other cleat.
Step 11
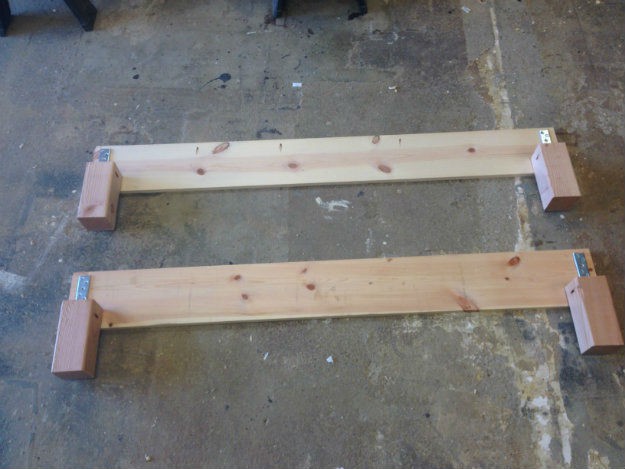
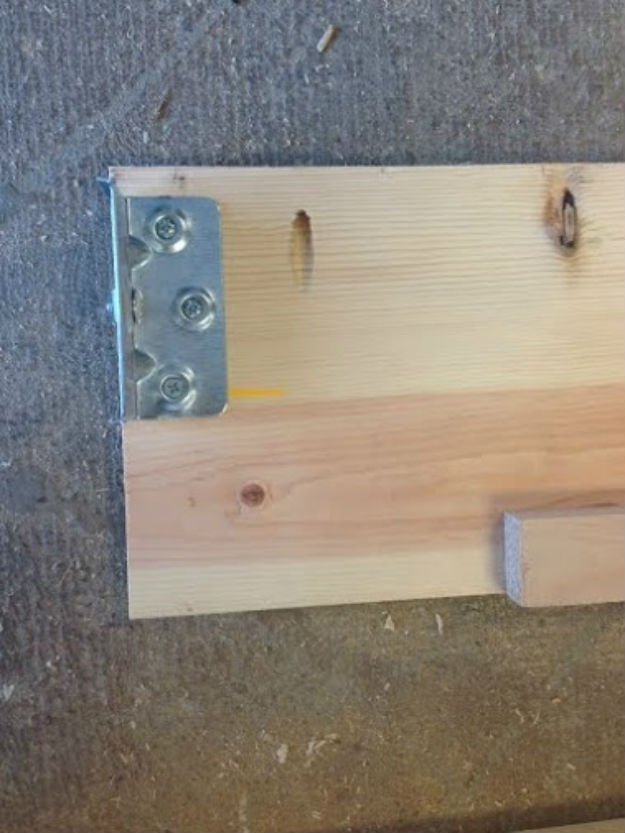
Make 3/4″ pocket holes along the upper edge of both cleats to attach the trim in a later step. With the 61″ 1×6″s, drill the 3/4″ pocket holes in only one board, the foot board. Attach the 4×4″ leg to both 1×6”s using 2″ PH screws and wood glue.
Step 12
I used Bed Rail brackets that I get from Rockler.com. I like that I can take apart the bed as many times as I need without worrying about weakening the wood. I find that this bracket works better than the eye hole ones, very sturdy and easy to put together. I have not been able to find these in a hardware store yet, only online so far.
Step 13
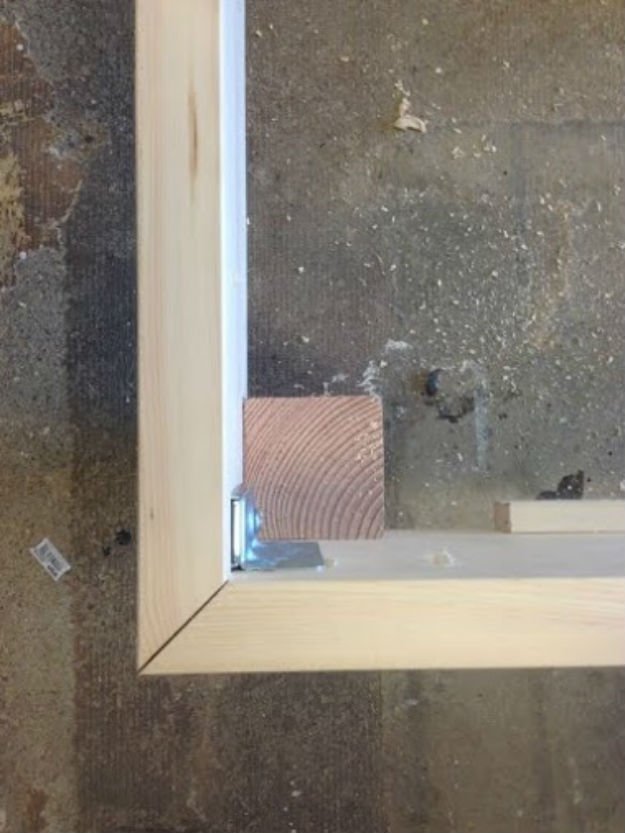
Follow the directions on the brackets to assemble the bed. Once the bed is together, check for square and measure your 1×2″ trim pieces to make a 45 degree cuts for the “picture frame” corners. Attach the trim to the 1×6″s using 1 1/4″ PH screws.
Step 14
Step 15
And the bed frame is built! Now time to finish it:)
Step 16
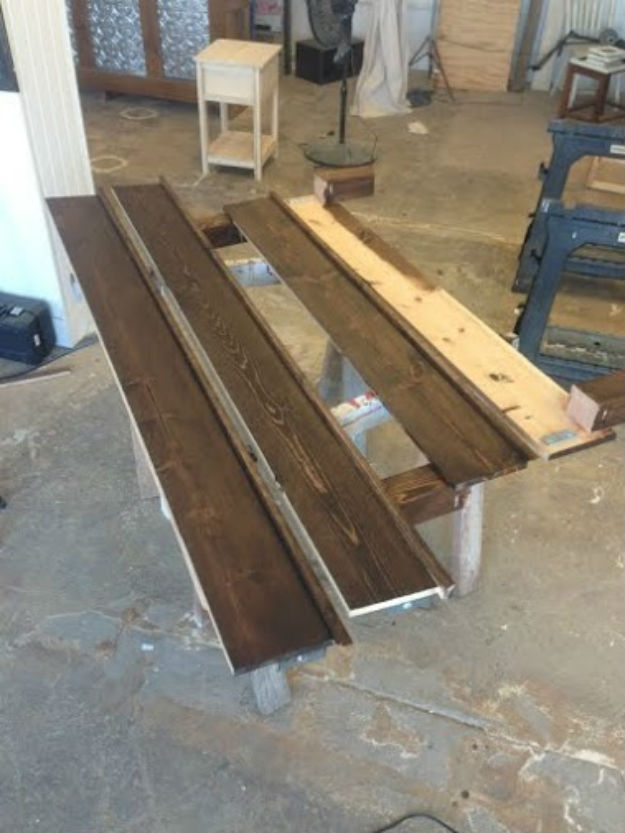
For a wood stain finish, sand with 120 grit sandpaper and clean off dust with a vacuum or micro fiber cloth. I used Rustoleum Wood stain in Dark Walnut. Brush on the stain with a natural fiber brush, and wipe off with a cloth after 2-3 minutes for the stain to soak in.
Step 17
Step 18
After the bed is set up with the mattress on, you can adjust the headboard height by moving the 2×4″s up or down. Once the height is set, clap the legs to the back of the bed, and attach the from the back using 3″ wood screws. If your headboard is over 40″ tall, you may want to attached the headboard to the wall if you find it having a slight tilt forward. To do so, use large “D” rings and picture hangers to anchor to the wall.
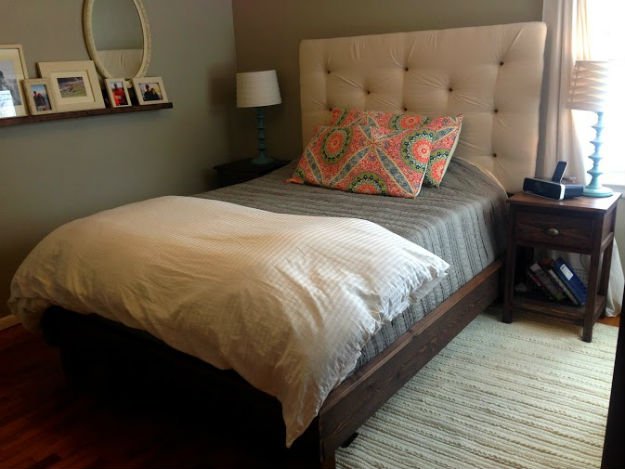
And you’re done! Enjoy your handy work and happy DIY-ing!
Did you enjoy our tutorial on how to build a bed frame? Let us know in the comments section below what your thoughts are on this headboard idea. Do you have any other craft project you’d like to share? Share it with us and we’ll give it a try. We love doing cool DIY projects by making craft projects, home decor projects, upcycling ideas, recipes, tutorials and anything you can do yourself. That’s why we created this site, we want people to be more in touch with their creative side and realize that there’s a lot of things that they can do themselves. We’d love to hear from you and create a community of DIY enthusiasts where any project is just a click away. Stay connected with us on Facebook, Twitter,Pinterest and Instagram!
Want more cool DIY projects? Check out these other posts you’ll find interesting, too!
DIY Bookcase Transformation | Furniture Rehab
35 Ways To Transform Your Old Furniture
How To Make A Table From A Repurposed Army Ammo Crate
I’m Manas Ranjan Sahoo: Founder of “Webtirety Software”. I’m a Full-time Software Professional and an aspiring entrepreneur, dedicated to growing this platform as large as possible. I love to Write Blogs on Software, Mobile applications, Web Technology, eCommerce, SEO, and about My experience with Life.


