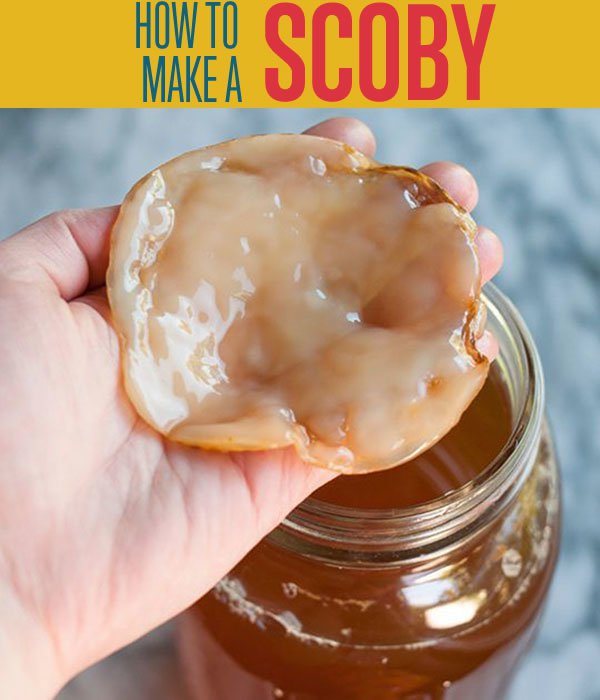
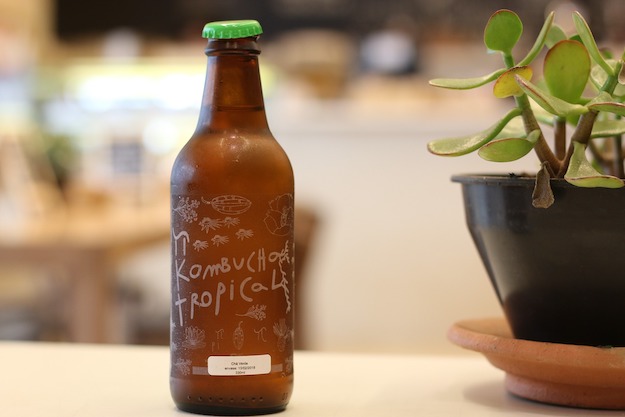
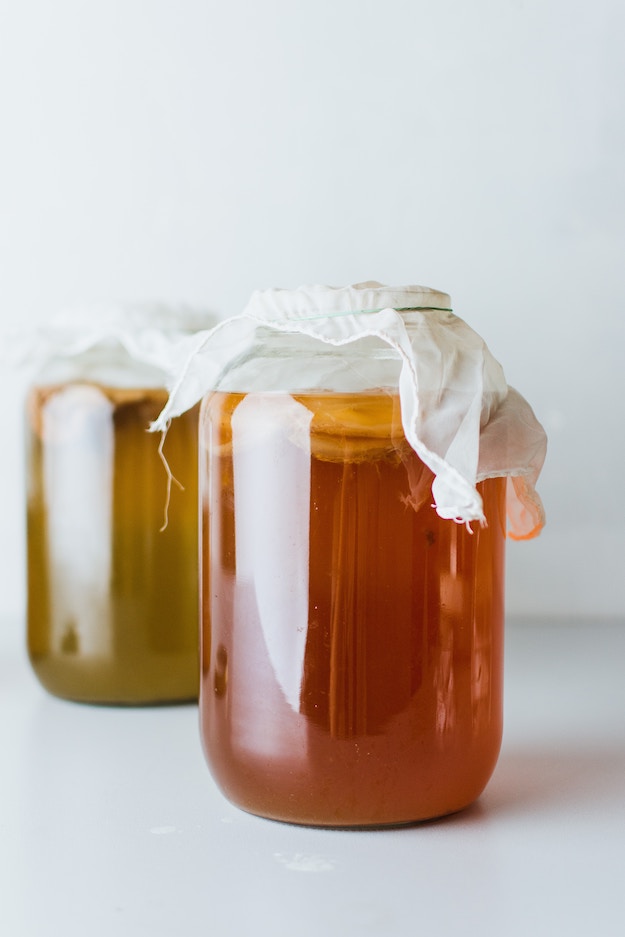
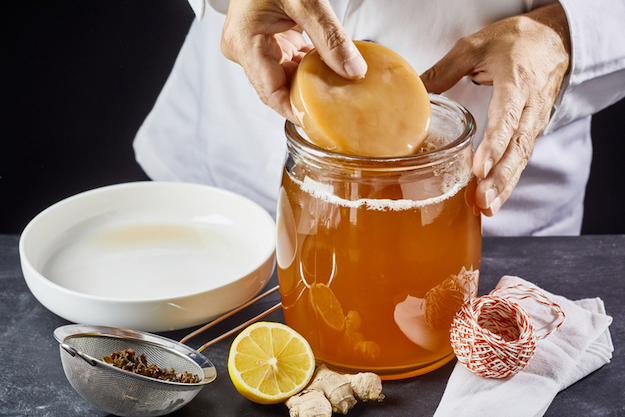
OK, please don’t let this feature image freak you out. It’s just scoby! And it’s actually an ooey gooey delight! Not to be confused with “scooby,” SCOBY is an acronym for Symbiotic Colony of Bacteria and Yeast. And if you’ve heard of kombucha, scoby is what makes this power-drink all the rage. It contains many probiotics which are recommended to keep up the good bacteria in our bodies. This will help break down foods and much more. The scoby metabolizes the organic sugar and the caffeine in organic green and black teas, resulting in a beverage that contains billions of probiotics, vitamins (including B and C), amino acids and enzymes. We’re talkin’ kombucha here, ladies and gents.
Are you impressed by this disgusting layer of gunk yet? We hope you are! Because we are about to share a top notch recipe for scoby from The Kitchn so you can be well on your way to making homemade kombucha! First things first though, the scoby — and off to the kitchen we go!
This Recipe Makes 1 kombucha scoby
(via Bonzai Aphrodite, click here for full tutorial)
What You Need:
Ingredients
7 cups water
1/2 cup white granulated sugar (see Recipe Notes)
4 bags black tea, or 1 tablespoon looseleaf (see Recipe Note)
1 cup unflavored, unpasteurized store-bought kombucha
Equipment
2-quart or larger saucepan
Long-handled spoon
2-quart or larger glass jar, like a canning jar (not plastic or metal)
Cheesecloth, clean napkin, or paper towel
Rubberband
Instructions
Step 1.
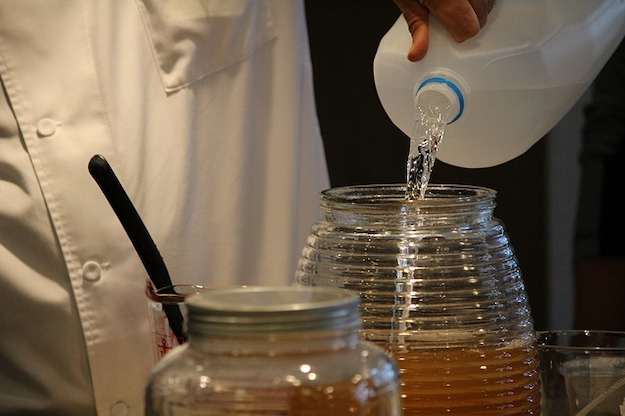
Make the sweet tea. Bring the water to a boil. Remove the pan from heat and stir in the sugar until it is completely dissolved. Add the tea and allow to steep until the tea cools to room temperature. Remove and discard the tea. (Alternatively, boil half the amount of water, dissolve the sugar and steep the tea, then add the remaining water to cool the tea more rapidly.)
(via Bonzai Aphrodite, click here for full tutorial)
Step 2.
Combine the sweet tea and kombucha in a jar. Pour the sweet tea into the jar. Pour the kombucha on top — if you see a blobby “baby scoby” in the bottom of your jar of commercial kombucha, make sure this gets transferred. (But if you don’t see one, don’t worry! Your scoby will still form.) Stir to combine.
(via The Kitchn, click here for full tutorial)
Step 3.
Cover and store for 1 to 4 weeks. Cover the jar with cheesecloth and secure it with a rubber band. Place the jar somewhere at average room temperature (70°F), out of direct sunlight, and where it won’t get jostled. Sunlight can prevent the kombucha from fermenting and the scoby from forming, so wrap the jar in a cloth if you can’t keep it away from sunlight.
(via Voyage of the Ragamuffins, click here for full tutorial)
Step 4.
First, bubbles will gather on the surface. For the first few days, nothing will happen. Then you’ll start to see groups of tiny bubbles starting to collect on the surface.
(via The Kitchn, click here for full tutorial)
Step 5.
Then, the bubbles will collect into a film. After a few more days, the groups of bubbles will start to connect and form a thin, transparent, jelly-like film across the surface of the tea. You’ll also see bubbles forming around the edges of the film. This is carbon-dioxide from the fermenting tea and a sign that everything is healthy and happy!
(via Voyage of the Ragamuffins, click here for full tutorial)
Step 6.
The film will thicken into a solid, opaque layer. Over the next few days, the layer will continue to thicken and gradually become opaque. When the scoby is about 1/4-inch thick, it’s ready to be used to make kombucha tea — depending on the temperature and conditions in your kitchen, this might take anywhere from 1 to 4 weeks. (Once you finish growing your scoby, discard the liquid; it will be too vinegary to drink, though it can be used for cleaning or other non-drinking purposes if you like!)
(via First Comes Health, click here for full tutorial)
Step 7.
The finished scoby: Your finished scoby might look a little nubbly, rough, patchy, or otherwise “not quite like a grown-up scoby.” It’s ok! Your scoby will start to smooth out and take on a uniform color over the course of a few batches of kombucha — take a look a the before and after pictures of a baby and grown-up scoby in the gallery above.
(via One Green Tomato, click here for full tutorial)
Just a few things to remember after we send you off to ferment and brew. Check out the troubleshooting scoby tips and pointers below!
- Your scoby is forming normally and is healthy if… You see bubbles, clear jelly-like masses, opaque jelly-like masses, stringy or gritty brown bits. Also if the tea smells fresh, tart, and slightly vinegary (this aroma will become more pronounced the further into the process you go).
- Your finished scoby is normal and healthy if… It’s about a quarter-inch thick and opaque. It’s fine if the scoby is bubbled or nubbly or has a rough edge. It’s also ok if it’s thinner in some parts than others or if there’s a hole. Your scoby will become smoother and more uniform as you brew more batches of kombucha.
- There is a problem if… You see fuzzy black or green mold growing on top of the forming scoby, or if your tea starts to smell cheesy, rancid, or otherwise unpleasant. In any of these cases, bad bacteria has taken hold of the tea; discard this batch and start again with a fresh batch.
- If you can’t tell if there’s a problem… Continue to let the tea ferment and the scoby form. If it’s a problem, it will get worse; if it’s a normal part of the process, it should normalize (or at least not get any worse!)
That’s our homemade scoby recipe! Thanks for stopping by! Do you have any tips for homemade scoby we may have missed? Let us know in the comments section below. Don’t forget to sign up to our newsletter to get all the latest updates on craft projects in the making! Like us on Facebook (button below) to get fun craft projects in your feed! Pin your favorite projects to Pinterest to share with friends.
Check out some related craft projects here:
I’m Manas Ranjan Sahoo: Founder of “Webtirety Software”. I’m a Full-time Software Professional and an aspiring entrepreneur, dedicated to growing this platform as large as possible. I love to Write Blogs on Software, Mobile applications, Web Technology, eCommerce, SEO, and about My experience with Life.

