Handmade Jewelry | Basic Wire Wrapping
Wire wrapping may seem intimidating, but fear not! It’s really very simple and so much fun. The best part is, once you know how to make a few basic links and dangles, you can make any kind of chain-linked jewelry you like. Really! Check out this awesome wire wrapping basics tutorial. Trust us, after taking a peek at these simple steps you will have wire wrapping down to a science. All you really need is a good pair of pliers and the world of wire-wrapping is your oyster. Earrings, necklaces, bracelets, anklets – all yours, plus gifts galore! Want to learn more? Keep reading for all the best tips and tricks on wire wrapping.
Let’s get started.
Supplies:
- – 1 large center-drilled spherical bead with 1mm hole
- – 3 or 4 small center-drilled seed (or similar size) beads with 1mm hole
- – 1 tip-drilled bead, or “briolette”
- – 1 24 gauge head pin
- – 6” of 24 gauge wire
- – flat nose pliers
- – round nose pliers
- – jewelry wire clippers
Vertical Center-Drilled Dangle:
Dangles have only one connecting loop, and are hung from the top as earrings or as charms on a chain. This type of dangle is vertically strung, and uses a head pin.
Step 1.
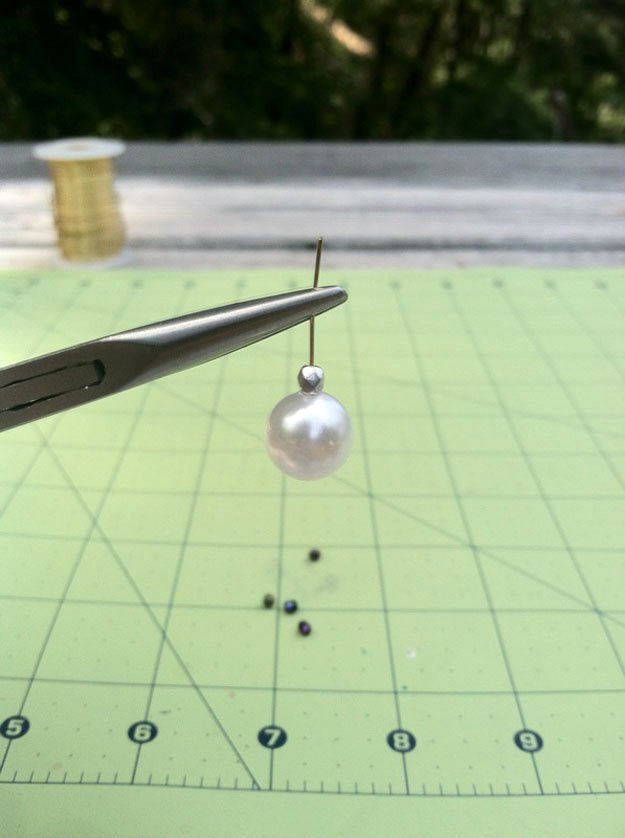
String large spherical bead (with optional small bead on top) onto head pin.
Step 2.
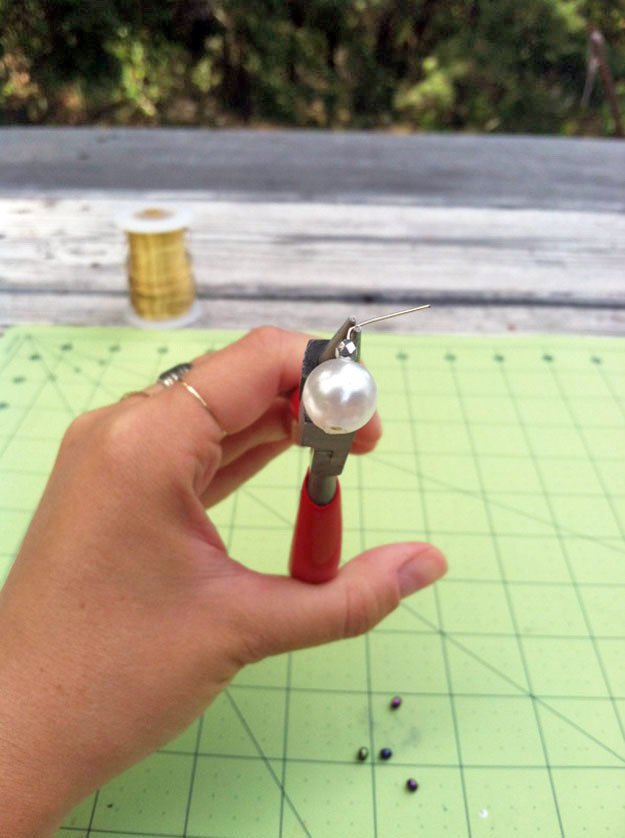
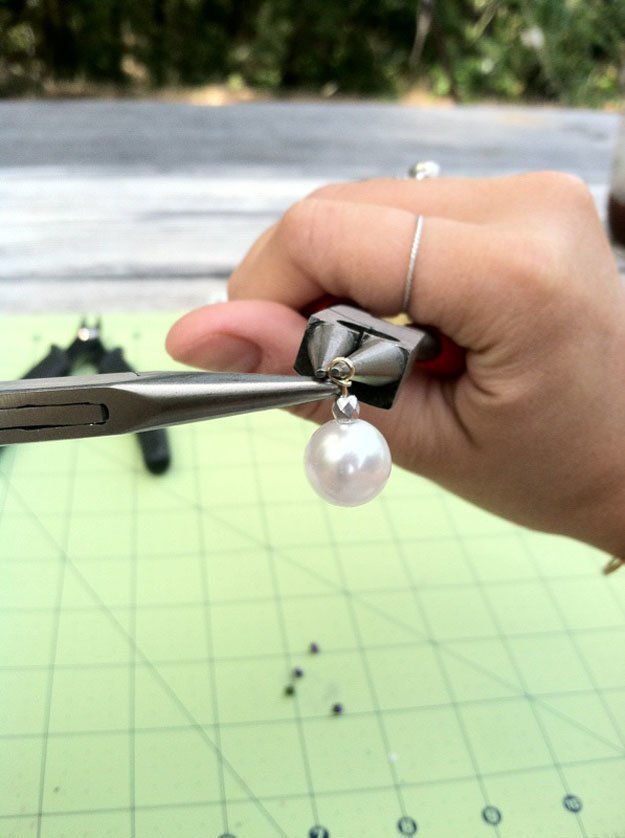
Grab the head pin just above the top bead with round nose pliers. Holding the bead in place with your fingers, gently bend the wire about 45 degrees to the right with the pliers leaving space between the bend and the bead for the bottom jaw of the pliers.
Step 3.
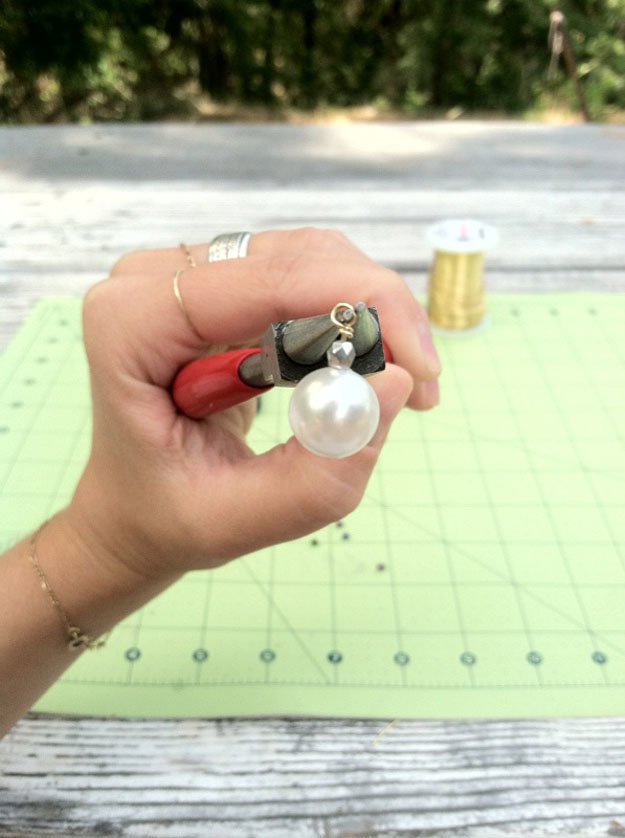
With your fingers (or flat nose pliers if the wire is too short), wrap the top part of the wire over the top jaw of the round nose pliers forming a loop. NOTE: This is where you will want to link your dangle onto a chain or earring wire before closing the loop. OR, you can close the loop and use a jump ring to connect the closed dangle to another closed loop.
Step 4.
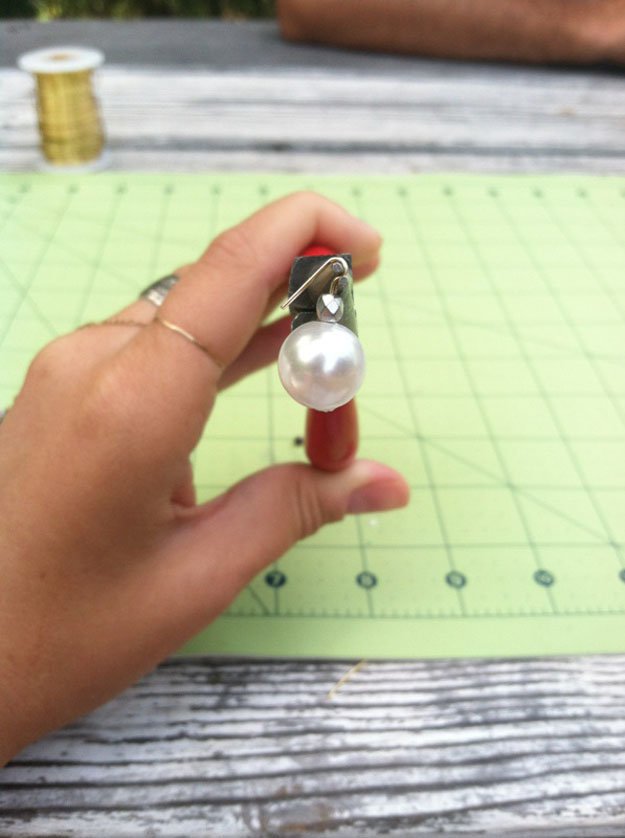
Bring the wire down and under the loop to cross the shaft of the wire. Hold the loop with round nose pliers and use flat nose pliers to coil the tail of the wire around the shaft between the loop and the top bead about two full rotations. You can use the flat nose pliers to squeeze the coils tighter together if need be.
Step 5.
Snip any excess wire as close to the coil as you can. You can use flat nose pliers to roll the cut end of the coil onto itself so it doesn’t snag your skin or clothing. Voila! Your dangle is ready to be strung onto a chain or made into earrings!
Next tip:
Horizontal Tip-Drilled Dangle:
This dangle will hang vertically the same way a center-drilled dangle does, but it is strung through a bead with a horizontal hole. A briolette is an example of this type of bead.
Step 1.
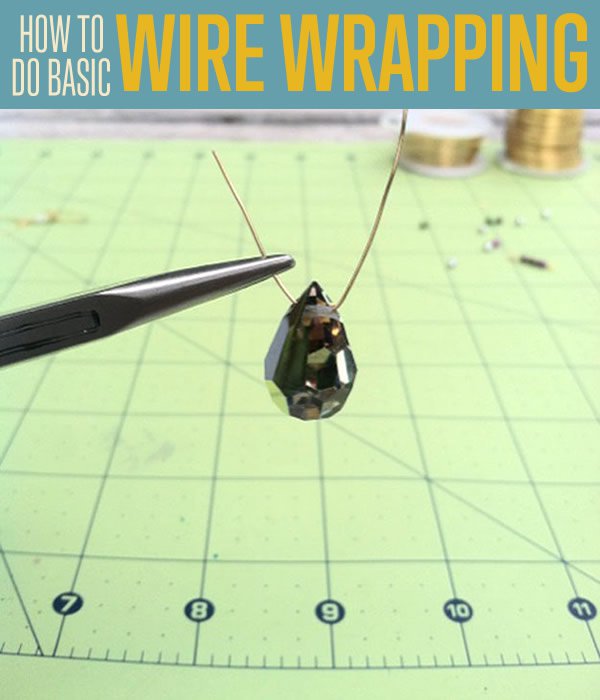
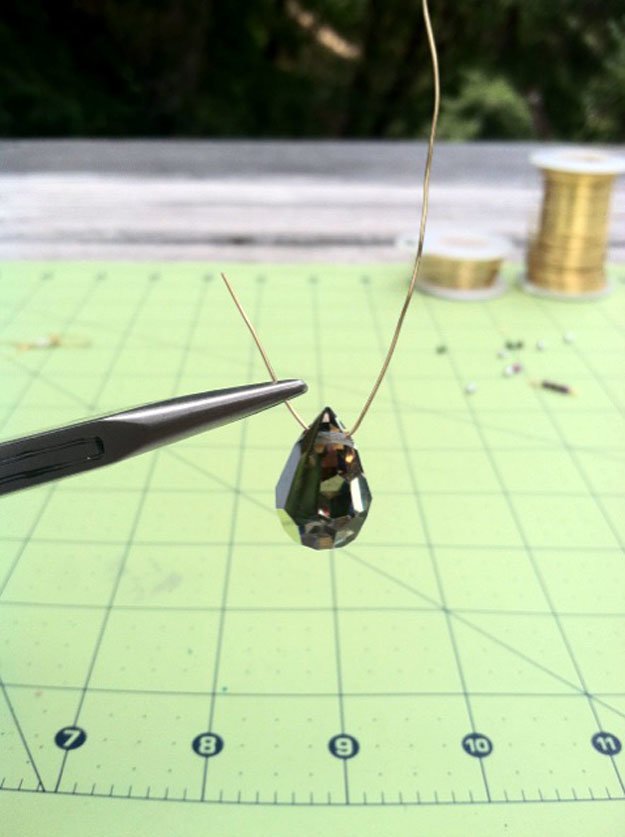
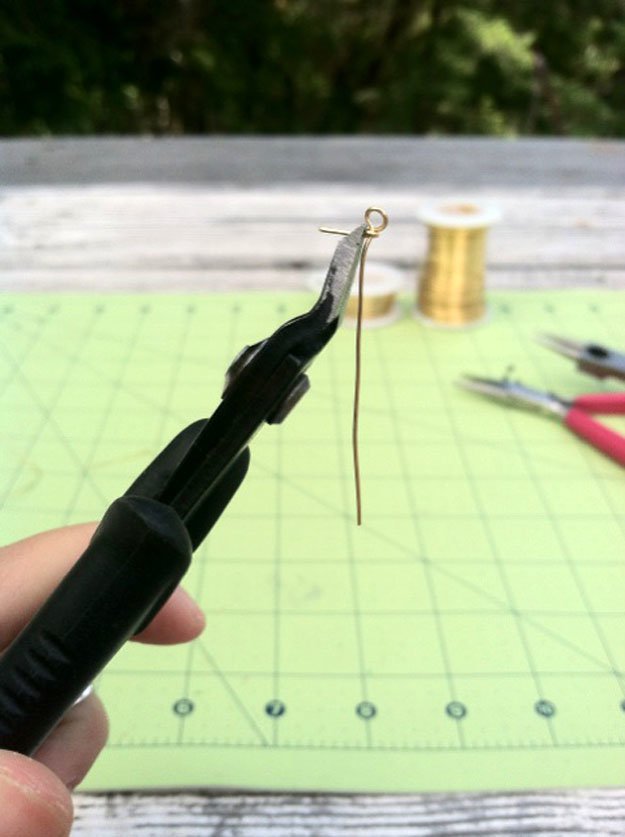
Cut your 24 gauge wire to a length of three inches. String the briolette bead onto the wire and position in the center of the wire. Bend the ends of the wires up slightly to cradle the bead and keep it from sliding around.
Step 2.
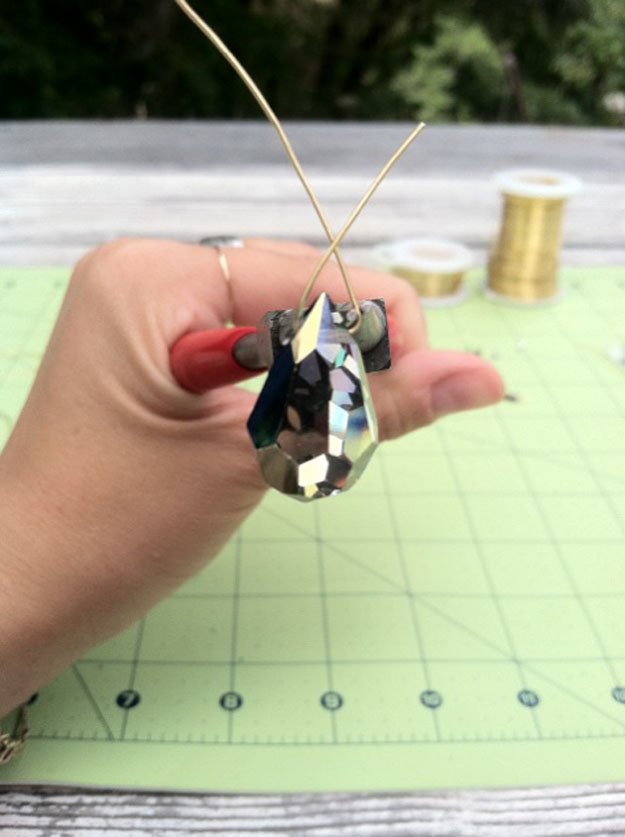
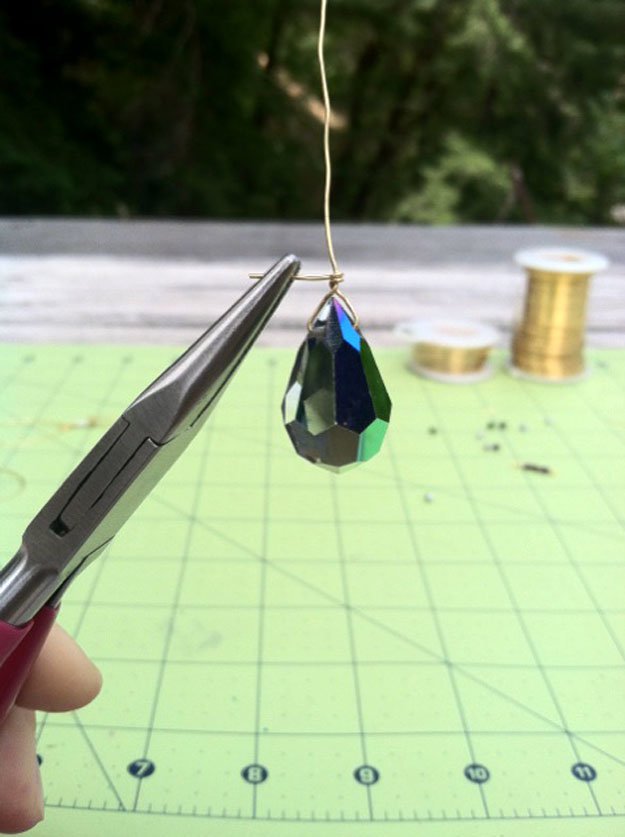
Using round nose pliers, bend the wire at both sides of the bead to form a triangular shape. The wire will cross above the top of the bead. Make sure the bead has a bit of space to dangle on the wire.
Step 3.
Bend the crossed ends of the wire above the top of the bead so that one end points straight up and the other crosses it horizontally at a 90 degree angle.
Step 4.
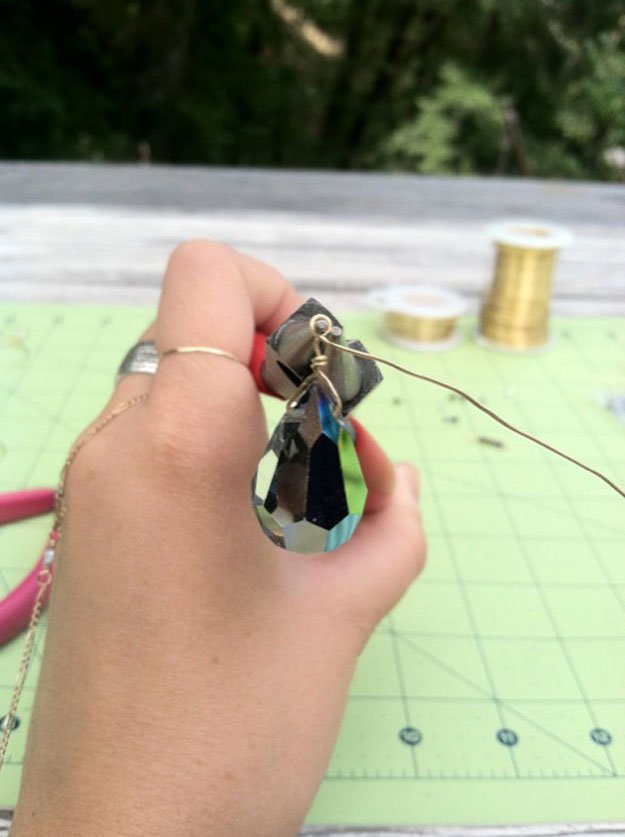
Coil the horizontal wire tightly around the vertical wire two times. It’s a bit fussy to make the coil without bending the vertical wire. I find it’s easiest to hold the vertical wire firmly with my fingers just above where the coil will go, and wrap the coil with flat nose pliers.
Step 5.
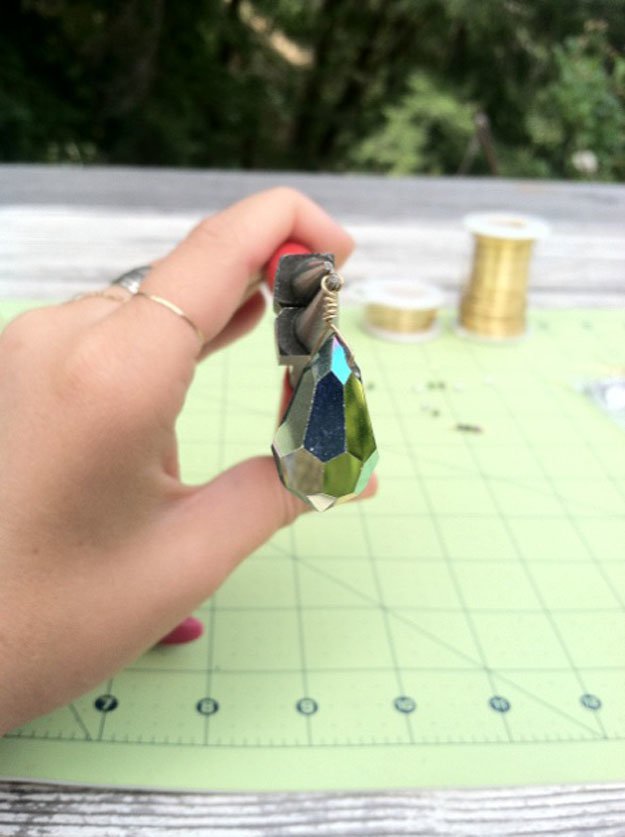
Snip the excess wire from the coil. Make a loop as we did in the first dangle tutorial by wrapping the wire over the round nose pliers, leaving a bit of space between the loop and the coil made in the last step. Attach loop to a connecting link (earring wires, chain, etc) at this step.
Step 6.
Coil the wire in the space left below the loop, right up against the first coil. Snip the excess wire and admire your dangly little dangle!
Beaded Link:
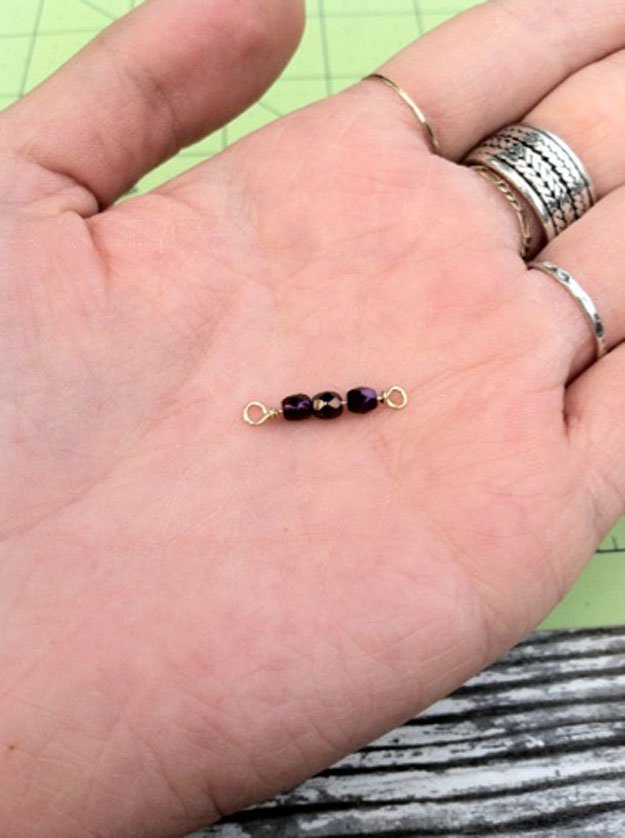
This tutorial will show you how to make a link with two loops on either end. Link a bunch together and you’ve got yourself a handmade chain!
Step 1.
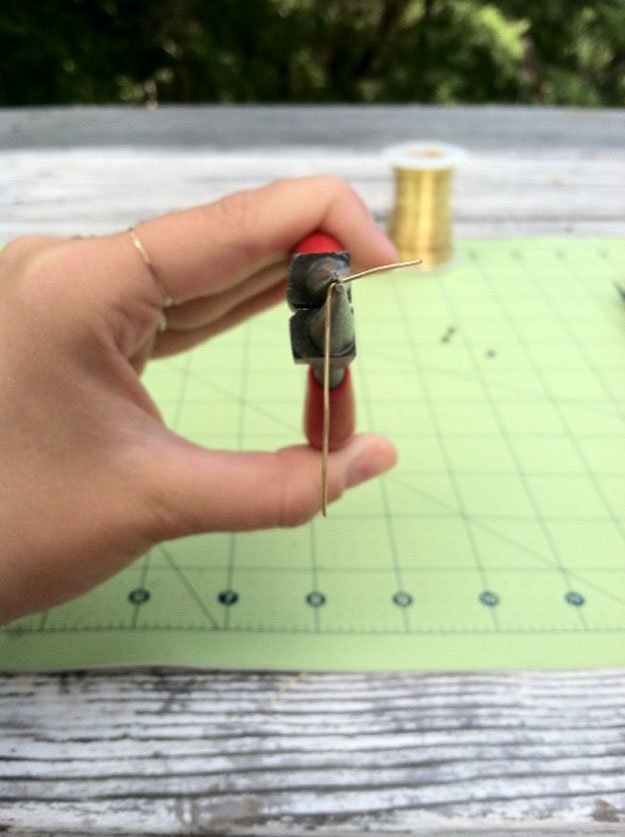
Cut your 24 gauge wire to a length of three inches. We will be making a wrapped loop like we’ve done in the previous two tutorials. Grab the wire with round nose pliers about an inch from one end and bend the short end about 45 degrees to the right.
Step 2.
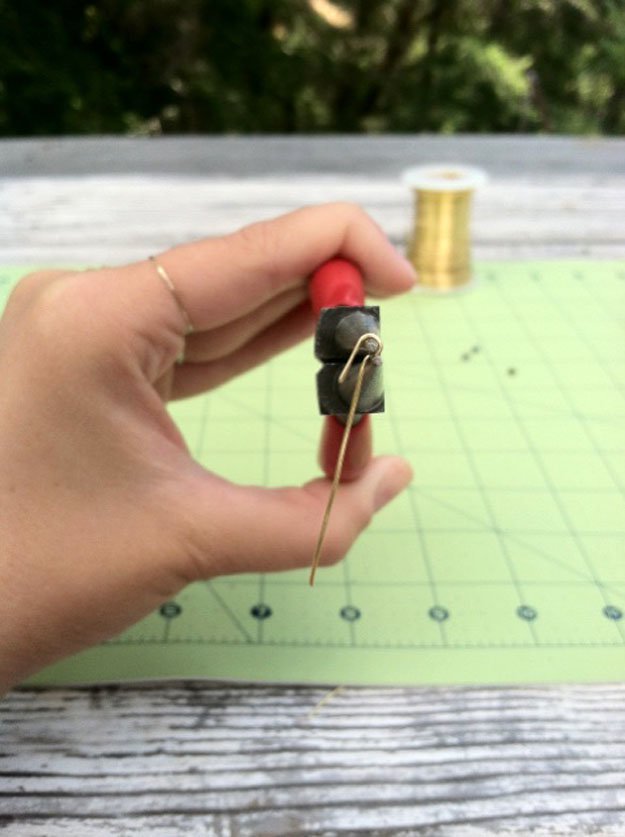
Wrap the wire over the top of the round nose pliers to form a loop. Don’t forget to connect to another link before you close the loop here (I swear, it ALWAYS happens)!
Step 3.
Cross the wire underneath the pliers and coil around the wire shaft. Snip any excess wire.
Step 4.
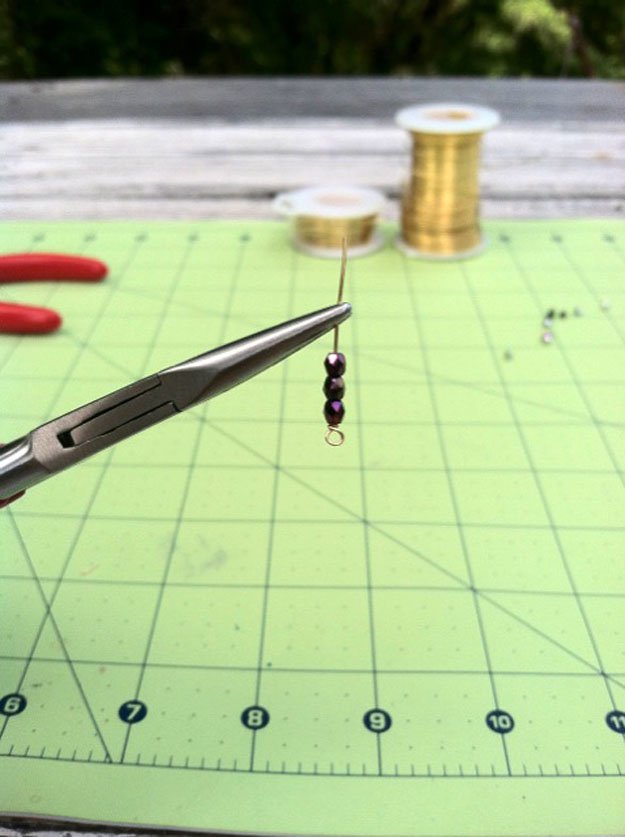
Flip your wire piece upside down and string your small beads onto the open end.
Step 5.
Repeat steps 1 – 3 to make the same loop on the other end of the wire. There you have it – a beaded link!
Thanks for checking out our wire wrapping basics tutorial! Have some more craft projects that you’d like us to attempt? Leave your feedback in the comments section below and we’ll do our best to make it happen. Are you a jewelry expert? Tell us how this tutorial worked out for you! We appreciate your feedback. Can’t find what you’re looking for? Suggest a fun project and we will get our team on it faster than you think. We love hearing from our subscribers.
Don’t forget to sign up to our mailing list to get the latest and greatest on everything DIY related.
Check out our Facebook page (button below) and follow us to get a quick look at our daily projects. Pin It to Pinterest to share our DIY craft projects with friends.
For more related posts:
I’m Manas Ranjan Sahoo: Founder of “Webtirety Software”. I’m a Full-time Software Professional and an aspiring entrepreneur, dedicated to growing this platform as large as possible. I love to Write Blogs on Software, Mobile applications, Web Technology, eCommerce, SEO, and about My experience with Life.

