Four Badass Paracord Knots | Paracord Projects | DIY Skills
You are here: Home / Create and Decorate / Four Badass Paracord Knots | Paracord Projects | DIY Skills
Sometimes knowing the right knot could save your life. Case in point – you need to escape a POW camp and have a pile of bedsheets in your room (It’s a five star POW camp). What knot would you use to tie the bedsheets together so that you can still take the bedsheets with you to keep you warm during your trek through Siberia? By the end of this post, you’ll know exactly which knot to use.
Hint: It’s the Kamikaze Knot.
Hint Hint: You should NEVER, EVER USE IT! There’s a reason they call it that.
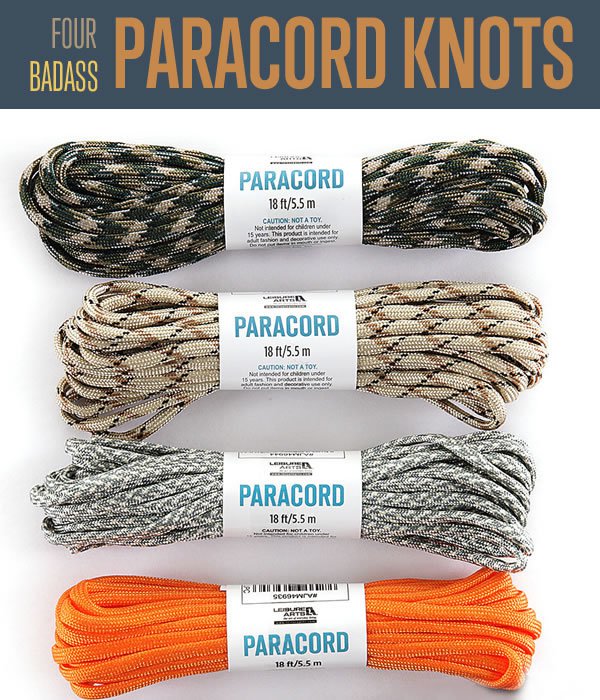
Here are four totally awesome knots that you can make with your paracord which every survivalist should know.
Supplies for tying these four paracord knots:
- Paracord
- Scissors
- 1″ PVC (for practicing on)


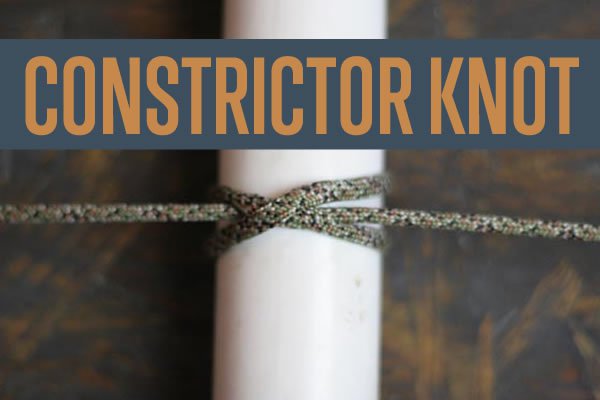
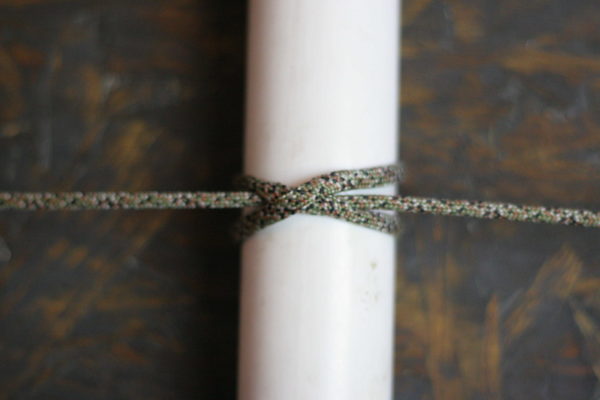
The Constrictor Knot
The Constrictor Knot looks like a hitch, but is considered a knot due to its tendency to bind so tightly that it becomes permanent. Commonly done with smaller rope (twine), this knot requires a round surface to bind and is great for making rope ladders.
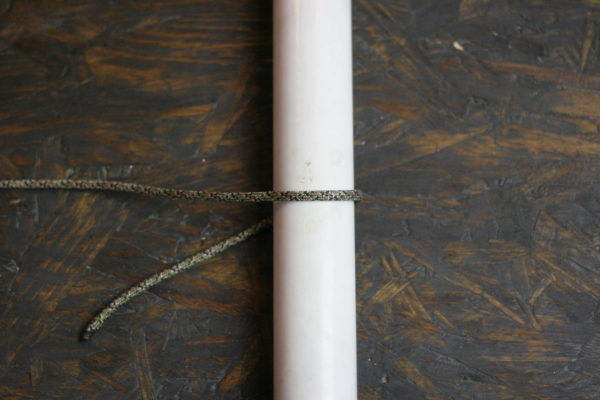
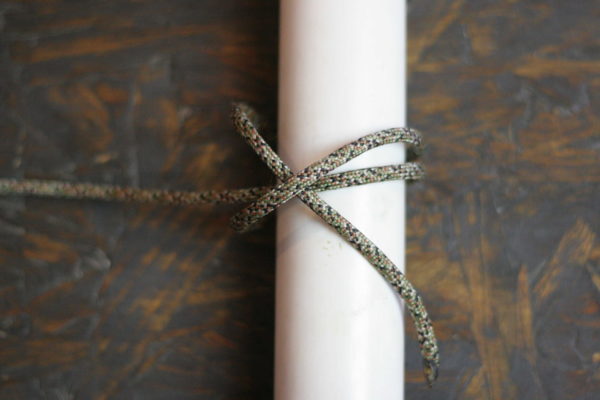
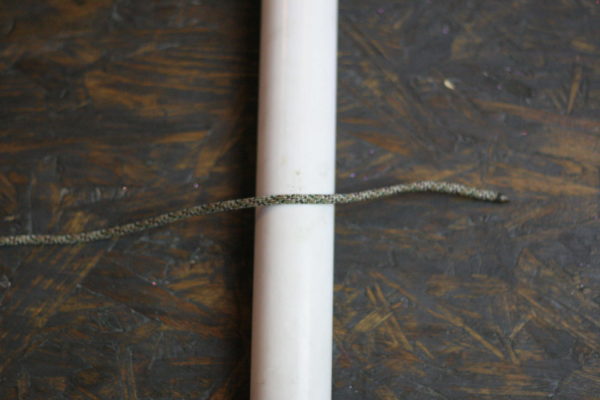
Step 1: Wrap the paracord all the way around the pipe one time
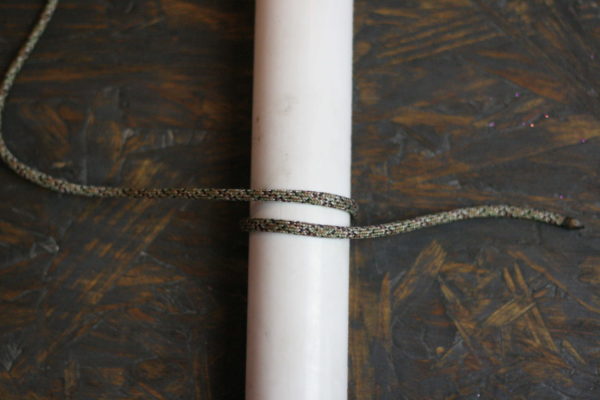
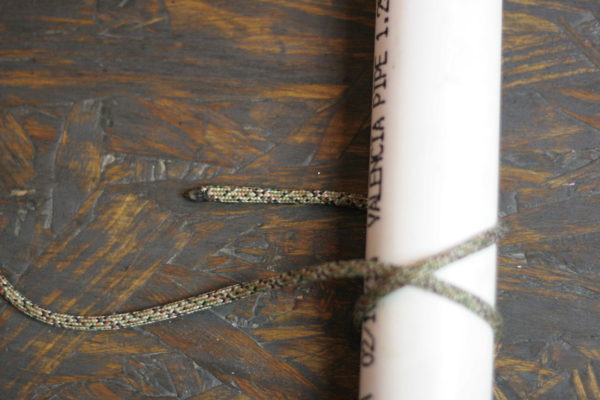
Step 2: Continue wrapping it around the pipe one more time
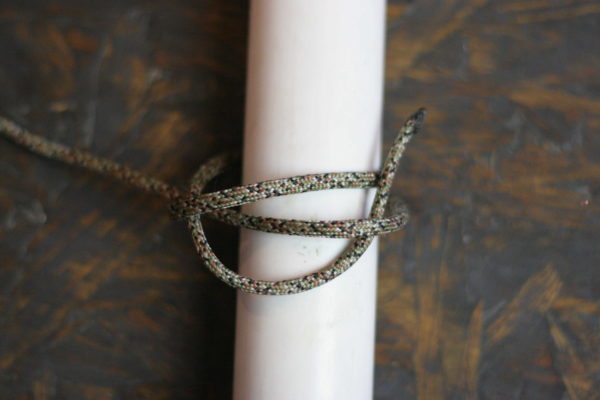
Step 3: This time, thread it between the two strands that are there from the first go-around
Step 4: Thread it through the loop as shown
Step 5: Pull tight
The Double Fisherman’s Bend
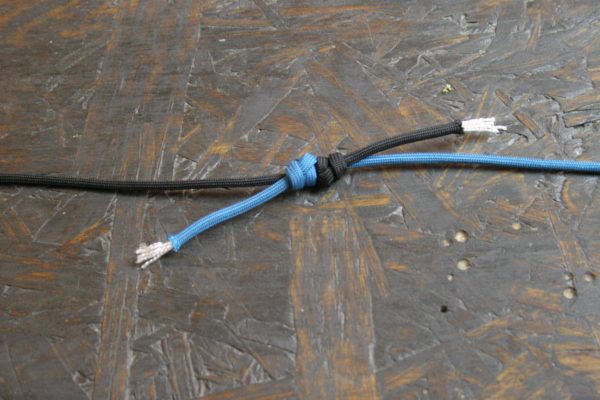
If you have two ropes that need to become one rope, the Double Fisherman’s bend will do the trick. Under heavy loads, this line is known to weld together, making it impossible to undo. Under light loads, however, the line is adjustable and this knot could be used to make replacement straps for your back pack in a bind.
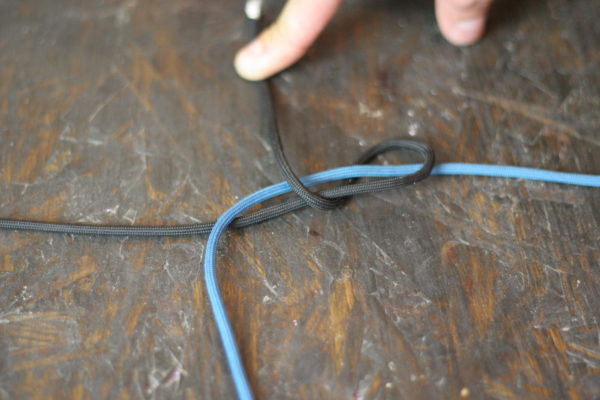
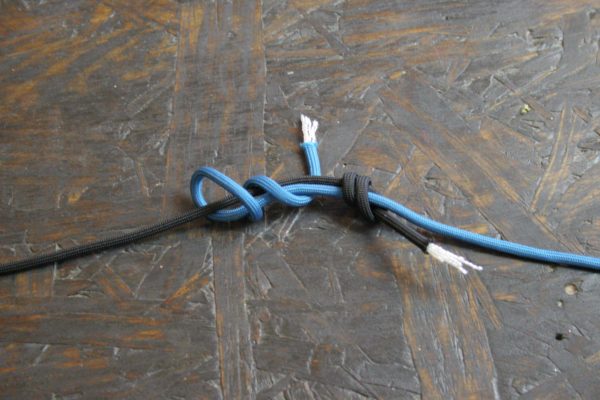
Step 1: Cross the two ropes over each other
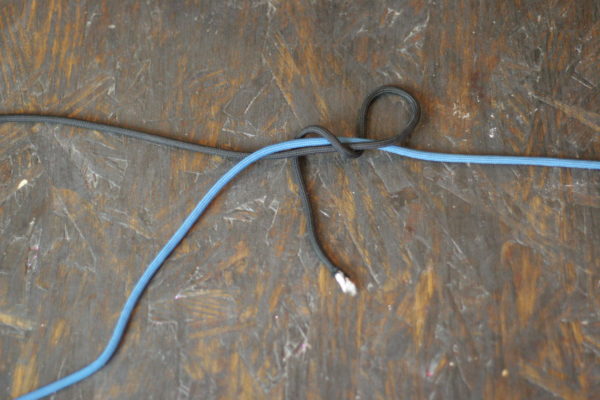
Step 2: Wrap the black rope around the blue one and behind itself
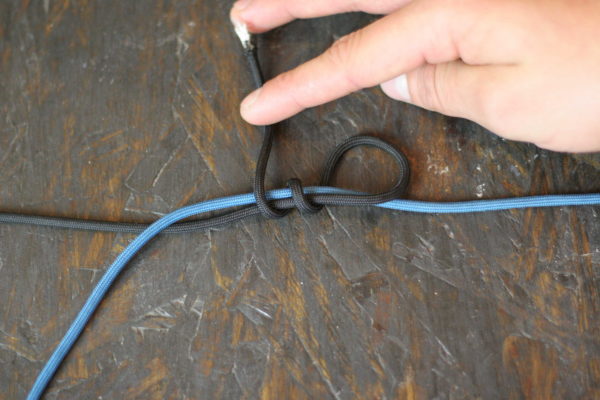
Step 3: Wrap the black rope around both of the ropes two times
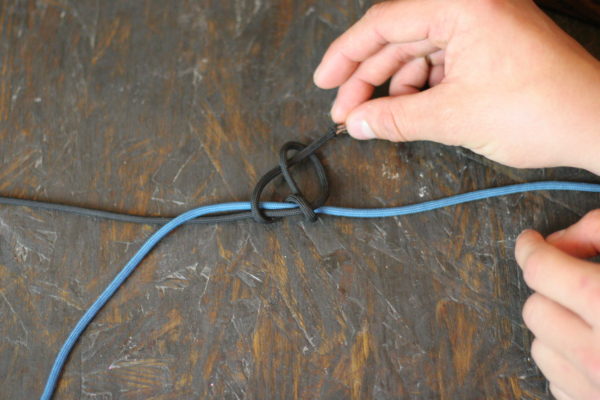
Step 4: Thread the black rope through the loop
Step 5: Pull Tight
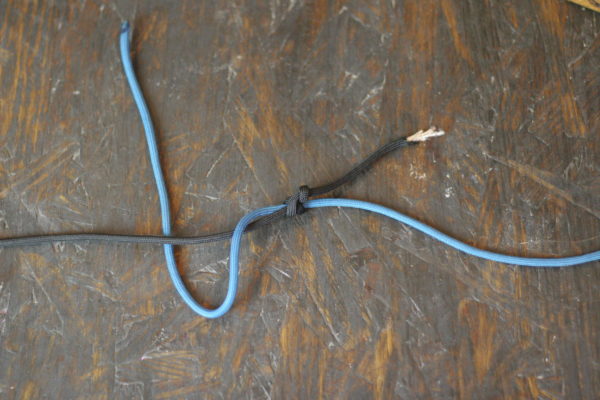
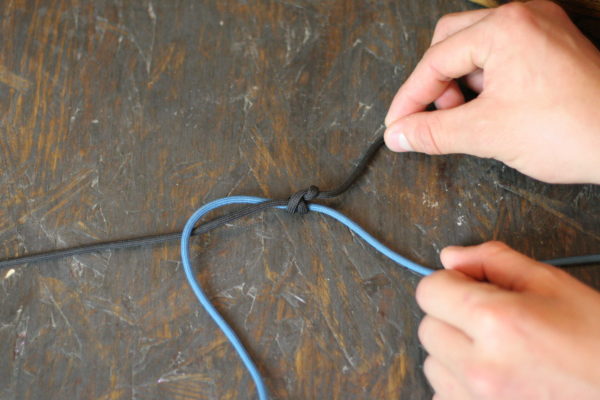
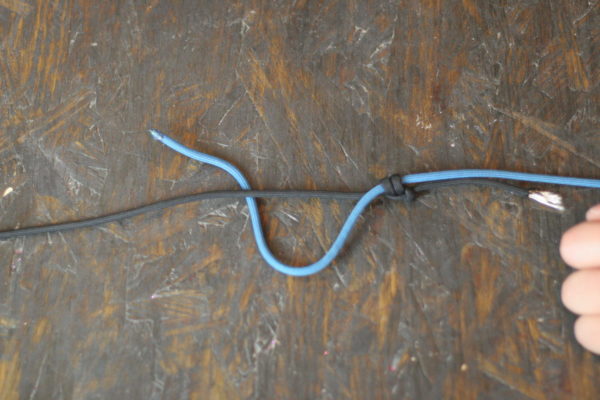
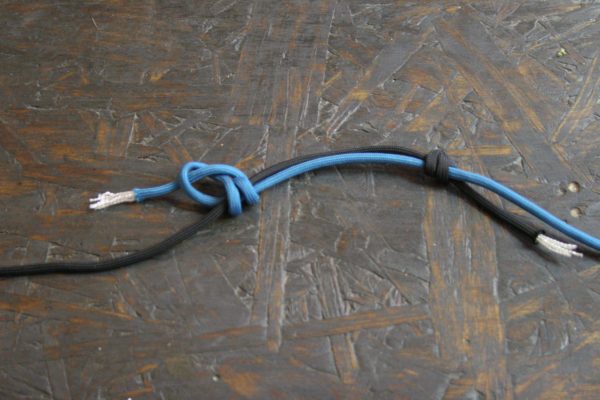
Step 6: Cross the blue paracord behind the black paracord
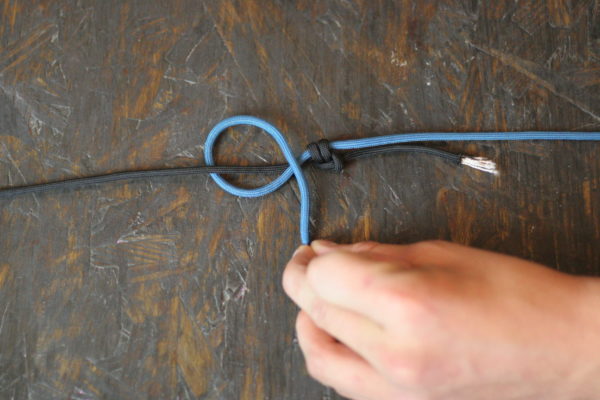
Step 7: Wrap it around both of the paracords twice
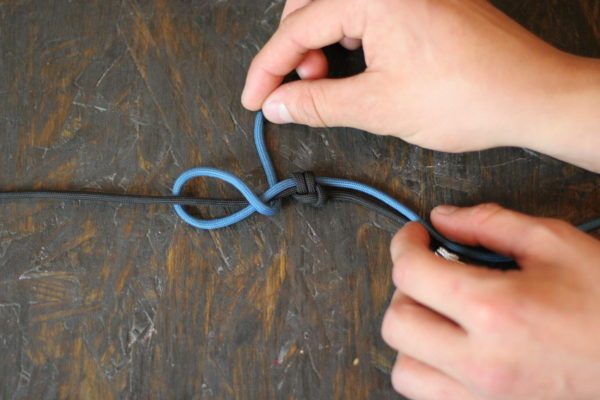
Step 8: Pull the paracord through the loop
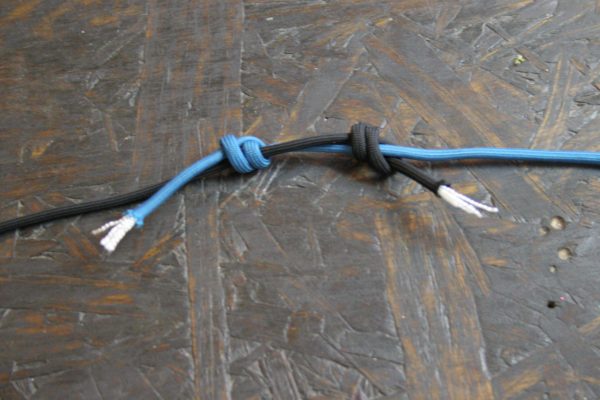
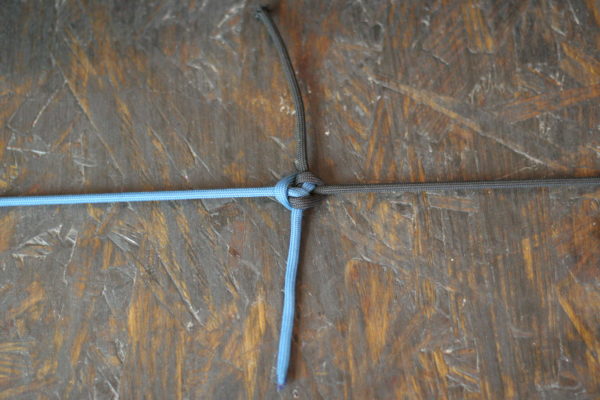
Step 9: Pull it tight
Step 10: Pull the ends of each paracord until the knots come together
The Zepplin Bend
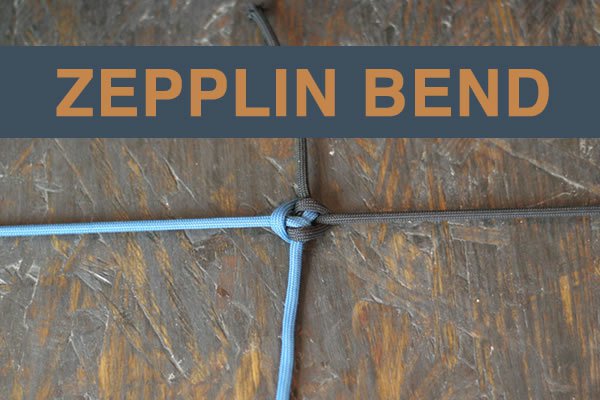
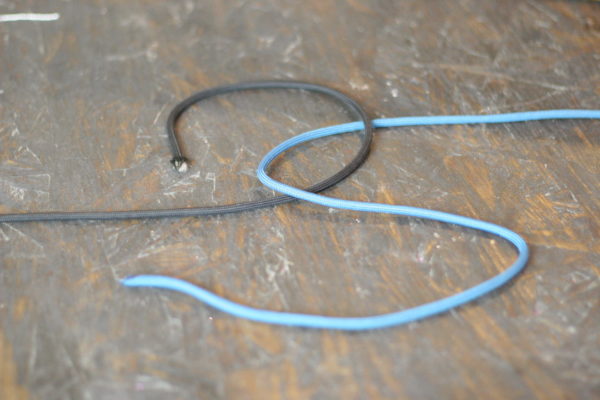
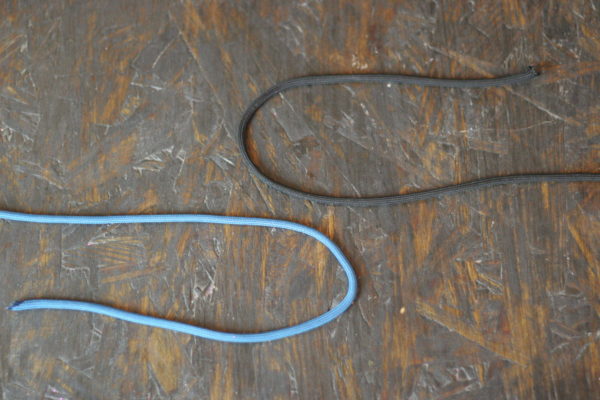
Step 1: Create a U-shape with each paracord
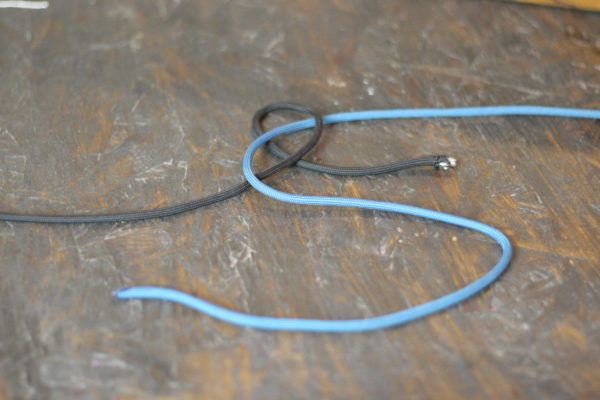
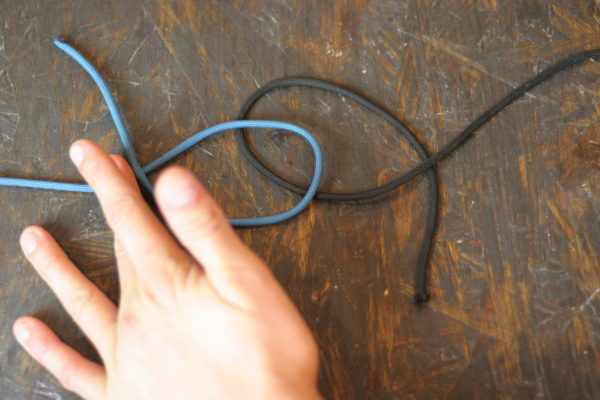
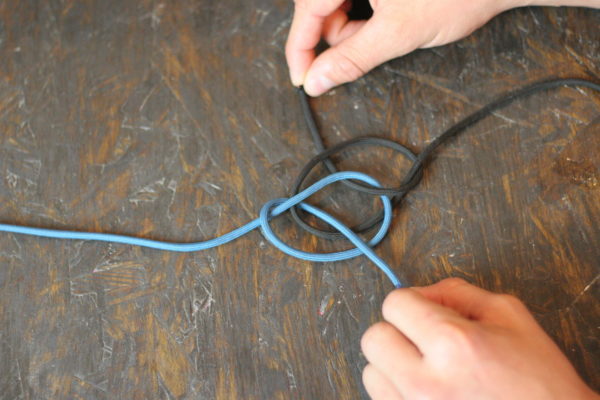
Step 2: Create two loops (note that the blue paracord loops over while the black paracord loops under)
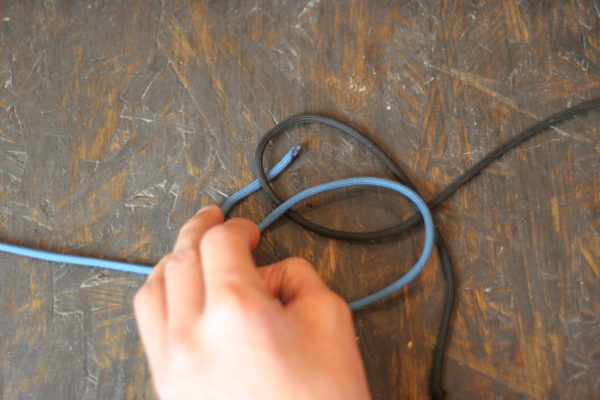
Step 3: Thread the blue paracord through the loop created by the black paracord
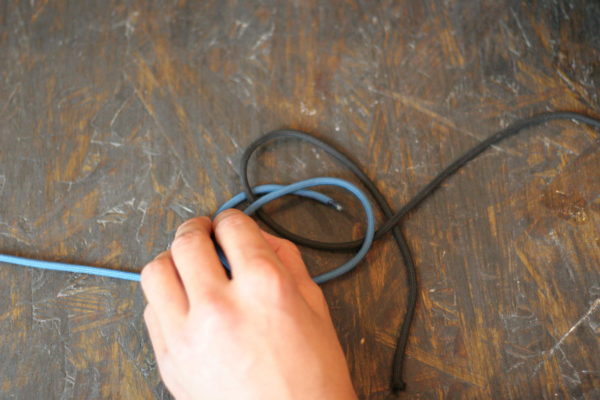
Step 4: Continue threading the blue paracord through the loop in itself
Step 5: Repeat the last two steps with the black paracord (Thread through the loop in the blue paracord and through the loop in itself)
Step 6: Pull everything tight
The Kamikaze Knot
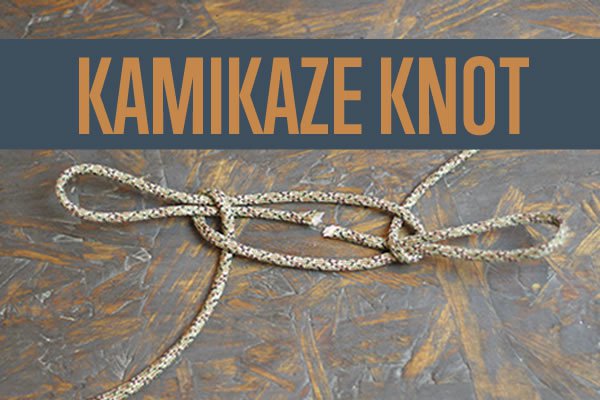
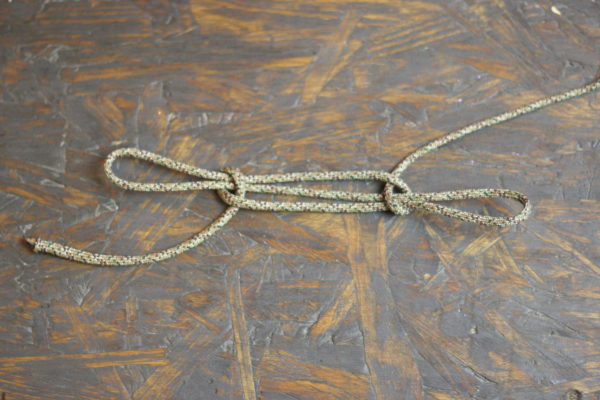
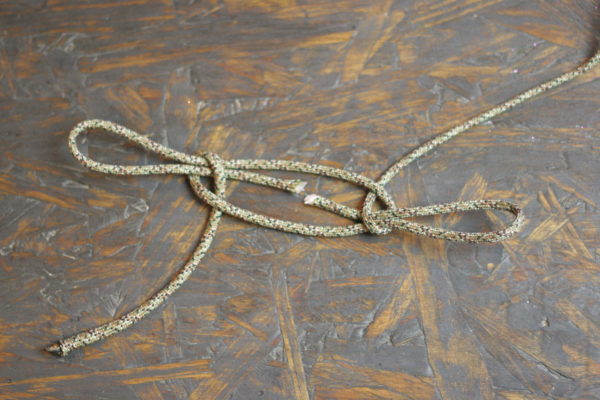
The Kamikaze Knot is the bad boy of survival knots, and it should only be used in matters of life or death. If you ever find yourself in a position where you need nearly the full length of your rope to rappel down a cliff and still need to have your rope for future descents, The Kamikaze Knot will allow you to retrieve your rope from the bottom.The Kamikaze Knot is a variation of the Sheepshank Knot, and it is made exactly the same way, with the addition of a cut at the end of your configuration.
NOTE: It is stupid, stupid, stupid to use this unless you absolutely need to.
To make this retrieval possible, the rope is bound in a way that creates a temporary bypass around the cut; one that only binds under tension. Once you get to the bottom and the tension is released, the rope will fall down to you. Of course, if you hit a small ledge on your way down and un-weight the rope, there’s the possibility that you will fall to your death at any moment.
NOTE: It is stupid, stupid, stupid to use this unless you absolutely need to. Did we already say that?
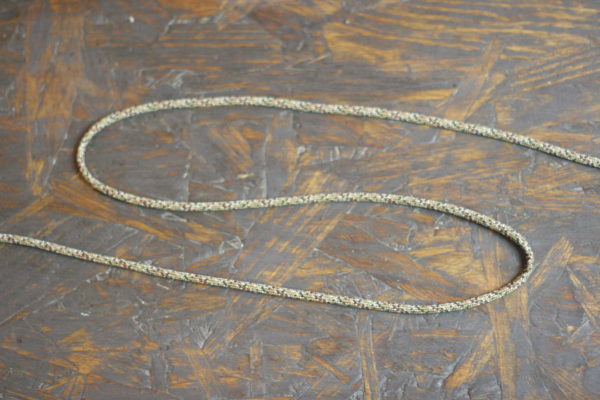
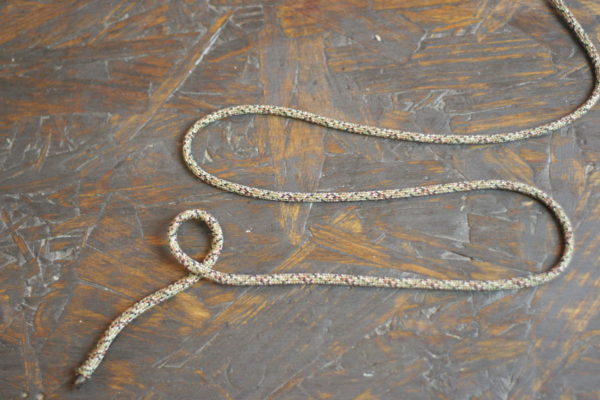
Step 1: Make an S-shape in your paracord
Step 2: Make a loop in the bottom portion of the S-shape
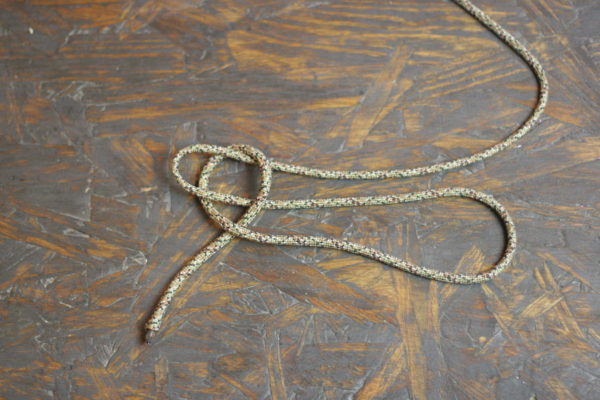
Step 3: Pull the upper portion of the “S” through the loop
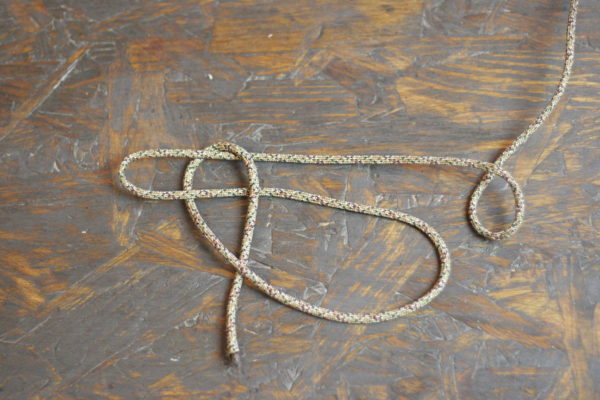
Step 4: Make a loop in the upper portion of the “S”
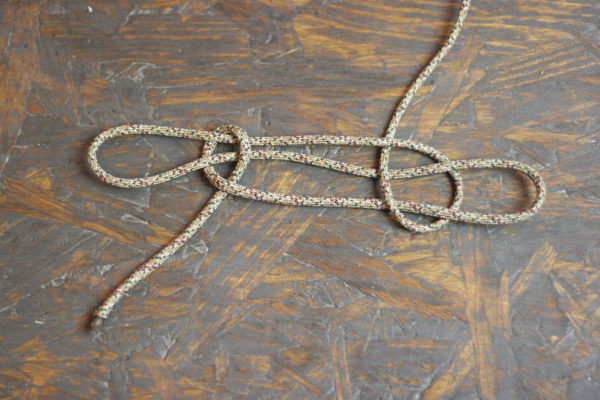
Step 5: Pull the bottom part of the “S” through the loop
Step 6: Pull both ends of the paracord to tighten up the knot
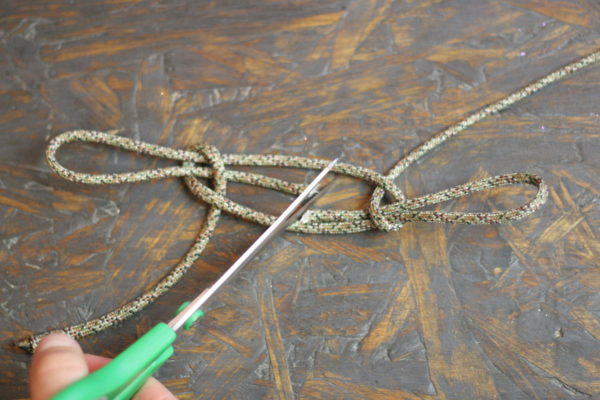
These opposing loops are your knot system. You don’t tie anything to them. The free end of the paracord on the left would be tied to one point, with your remaining paracord or rope running out of frame on the right being what you used to get down. When the system is weighted, these two loops bind on themselves and maintain the knot.
Step 7: Cut the middle string with your scissors
Like this Post?
Check out:
I’m Manas Ranjan Sahoo: Founder of “Webtirety Software”. I’m a Full-time Software Professional and an aspiring entrepreneur, dedicated to growing this platform as large as possible. I love to Write Blogs on Software, Mobile applications, Web Technology, eCommerce, SEO, and about My experience with Life.

