DIY Vintage Americana Wall Art Map
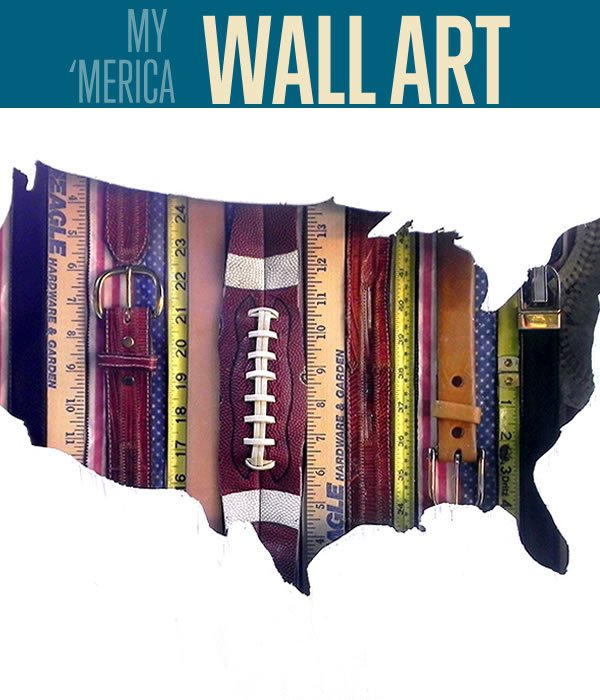
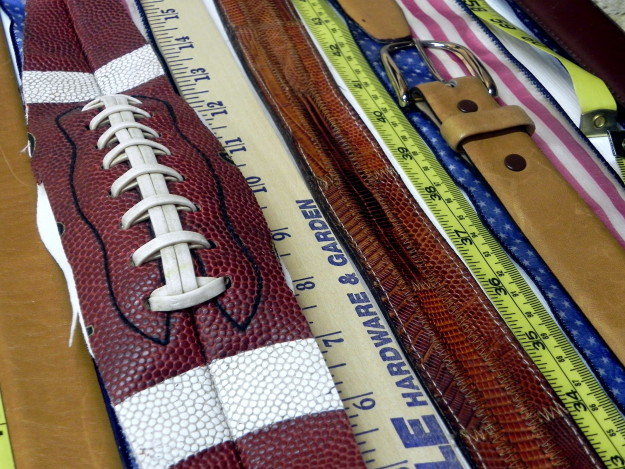
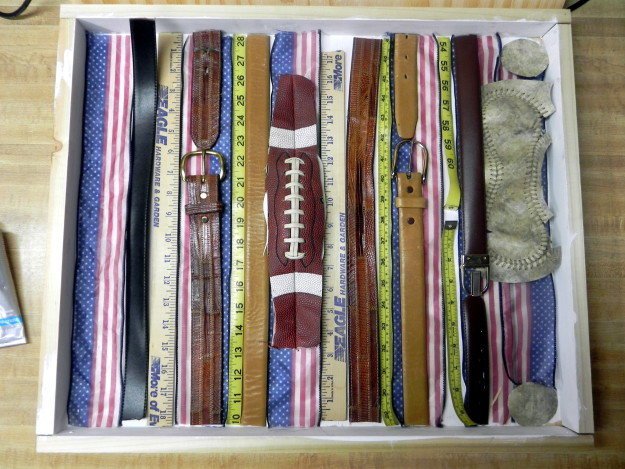
I love vintage Americana art. It’s so unique and tells a story of a time I wish I could have seen. This fun project is inspired by those times and is meant to serve as a starting inspiration point for you to create (and curate!) your own! Start by frequenting flea markets, salvage yards, and antique and thrift stores for pieces that could be cut into strips or that are narrow. Think anything that shows wear, like old sports balls, books (the spines would look rad!), keys, even wood trim that’s seen better days!
Alright, let’s gather together your supplies and get started. All you need to do is run to home depot and maybe order a poster of the U.S map online. Let’s do this!
You’ll need:
- 2 pieces of ⅜” plywood (mine measured 20” x 24”)
- 4 pieces of ¾” x 1½” trim (I used 2 pieces 24” and 2 pieces 18½”)
- Stencil or outline of United States
- Nails (I used ¾”)
- Hammer
- Jigsaw
- Drill
- Sawhorse
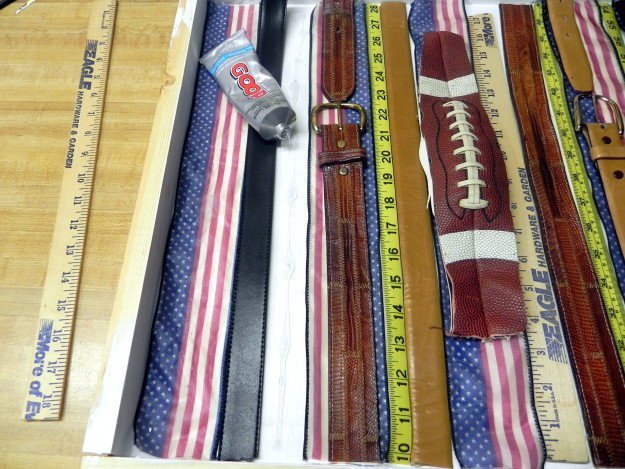
- E6000 glue
- White acrylic paint + brushes
- Collection of vintage-inspired pieces to display
How-to:
Steps 1-2.
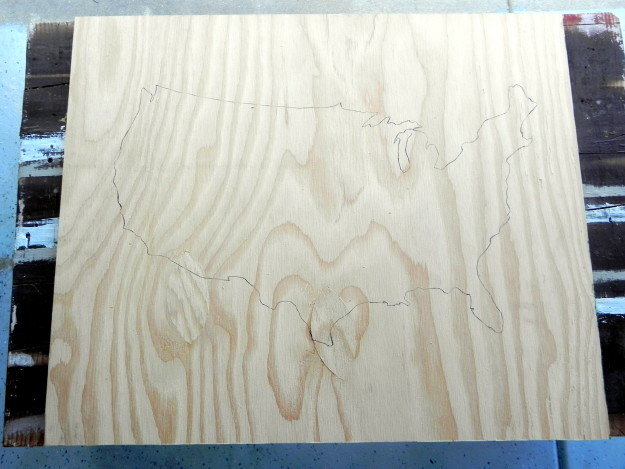
Cut your wood to size using a table saw if you have one. If not, most hardware stores will cut the wood for you! Just make sure to have your measurements handy. Print out an outline of the USA to your desired size. I found a free image online and manipulated it in Photoshop to the size I wanted. Then print it out poster-style, 2 sheets by 2 sheets. Tape it all together and cut out your stencil. Lay your stencil on a sheet of cut plywood. Make sure it’s centered! Trace around it using a pencil. Place the plywood on top of two sawhorses so you have space underneath for the drill and jigsaw to cut through.
Step 3.
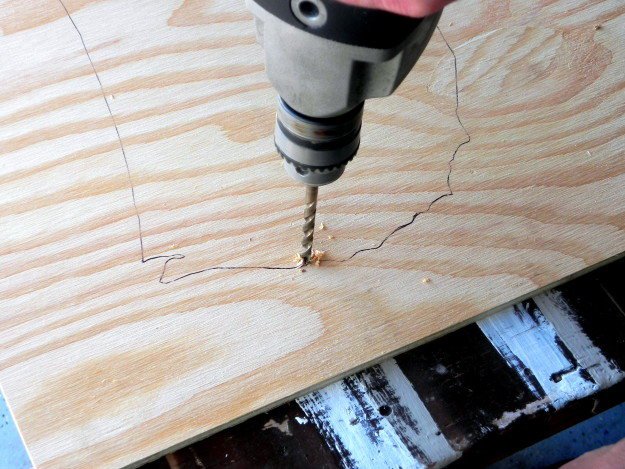
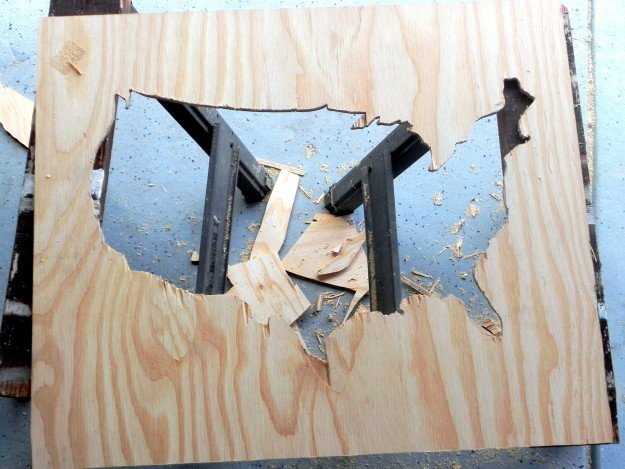
Drill holes in the center of the map outline you traced with your drill. If you have bits large enough to accommodate the jigsaw blade, just one hole in each area is good. Otherwise you’ll have to overlap them. I made about 5 holes across the country – in Maine, Texas, Washington, Oklahoma, and Florida (roughly).
Step 4.
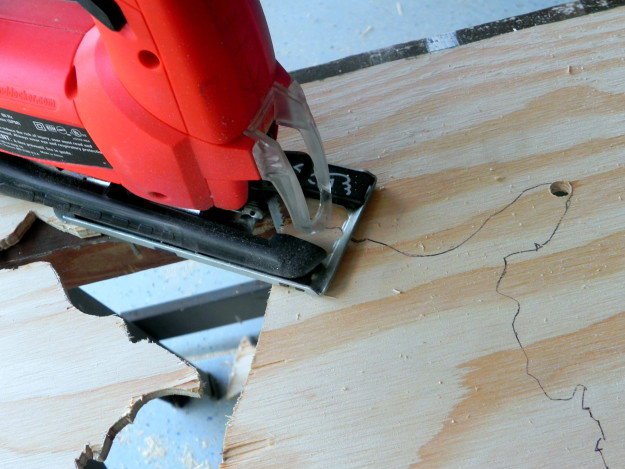
Cut the inside of the outline out! Insert the jigsaw into one of your pre-drilled holes and take it to the line you traced, slowly following the shape. You may need to stop and change directions or cut out some chunks to get some areas. It’s okay, take your time, and make sure you’re wearing protective glasses and a dust mask, trust me on that, the last thing you want is sawdust in your eyes and mouth.
Step 5.
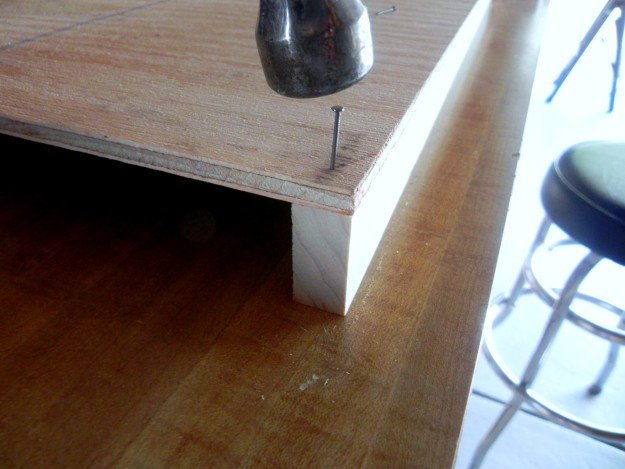
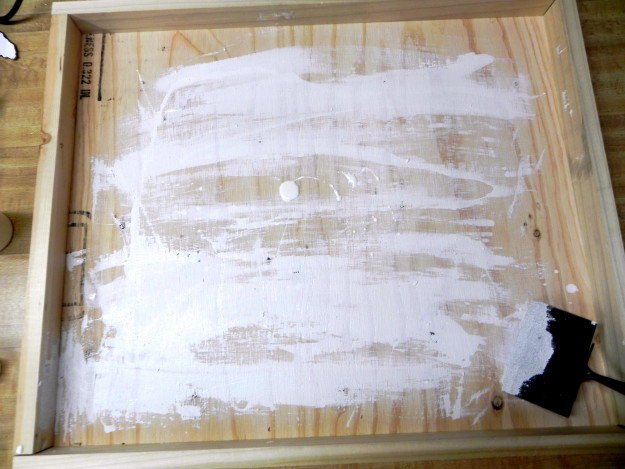
Nail the bottom of the box together, which is the solid piece of plywood and the four cut side pieces, and paint the inside white. Don’t try to make it perfect, we’re going for a weathered, vintage look.
Step 6.
While the paint is drying, cut your pieces of collected treasure you’ll be displaying to the proper (20” in this case) length. I found an xacto knife to work best, but use scissors, a saw, or whatever the material requires.
Step 7.
Lay out your design. Take some time with it, make sure it’s just how you want it.
Step 8.
Working from one side to the other, pick up a piece, apply a good amount of E6000 glue to the underside of it, and firmly press into place and hold for about 45 seconds. Repeat until you reach the other side.
Step 9.
Nail your top cutout piece of plywood to the box. Paint the top and sides white. Distress as you wish. If you want to hang it on the wall, add two small eye hooks and wire to the back to create your hanging piece.
And that’s it! It really was a lot easier than I thought it would be, and I have so much fun using power tools. Now it’s your turn! Get creative! Instead of the USA, maybe do a cutout of your home state and fill with items native to that area. Or go with a more found-vintage approach and really curate an awesome collection. You could also use pieces that are reminiscent of that area of the country which it’s being placed under. There really are so many possibilities for you to make it your own!
Thanks for checking out our vintage Americana art post! What did you think of this tutorial? Leave your feedback in the comments section below. We love hearing from you. Don’t forget to check out all of our awesome home decor projects. Do you have a fun project you’d like us to attempt? Send us an e mail!
Like Us on Facebook (button below) to get all the latest and greatest craft projects straight into your feed! Pin your favorite projects to Pinterest to share with friends.
Here’s some more related craft posts:
I’m Manas Ranjan Sahoo: Founder of “Webtirety Software”. I’m a Full-time Software Professional and an aspiring entrepreneur, dedicated to growing this platform as large as possible. I love to Write Blogs on Software, Mobile applications, Web Technology, eCommerce, SEO, and about My experience with Life.

