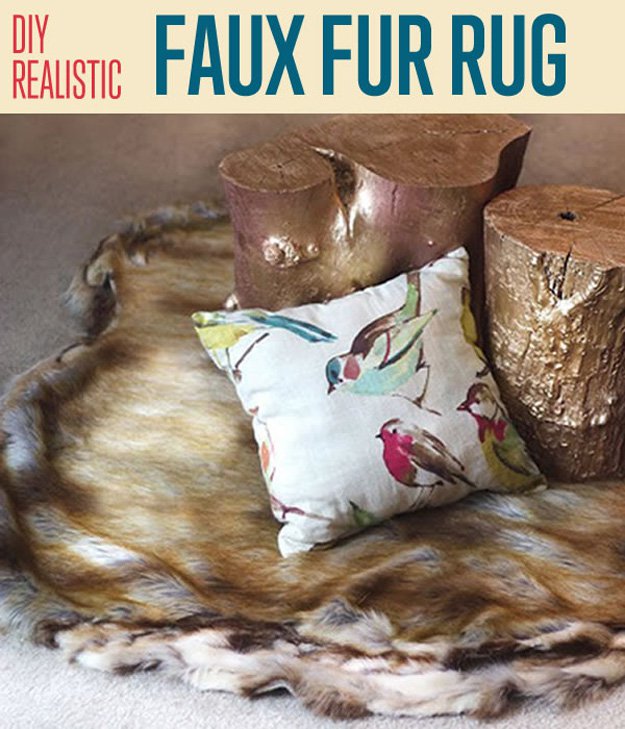
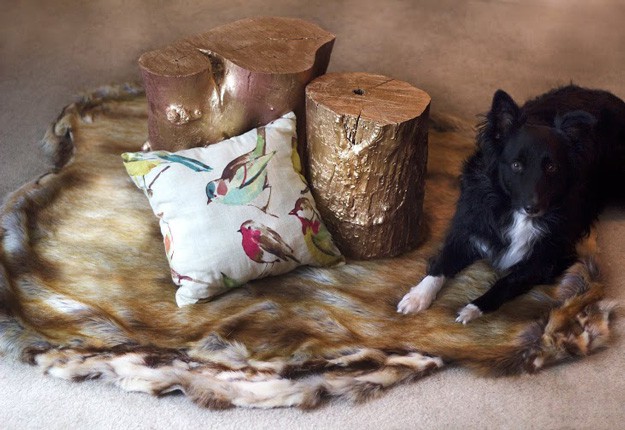
DIY Realistic Faux Fur Rug | DIY Home Decor

Want a rustic fur rug that brings a natural element to your living space? Want to keep it vegan with fabric instead of real fur, but still get that strikingly realistic look? Then set aside a few hours on a Saturday, grab some supplies, and let’s get to work!
Supplies:
- Faux Fur for Main Area of Rug: 1.5 yards
- Faux Fur for Border of Rug: 1 yard
- Matching Thread
- Hand-Stitch Needle
- Extremely Sharp Razor
Tools from Around the Craft Room:
- Needle for Hand Stitching
- Extremely Sharp Flat Edge Razor
Step 1
Take your main panel of fabric (the 1.5 yards of faux fur) and cut around the edges to create an organic, flowing shape. Here are the two key things to remember when cutting faux fur:
-Flip the fur over and cut from the BACK!
-Use a sharp razor, and press just hard enough to cut through the fabric on the back, but not hard enough to severe through the fur on the other side (we don’t want a hacked up fur edge – just cut the back fabric).
Step 2
Now, if you look up pictures of pelts (I Google image searched some fox pelt photos for this project), you’ll notice that natural pelts most often have paler fur around the edges, where the belly, legs and tail were covered in finer, lighter fur, etc. We want to create that same look with our animal-friendly fabric, so let’s spread out our secondary fabric and get to work on the border of the rug. I’d recommend looking at some Google pelt images to get a sense of what we’re going for.
Step 3
For my secondary (border) fabric, I chose a lighter fur that had darker stripes in the same color palette as my main fur. I’m going to be separating the fabric along those dark lines (see the photo for Step 2), but instead of cutting the fabric, there’s an easier way!
First, make a razor slice in your fabric as if you’re simply going to cut along the dark fur lines. Instead of cutting, though, put your razor aside and grab the fabric on either side of the slit you just made. Now rip the fabric all the way down the line. The way that the fabric is woven will make the tear line perfectly straight, and it saves SO much time instead of cutting. It also creates that natural edge instead of a hard edge.
Rip your border fabric into strips until you have a nice little pile of them.
Step 4
Time to start sewing the border onto the rug! This is where you’ll want to flip on a movie, because it will take about an hour to hand stitch around the edges of rug.
- Line up the raw edges of your main rug fabric and the border fabric that you just ripped into strips. Make sure that the fur is going in the same direction, and make sure to push the fur away from the edges to get a nice, clean meeting of the edge line.
- Pinching the fur underneath with you free hand, flip the pieces over and start hand stitching along the joined edges on the back. I just did a tight, functional whip stitch to draw the edges together and cinch them into place. It works!
Step 5
Here’s something I want to show you from experience on this project. Take a look at the photo for Step 5. On the left, you can see what I did when I rounded the first corner. I simply pulled the border fabric tight around the corner and continued on. But the problem is, that the border fabric is cut in straight swatches, and the main rug portion was curvy, so what I ended up with was a big pucker in the corner that wouldn’t go away.
So here’s what you need to do to avoid that: When you reach a corner, tie off your thread and grab your razor. Use the razor to cut/taper the border-fabric edge down to the main rug (see the right side of the photo for Step 5). When you flip it over, you have a small area that is “unbordered”, but it doesn’t matter, because it looks organic, and natural, and softly descends into that unbordered area if you cut it in a gentle swoop with the razor.
Step 6
Once you’ve sewed on your entire border to your liking, let’s add some character to the edges! Many natural pelts have holes, imperfections, or worn spots around the thinner edges, so I took my razor and sliced some uneven (but smooth-edged) holes in the border fabric of my piece. It really gave it some nice detail! Do that as much or as little as you like.
Flip the rug over, smooth it out onto your floor, and you’re done!

Did you enjoy our tutorial on how to make a faux fur rug? Let us know in the comments section below what your thoughts are on this DIY home decor idea. Do you have any other craft project you’d like to share? Share it with us and we’ll give it a try. We love doing cool DIY projects by making craft projects, home decor projects, upcycling ideas, recipes, tutorials and anything you can do yourself. That’s why we created this site, we want people to be more in touch with their creative side and realize that there’s a lot of things that they can do themselves. We’d love to hear from you and create a community of DIY enthusiasts where any project is just a click away. Stay connected with us on Facebook, Twitter, Pinterest and Instagram!
Want more cool DIY projects? Check out these other posts you’ll find interesting, too!
Salvaged Window DIY Coffee Table | Unique Coffee Tables
Golden Tree Stump End Table | How to Build a Table
How To Make a Giant Wall Clock | Decorative Wall Clock
I’m Manas Ranjan Sahoo: Founder of “Webtirety Software”. I’m a Full-time Software Professional and an aspiring entrepreneur, dedicated to growing this platform as large as possible. I love to Write Blogs on Software, Mobile applications, Web Technology, eCommerce, SEO, and about My experience with Life.


