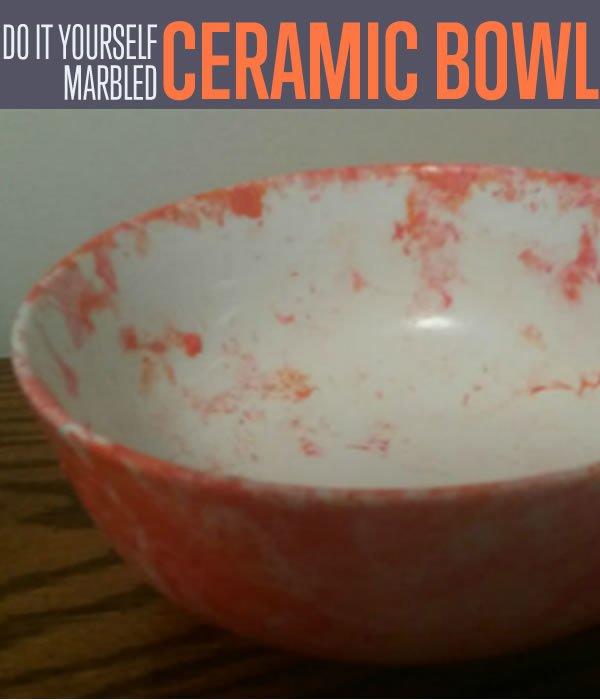
Another great home decor or housewarming gift. Everyone will be so impressed when you tell them that YOU made this! But be careful because this can definitely become an addiction, it so easy and the results are amazing. You can do the design as light or heavy as you like, all depends on how much nail polish you use.
How to Make Marbleize Bowls
Supplies:

- You will need nail polishes, but don’t buy the expensive ones, you will be going through them very quickly. For this bowl, I used the better portion of the bottles for each of the three colors I chose. This is completely customizable, I used three colors, but one or two would work, as well as more. Just be aware that you don’t want it to look too busy.
- A bowl, jar or vase will work just fine. This is a ceramic bowl, but I have also accomplished the same effects on plastic bowls and glass.
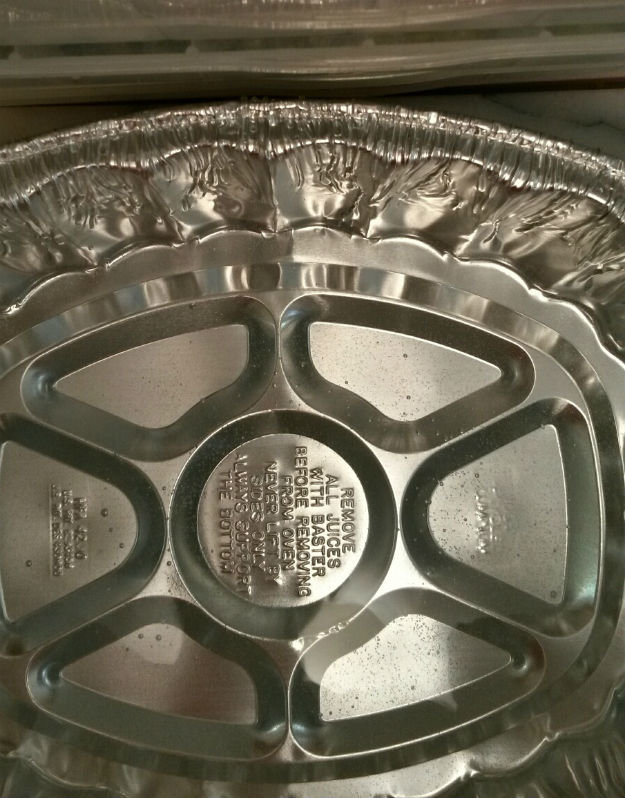
- Aluminum Baking Tins. Don’t use pans from your kitchen, the nail polish will ruin it and you won’t be able to put food back into it. Get a deep pan, like a turkey pan, so you can dip the whole bowl in at the same time.
- Rubber Gloves. I am not the kind of person who minds getting my hands dirty, but this project definitely requires rubber gloves. Unless of course you find marbleized hands attractive.
- Toothpicks are optional. I did swirl the nail polish around some, but I have also done this by dripping the nail polish at strategic spots and not swirling.
Step 1
Once you have gathered your supplies, you have to move quickly. Set up your area and make sure any surface you don’t want ‘painted’ is covered. Open the bottles of nail polish so you can pour them out faster. Fill your aluminum pan with luke-warm water. The temperature DOES matter, the nail polish disperses best in the right temperature.
Step 2
Pour the nail polishes into the water and watch them swirl around. If you want to ‘swirl’, now is the time. Use your toothpick and do it quickly. If you wait too long the colors will crystallize on the surface of the water and not stick onto your bowl.
Step 3
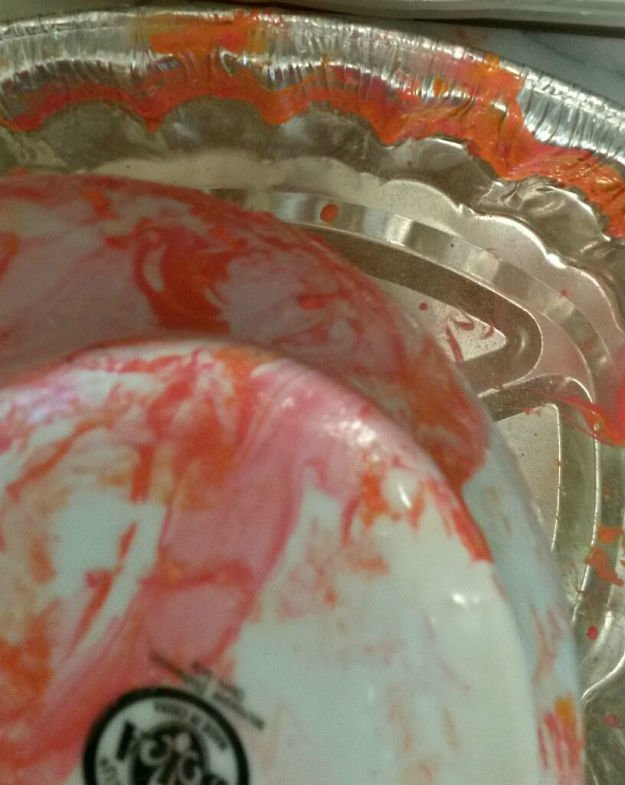
For this bowl, I held it from the inside and spun it around in the water.
Step 4
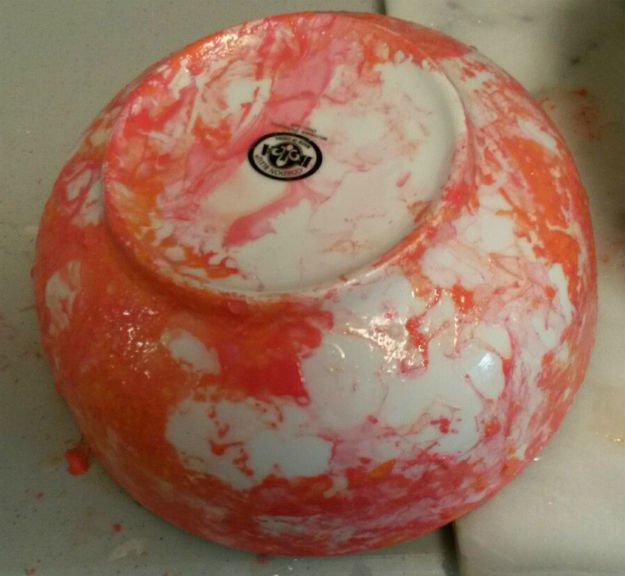
Don’t worry if you get clumps. Actually, I like the texture of it and left it ‘clumpy’. But you can always just wipe it off with your fingers (another reason to make sure you have rubber gloves on).
Step 5
If you are satisfied with your results, simply set it down and let the air dry it. If you would like more color or design on your bowl, just add more nail polish and dip it again.
Step 6
Finally, I sprayed clear acrylic sealer over the bowl after it dried. This will make certain that the nail polish doesn’t chip off.
And please remember, this is not a food safe bowl any longer! Do NOT put anything directly in it that you are planning on eating, unless it’s wrapped like Hershey’s Kisses.

Want to get more crafty ideas for DIY home decors? Check out more of our posts here:
DIY Luxe Gold Trimmed Vase
How To Make A DIY Puffy Paint Hexagon Vase
How to Make DIY Vintage Map Coasters
I’m Manas Ranjan Sahoo: Founder of “Webtirety Software”. I’m a Full-time Software Professional and an aspiring entrepreneur, dedicated to growing this platform as large as possible. I love to Write Blogs on Software, Mobile applications, Web Technology, eCommerce, SEO, and about My experience with Life.

