DIY Jewelry Making Supplies | Jump Rings | Drill Bit Mandrel
You are here: Home / Create and Decorate / DIY Jewelry Making Supplies | Jump Rings | Drill Bit Mandrel
Do you want to stop paying for expensive pre-made jump rings at the craft stores? Are you looking to switch to making your own jump rings at a fraction of the cost (for those mountains of jewelry projects you have planned)?
We’ve already given you one option for making jump rings here at DIY Projects: a simple hand-cranked jump ring mandrel, which you can find right here. We cover jump rings and their myriad uses in more detail in that tutorial, so if you’re new to jewelry making, I suggest you head over there as well.
Your second option for making jump rings is an even simpler drill-driven mandrel, which you can assemble in minutes.
The only real material needed for this is a drill and a scrap of metal rod, which many of you may already have at home left over from other projects. Those of you who don’t have any “Aluminum Round Rods” just lying around, don’t worry, they are readily available at your hardware store or any online metal supplier.
DIY Jewelry Making Supplies | Jump Rings | Drill Bit Mandrel
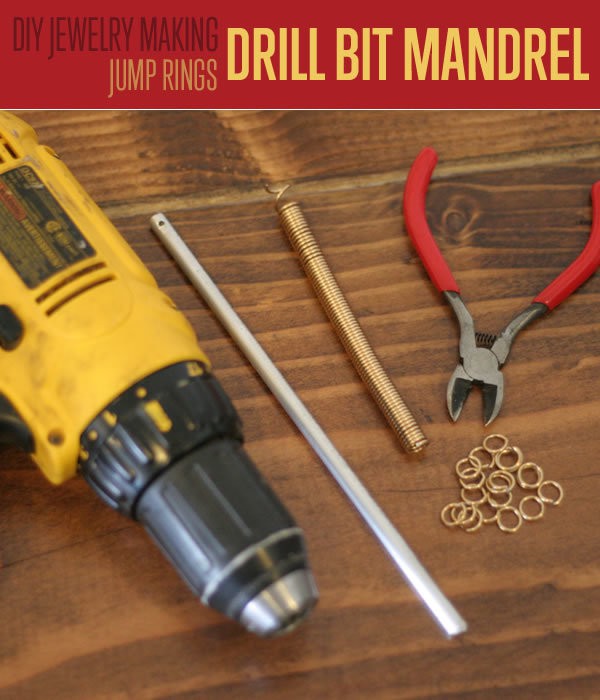
Supplies you will need for this drill bit mandrel project:
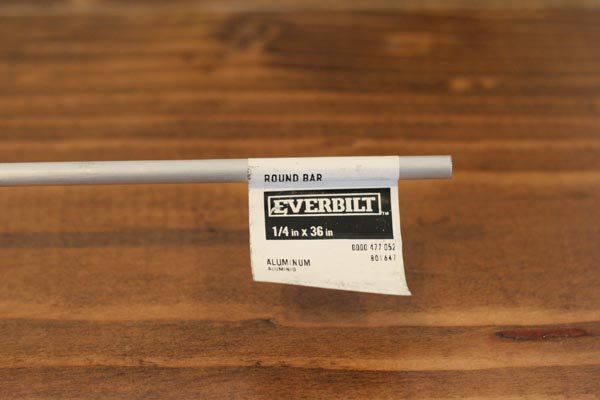
- 1/4″ or 3/8″ Aluminum Metal Round Rod ( sometimes called a Round Bar )
- Power Drill with a 3/32-inch drill bit
- Jewelry Wire (16-gauge is pretty standard and you probably don’t want to go much thicker than that for this)
- Jewelry Wire Cutter
- Hack saw
Step 1: Cut the rod
If using 1/4-inch round rod, your end jump rings will be equivalent in size to the 6mm jump rings found in craft stores. If using a 3/8-inch round rod, your jump rings will be close to 9mm jump rings. We are using a store bought round rod from the hardware store, which only carries sizes in Standard Scale (meaning in inches). Anyone looking for dead-on millimeter sizes for their jump rings to match 100% to 10mm jump rings, I suggest you purchase a round rod online where metric-sized rods are more available.
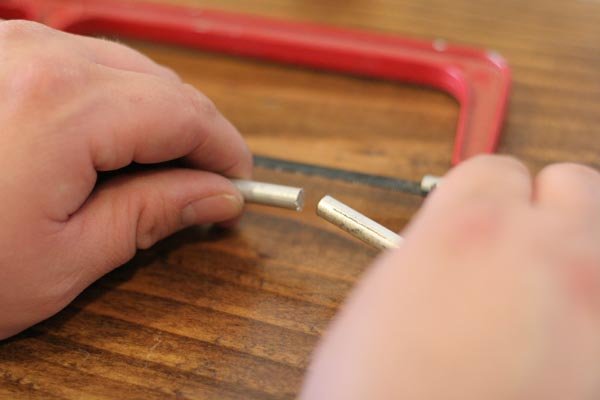
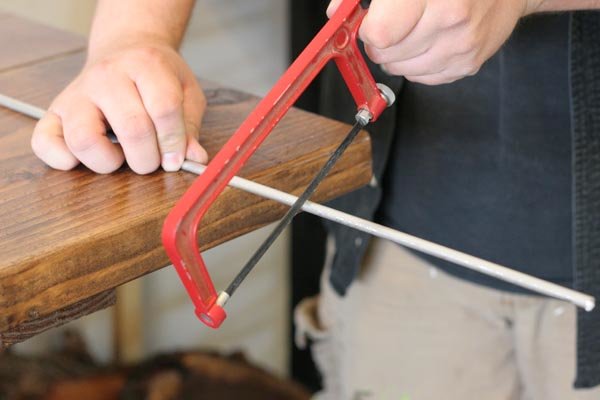
Take out your rod and measure out a 9-inch section. Then, using a simple mini hack saw with a metal cutting blade, we cut through like butter on the soft aluminum. If your cut edges are a little sharp after you saw them, just hit them with some sand paper or a rotary tool sanding disk if you have one. Additionally you can just use the side of your drill bit and gently scrap along the sharp edge, milling it down to soft edge. That’s the great thing about aluminum, it is easy to conquer!
Step 2: Mill & drill
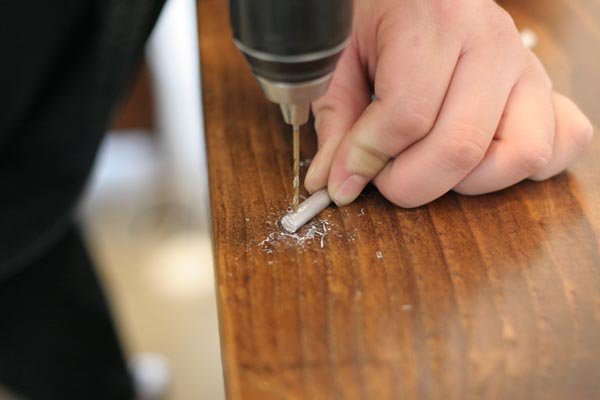
Laying the drill bit horizontally across the edge of the rod (about 1/4-inch in) we let it mill away a flat spot on one end. This will give us a flat section for the drill bit to sit in when we drill it out in the next step.
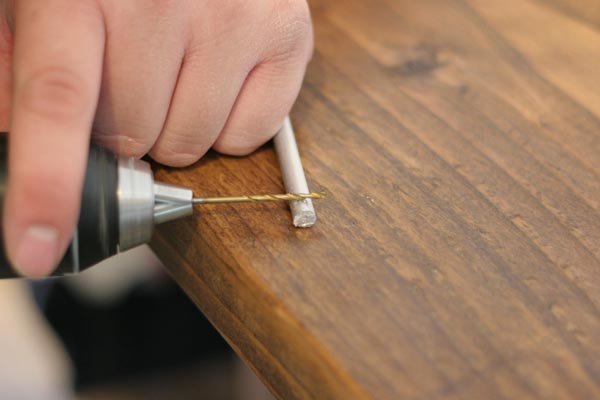
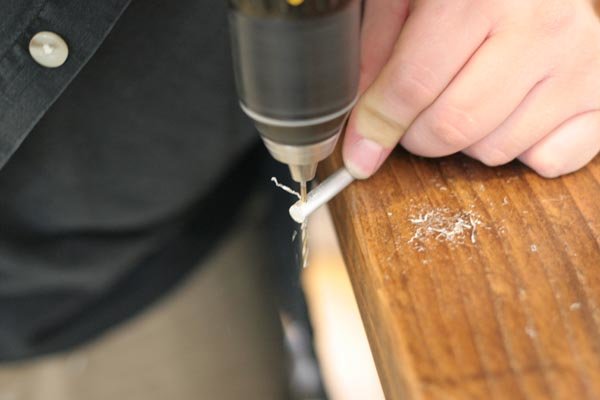
Once you drill halfway down into the rod, let your end hang over the edge of the table. This will let the drill bit freely go all way through the rod, and stops it from damaging your table
If you have any burs around the edge of your new hole, use sand paper or the drill bit to mill it down so the sharp edge is soft and rounded.
Step 4: Rod Ready to USE !
Take the other end of your rod and stick it in your drill, baby. The friction of the drill clutch clamping down on this end should be enough to keep the rod from slipping.
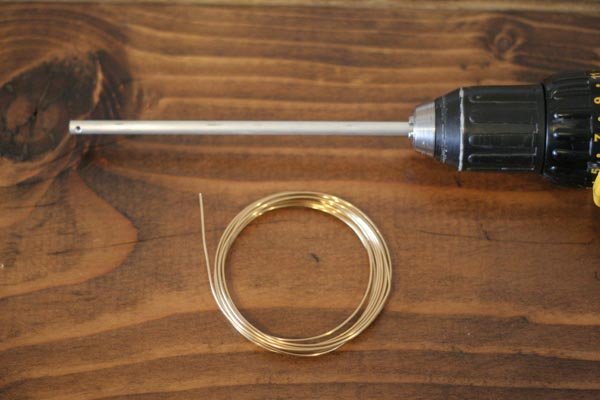
Once you put the rod, aka your new “Drill Bit Mandrel,” in your drill, grab some jewelry wire to test it out.
Step 5: Thread Your Rod
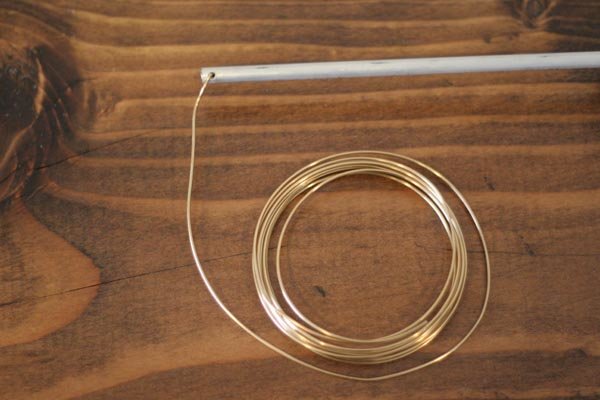
Take the jewelry wire of your choice and thread it through the hole at the end of your rod. Pull about an inch or so through and bend the excess around the tip of the rod so the wire stays in place.
Step 6: Spin it!
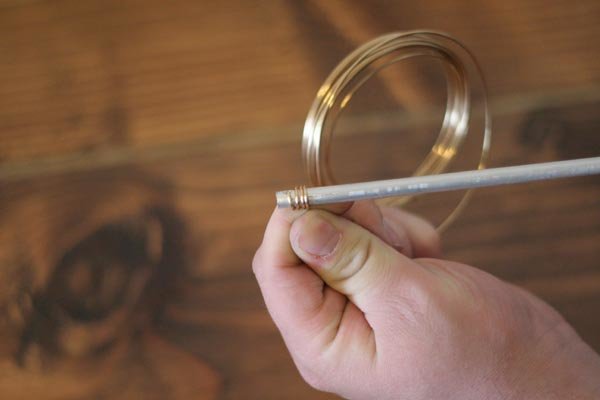
Holding the wire tightly in one hand, slowly engage your drill (if your drill has variable speeds, put it on the lowest setting). Angle the wire slightly back towards the drill so the coils work their way down the rod.
Step 7: Clip It!
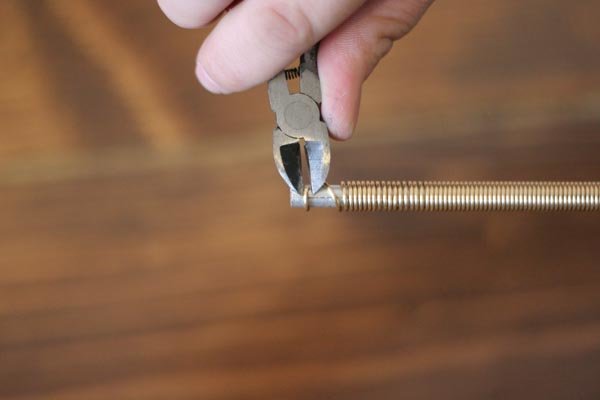
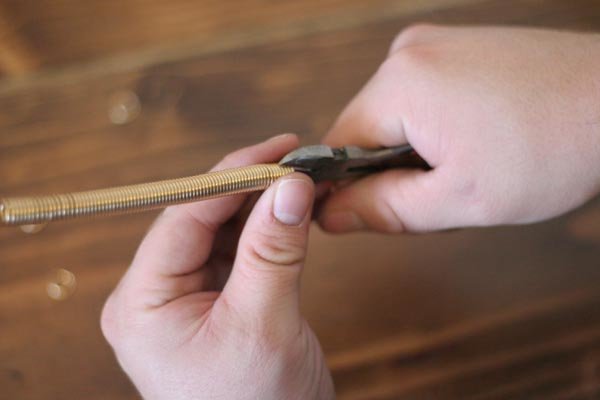
Once you have a bunch of coils formed on your rod, cut the tip of the wire where it was originally affixed through the hole.
Your jump ring coil should slide right off!
Step 8: Make Some Rings!
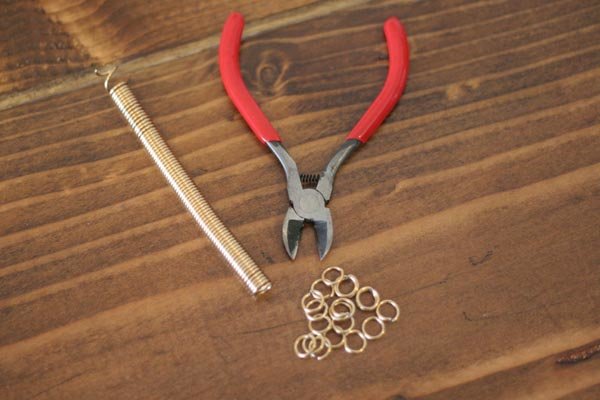
Now you can take your jewelry wire cutter and start clipping your rings. What you do with them is limited only by your imagination. And I guess the laws of physics, but whatever.
Happy jewelry making!
Like this post?
Check Out:
DIY Jewelry Making | Byzantine Chain Choker
I’m Manas Ranjan Sahoo: Founder of “Webtirety Software”. I’m a Full-time Software Professional and an aspiring entrepreneur, dedicated to growing this platform as large as possible. I love to Write Blogs on Software, Mobile applications, Web Technology, eCommerce, SEO, and about My experience with Life.

