DIY Jewelry Making | Drilling Sea Glass
The DIY jewelry scene is alive and kicking. If you want to take your DIY skills one step ahead, learning how to drill sea glass is the perfect opening for you. Sea glass is a must-try DIY jewelry this summer!
Easy To Make DIY Jewelry
Want to take a little bit of the beach everywhere you go? This jewelry-making tutorial will teach you how to take that box full of sea glass (and even seashells) sitting in your garage and turn them into beautiful jewelry items. It’s a lot easier than you think, and you can use this technique on stone, ceramic, and even bone as well (perfect for the goth in all of us).
What You’ll Need:
- Rotary Tool
- Drill bits
- Rotary grinding bits
- Duct tape
- Small plastic container
- Water
- Sea glass or shells
- Safety mask
- Copper wire
- Metal chain and clasp
- Jewelry pliers
How To Drill Sea Glass:
Step 1: Set Up Drilling Container
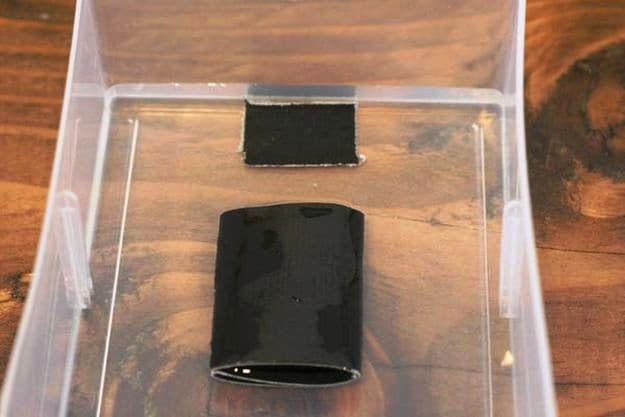
Set up workplace with duct tape in the bottom of the container. Roll up a small piece of duct tape and place it on the center of the bottom of your container. The duct tape acts as a cheap and easy bumper between your container tub and the drill bit once it goes all way through your item being drilled.
Step 2: Fill Container With Water
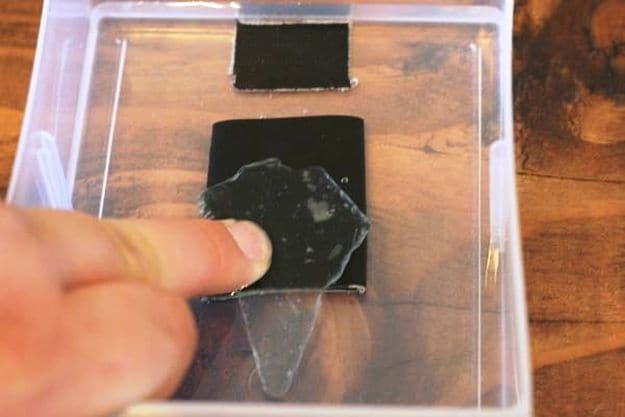
Place sea glass in a container filled with water. Add enough water to your container to submerge the duct tape. The water keeps the drill cool while drilling, which helps prevent the sea glass from heat shock and cracking. The water also helps cut down on dust made from the drill, which can be harmful to your lungs. Make sure to wear a mask while drilling, however! Safety first!
Step 3: Drill Hole In Sea Glass
Before you begin, I recommend doing this with a piece of glass or a shell that you don’t really care about. Chances are, if this is your first time, you will probably break whatever you are drilling into. I know I did.
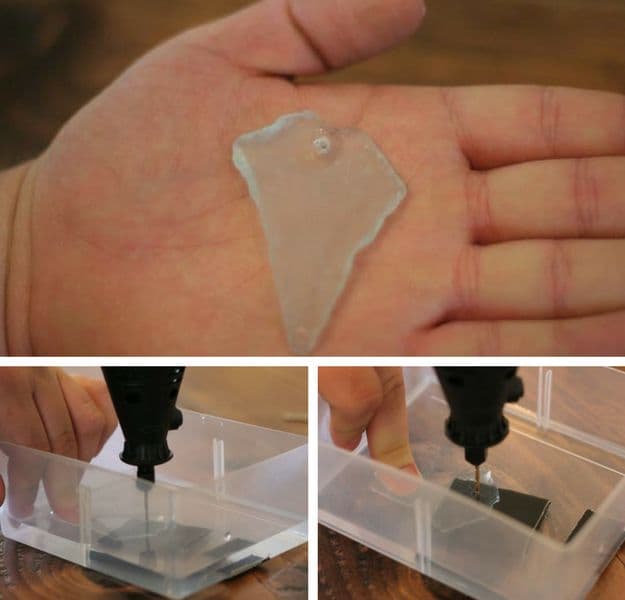
Choose what size drill bit you want to use, then place over the area of the sea glass you would like to drill. Try and find a flat surface on the glass to drill through; either an indentation along the edge or an area roughly centered, depending on the shape of the glass you are drilling. Hold item in place, and gently begin drilling.
Take your time and drill with a steady pressure, but be careful not to push down too hard. This step should take about 15 minutes to get the hole through. Slow and steady wins the race.
Tips: Drill slowly through the glass, use your finger to brace sea glass. Make sure to keep fingers clear of the drill bit – ouch! After about 15 minutes, take some time to admire your drilling work!
Step 4: Attaching Sea Glass
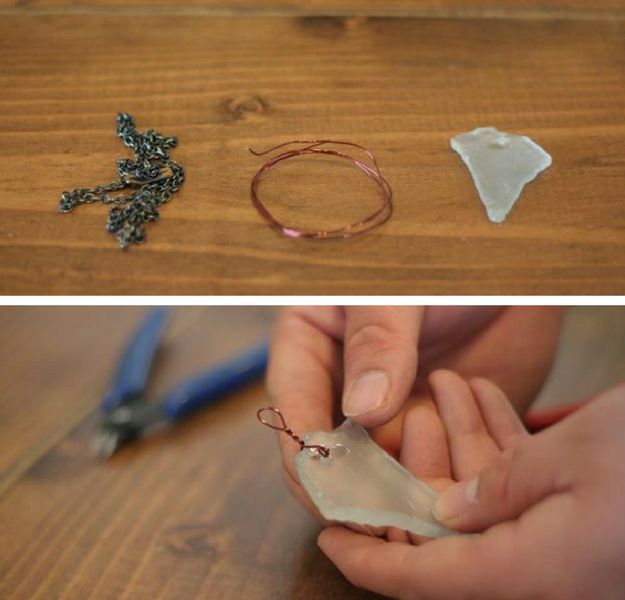
As we said, the great thing about drilling into this water base is the water catches nearly all of the dust thrown up by your drilling. Once you’ve got your hole, take some copper wire and loop through the freshly drilled hole, wrapping the wire around to tie and trimming off excess if required.
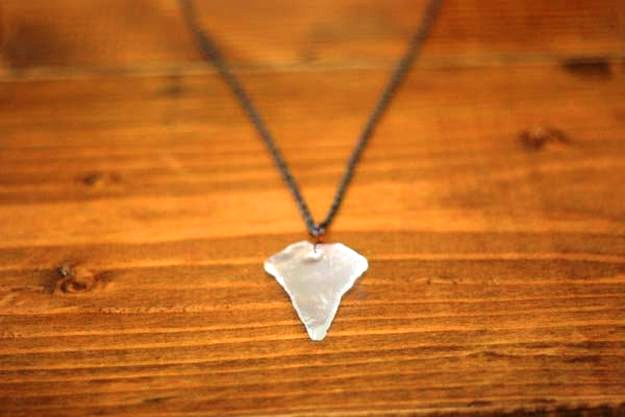
Our sea glass became a necklace you can wear everywhere you go!
Want to see drilling the sea glass in action? Check out this video from Michelle Lamude:
No two sea glass pieces are alike, so whatever you decide to turn your sea glass into, it’s sure to be beautiful, rustic, and one of a kind! Just like you.
Will you give this DIY jewelry a try this summer? Let us know how it went in the comments section below.
What’s lacking from your jewelry box? A necklace? Perhaps a bracelet? The choice is yours.
Stay connected with us on Facebook, Twitter, Pinterest, and Instagram!
Editor’s Note – This post was originally published in May 2014 and has been updated for quality and relevancy.
Featured Image Via ShopAtTheSeaside
I’m Manas Ranjan Sahoo: Founder of “Webtirety Software”. I’m a Full-time Software Professional and an aspiring entrepreneur, dedicated to growing this platform as large as possible. I love to Write Blogs on Software, Mobile applications, Web Technology, eCommerce, SEO, and about My experience with Life.

