DIY Horse Bookends | Cool Bookends
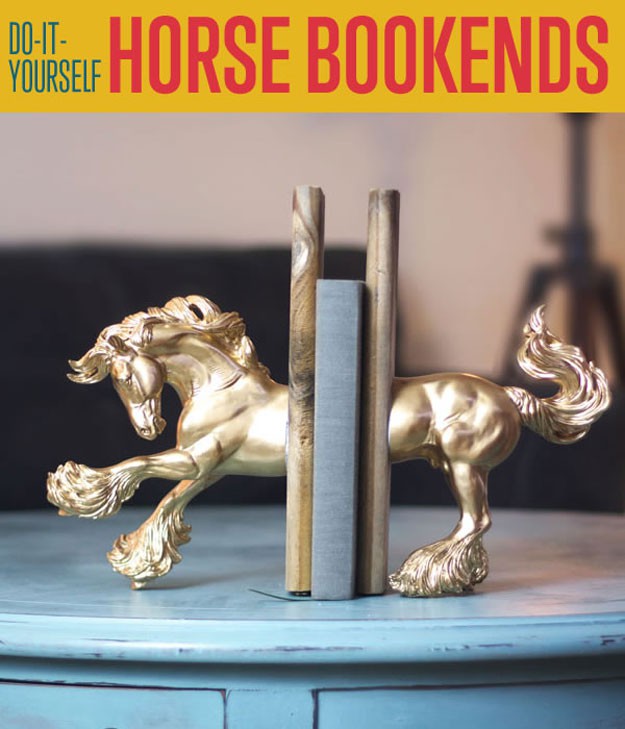
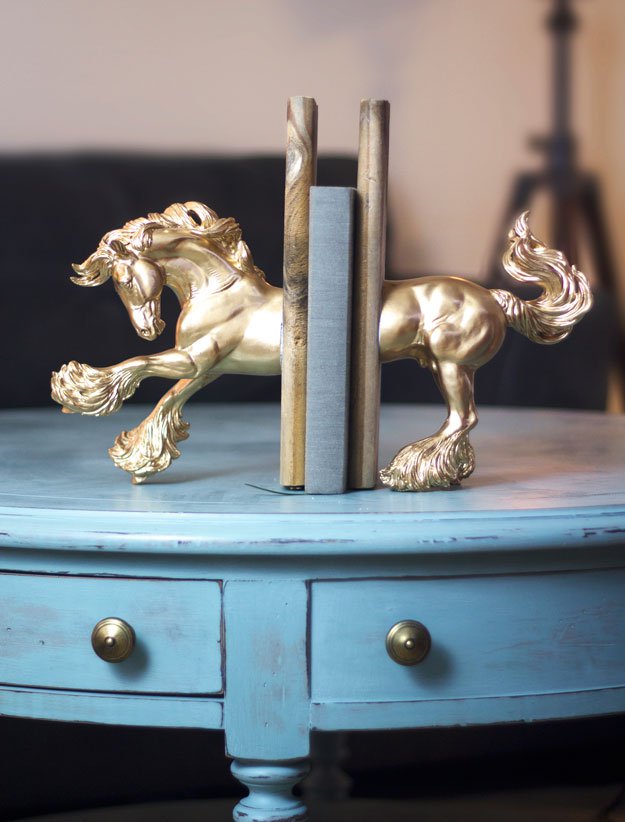
Create an elegant gift for the horse enthusiast in your life with this easy DIY project. Traditionally styled, with a glamorous twist, these golden DIY horse bookends set will add action and vibrancy to any bookshelf!
Supplies:
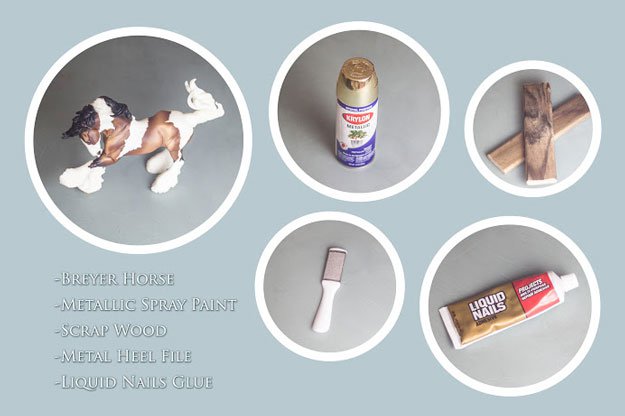
- Breyer Horse (Amazon.com is where I found the horse I used for this project)
- Two Matching Wood Scraps (about 12” tall and 4” inches wide)
- Metallic Gold Spray Paint (Hardware Store)
- Liquid Nails Glue (Hardware Store)
- Metal Heel Grinder (Walgreens, Rite Aid, or similar store in the bath and beauty section)
Tools from Around the Craft Room:
- Q-Tips
- Work surface cover for spray painting
- Hacksaw
Step 1
Using a sharp hacksaw, slice your Breyer horse neatly in half. Naturally, you’ll want to make the cut as straight and clean as possible.
Step 2
Even though I used a very sharp hacksaw to cut the horse in half, there were still little rough particles along the edge. Ordinary sandpaper isn’t strong enough to handle the plastic edges, so I used a metal heel file, and it worked perfectly! Just visit the bath and beauty section of any Walgreens or Rite Aid, and you can pick one up for a few dollars.
Using the metal heel file, smooth out the rough edges along the midsection of the horse-halves. You can see in the photo for Step 2 that the half of the horse on the left side of the picture has been smoothed out nicely with the heel file, and the half of the horse on the right side has yet to be done.
Step 3
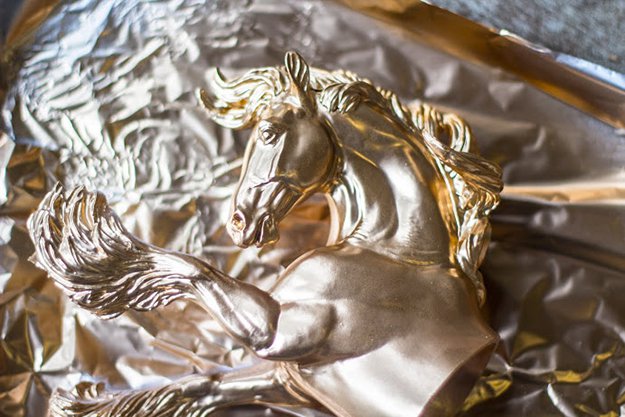
Spray both sides of the horse with a few coats of metallic gold spray paint. Let it dry completely.
Step 4
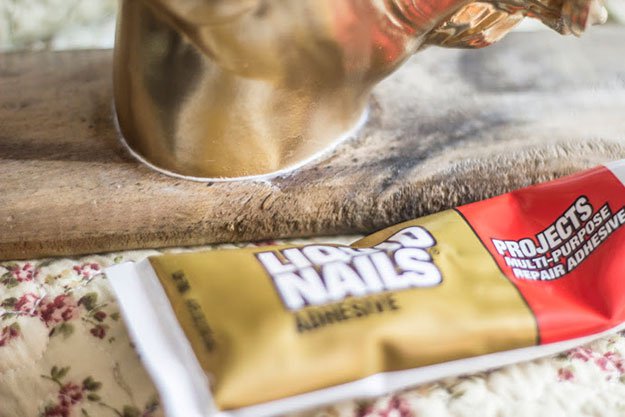
Using the Liquid Nails glue (with lots of ventilation!), attach each half of the horse onto the wood scraps. Make sure that your two wood scraps are close to the same height, clean of any dirt, and flat on at least one side (to sit flush with the bookshelf).
Apply a generous amount of glue along the edge of the horse-half and press it onto the board. The glue will gush out, but simply use damp q-tips to immediately wipe away the excess. Don’t skimp on the glue, because you want a nice, tight hold!
Once everything has dried for at least 24 hours, you are done!
Did you enjoy our tutorial on how to make a DIY bookends? Let us know in the comments section below what your thoughts are on this horse bookends. Do you have any other craft project you’d like to share? Share it with us and we’ll give it a try. We love doing cool DIY projects by making craft projects, home decor projects, upcycling ideas, recipes, tutorials and anything you can do yourself. That’s why we created this site, we want people to be more in touch with their creative side and realize that there’s a lot of things that they can do themselves. We’d love to hear from you and create a community of DIY enthusiasts where any project is just a click away. Stay connected with us on Facebook, Twitter, Pinterest and Instagram!
Want more cool DIY projects? Check out these other posts you’ll find interesting, too!
DIY Fathers Day Gift Ideas | Faux Copper Eagle Bookends
DIY Realistic Faux Fur Rug | DIY Home Decor
Salvaged Window DIY Coffee Table | Unique Coffee Tables
I’m Manas Ranjan Sahoo: Founder of “Webtirety Software”. I’m a Full-time Software Professional and an aspiring entrepreneur, dedicated to growing this platform as large as possible. I love to Write Blogs on Software, Mobile applications, Web Technology, eCommerce, SEO, and about My experience with Life.

