DIY Country Wedding Crafts Ideas: Burlap & Chalkboard Paint Banner
You are here: Home / Create and Decorate / DIY Country Wedding Crafts Ideas: Burlap & Chalkboard Paint Banner
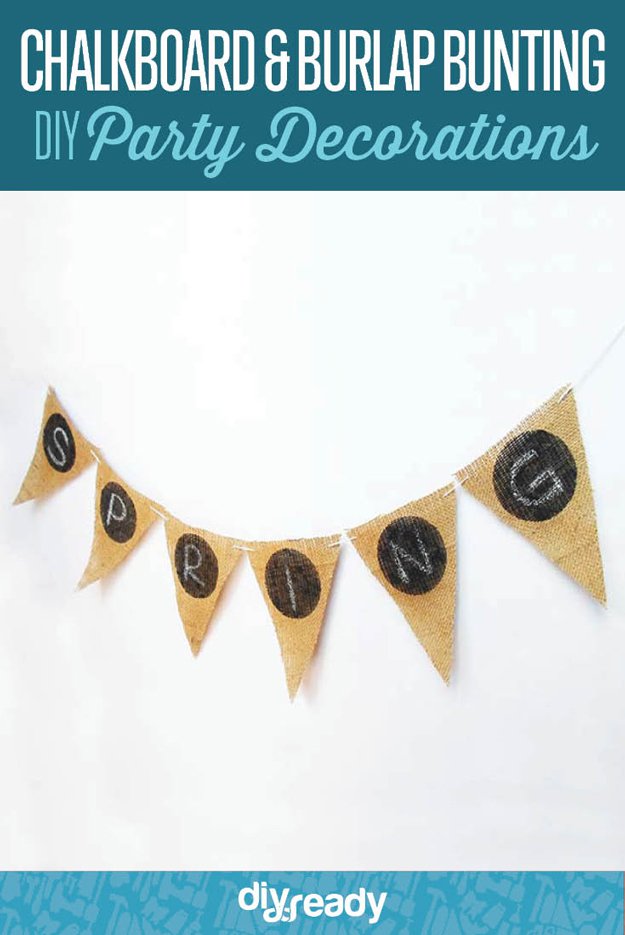
Make burlap bunting banners with chalkboard paint letters for any occasion with this DIY project tutorial. It’s the perfect DIY party decoration you can make for country weddings and other occasions. Not only does it makes use of burlap, you can make this your next chalk paint project too!
DIY Chalkboard and Burlap Bunting | DIY Party Decorations
Have you ever thought about this “uncommon” combination? Burlap is a timeless material and that makes it perfect for buntings – you can use it during any season of the year!
Buntings can be displayed as often as you want, for any occasion, so why not make one that can be easily adapted with new text and drawings at anytime? Chalk paint makes it possible.
This bunting is extremely simple to create and I have a feeling you’ll get addicted to chalk paint after this! I did.
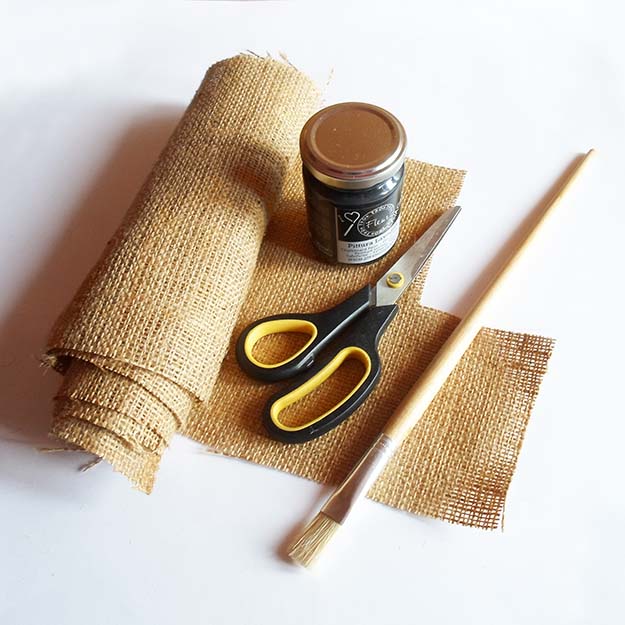
What you’ll need for your burlap banner:
- Burlap
- Chalk paint (You can find out how to make chalk paint here!)
- Scissors
- Paper
- Sponge
- Paintbrush
- Yarn or twine
- Embroidery needle
- Pencil
- Ruler (optional)
- Chalk
Step 1
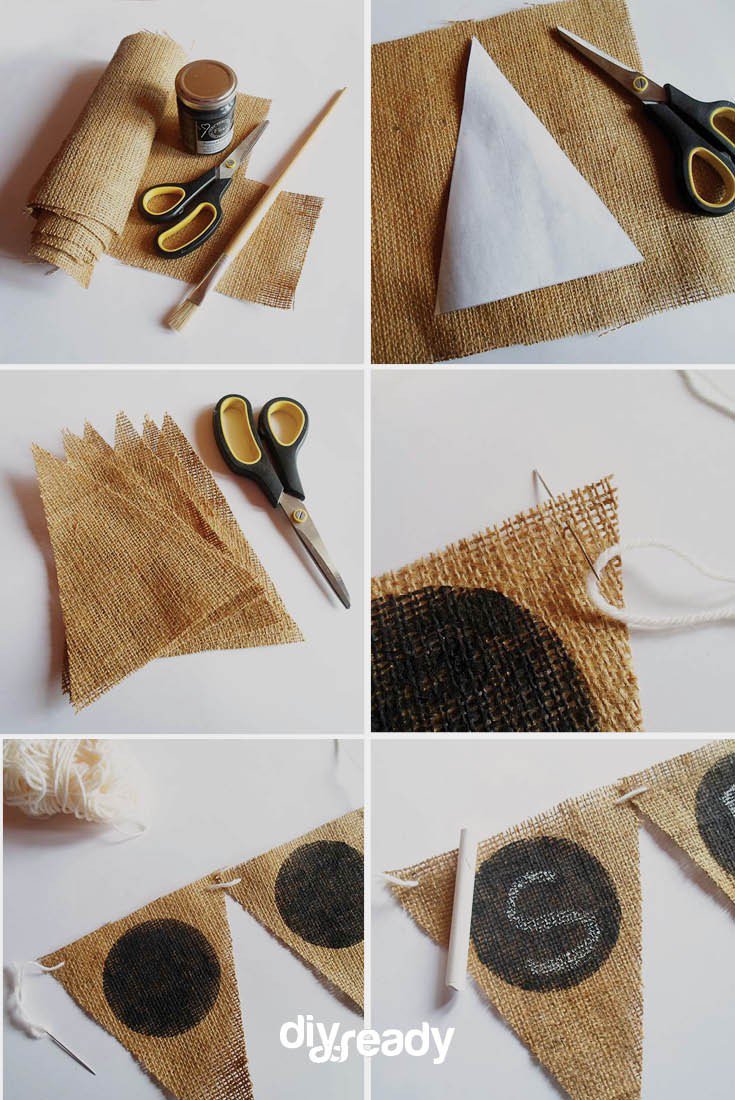
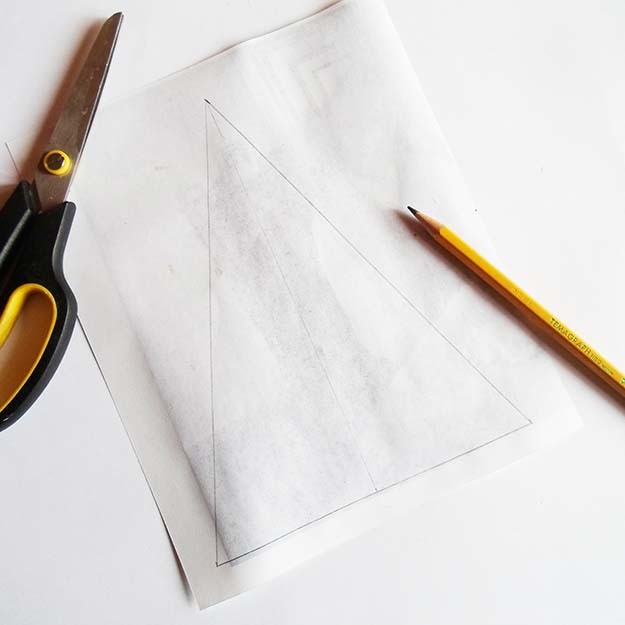
Draw a triangle on a piece of paper. It can be as big as you want, mine turned out to be approximately 7″ x 5.5″. I used a ruler to draw straight lines but it’s not necessary.
Step 2
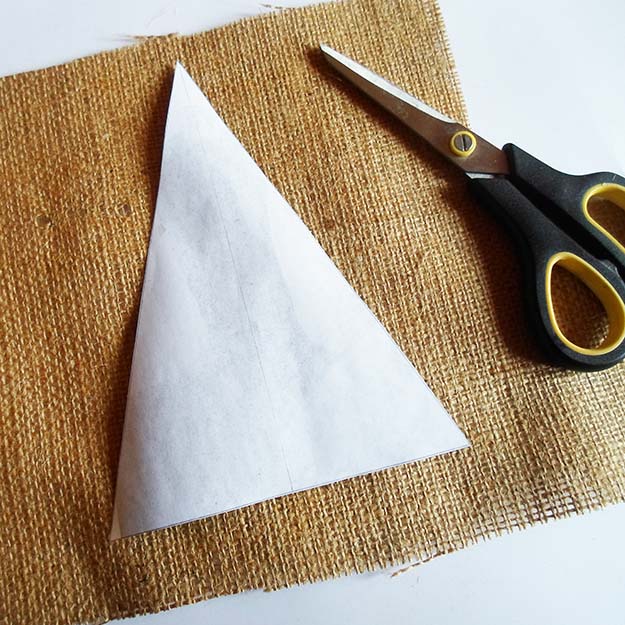
Cut the triangle with scissors and lay it on your burlap.
Step 3
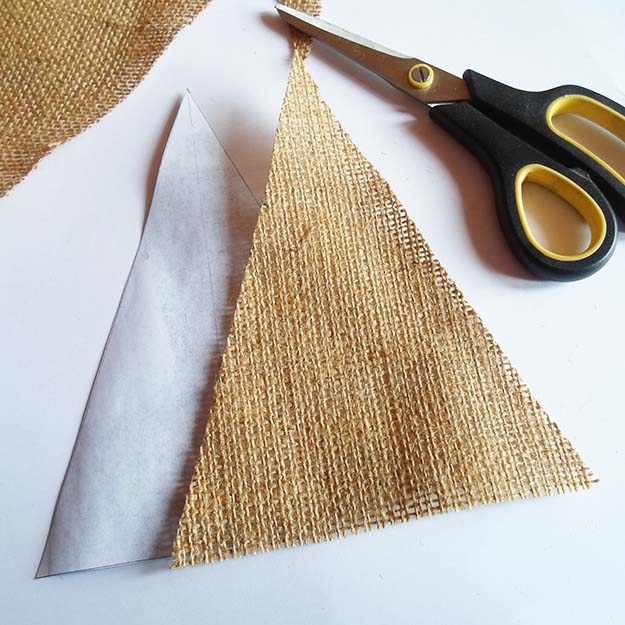
Hold the paper triangle on your piece of burlap (you can keep it in place with some scotch tape if you want) and cut around the outline to obtain a burlap flag.
Step 4
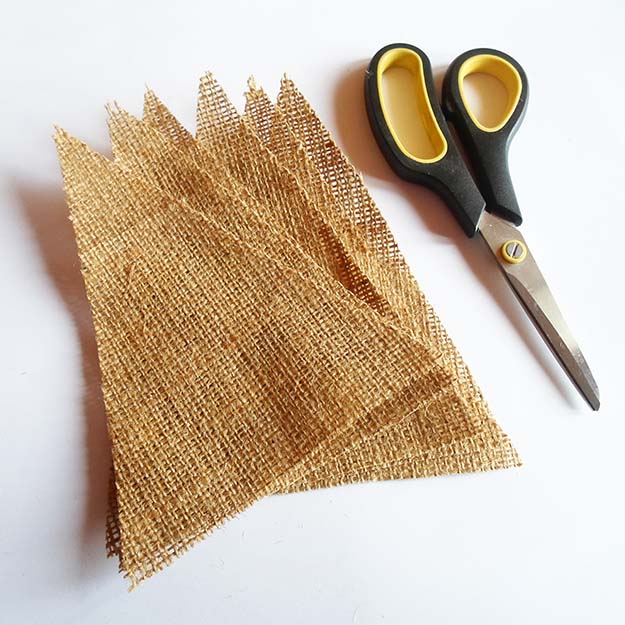
Cut five more burlap flags this way, or as many as you want – depending on how big you want your bunting to be. Make sure they all have the same shape and size.
Step 5
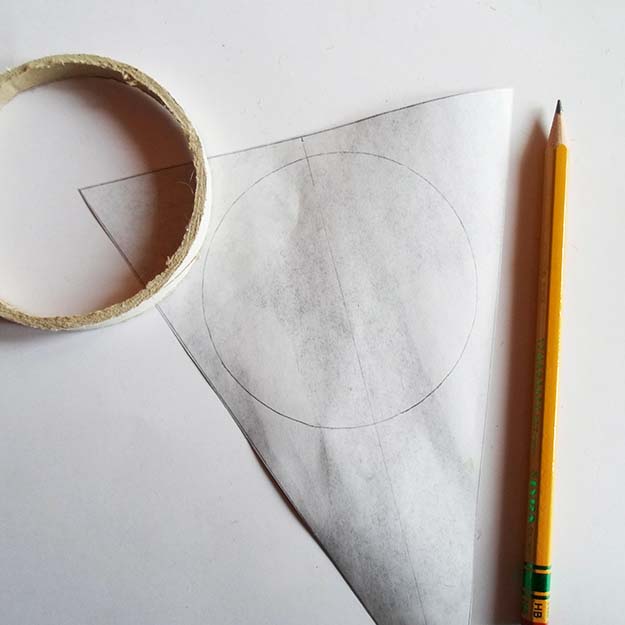
Take some kind of round shape that fits in your triangle so you can use it as pattern. Trace its outline in the middle of your paper triangle.
Step 6
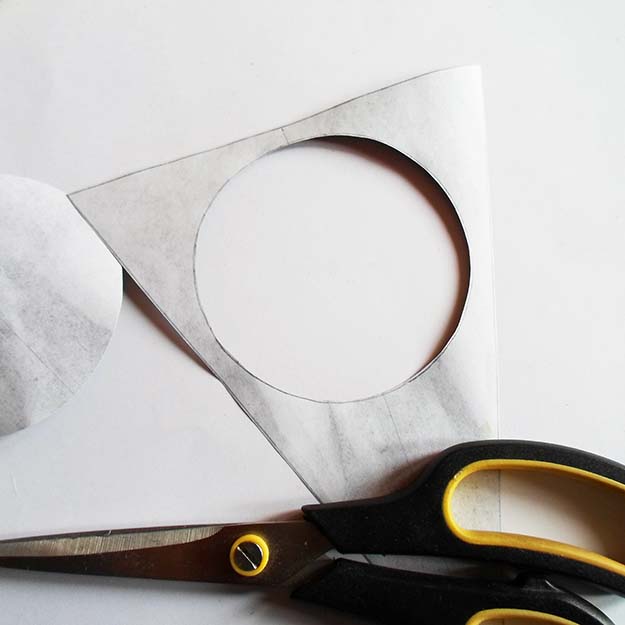
Cut the circle out of your triangle using scissors. You can make a cut in the middle first then proceed cutting all around the border. This will be the stencil that you have to use to paint the circles on your flags, so make sure to be as accurate as possible when you cut it.
Step 7
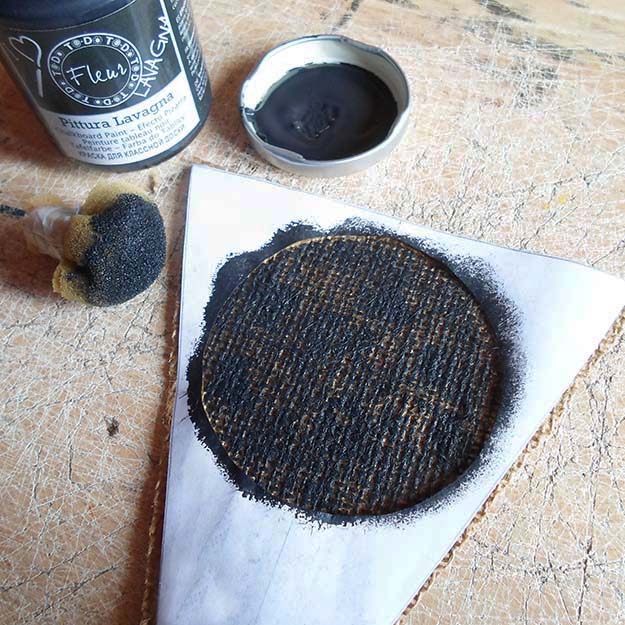
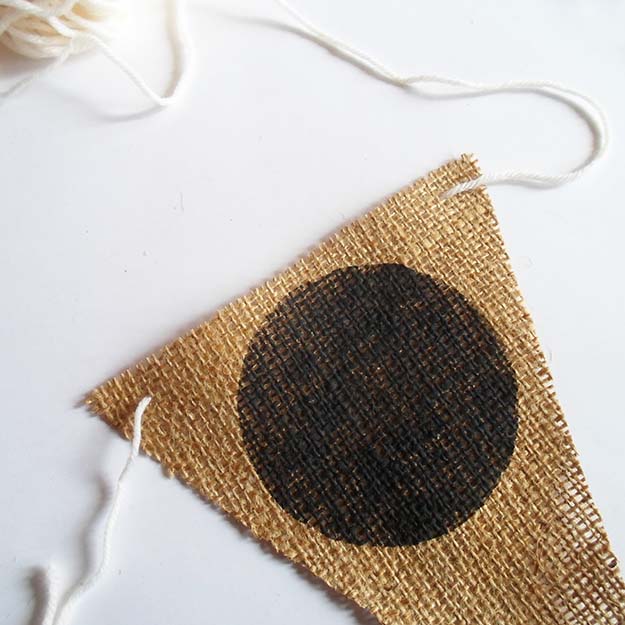
Align the stencil you’ve just cut with one of your flags. Using a small sponge, take some chalk paint and start dabbing it on the circle. Make sure to never move the stencil so the borders of the circle will turn out neat.
Burlaps absorbs paint very quickly so you have to dab it many times in order to perfectly cover it. Some of the paint will bleed through the burlap so make sure to cover your work surface with newspaper before you start, or do this on an old table like I did.
Step 8
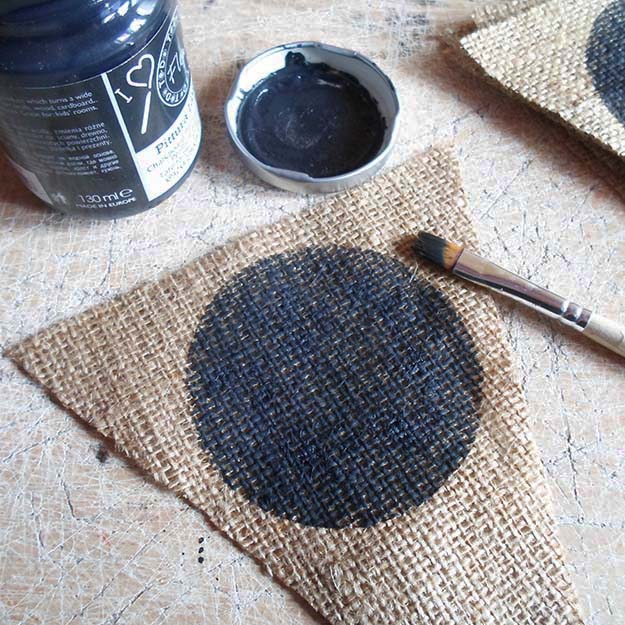
When you are satisfied with the coverage, remove the stencil and retouch your black circle with more paint and a paintbrush, if needed. Then repeat the same process for all the other flags as well and let them dry.
Step 9
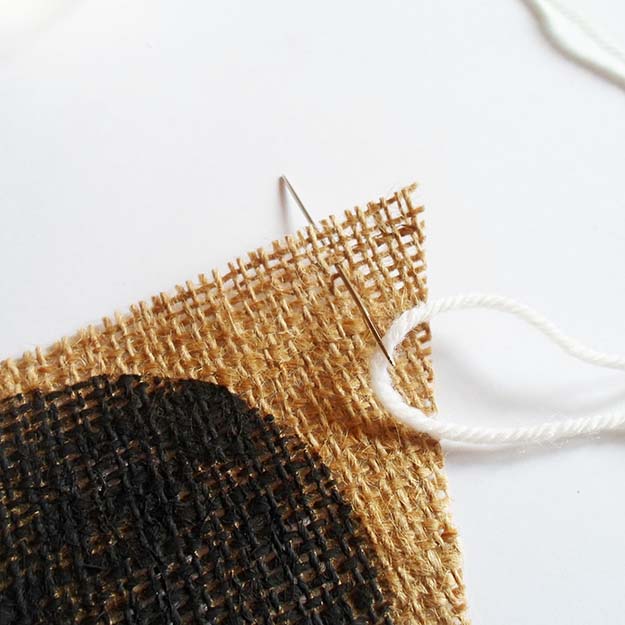
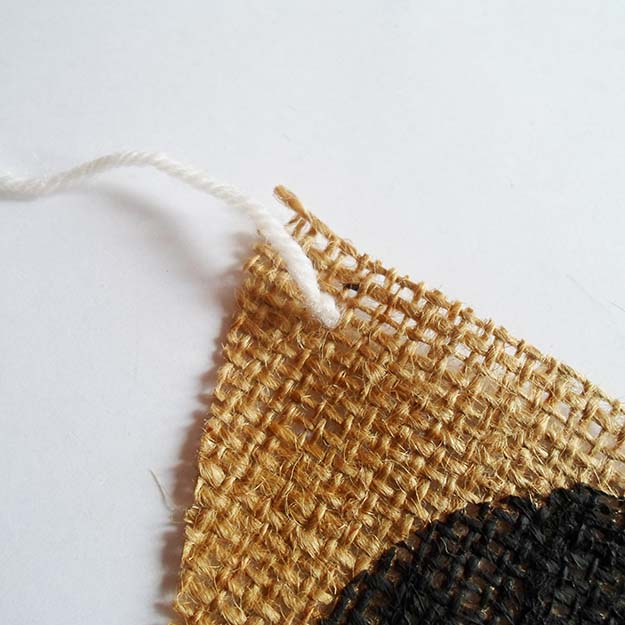
Grab your yarn (or twine) and insert it near the corner of one of your burlap flags using an embroidery needle. It’s better if you insert it from the front of the flag, as you can see in the picture, so the longest part of the yarn will be hidden behind the flags.
Step 10
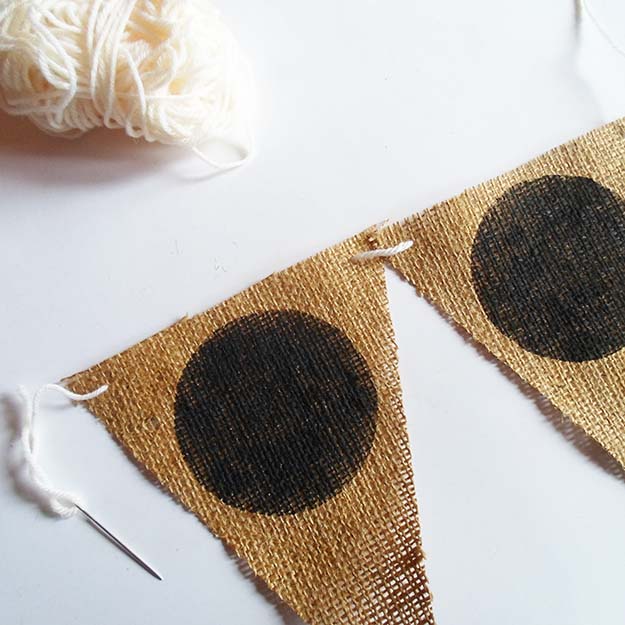
Pull the yarn from the back of the flag and insert it in the corner opposite to the first one. Finally pull it on the front side.
Step 11
Take another flag and repeat steps 9 and 10 to place it next to the first one. Add the rest of the flags next to each other following the same process. You simply have to pull the yarn to make the first flags slip and make space for the next ones.
Step 12
When you are done adding all of your flags to the thread, tie a knot on both ends to secure them, leaving a 7″ tail on both sides. You’ll need these tails to be able to tie your bunting wherever you want.
Step 13
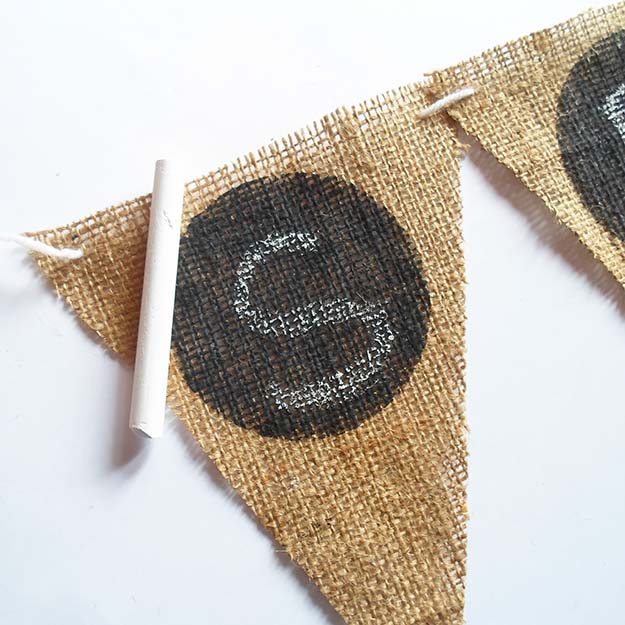
It’s time to write on your black circles using chalk! Your new cool chalkboard bunting is done and ready to be displayed!
Did you enjoy our tutorial on DIY chalkboard and burlap bunting? Let us know in the comments section below what your thoughts are on these DIY party decorations. Do you have any other cool DIY projects you’d like to share? Share it with us and we’ll give it a try. We love doing cool DIY projects by making craft projects, home decor projects, upcycling ideas, recipes, tutorials and anything you can do yourself. That’s why we created this site, we want people to be more in touch with their creative side and realize that there’s a lot of things that they can do themselves. We’d love to hear from you and create a community of DIY enthusiasts where any project is just a click away. Stay connected with us on Facebook, Twitter, Pinterest and Instagram!
Want more cool DIY projects to try? Check out more of our posts:
DIY Burlap Bubble Wreath
30 DIY Chalkboard Paint Projects
DIY Room Decor with String Lights You Can Use Year Round
I’m Manas Ranjan Sahoo: Founder of “Webtirety Software”. I’m a Full-time Software Professional and an aspiring entrepreneur, dedicated to growing this platform as large as possible. I love to Write Blogs on Software, Mobile applications, Web Technology, eCommerce, SEO, and about My experience with Life.

