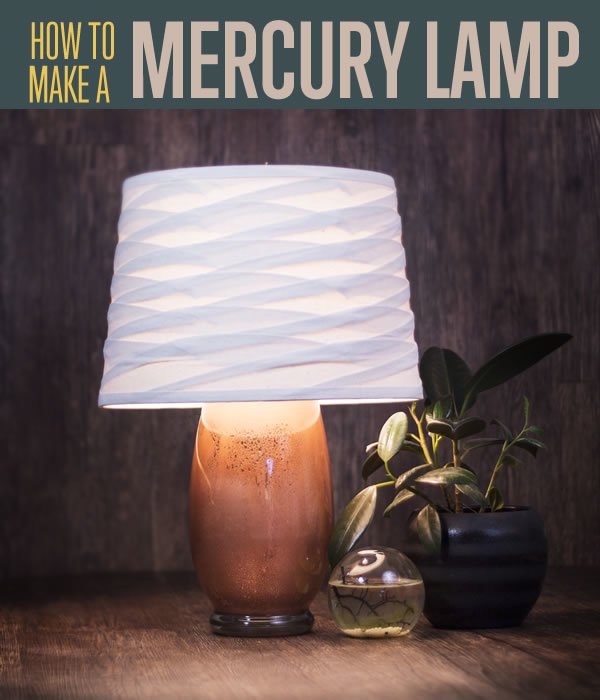
DIY Copper Mercury Glass Lamp
Do you love the idea of creating mercury glass everything? You’ll absolutely love this super simple DIY project. While we’re on the subject of lamps – don’t miss our fabulous selection of DIY lamps that we have on our site right now! Have you checked out our Alice in Wonderland Style Stacked Teacup Lamp? If not, we highly recommend checking it out. Alright so you’re ready to make your first mercury glass lamp? The method is rather simple and each time you make one you will yield different results. Let’s get started then. First you will need to gather all of your supplies from your local craft store.
Create high end style with low-budget supplies. This copper mercury glass lamp is ludicrously easy to complete, and will bring any room in your house a new level of elegant illumination.
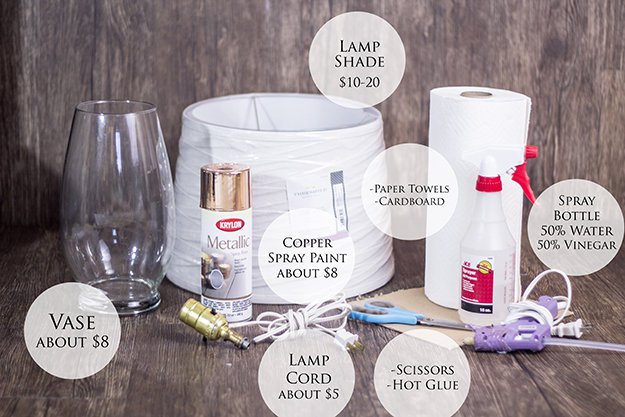
Supplies:
- -Vase. Make sure to get one with a big enough opening at the top so that you can spray paint the inside. I got mine at Michael’s Crafts.
- -Also from Michael’s, I purchased Krylon Metallic Copper Spray Paint (you could just as easily go with silver or gold, if you prefer.
- -A lamp shade. Target, Amazon.com, your local home goods store – you can get these many places!
- -A light socket. You can purchase a light socket kit from somewhere like Home Depot, but my favorite way to do it is simply find a cheap goodwill lamp made of porcelain or glass, and bust out the light socket with a hammer – ta-dah!
- -A spray bottle with a mixture of 50% water and 50% white vinegar.
Tools:
- -Paper Towels
- -Cardboard
- -Hot Glue Gun
- -Scissors
Step 1.
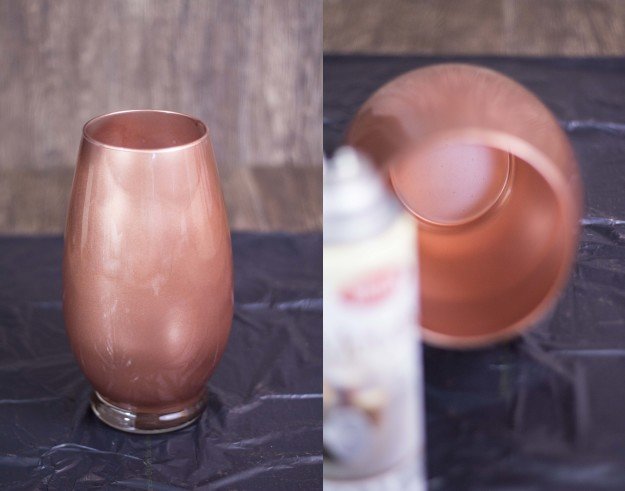
Spray the inside of your vase with the copper metallic spray paint. Don’t worry if the coat isn’t super even, because we’re going to be texturing it in a minute, anyways. Do not apply it too heavy, however, because we don’t want drips! After spraying down the inside of the vase, wait for about 30 seconds – one minute.
Step 2.
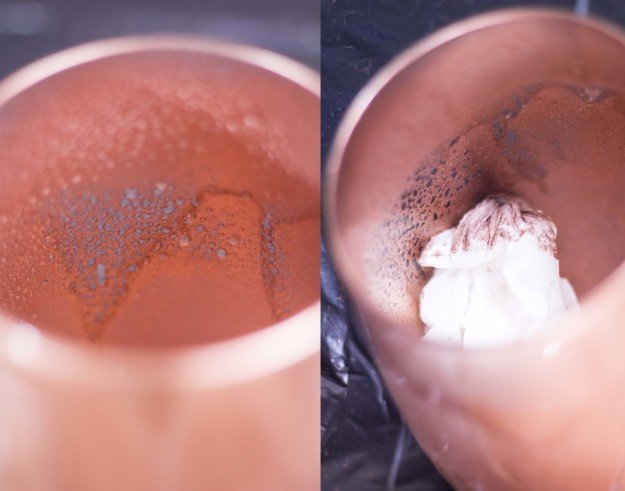
Using your vinegar water spray bottle (set on mist, not stream), squirt the inside of your vase so that nice little droplets cling to the walls all over. The freshly applied paint will magically dissolve beneath the acidic vinegar! After a few minutes, use a paper towel to gently dab away the droplets.
Step 3.
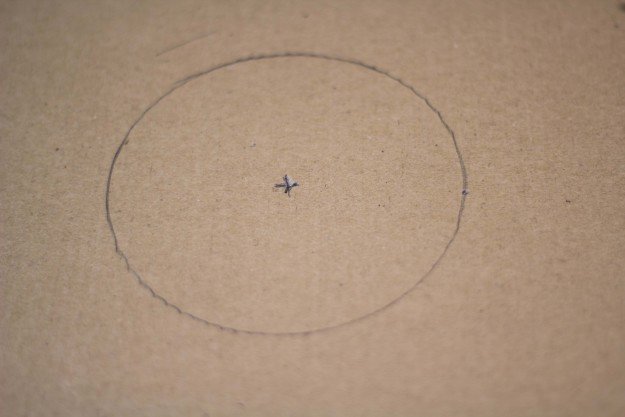
Tip your vase upside down onto your sheet of stiff cardboard and trace around the lip with a pencil. We are going to create a base for the light socket.
Step 4.
Cut out the cardboard circle and mark the center (use a ruler to find the precise location).
Step 5.
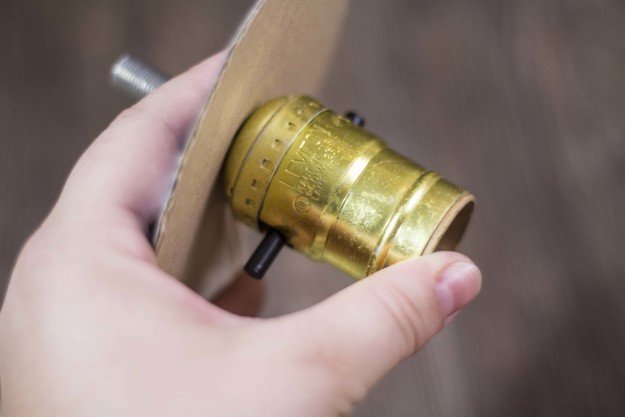
After poking through the cardboard center-mark with a pair of scissors to create a hole, insert the base of your light bulb socket through the cardboard. If you don’t have a little peg coming out the bottom of your socket like I do, don’t worry, just skip to the next step.
Step 6.
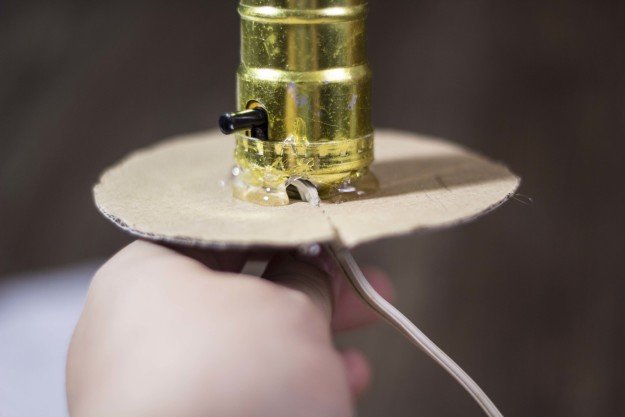
Using your hot glue gun, attach your light socket to the cardboard, around the base. You’ll want to make sure that the light socket is nice and straight, so if your cord is making it tip to the side, you can make a slit in the cardboard, as I did. Notice that that makes the cord fall nicely from the socket.
Step 7.
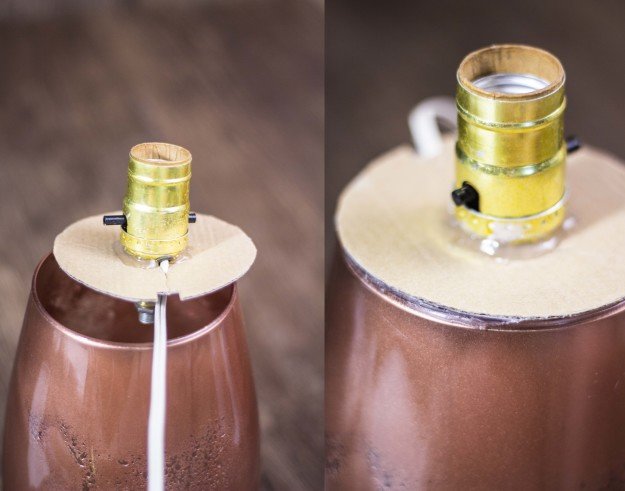
Time to attach your cardboard circle to the rim of the vase! Using your hot glue gun once again, run a line of glue around the edge of the vase opening, align your cardboard circle, and press it into place! Notice that I created a little notch in the cardboard (just using a quick snip with my scissors), so that the cord could pop out of the cardboard and cascade down the back of the vase.
Step 8.
Now you can attach the lamp shade as you would to any other lamp. I made sure to get the really standard lampshade style that simply sets down onto the socket of most lamps. It worked splendidly! Screw a light bulb in, and you’re done! Enjoy vibrant illumination in your home!
Thanks for checking out how to make this lovely mercury glass lamp! We’d love to hear how it worked out for you. Leave us your feedback in the comments section below. Do you have a great DIY project that you’d like us to try? If we love the idea, we’ll most likely give it a shot. Don’t forget to sign up to our mailing list to get the scoop on weekly projects. Thanks.
Don’t forget to Like Us on Facebook (button below) and Pin your favorite projects to Pinterest!
Check out some related posts here:
I’m Manas Ranjan Sahoo: Founder of “Webtirety Software”. I’m a Full-time Software Professional and an aspiring entrepreneur, dedicated to growing this platform as large as possible. I love to Write Blogs on Software, Mobile applications, Web Technology, eCommerce, SEO, and about My experience with Life.

