DIY Bookcase Transformation | Furniture Rehab
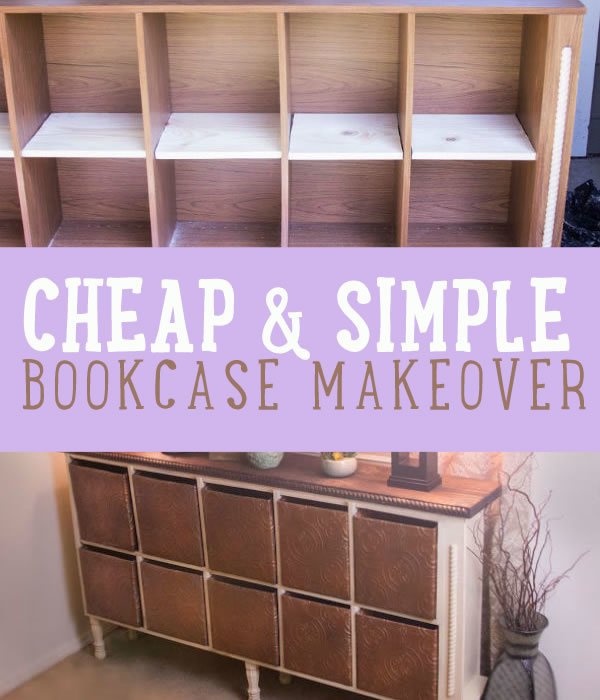
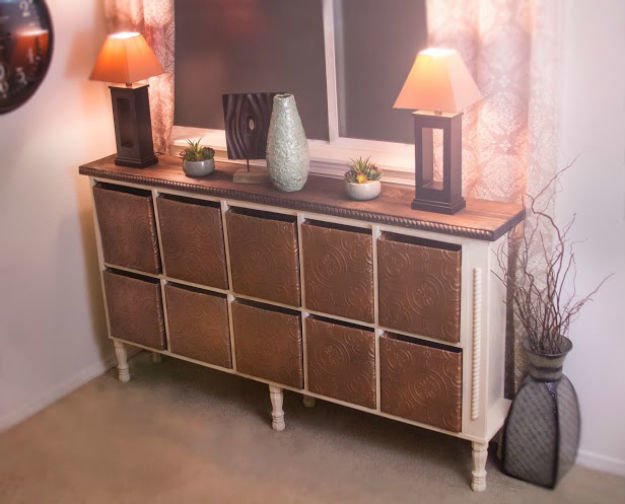
Upcycle an old bookcase into an elegant accent piece with copious storage space. Rustic, charming, and oh-so-functional, you can create a custom look on a crafty budget. You can whip this project out in a weekend!
Supplies:
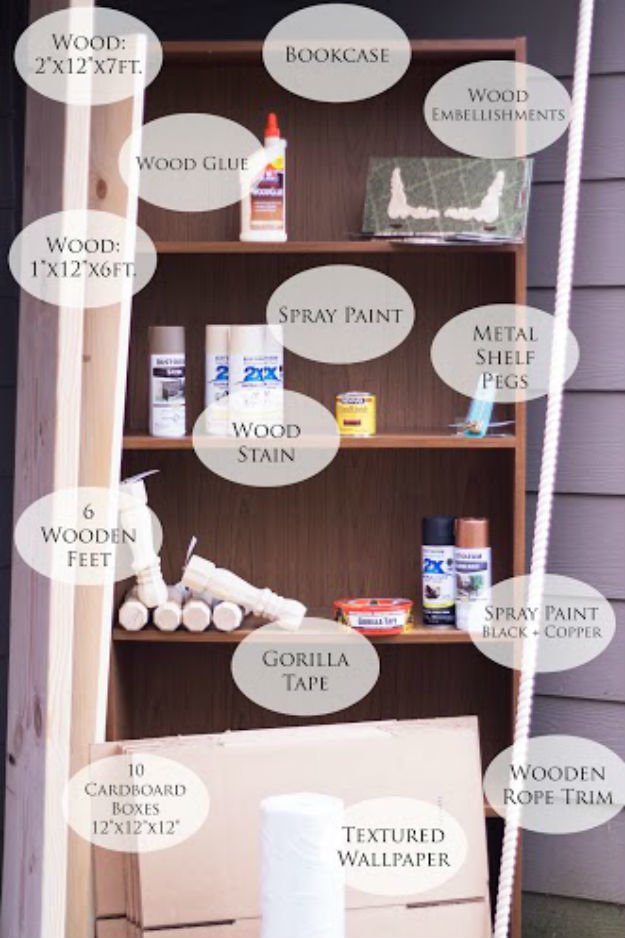
-Bookcase. I found this cheapo old bookcase on Craigslist for $25, what a deal! There are a few key things to look for in your bookcase.
– Make sure that the sides are completely flat all the way up – you don’t want molding that sticks out around the edges.
– Ideally, the bottom and top of the bookcase will be identical. If you can’t find one like that, at least make sure that when you set the bookcase on its side, the bottom (which has now become the side) doesn’t look terrible. Sometimes there are all kinds of screws, braces, and ugly elements in that area, since it’s generally just facing the floor.
-Lumber: One plank of 2”x12”x7ft lumber (if your bookcase is is taller than 6 feet, get longer lumber)
-Lumber: One plank of 1”x”12”x6ft – this is what you will make the cubby shelves out of.
-Wood Glue
-Wood Trim/Moulding. I went for an elegant rope moulding.
-Wooden embellishments/scrolls/flowers, etc.
-6 Wooden Feet. If you are doing a short little bookcase, than 4 feet will work fine. If you’re doing a full size bookcase, 6 feet with provide better stability.
-Wood stain
-Spray Paint. For the bookcase, you’ll need an undercoat (I used one can of a taupe color), and an overcoat (I used 3 cans of ivory).
-Metal shelf pins to hold up the new shelves that you will be making
-Gorilla Tape
-12x12x12 Cardboard Boxes (10 of them). Uline.com is always a great source for boxes or many sizes.
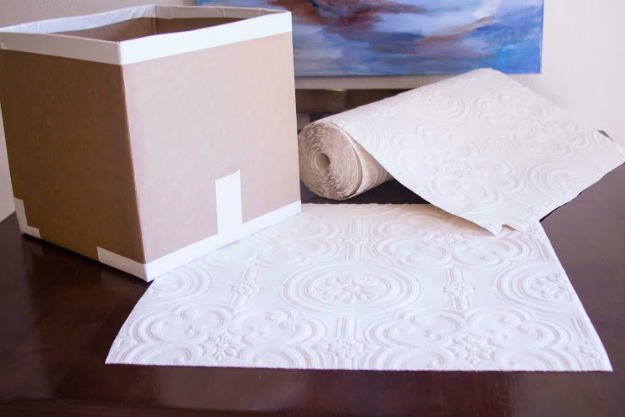
-Textured wallpaper. I found mine on Amazon.com at this link, and needed only one roll to cover all of my cubby bins.
-Black spray paint (satin finish)
-Hammered Copper (or just plain metallic copper) spray paint.
Tools and Things Around the House:
-Hammer
-Nails
-Power saw
-Box cutter/Scissors
-Rubber gloves
-Paper towels
-Paintbrush/Sponge
-Sandpaper
-Tape Measure
-Ruler
Step 1
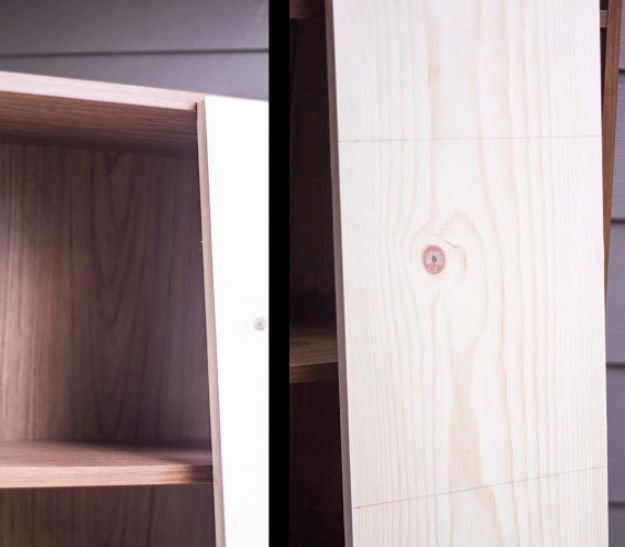
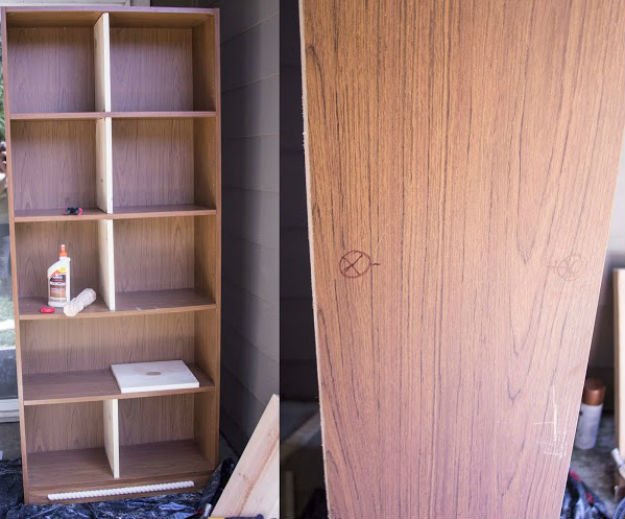
Using your 1”x12”x6ft lumber, measure the exact space between each of the bookcase shelves, and mark up your board with a pen or pencil. We are going to be cutting small shelves and inserting one between each of the existing bookshelves of the bookcase.
Step 2
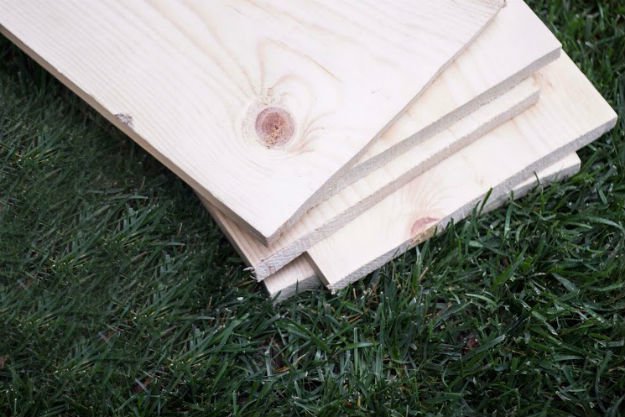
Use a power saw to slice through your board until you have a nice stack of shelves (I needed 5). Sand the edges of the shelves when you are through cutting them.
Step 3
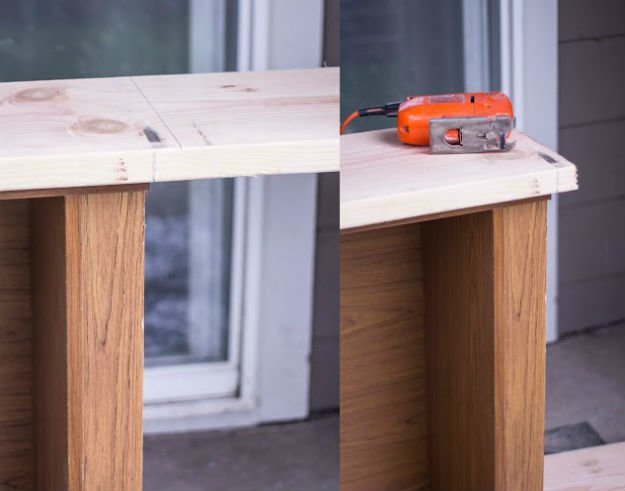
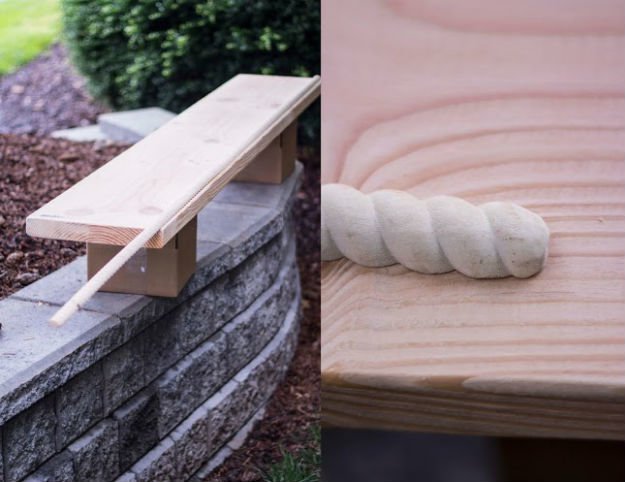
Turn your bookcase onto its side for this next part. Now take your heavy 2” width board and lay it flat across the length of the bookcase (which is now on its side). This thick board will eventually serve as our table top. I wanted mine to hang out over the edges a bit, so I positioned it how I wanted it, marked it so that I’d have an overlap, and used a saw to slice away the extra on the end.
Step 4
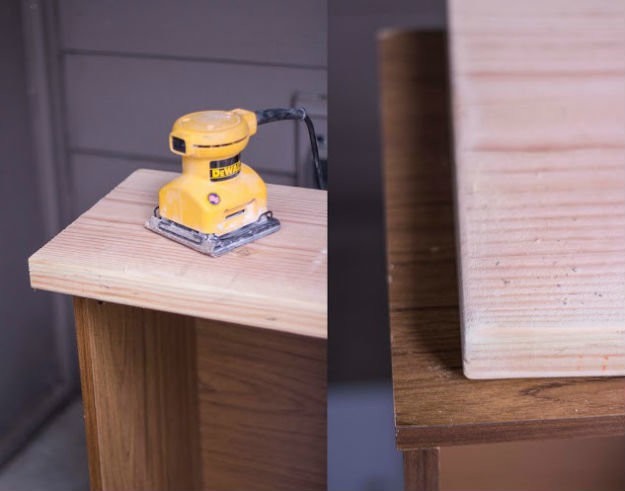
Use sandpaper (or an electric sander) to smooth out the edges of the board you just cut.
Step 5
Take your trim moulding (in this case, my little rope moulding), and lay it along the length of your big board to get a sense for how long you want it. I wanted my rope moulding to end about 1” from each end. Cut the moulding to your desired length, and round down the ends with sandpaper.
Step 6
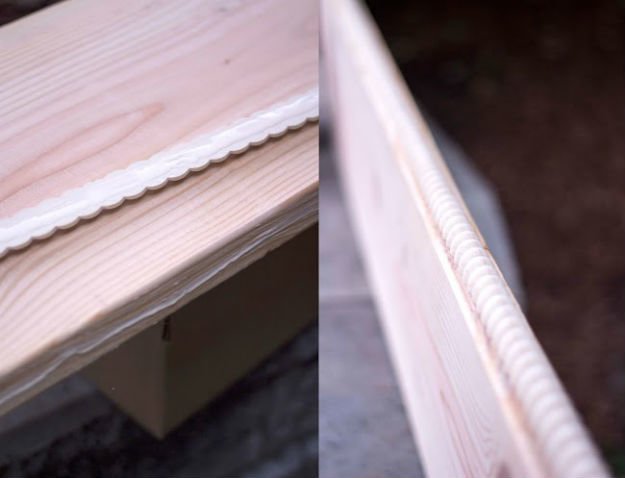
Apply wood glue to both the surface of the moulding and the side of your thick wood plank. Attach them together, pressing firmly into place.
Step 7
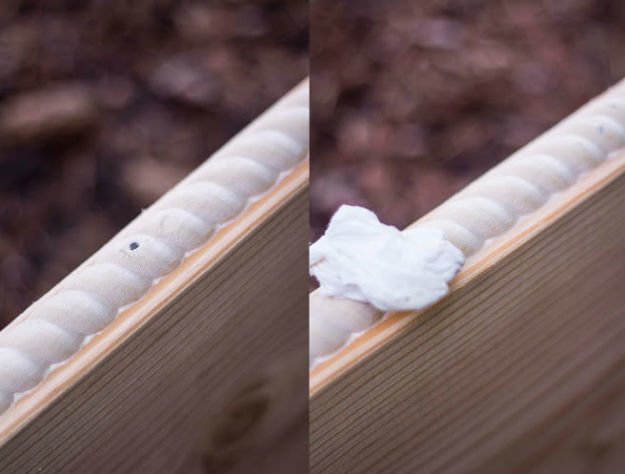
I had a tricky time getting my moulding to stay while it was drying (it was at such an awkward place to try to get clamps on it), so I decided to sink a few nails along the length of the rope. That worked splendidly! I then used a moist paper towel to clean up the excess glue while it was still wet.
Step 8
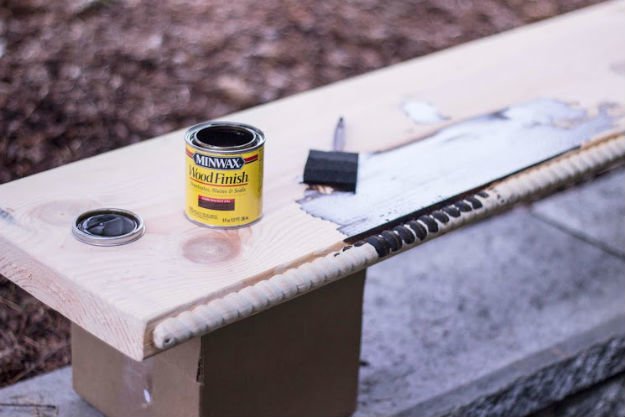
Once all of your glue dries, apply your wood stain with a sponge, brush, or even a paper towel. If you get the wood stain on your hands, it’s a beast to scrub off, so I would recommend using rubber gloves.
Step 9
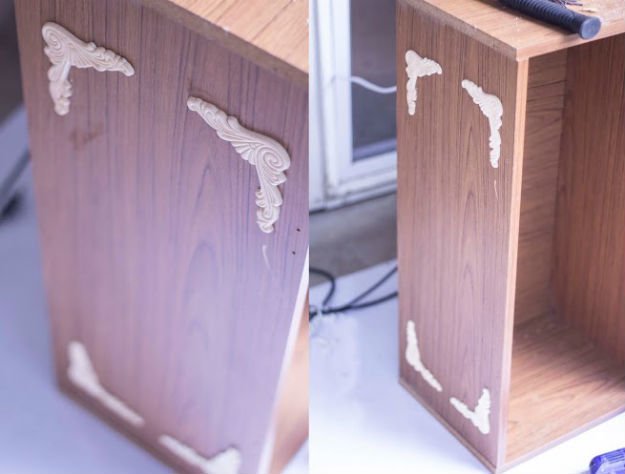
Now back over to the bookcase, which is still lying horizontal. Use wood glue to attach your wooden embellishments to each end of the bookcase. Once everything is coated in paint, these accents really add a subtle aura of craftsmanship to your piece.
Step 10
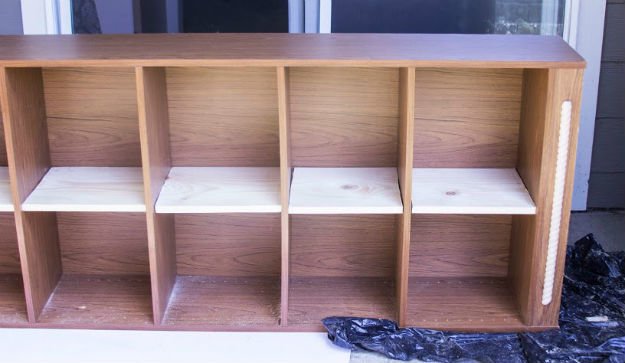
The next step is to add our shelves! To get them to stay up, we need to use our little metal shelf pegs. Using a drill with the appropriate size drill bit, bore holes for 4 pegs under each shelf (two on each side, just like your average bookcase shelving system). Once you have the holes drilled, pop your little metal shelf pegs into place.
Step 11
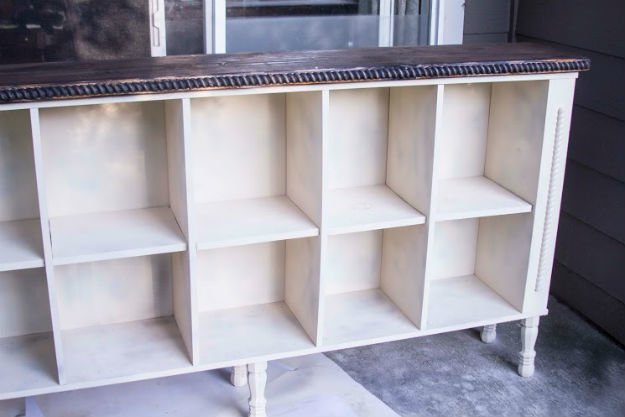
Once you have all of your pegs in place, slide those shelves into place! Things are starting to take shape now, aren’t they? In this photo, also notice that I used some of my extra rope moulding on the right side of the bookcase – it helps dress up that extra-wide area on the far right.
Step 12
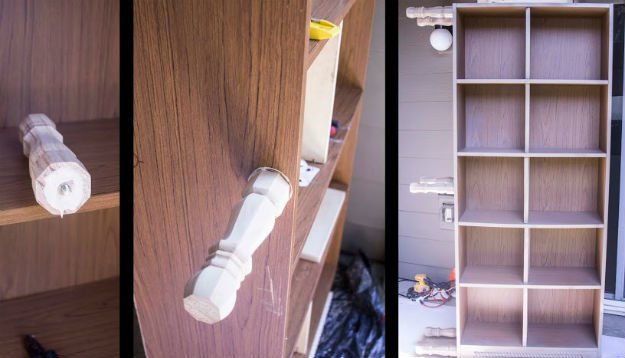
Tip your bookcase back into the upright position – time to add the legs! Don’t worry if some or all of your new little shelves flop over, because we’ll be removing those for painting in a moment anyway. You may as well take them out before you tip up the bookcase. Once the bookcase is upright, mark the spots where you want your legs to attach and drill holes at those points (only drill holes if your wooden furniture legs have threaded metal pegs at their centers).
Step 13
Apply a small amount of wood glue (less than I have pictured there!) onto the top of the foot pieces. I applied too much, and it simply gushed out everywhere. About half of what is pictured will do just fine. Screw the legs into place, clean off the excess glue, and let it all dry. While it’s drying, go ahead and do your first coat of undercoat paint. I only used one can of the taupe spray paint base coat, and I only hit the areas that I wanted to have it show through later (I skipped the inside of the cubbies, since they will be covered by the storage boxes, and just did everything else).
Step 14
Once the base coat is dry, flip your entire piece into the horizontal position again (test out those new legs, yeah!) and spray the top coat. Once you are happy with the amount of top coat (in my case, the ivory color) that you have applied, attach the “table top” stained wood plank with copious amounts of wood glue.
Step 15
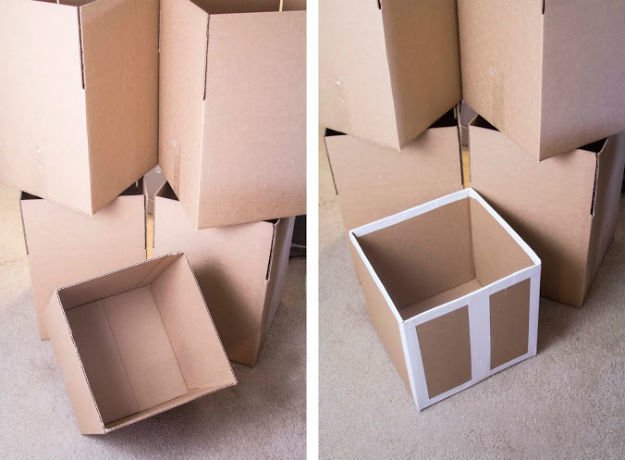
While wood stains, glues, and all of that is drying outside, let’s work on the cubby bins. Assemble your 12”x12”x12” shipping boxes. Use the Gorilla Tape to fortify the edges and joints. The great thing about the Gorilla Taper (verses Duct Tape), is that it has a kind of mesh inside of the adhesive, making it incredibly strong, and inflexible so that it doesn’t warp over time.
Step 16
Once the box is fortified with the tape, it’s time to cover it! Now, you can cover the entire box, if you want, but I opted to cover the front and just a bit of the sides, bottom, and inside. It not only saved time, but also ensured that I would have enough on just one roll to complete the project. As you can see in the picture, I cut a panel that was approximately 20”x20”x20”.
Step 17
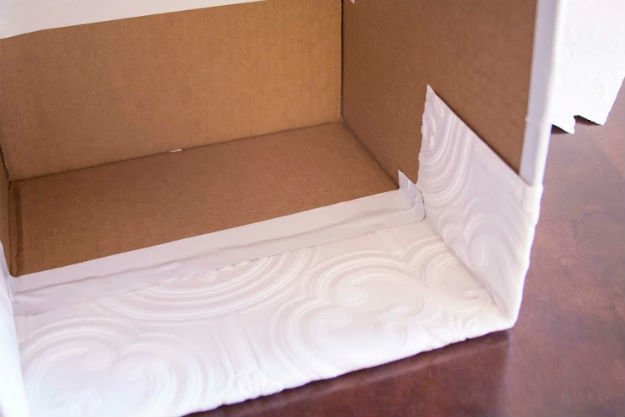
Here’s a look at the inside of the box, as I wrap it like a Christmas present. Use the Gorilla Tape to hold down all of the edges – it provides a nice, strong hold.
Step 18
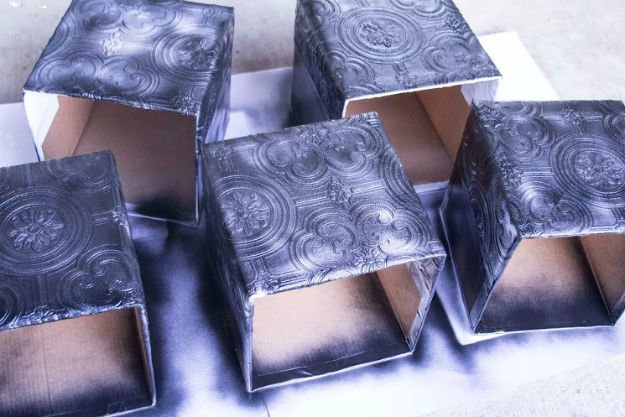
Once your boxes are covered with the wallpaper, lay them out on a protected surface and spray paint them with the black paint. Give it a nice, mottled look.
Step 19
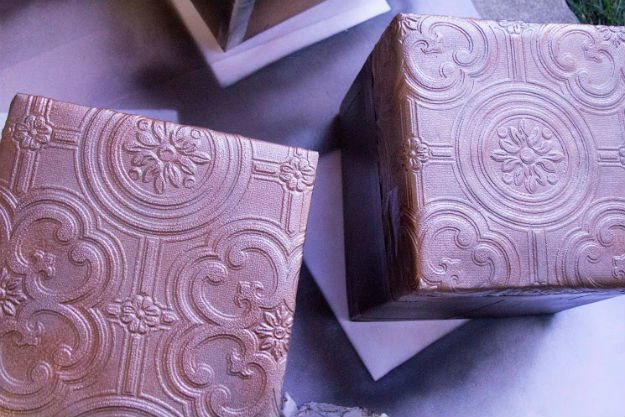
Once the black paint has dried, spray over it with the copper spray paint, once again, going for a mottled look. Doing the black undercoat first really adds a richness and depth to the copper.
Once your boxes are dry, just slide them into their cubby shelves in the bookcase, and you’re done!
Want more upcycling furniture ideas? We have a lot to choose from on these posts:
35 Ways To Transform Your Old Furniture
How To Distress A Table | Furniture Painting Technique
How To Make A Table From A Repurposed Army Ammo Crate
I’m Manas Ranjan Sahoo: Founder of “Webtirety Software”. I’m a Full-time Software Professional and an aspiring entrepreneur, dedicated to growing this platform as large as possible. I love to Write Blogs on Software, Mobile applications, Web Technology, eCommerce, SEO, and about My experience with Life.

