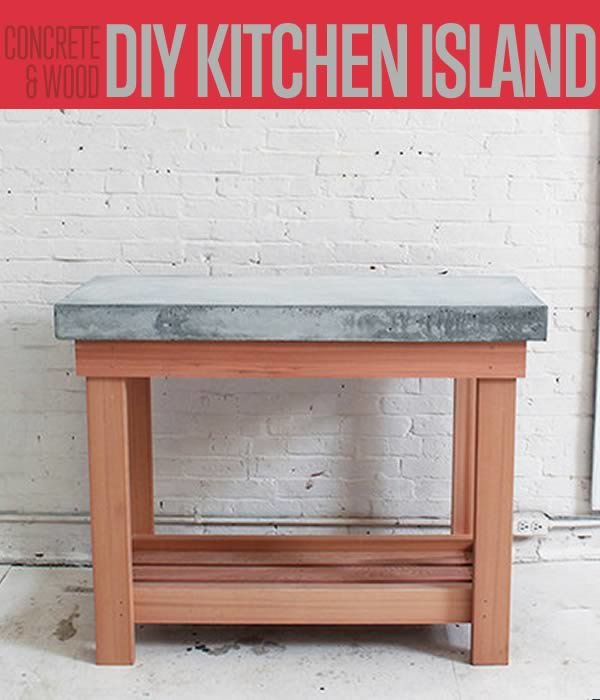
Build This DIY Rustic Kitchen Island | Cheap Kitchen Renovations
You are here: Home / Home and Furniture / Build This DIY Rustic Kitchen Island | Cheap Kitchen Renovations
A quick look at Pinterest boards named “My Dream Home” and the dream in dream home starts to feel like that’s it’s all going to be – a dream. But design hacks like this DIY concrete kitchen island not only saves you a lot (a lot!) of money on kitchen renovation, but by adding pieces that you built yourself, it also makes your journey to making your dream home come true more meaningful. Ben Uyeda from Homemade Modern has generously shared his tutorial with us so we can pass it on to you all.
This DIY is divided into four parts:
- The Plan (an overview of the project)
- Tools and Materials (things you need to build)
- Building the concrete countertop of the kitchen island
- Building the base for the countertop
Now let’s begin this DIY kitchen island.
A big thanks to the Ben from Homemade Modern for sharing this tutorial. Check out the original article here.
The Plan

Tools and Materials
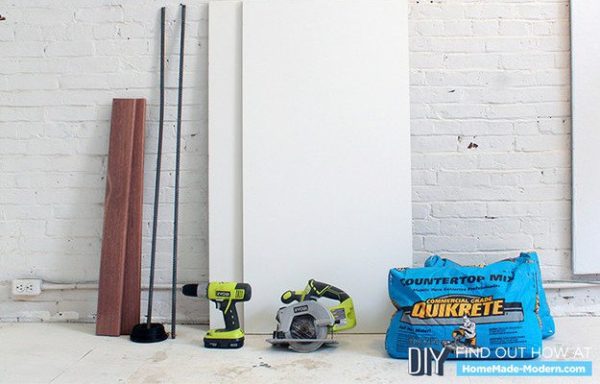
- Cordless Drill
- Circular Saw or Miter Saw
- Concrete Countertop Mix (Grey)
- 36” Long 1 1/4” Square Fir Balusters
- 3/4” Melamine Board
- 2×4s and 1×4s
- 3”, 2 1/2” and 1 5/8” Stainless Steel Screws
PART 1: Making the Concrete Countertop
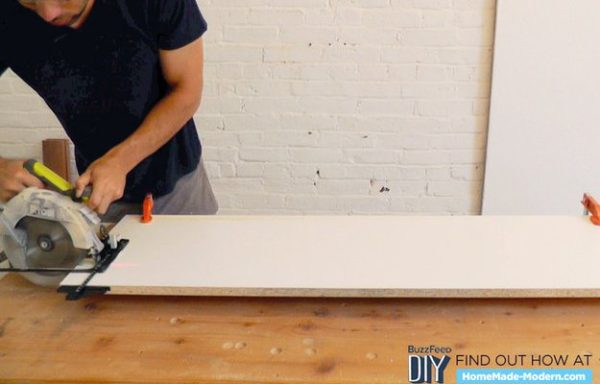
STEP 1: Using a circular saw, cut the melamine board into three 4 feet long and 2.5″ wide strips. If your saw has a guide attachment, use it to get nice and even cuts.
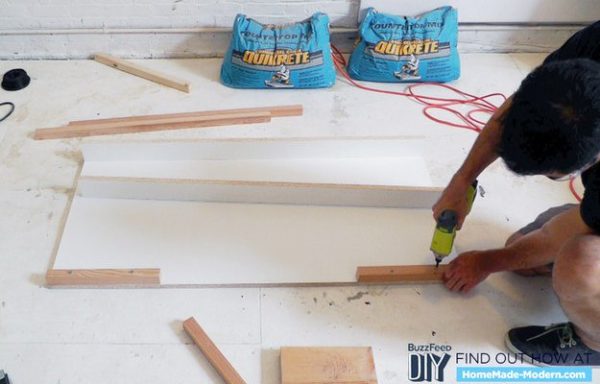
STEP 2: Attach fir balusters around the melamine board with screws. This will support the melamine strips on Step 1.
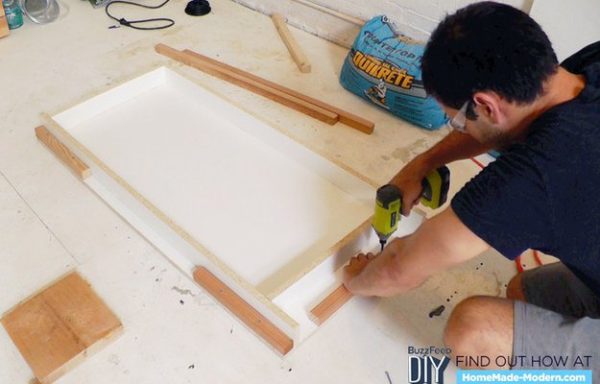
STEP 3: The fir balusters will act as the support for the melamine board strips you cut on Step 1.
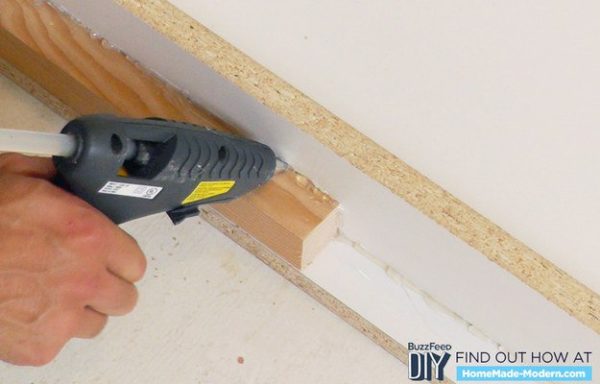
STEP 4: Secure the melamine strips to the board by using it a glue gun. You can also screw it to the board.

STEP 5: To keep the concrete mix from leaking, use a latex or silicone caulk to seal the entire form. Squeeze a bead of sealant along the edges and corners. Smooth it out with your fingers. Once dry, clean the form thoroughly before pouring the concrete mix. This step is very important, because any dust or dirt in the form will end up in your concrete countertop.
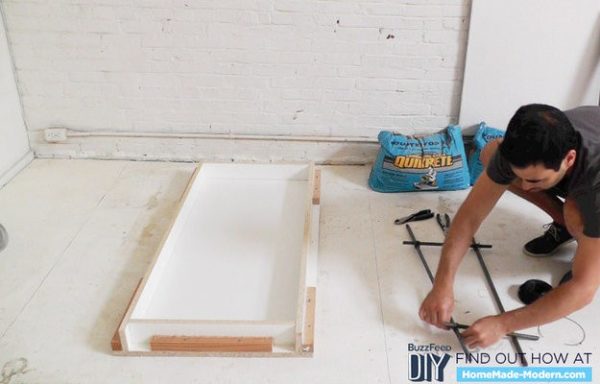
STEP 6: Once you’ve completed the form, prepare the rebar. The rebar will not only reinforce the concrete countertop of your kitchen island, it’ll also bond the concrete mix better.
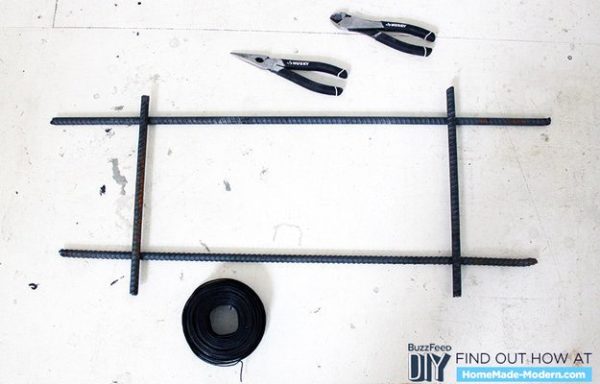
STEP 7: To create the rebar, you need to wire together 4 pieces of 1/2” diameter rebar into a rectangle.
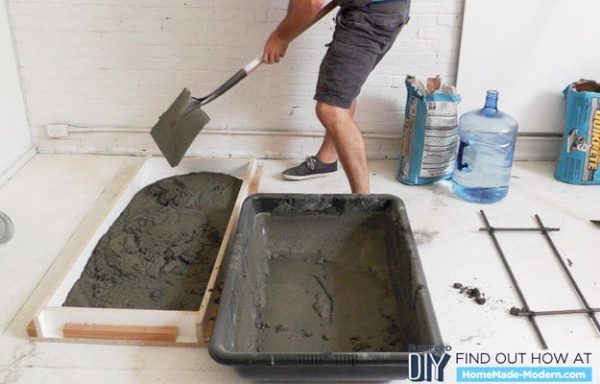
STEP 8: Make your concrete countertop mix.
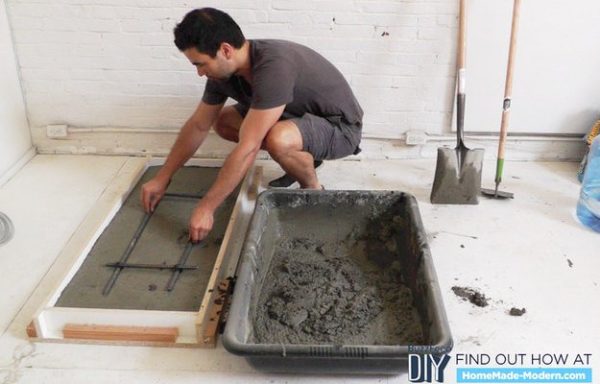
STEP 9: Pour your concrete mix in the form. Make sure to fill it only two-thirds of the way. Place the rebar at the center of the form.
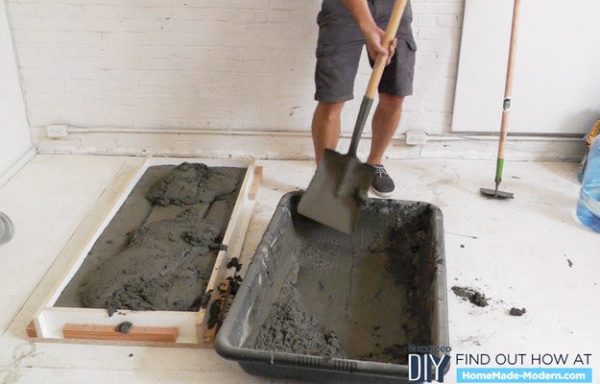
STEP 10: Pour the remaining concrete countertop mix the rest of the way.
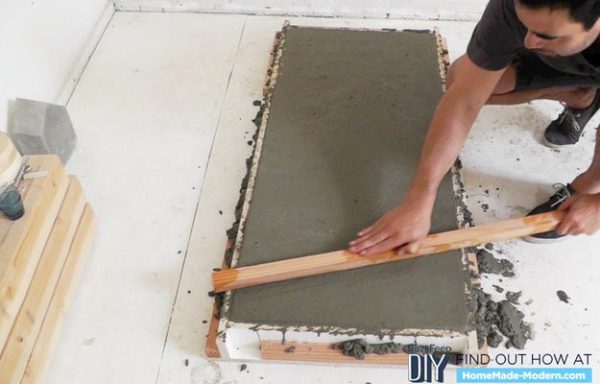
STEP 11: To make sure the top of your DIY kitchen island is leveled, use a piece of scrap wood and run it across the top of the form. This will also compact the concrete. Let it cure for 48 hours before disassembling the form. Just to avoid anything getting in on your concrete, you can also place a cover over it.
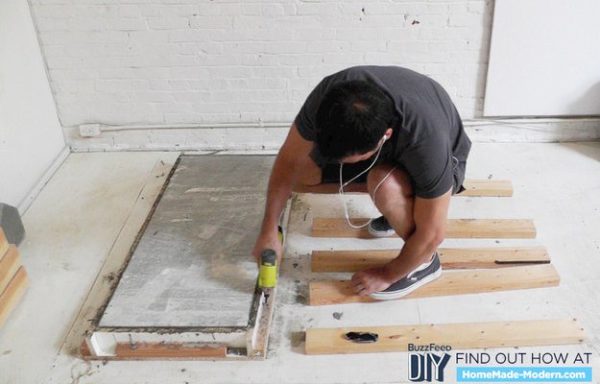
STEP 12: After the concrete has set, you can now remove it from the form. You now have the countertop of your kitchen island cart.
PART 2: Making the Base for the Countertop
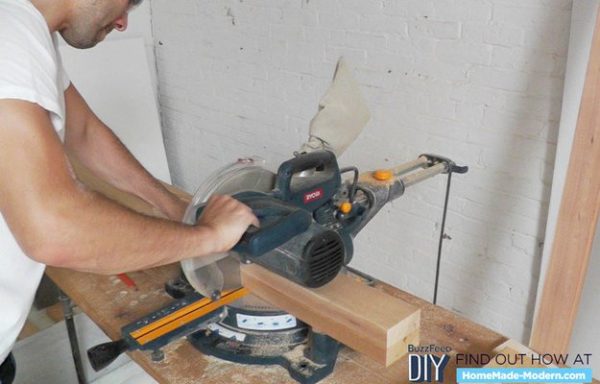
STEP 1: You can cut the wood for the base of the kitchen island two ways: A circular saw and a speed square or a miter saw.
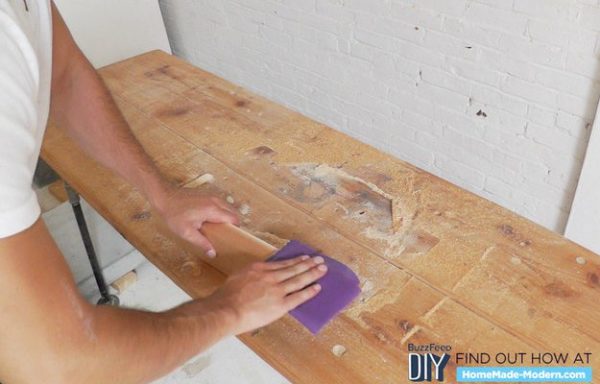
STEP 2: Once you’ve cut it according to the specified measurements, give it a light sanding to smooth out the edges.
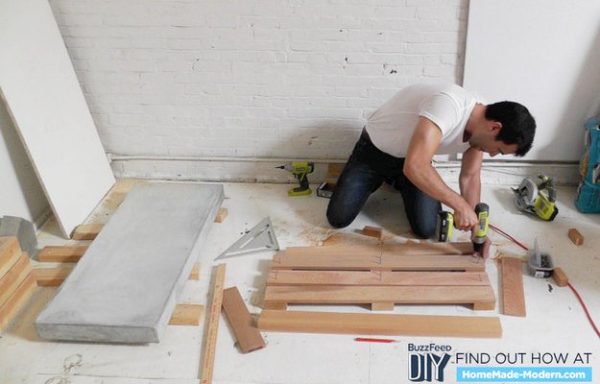
STEP 3: Once you have all the pieces together, lay them out first. Start by laying out the pieces for the bottom tray of the kitchen island.
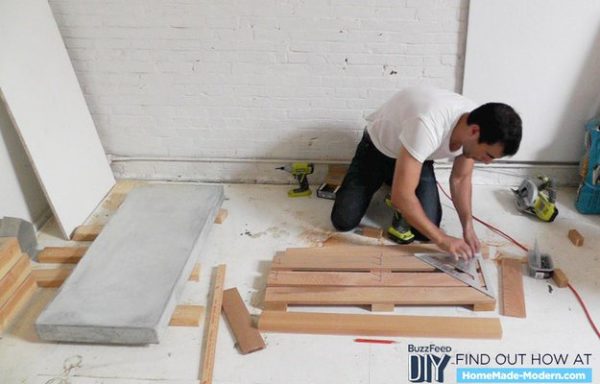
STEP 4: To make sure that the base of you kitchen island is aligned, use a square to check the corners. Make sure that you have 90 degrees for all corners.
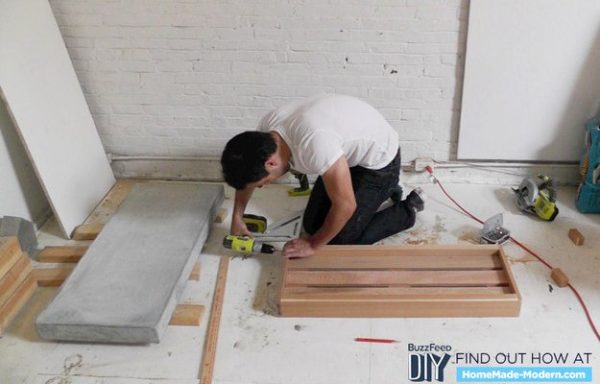
STEP 5: When you have perfect 90 degrees on all corners, is the only time you can start screwing the pieces of the bottom tray together.
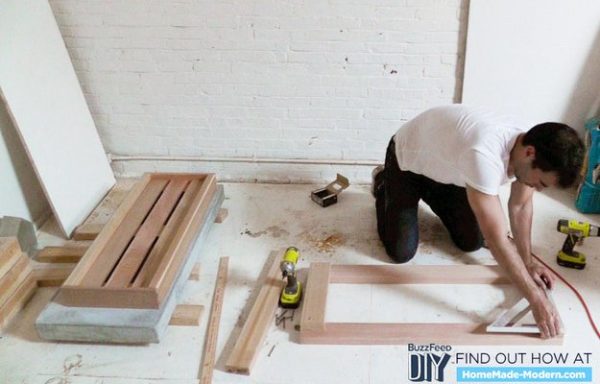
STEP 6: Same with the bottom tray, measure the corners of the top frame before fastening them together with 2 1/2” screws.
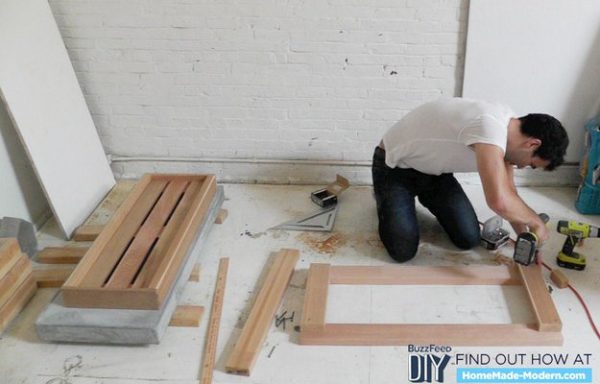
STEP 7: Start assembling the pieces once all corners measure 90-degrees.
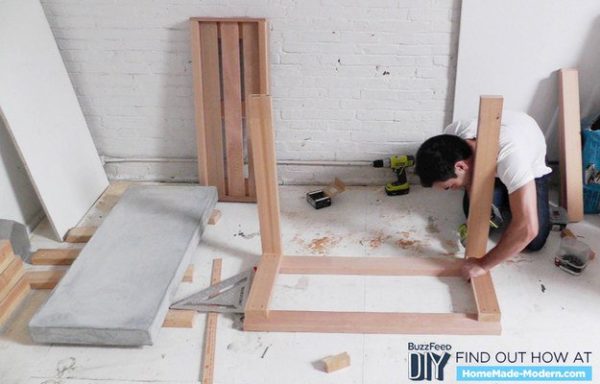
STEP 8: Using 3″ screws, attach the legs of the kitchen island to the upper tray. If it feels a little unsteady, this is because you’ve yet to attach the bottom tray.
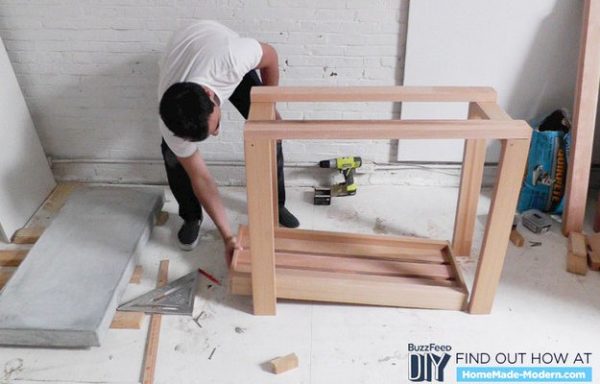
STEP 9: The next step in your DIY kitchen island is to attach the bottom tray. To do this, turn the upper tray right side up. Slide the bottom tray underneath.
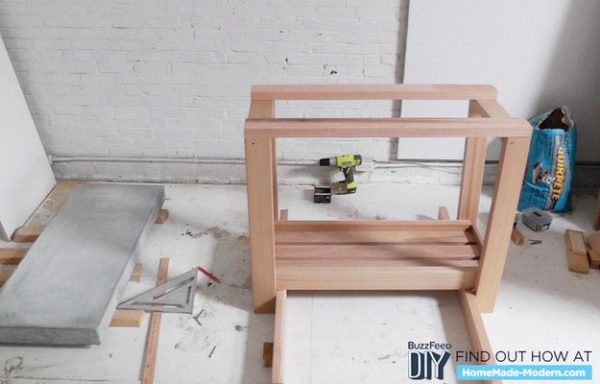
STEP 10: Use wood scraps to support the bottom tray and raise it off the ground. This method will make it easier to attach the bottom tray to the legs of the kitchen island.
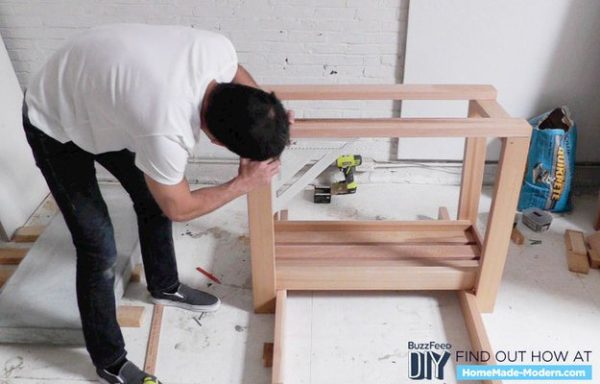
STEP 11: Again, before attaching it to the legs, make sure that it’s square. Once you’ve done that, take your 3″ screws and attach the bottom tray to each leg of your kitchen island cart.
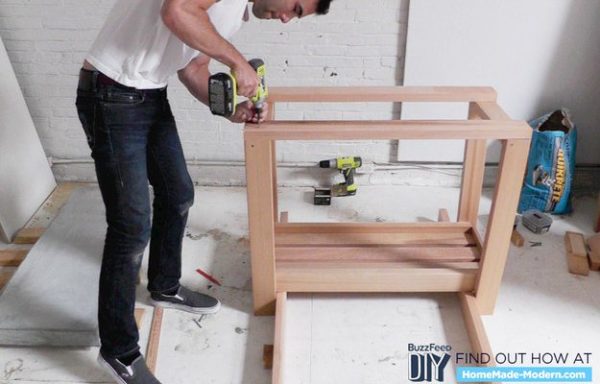
STEP 12: Do the same thing on Step 11, except this time, it’s to attach the upper tray.
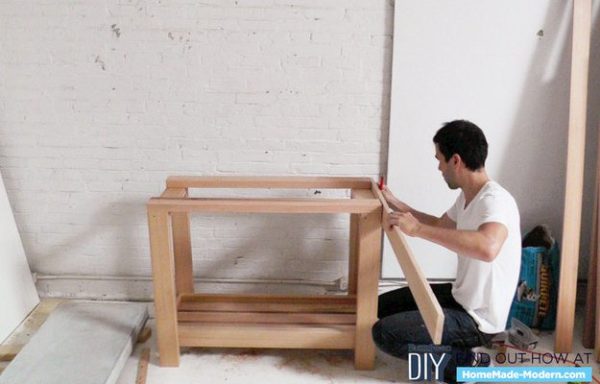
STEP 13: Carefully measure the trimmings that would go around the top part of your kitchen island.
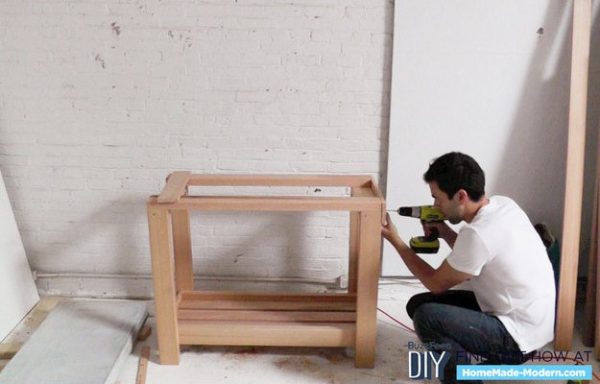
STEP 14: The concrete tabletop of your kitchen island will go on top of these trimmings, so make sure that they’re sturdy.
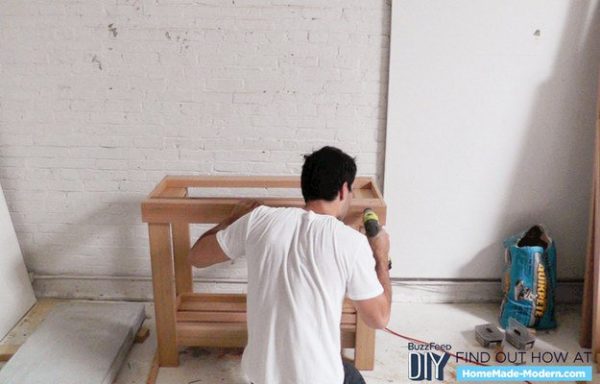
STEP 15: To match your rustic kitchen, you have the option to paint or stain your DIY kitchen island at this point before putting in the concrete countertop.
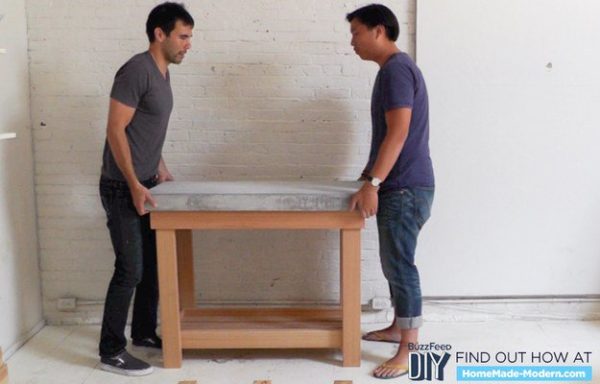
STEP 16: Because the concrete countertop on your kitchen island cart is quite heavy, get someone to help you lift it. Once you’ve placed it on top, seal the concrete to protect and finish your countertop.
Finished DIY Kitchen Island
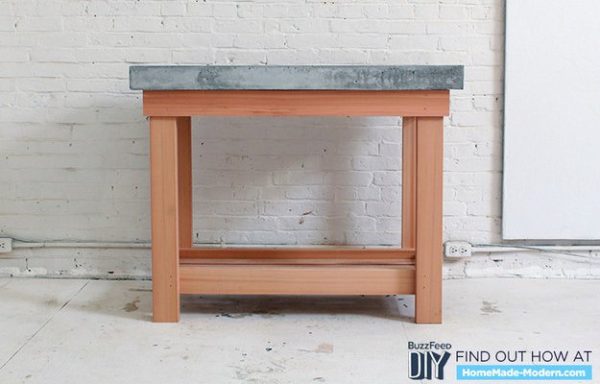
If you did this DIY kitchen island with concrete countertop, let us know how it fits in your rustic kitchen. Or if you have tips on how to improve this DIY, leave a comment on this post.
Click here to check out more from the incredible Ben Uyeda at his blog Homemade Modern!
Want more cheap kitchen renovation DIYs? How about home furniture hacks? Then, click the links below.
Alice In Wonderland Style Stacked Teacup Lamp
IKEA Hacks |DIY Furniture You Must Try
5 DIY Projects Using Cut Glass Bottles |How to Cut Glass With String
Renovating your kitchen? Go see LINK nationalgranit.com
I’m Manas Ranjan Sahoo: Founder of “Webtirety Software”. I’m a Full-time Software Professional and an aspiring entrepreneur, dedicated to growing this platform as large as possible. I love to Write Blogs on Software, Mobile applications, Web Technology, eCommerce, SEO, and about My experience with Life.

