3 Sushi Recipes | How To Make Sushi
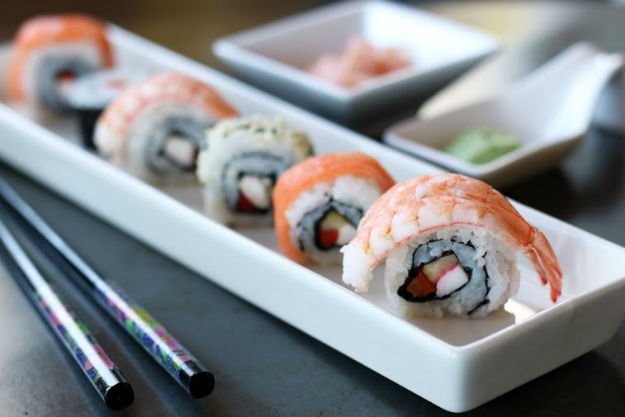
Sushi is an often misunderstood food that is actually quite simple, and can be a lot of fun. Some people avoid it because they are afraid of raw seafood, not understanding that raw seafood isn’t even a necessary component. In fact, raw fish served by itself isn’t called sushi at all, but rather is known as sashimi.
Just the other day I overheard a woman at a Chinese buffet grimacing at her daughter who was putting a few pieces of sushi on her plate. “You like that?!?! You know it’s raw, right?” Oh, but it wasn’t. They actually didn’t serve any type of raw seafood sushi there.
Sushi’s distinguishing ingredient is, instead, a sort of rice with vinegar. Also, most, but not all, types of sushi include nori, or seaweed.
There are also people who are turned off by the thought of eating seaweed. I personally happen to love it, and it’s actually very nutritious, but for those who don’t like it, there are types of sushi that don’t use it at all.
Lastly, many people see sushi as something very complex and difficult to make. Fortunately, for those of us who love it, it’s actually quite simple.
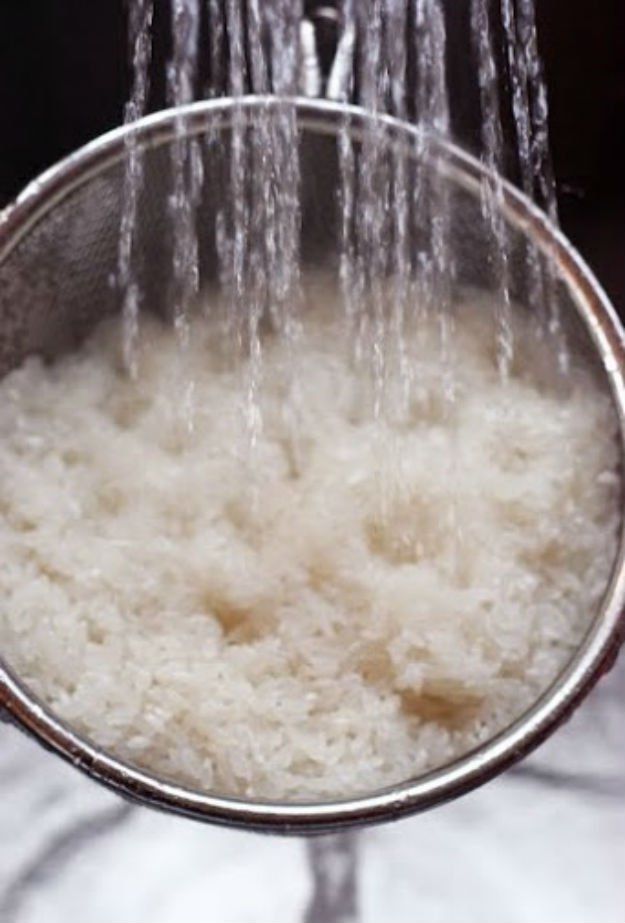
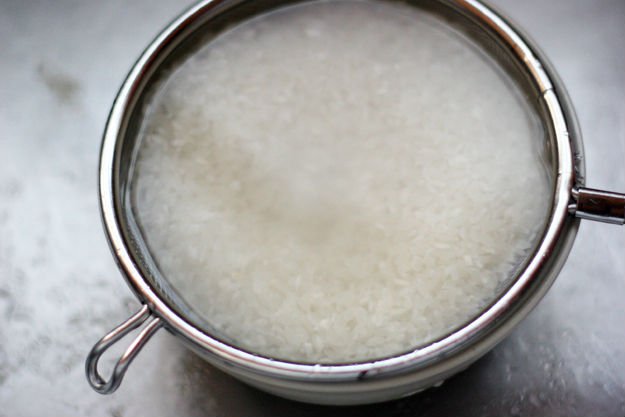
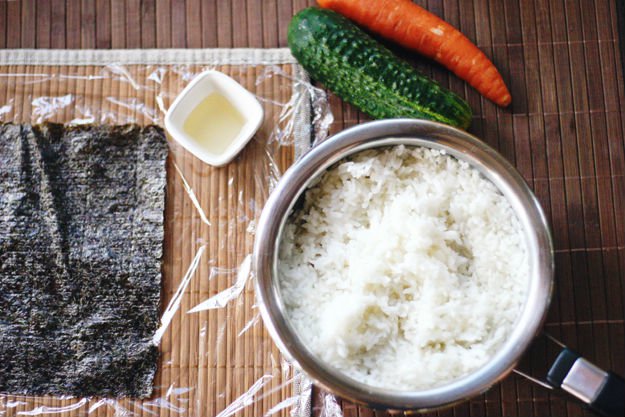
First, let’s make the Sushi Rice:
Ingredients:
- Sushi rice
- Rice vinegar
- Sugar
- Salt
Most packages of sushi rice will come with instructions for how to cook their particular rice. That said, these are general guidelines for making the rice.
Step 1: In a pan combine the rice with some water according to the ratio given for your rice (usually 1.25-1.5 parts water for 1 part rice).
Step 2: Heat over high heat until the water boils, and then turn the heat down to low. Cover the pan,and leave on low heat until the rice absorbs all of the water and becomes tender.
Step 3: Immediately, while still warm, season the rice with a mixture of rice vinegar, sugar and salt. I usually mix 1⁄2 cup of vinegar with 2-3 Tbsp. sugar and 1 tsp. salt. Once the vinegar mixture is made, I add between 1⁄4 and 1⁄2 cup of the mixture (to taste) to every 2 cups of uncooked rice.
Step 4: Stir it all together and let the rice cool before using it to make sushi.
Once you have your rice ready, you can begin to make sushi!
Makizushi (Rolled sushi)
Ingredients:
- Nori
- Fillings of choice (cucumber, avocado, carrots, seafood- raw, or not)
- sesame seeds (optional- for inside out rolls)
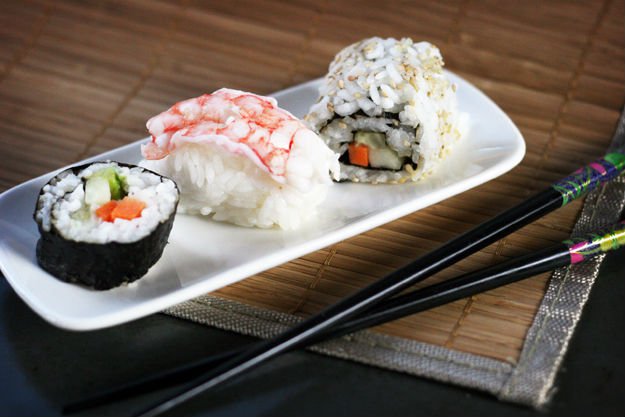
Step 1: This category includes the rolls of “right-side-out” sushi which have the nori on the outside. To make a simple sushi roll, take a sheet of nori, and place it, shiny side down, on a bamboo mat.
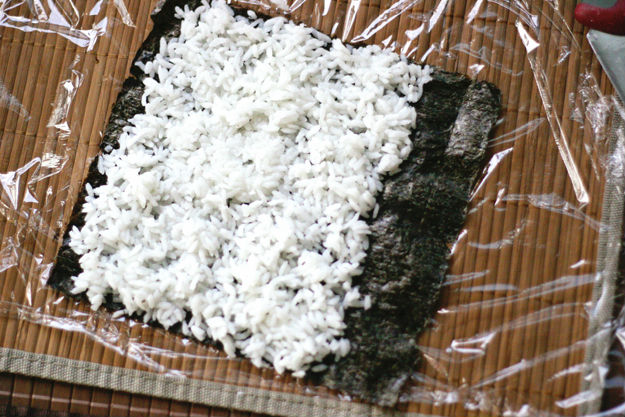
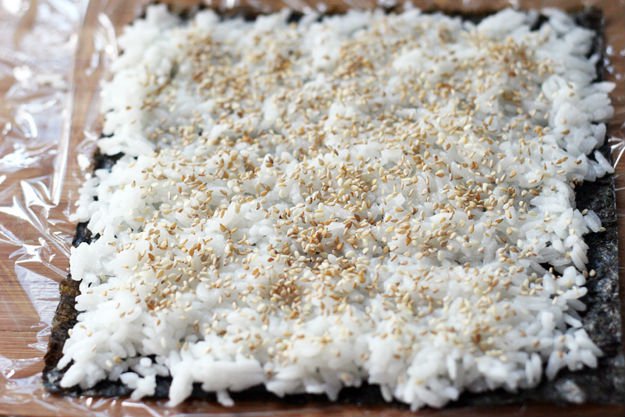
Step 2: Cover the nori with a thin layer of sushi rice. It is easier to spread the rice over the nori if your hands are kept damp.
Step 3: This will prevent the rice from sticking to them. Leave an area of about 2cm wide free from rice on one edge of the nori.
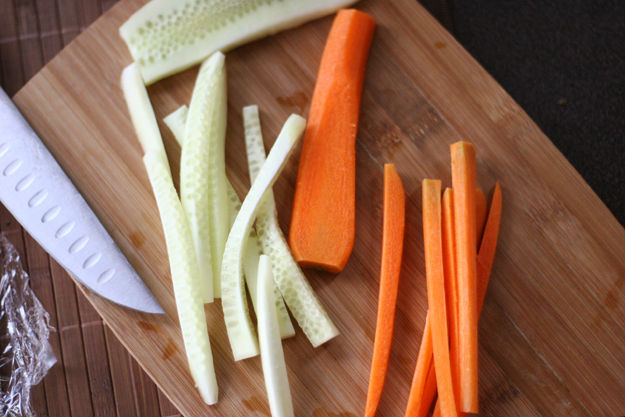
Step 4: Prepare your ingredients by cutting them into thin, long pieces.
Step 5: When using cucumbers, I like to peel and cut them into strips, and then marinate them in sushi vinegar, or vinegar mixed with a little sugar and salt.
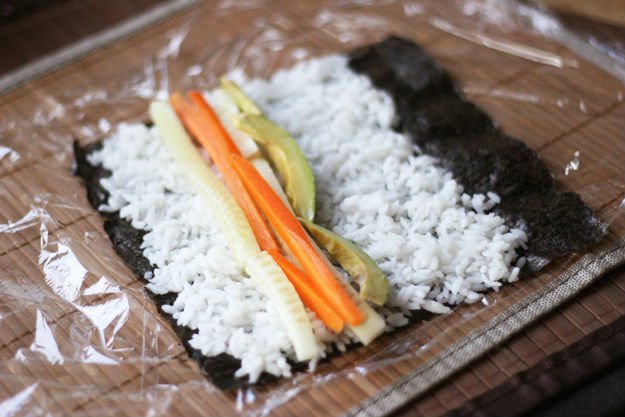
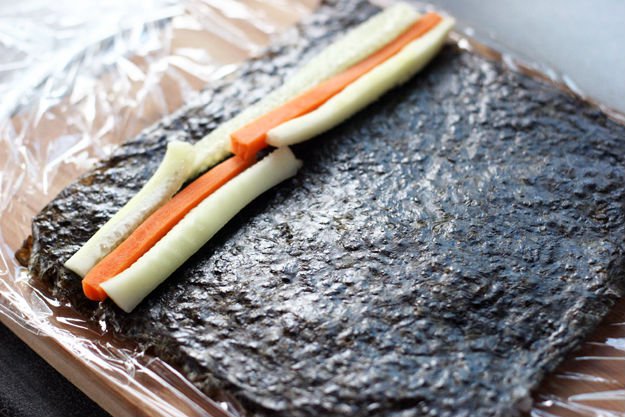
Step 6: Take your filling ingredient(s), and line them up near the edge opposite the edge without rice.
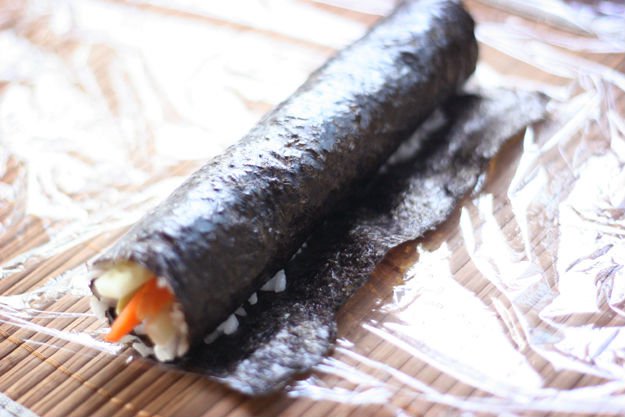
Step 7: With the help of your bamboo mat, starting at the edge where you have lined up your ingredients, begin to roll up your sushi.
Step 8: Keep rolling until you get to the end of the sheet of nori.
Step 9: To help seal it closed, you can very slightly dampen the final edge before pushing it down over the sushi roll.
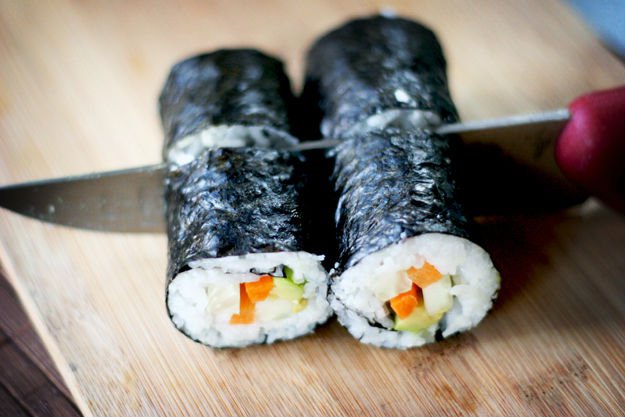
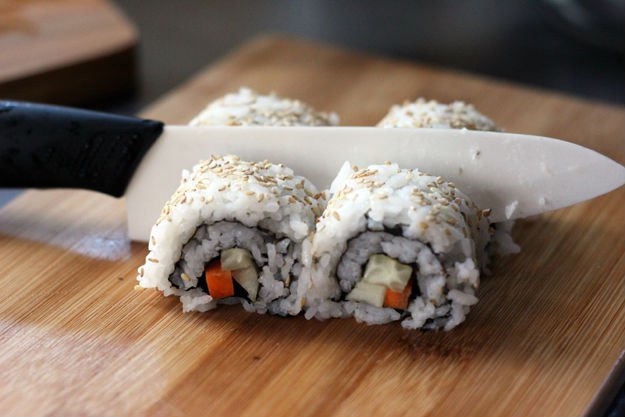
Step 10: Once sealed, all you have to do is slice the sushi into pieces.
Step 11: I find it’s easiest to slice the roll in a half with a sharp knife, and then, after putting the two halves next to each other, to slice in half again. Slicing in half one more time will give 8 pieces.
Tip: If you have a problem with the rice sticking to your knife, wet the blade before cutting.
Uramaki (Inside out roll)
In this type of rolled sushi, the nori is hidden inside of a layer of rice.
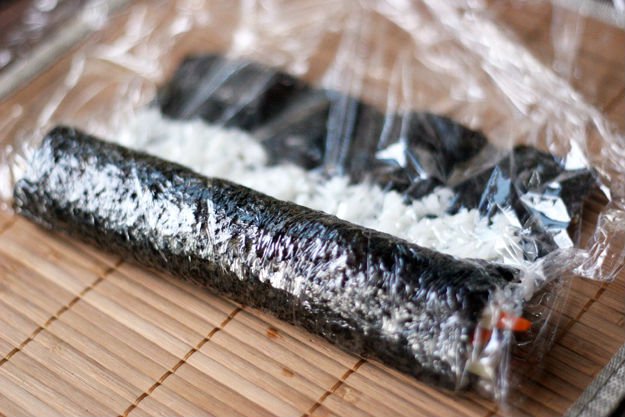
Step 1: Before beginning, cover your bamboo mat with a sheet of plastic film. Just as before, prepare your filling ingredients by slicing them into thin, long strips, and spread a layer of sushi rice over your nori.
Step 2: If you like, you can sprinkle sesame seeds over the rice before continuing.
Step 3: Flip the rice covered nori, rice-side-down, over the plastic covered mat. Line your ingredients up over the nori towards one edge of the sheet.
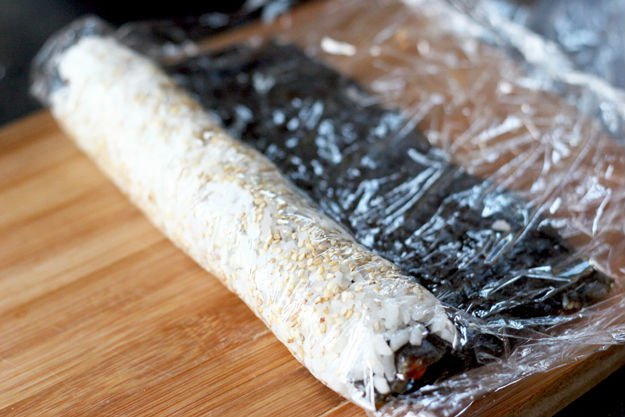
Step 4: Start rolling the nori up over the ingredients. The plastic will prevent the rice from sticking to the bamboo. Keep rolling until you get to the end, and seal the roll.
Step 5: Slice the roll into pieces as before, and your uramaki is finished!
Nigirizushi (Hand pressed sushi)
If you don’t like nori, this is the perfect sushi for you because you can choose not to use it at all.
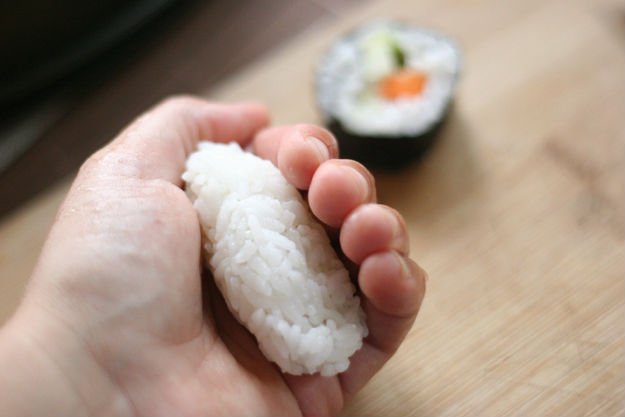
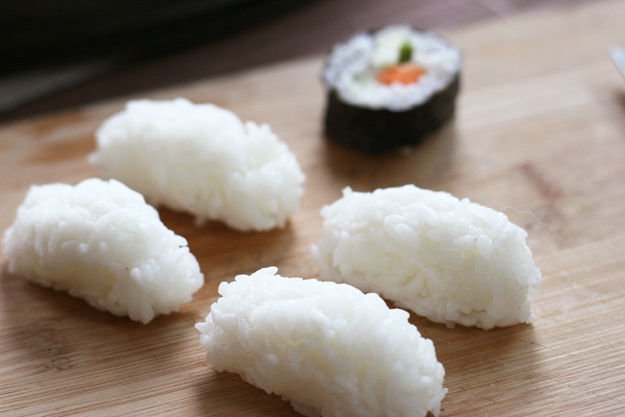
Step 1: Take your sticky rice and form it into the desired shape using moistened hands to prevent the rice from sticking to them.
The most common shape is a small log-shape with a flat bottom and a rounded top.
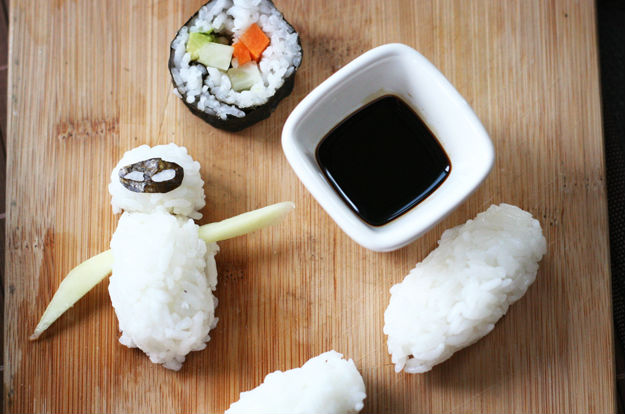
You can choose to form it into other shapes though. I even made my Wall-E obsessed son sushi shaped like Eve from the movie. He loved it!
Step 2: Once your rice is formed, you can top your rice with your ingredient(s) of choice. Popular toppings for this type of sushi are slices of smoked salmon or cod, or shrimp that has been peeled, cut down the center, and flattened out.
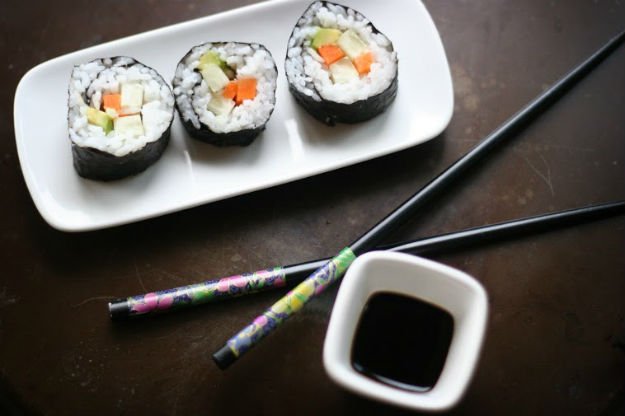
Step 3: Once you have your sushi made, you are ready to serve it.
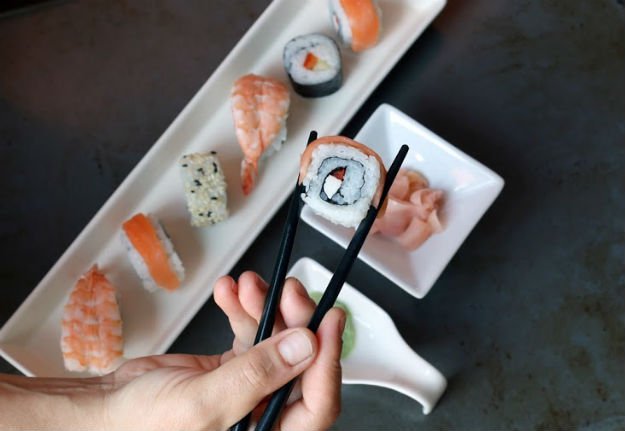
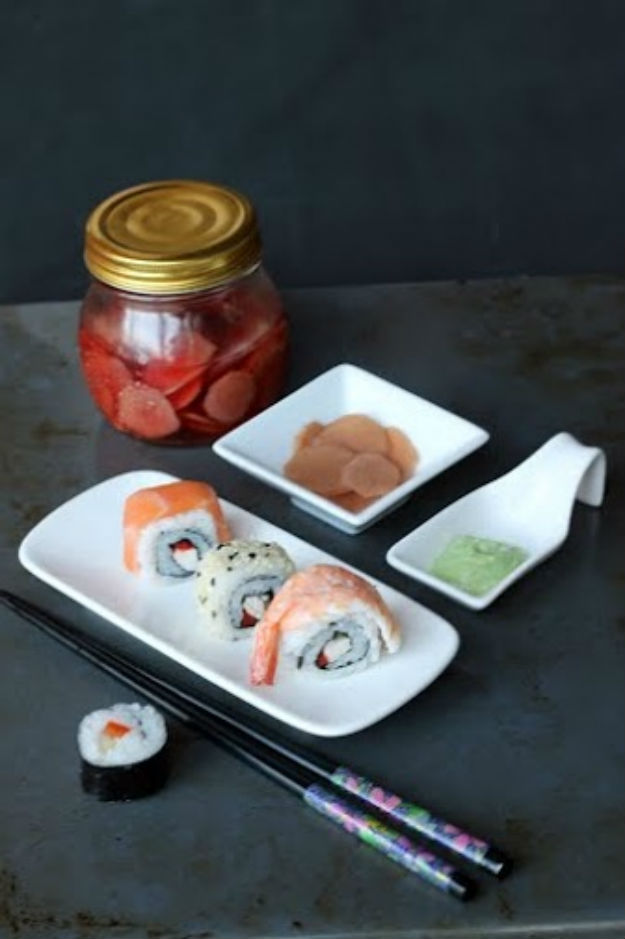
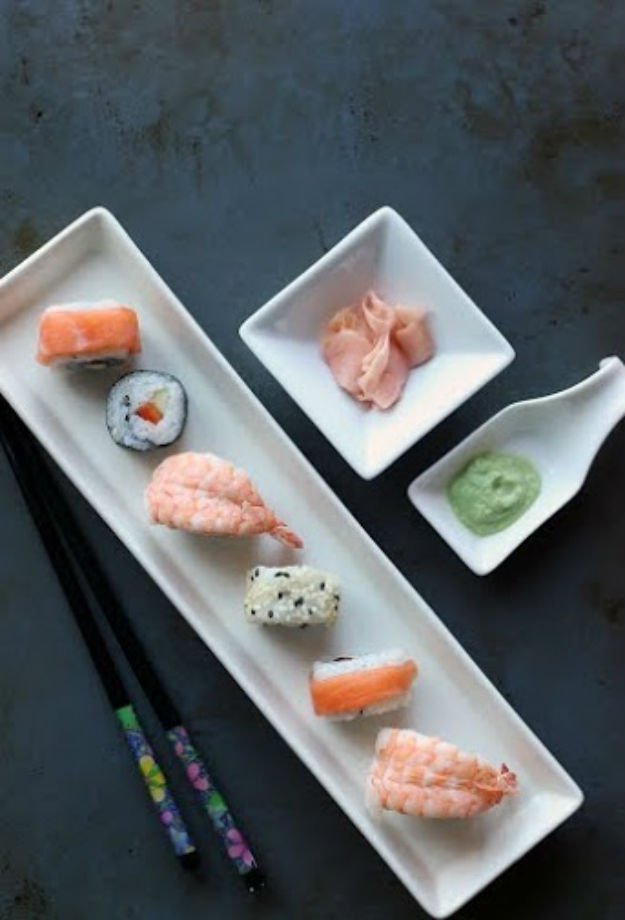
Sushi is usually accompanied by some soy sauce, wasabi and pickled ginger. Pickled ginger is my favorite of the garnishes, and I love to make it myself. It’s actually quite simple!
Sushi is a fun food to experiment with. These are only guidelines, and you can take these ideas and combine the techniques however you like. Once you get better at making it, you may even want to try your hand at making sushi art. I have seen pictures of beautiful sushi rolls featuring flowers or even more complex designs. It can also be made into cute bento for kids’ lunches!
Now that you have seen how simple it is to make sushi, I hope you give it a chance, and try it for yourself!
Did you enjoy this post on how to make sushi? Let us know in the comments section below what your thoughts are on this sushi recipe. Do you have any other recipe ideas you’d like to share? Share it with us and we’ll give it a try. We love doing cool DIY projects by making craft projects, home decor projects, upcycling ideas, recipes, tutorials and anything you can do yourself. That’s why we created this site, we want people to be more in touch with their creative side and realize that there’s a lot of things that they can do themselves. We’d love to hear from you and create a community of DIY enthusiasts where any project is just a click away. Stay connected with us on Facebook, Twitter, Pinterest and Instagram!
Did you want more? Check out these tasty recipes you’ll absolutely love:
The Best Fried Rice Recipe | How to Make Fried Rice
How To Make Homemade Guacamole & Pico De Gallo
Easy Homemade Ice Cream Recipe
I’m Manas Ranjan Sahoo: Founder of “Webtirety Software”. I’m a Full-time Software Professional and an aspiring entrepreneur, dedicated to growing this platform as large as possible. I love to Write Blogs on Software, Mobile applications, Web Technology, eCommerce, SEO, and about My experience with Life.

