11 DIY Painting Tricks For A Successful Home Transformation
You are here: Home / Knowledge & Skills / 11 DIY Painting Tricks For A Successful Home Transformation
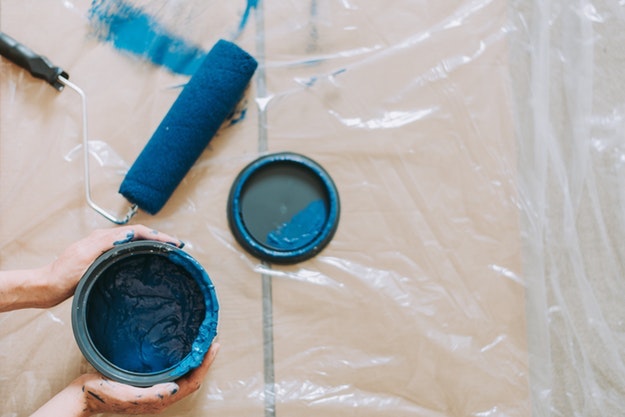
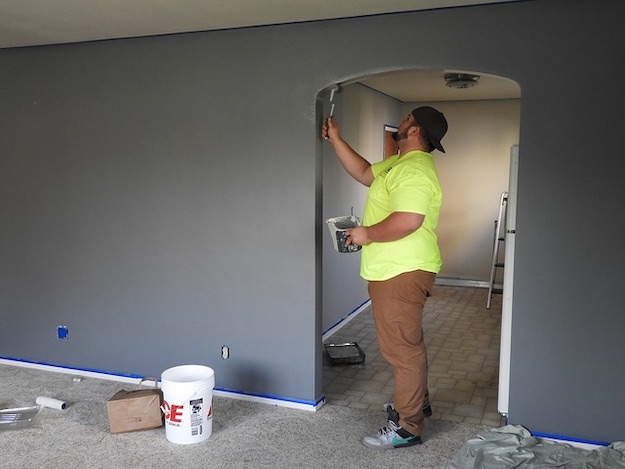
Itching to get that house repainting started? Save from spending on labor and do this job on your own. Grab your paint bucket and get lost in a room transformation with these painting tricks!
It is time to gear up in your overalls and give your house a painting finish that will make your wife’s jaw drop to the floor. But don’t just go rushing with your plans without checking out our painting tricks. These smart moves will keep you away from major painting disasters.
These painting tricks will save you from spending the extra cash, plus the extra labor and the extra mess when you start swishing the brush to your bare walls.
Here are the essential things that you will be needing:
- Aluminum foil
- Empty milk jug
- Lint roller
- Paints
- Paint brushes
- Paint tray
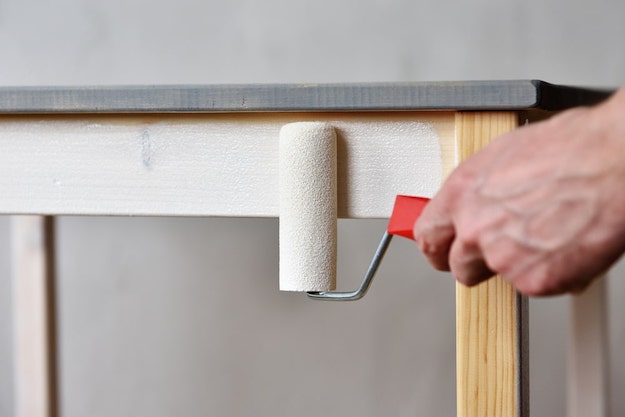
- Paint roller
- Painter’s tape
- Sweeper or dry cloth
- White Vinegar
You will learn through the rest of the list what these things are for.
1. Choose your color wisely.
Consider the mood of the room and the color of your choice. Try to picture in your head which color you would want to see if you were to stay in that particular room, and for how long you would want to spend time there. Like cozy colors are preferable in the bedroom and loud ones would work perfectly in the game room, or something like that.
2. Use aluminum foil on your paint tray.
Line your paint tray with aluminum foil for easy clean up. Just remove the lining when you are done and never worry about washing your tray or buying a new one, ever again!
3. Remove the fuzz from the brush using a lint roller!
Don’t have a lint roller? Painter’s tape saves the day! Before dipping your paint roller on your tray, wrap it using a painters tape to keep fuzzies from mixing with your paint. Check out this 21 Clever Things to Do with a Lint Roller.
4. Wipe to clean and smoothen painting area.
Before painting, run your cloth, wipe across or use a swiffer to clean down the walls and clear it from dust and dirt.
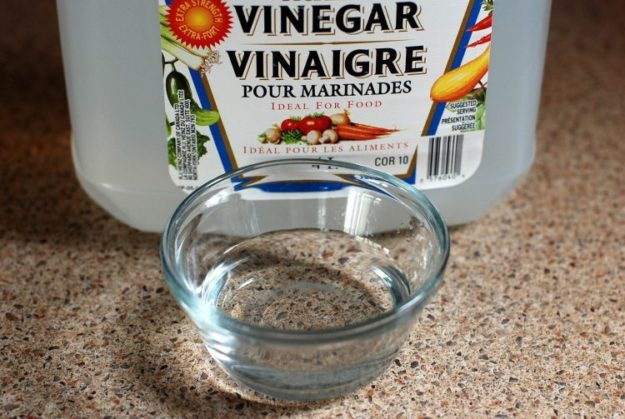
5. Vinegar trick.
Give your wall an initial coat of white vinegar to keep your paint to stay longer and prevent it from cracking. Wait until it dries, and start painting. There are more ways in using a vinegar as a painting job helper, details here.
6. Painter’s tape effect.
Apply painter’s tape along wall and ceiling edges for clean and sharp paint lines. If you want to make a unique statement by painting stripes on your walls, check this trick out by Sherwin-Williams.
7. The “W” or zigzag method.
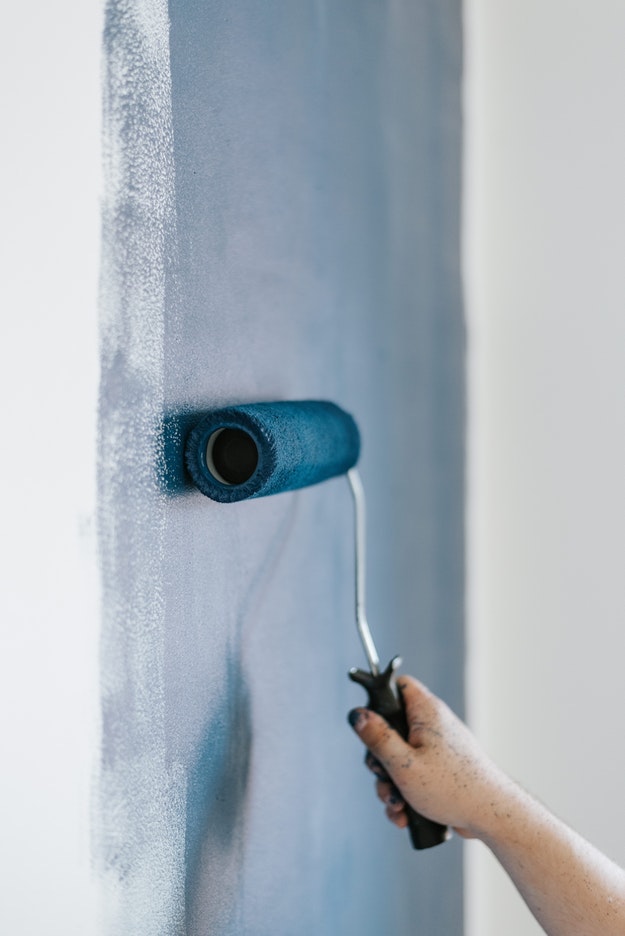
When painting the edges, it is best to use a paint brush. When you’re done, use your paint roller and start rolling on a zigzag direction to achieve a smooth and even finish wall paint. For your ceiling, click here for your guide.
Let’s learn how Sarah did the DIY Painted Wall Art.
What are you guys waiting for? Have your brush and paint ready and play your favorite playlist to set your mood for your upcoming DIY project!
For more DIY home improvement projects, check it out here.
Like this? You’ll also like…
9 Non-Tools You Should Have In Your Toolbox
9 DIY Projects To Upcycle Your Old Stuff
DIY Hammock Stand Projects | Enjoy Summer Even in Your Backyard
I’m Manas Ranjan Sahoo: Founder of “Webtirety Software”. I’m a Full-time Software Professional and an aspiring entrepreneur, dedicated to growing this platform as large as possible. I love to Write Blogs on Software, Mobile applications, Web Technology, eCommerce, SEO, and about My experience with Life.

